摘要:自己根据网上各路大神的博文费时2天配置好树莓派,写下博文记录自己折腾树莓派的过程。硬件真的比想象中的麻烦。。。
目录
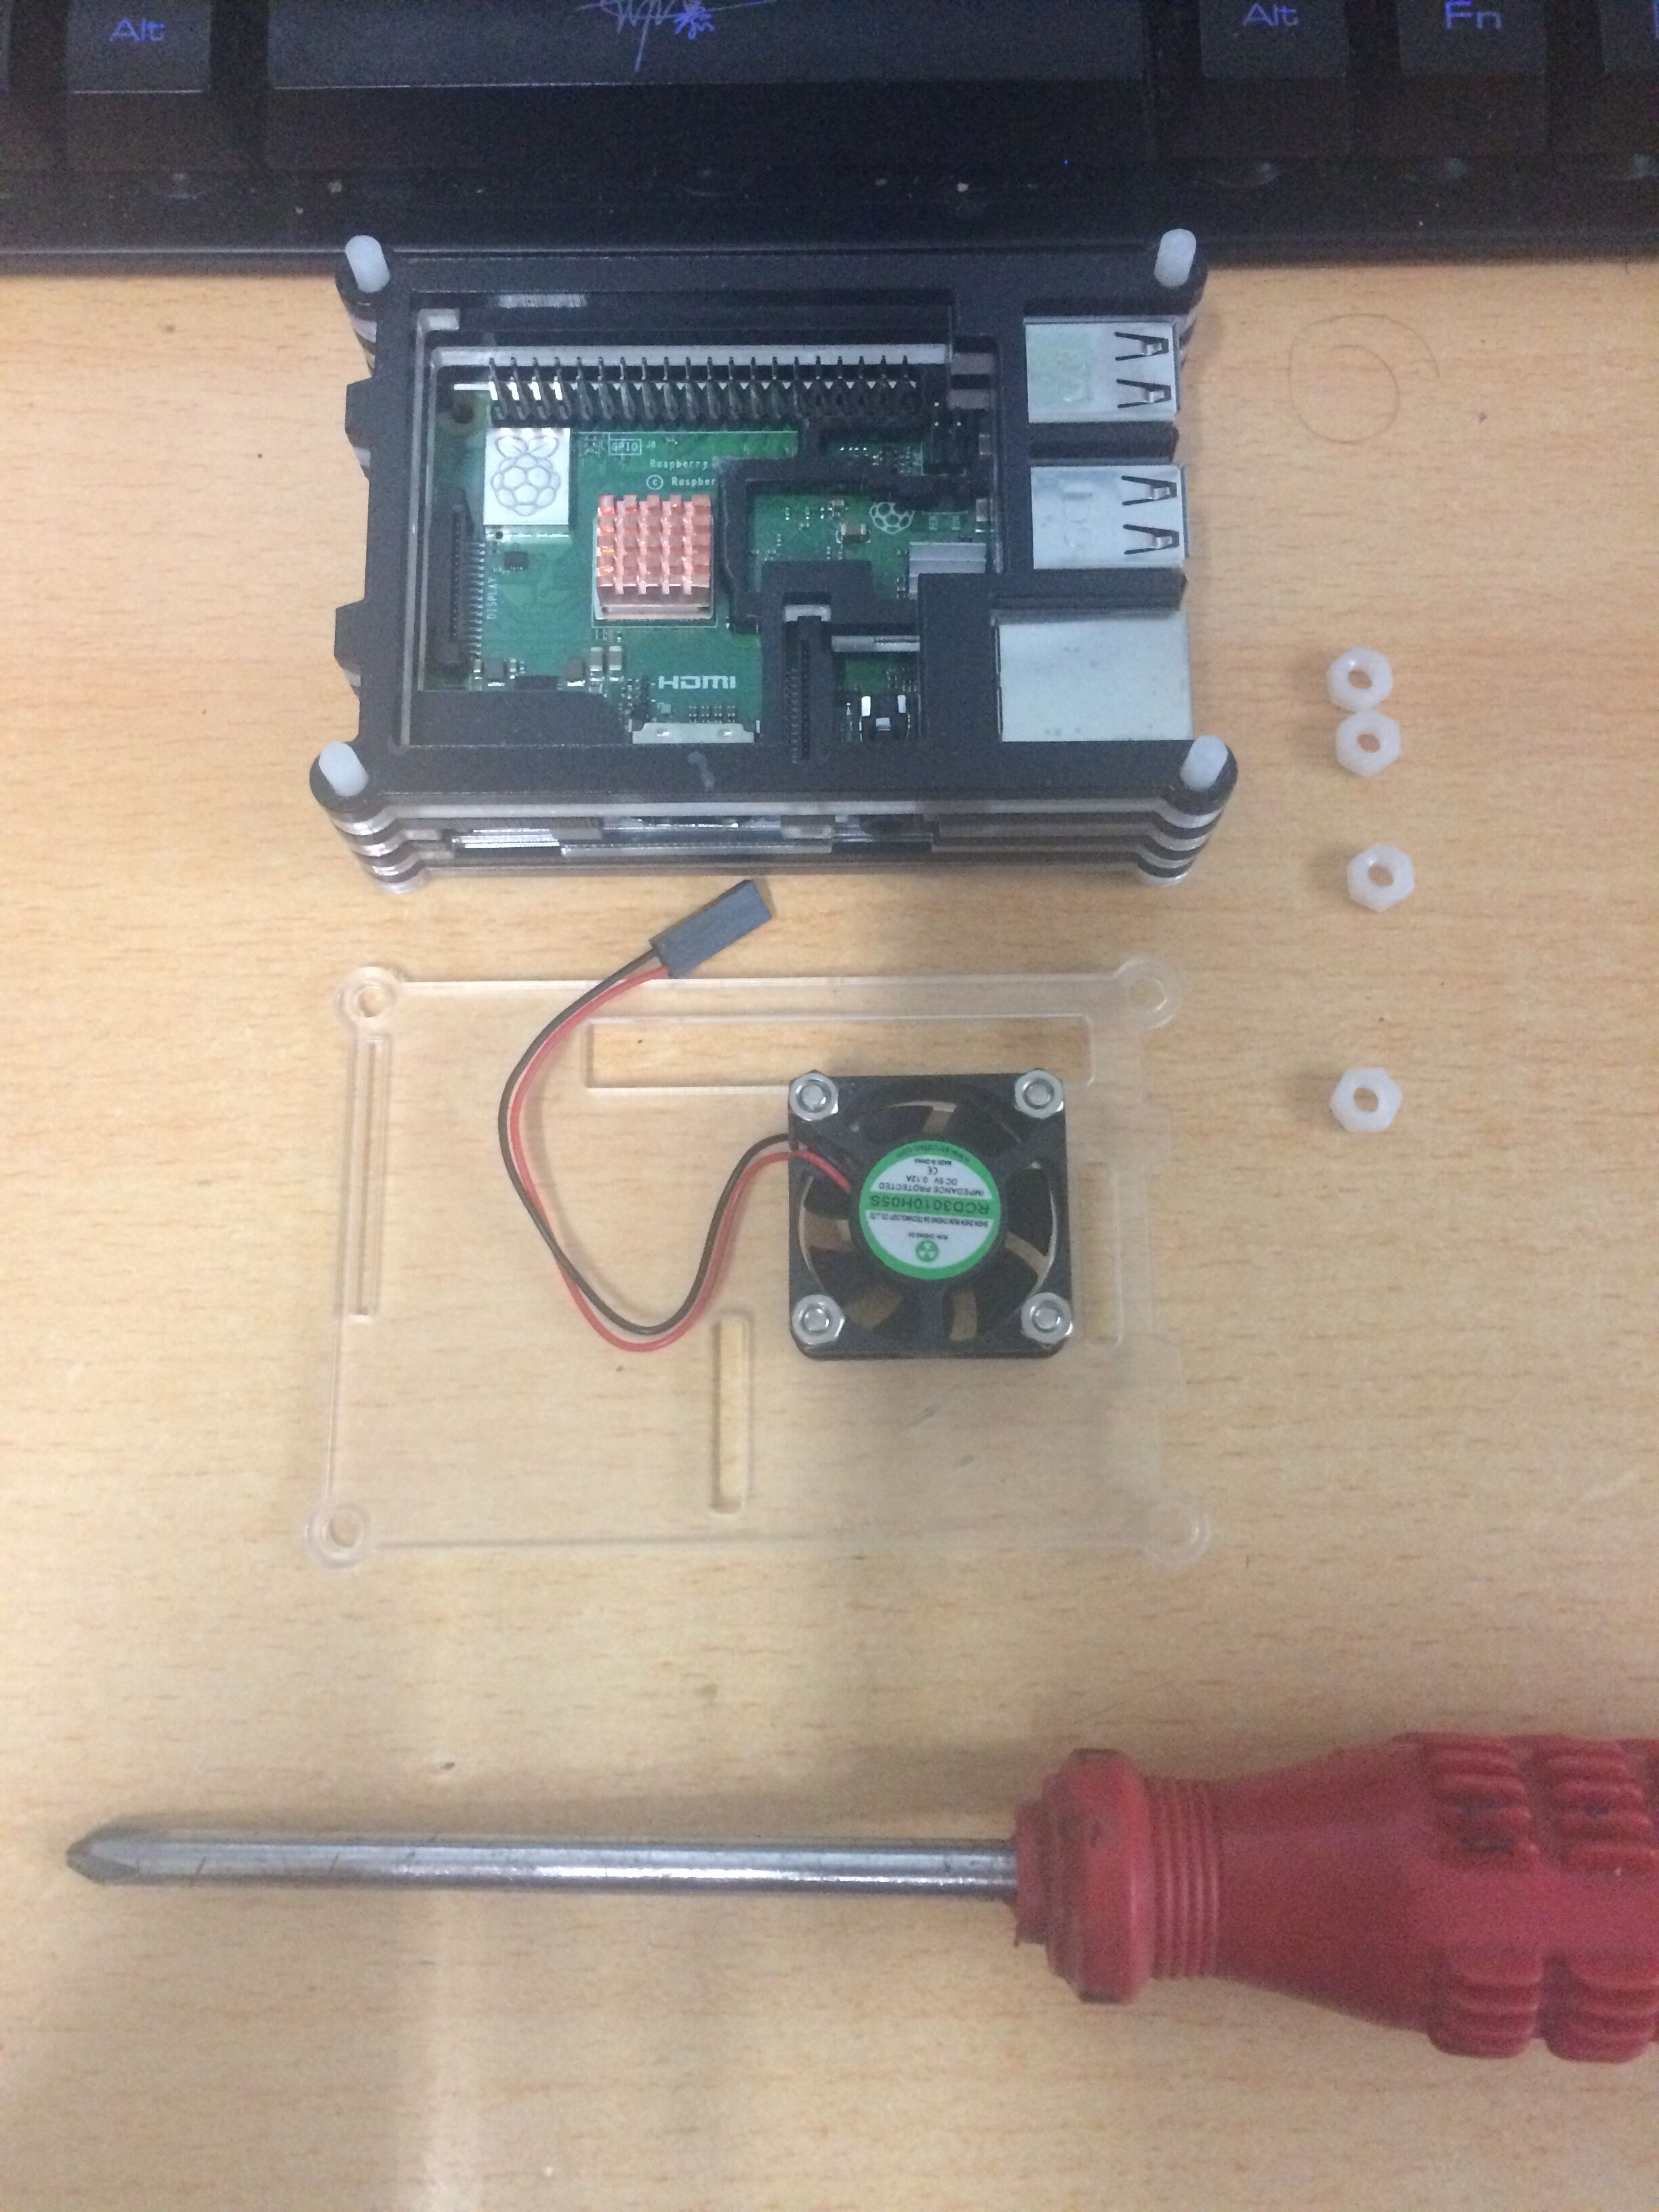
1.硬件准备
1.树莓派3B+(E14)
2.一张64G的闪迪存储卡
3.一个读卡器
4.普通电脑显示器,键盘,鼠标
5.一台可以正常工作的Window系统的电脑
2.安装系统
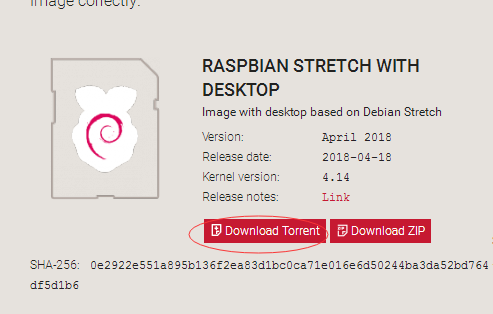
(1)树莓派系统下载:
系统下载地址:https://www.raspberrypi.org/downloads/raspbian/
选择with desktop版本,下载Torrent文件使用迅雷或是其他种子下载工具下载。
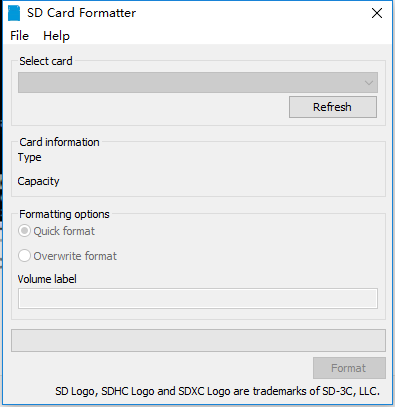
(2)格式化tf卡
格式化工具:SD card formatter
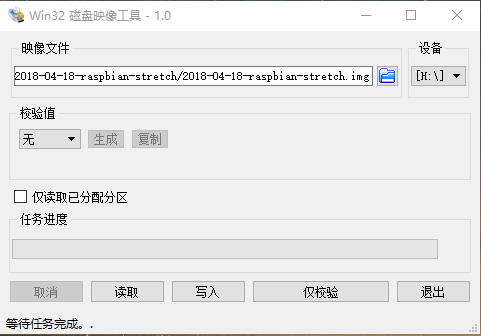
(3)将下载好的系统镜像写入tf卡
写入工具:win32diskimager
(4)系统的初始化
从简单到复杂说:
(4.1)开启ssh连接
首先在tf卡中保存一个ssh的空文件,为了打开ssh功能。
(4.2)设置无线网连接
然后设置上网,在tf卡也就是当前的boot盘新建一个wpa_supplicant.conf的文件,写入上网配置命令:
country=CN
ctrl_interface=DIR=/var/run/wpa_supplicant GROUP=netdev
update_config=1

network={
    ssid="iPhone"
    psk="104104104"
    key_mgmt=WPA-PSK
    priority=1
}中间的network是你连接的wifi配置,我是用手机开的热点,因此加了key_mgmt=WPA-PSK.
这里注意一定要在boot目录下创建这个conf,否则系统装好后将无法启动wifi连接。
为什么说创建是因为:我重装系统次数多了决定新建一个conf文件副本,然后每次重装时都复制粘贴,结果每次都无法连接上wifi,无论怎么设置都是无法启动这个conf.后来新建这个conf文件可以搜索到wifi目录
(4.3)显示设置
在boot目录下,找到config.txt文件,里面许多选项被注释掉了,我们需要在选择以下命令:
# For more options and information see
# http://rpf.io/configtxt
# Some settings may impact device functionality. See link above for details

# uncomment if you get no picture on HDMI for a default "safe" mode
#hdmi_safe=1

# uncomment this if your display has a black border of unused pixels visible
# and your display can output without overscan
disable_overscan=1#可以去掉开机屏幕周围的黑色边框

# uncomment the following to adjust overscan. Use positive numbers if console
# goes off screen, and negative if there is too much border
#overscan_left=16
#overscan_right=16
#overscan_top=16
#overscan_bottom=16

# uncomment to force a console size. By default it will be display's size minus
# overscan.
#framebuffer_width=1280
#framebuffer_height=720

# uncomment if hdmi display is not detected and composite is being output
hdmi_force_hotplug=1#

# uncomment to force a specific HDMI mode (this will force VGA)
hdmi_group=2#DMT模式
hdmi_mode=58 #分辨率为适应屏幕分辨率的选择

# uncomment to force a HDMI mode rather than DVI. This can make audio work in
# DMT (computer monitor) modes
hdmi_drive=2

# uncomment to increase signal to HDMI, if you have interference, blanking, or
# no display
config_hdmi_boost=4

# uncomment for composite PAL
#sdtv_mode=2

#uncomment to overclock the arm. 700 MHz is the default.
#arm_freq=800

# Uncomment some or all of these to enable the optional hardware interfaces
#dtparam=i2c_arm=on
#dtparam=i2s=on
#dtparam=spi=on

# Uncomment this to enable the lirc-rpi module
#dtoverlay=lirc-rpi

# Additional overlays and parameters are documented /boot/overlays/README

# Enable audio (loads snd_bcm2835)
dtparam=audio=on
这里一开始选择了
hdmi_safe=1,结果相当于windows电脑开启了安全模式,分辨率非常小,所有的改动都无法生效,因此务必将这行注释掉,才可以使其他的显示设置生效。(又是无数次重装系统后认识到的坑。。。)
(5)插上显示器、键盘、鼠标,上电
因为本人有hdmi转vga的转换头和一台现成的显示器,因此直接插上显示器的hdmi口,上电等待5s左右便可以看见桌面。
3.配置环境
(1)设置远程连接
连接上树莓派的wifi后,打开树莓派的终端输入:
ifconfig查找wlan0下面的地址,即wifi的地址。
打开自己电脑上的Putty,输入正确的地址点击open,输入密码和账号后远程连接树莓派。

没有窗口的远程连接到此就算成功了。
如果还想远程连接桌面的话,要用到的工具的是VNC。
首先在自己树莓派上安装VNC,
sudo apt-get install tightvncserver安装成功后打开树莓派上vncserver:
sudo tightvncserver成功打开后显示:
New 'X' desktop is raspberrypi:1

Starting applications specified in /root/.vnc/xstartup
Log file is /root/.vnc/raspberrypi:1.log
之后再自己的电脑上安装一个VNC Veiwer,在Sever中输入IP:1之后输入密码就可以打开树莓派的界面了.
VNC Viewer 下载地址
(2)更换软件源
因为我下载的系统是stretch版本的,因此以下更改都是针对该版本更换软件源:
* 修改/etc/apt/sources.list.d/raspi.list
中科大
deb https://mirrors.ustc.edu.cn/archive.raspberrypi.org/ stretch main ui
清华
deb https://mirrors.tuna.tsinghua.edu.cn/raspberrypi/ stretch main ui
- 修改
/etc/apt/sources.list
中科大
deb http://mirrors.ustc.edu.cn/raspbian/raspbian/ stretch main contrib non-free rpi
清华
deb https://mirrors.tuna.tsinghua.edu.cn/raspbian/raspbian/ stretch main contrib non-free rpi
大连东软
deb http://mirrors.neusoft.edu.cn/raspbian/raspbian/ stretch main contrib non-free rpi
重庆大学
deb http://mirrors.cqu.edu.cn/raspbian/raspbian/ stretch main contrib non-free rpi
浙江大学
deb http://mirrors.zju.edu.cn/raspbian/raspbian/ stretch main contrib non-free rpi
阿里云
deb http://mirrors.aliyun.com/raspbian/raspbian/ stretch main contrib non-free rpi
搜狐
deb http://mirrors.sohu.com/raspbian/raspbian/ stretch main contrib non-free rpi
(3)输入法及改变键盘布局
fcitx输入法
sudo apt install fcitx将英国键盘更改为中文输入键盘或是US键盘输入
直接在sudo raspi-config命令下修改键盘布局。
参考
1.树莓派3B+ 安装系统
2.[经验] 如何用putty连接你的树莓派(新手进)
3.从零开始搭建Raspberry Pi机器视觉编程环境
4.树莓派—raspbian软件源(全)