准备
vue create entry-animate
只需要简单的项目框架即可,router\vuex 都不用;
封装过程
- src 目录下新建 package,package文件夹是存放我们封装的组件的;
- 还需要加一个入口文件,在 package 中加一个 index.js 文件,通过后期引入main.js 文件的时候,注册成全局组件;
- 目录图片
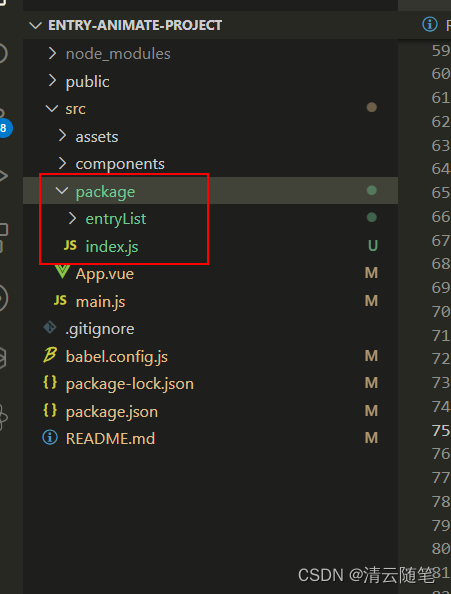
- 我写了一个 Vue3 的动画入场效果,就是一个列表,一项一项的渐变进入的效果,其实组件随便写就好了,开心就行 对应的文件 => package/entryList/index.vue
<template> <div class="list-container gradientAnimation" :style="{ animationDelay: `${index * speed}ms` }" > <slot> </slot> </div> </template> <script> import { defineComponent } from "vue"; export default defineComponent({ name: "entryList", // 注册你的组件 props: { // 列表的下标 index: { type: Number, default: 0, }, // 出现的速度 speed: { type: Number, default: 100, }, }, // 定义一个组件的 emitted 事件,当在 emits 选项中定义了原生事件 (如 click) 时,将使用组件中的事件替代原生事件侦听器。 }); </script> <style scoped> .gradientAnimation { animation-name: gradient; animation-duration: 0.85s; animation-fill-mode: forwards; opacity: 0; } /* 不带前缀的放到最后 */ @keyframes gradient { 0% { opacity: 0; transform: translate(-100px, 0px); } 100% { opacity: 1; transform: translate(0px, 0px); } } </style> - 封装好了,可以先在 app 文件中进行测试
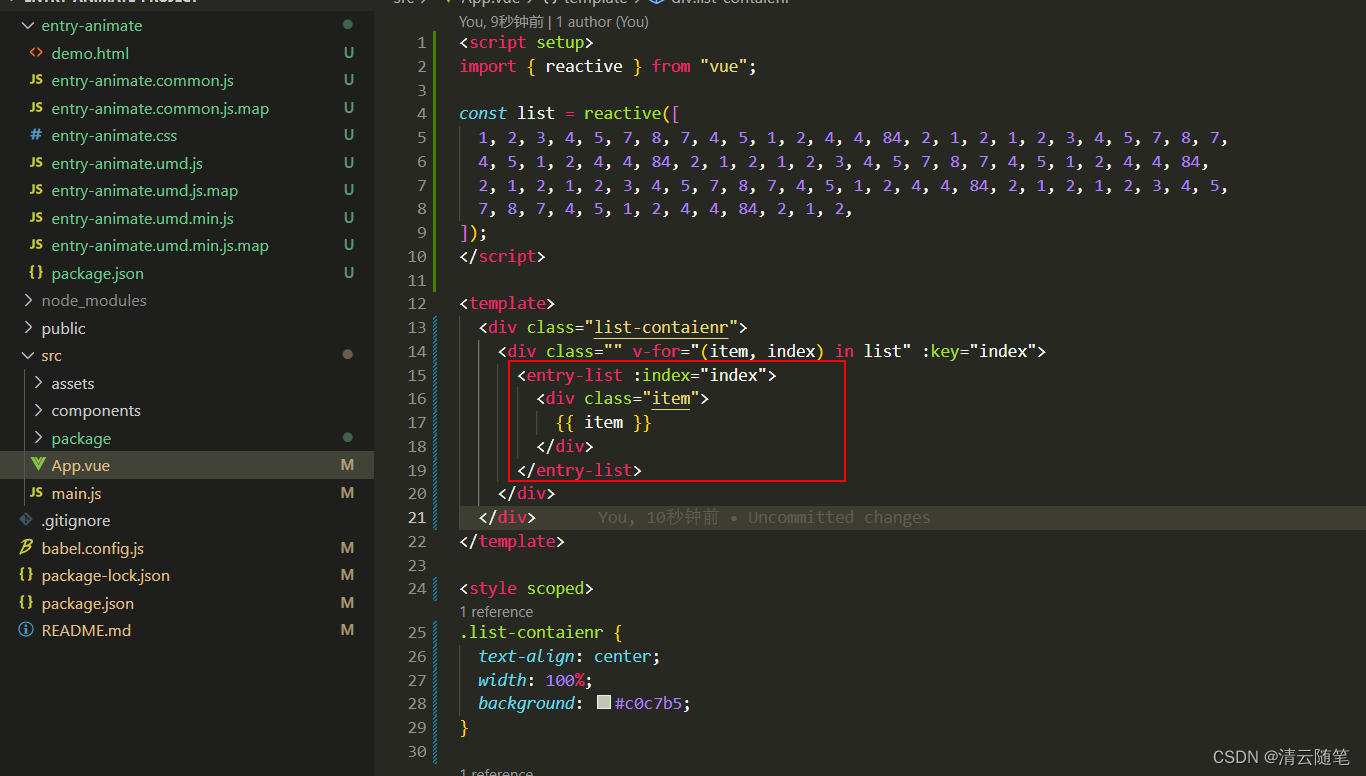
目录:src/App.vue<script setup> import { reactive } from "vue"; import entryList from "./package/entryList/index.vue"; const list = reactive([ 1, 2, 3, 4, 5, 7, 8, 7, 4, 5, 1, 2, 4, 4, 84, 2, 1, 2, 1, 2, 3, 4, 5, 7, 8, 7, 4, 5, 1, 2, 4, 4, 84, 2, 1, 2, 1, 2, 3, 4, 5, 7, 8, 7, 4, 5, 1, 2, 4, 4, 84, 2, 1, 2, 1, 2, 3, 4, 5, 7, 8, 7, 4, 5, 1, 2, 4, 4, 84, 2, 1, 2, 1, 2, 3, 4, 5, 7, 8, 7, 4, 5, 1, 2, 4, 4, 84, 2, 1, 2, ]); </script> <template> <div class="list-contaienr"> <div class="" v-for="(item, index) in list" :key="index" v-entry="index"> <entryList :index="index"> <div class="item"> { { item }} </div> </entryList> </div> </div> </template> <style scoped> .list-contaienr { text-align: center; width: 100%; background: #c0c7b5; } .item { background-color: #fff; margin-bottom: 10px; } .gradientAnimation { animation-name: gradient; animation-duration: 0.85s; animation-fill-mode: forwards; opacity: 0; } /* 不带前缀的放到最后 */ @keyframes gradient { 0% { opacity: 0; transform: translate(-100px, 0px); } 100% { opacity: 1; transform: translate(0px, 0px); } } </style> - 注册全局组件,使用
Vue提供的install方法,这个方法会在使用Vue.use(plugin)时被调用,这样就能让我们需要导出的组件注册到全局, 就可以在任意组件中像使用子组件一样直接使用导出的组件rc/package/index.jsimport entryList from "./entryList/index.vue"; // --target lib 指定打包的目录 // --name 打包后的文件名 // --dest 打包后的文件夹名称 const componentArr = [entryList]; export default { install: (app) => { // 注册组件 componentArr.forEach((item) => { app.component(item.name, item); // item.name就是引入组件中的name属性,所以每个组件都需要name }); }, };发布
- 修改打包配置命令 package.json
// --target lib 指定打包的目录 // --name 打包后的文件名 // --dest 打包后的文件夹名称 "scripts": { "serve": "vue-cli-service serve", "build": "vue-cli-service build", "lint": "vue-cli-service lint", "package": "vue-cli-service build --target lib ./src/package/index.js --name entry-animate --dest entry-animate" }, - 执行打包命令
npm run package - 打包完成之后,会在src 同级目录下生成一个 entry-animate 的文件夹。其实对应的就是 --dest 的 名字了

- cd 切换到 entry-animate 目录下。初始化 package.json 文件,执行命令 npm init -y 初始化 package.json 文件即可
具体的配置如下{ "name": "entry-animate", "version": "1.0.0", "description": "", "main": "entry-animate.common.js", "scripts": { "test": "echo \"Error: no test specified\" && exit 1" }, "author": "", "private": false, // 是否设为私有包 "license": "ISC" }
注册 NPM 的账号(有npm账号可跳过此步)
-
可去npm官网注册: https://www.npmjs.com;
也可以通过命令行注册首先得将npm镜像源切换为官方的源,大部分人的镜像源可能为淘宝镜像源,其他的也不行,想发布就得切换为npm官方镜像源
npm config set registry=https://registry.npmjs.org注册
npm adduser依次填入账号、密码、邮箱, 填写完成后邮箱会收到一个npm发的一次性密码(也就是验证码) 再次填入即可,如果还未填写就报错,多半是得需要
-
npm publish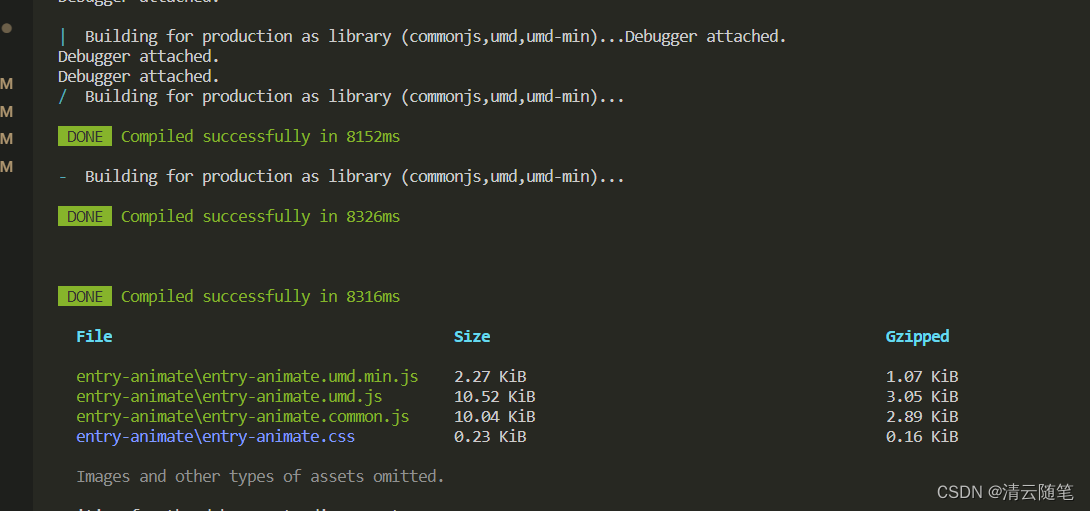
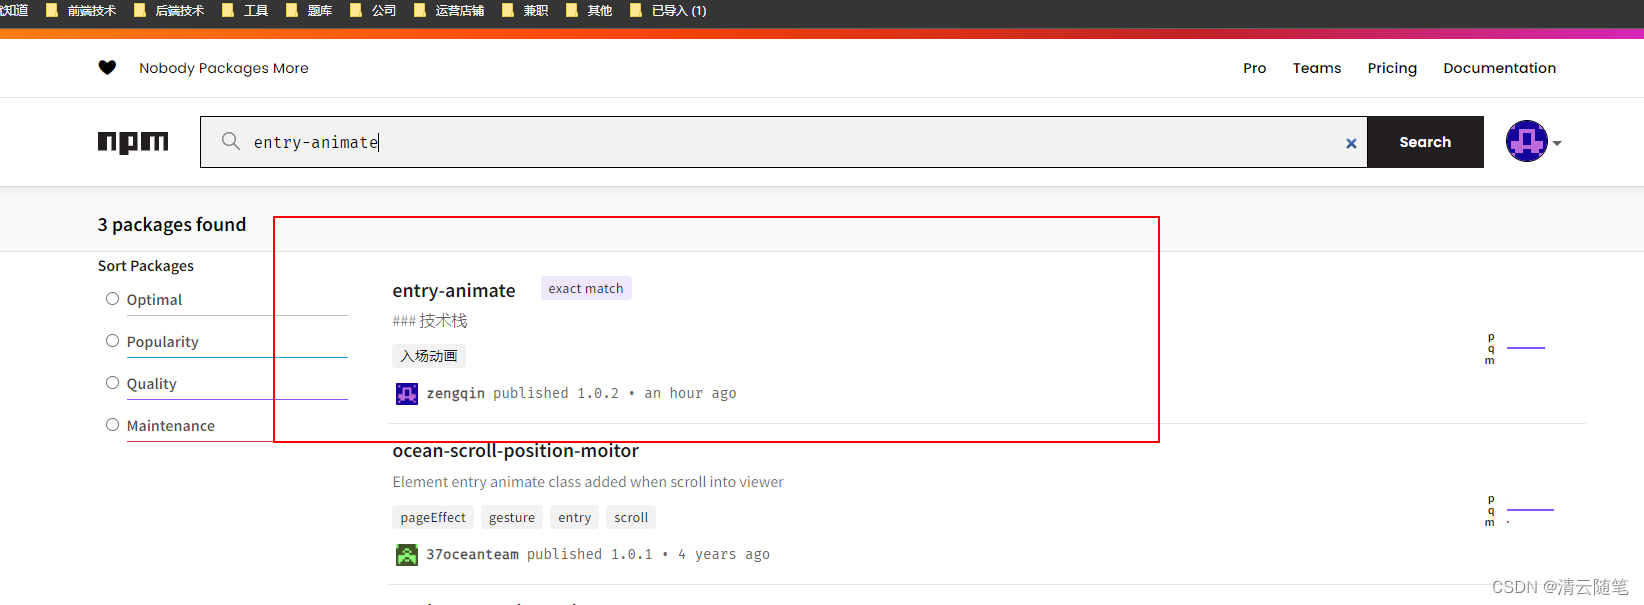
发布成功的图 -
npm中文网 官网 然后去 npm 上查找一下自己发的包 我的 entry-animate
使用
- 安装
npm i entry-animate扫描二维码关注公众号,回复: 16605442 查看本文章

- mian.js 文件中引入
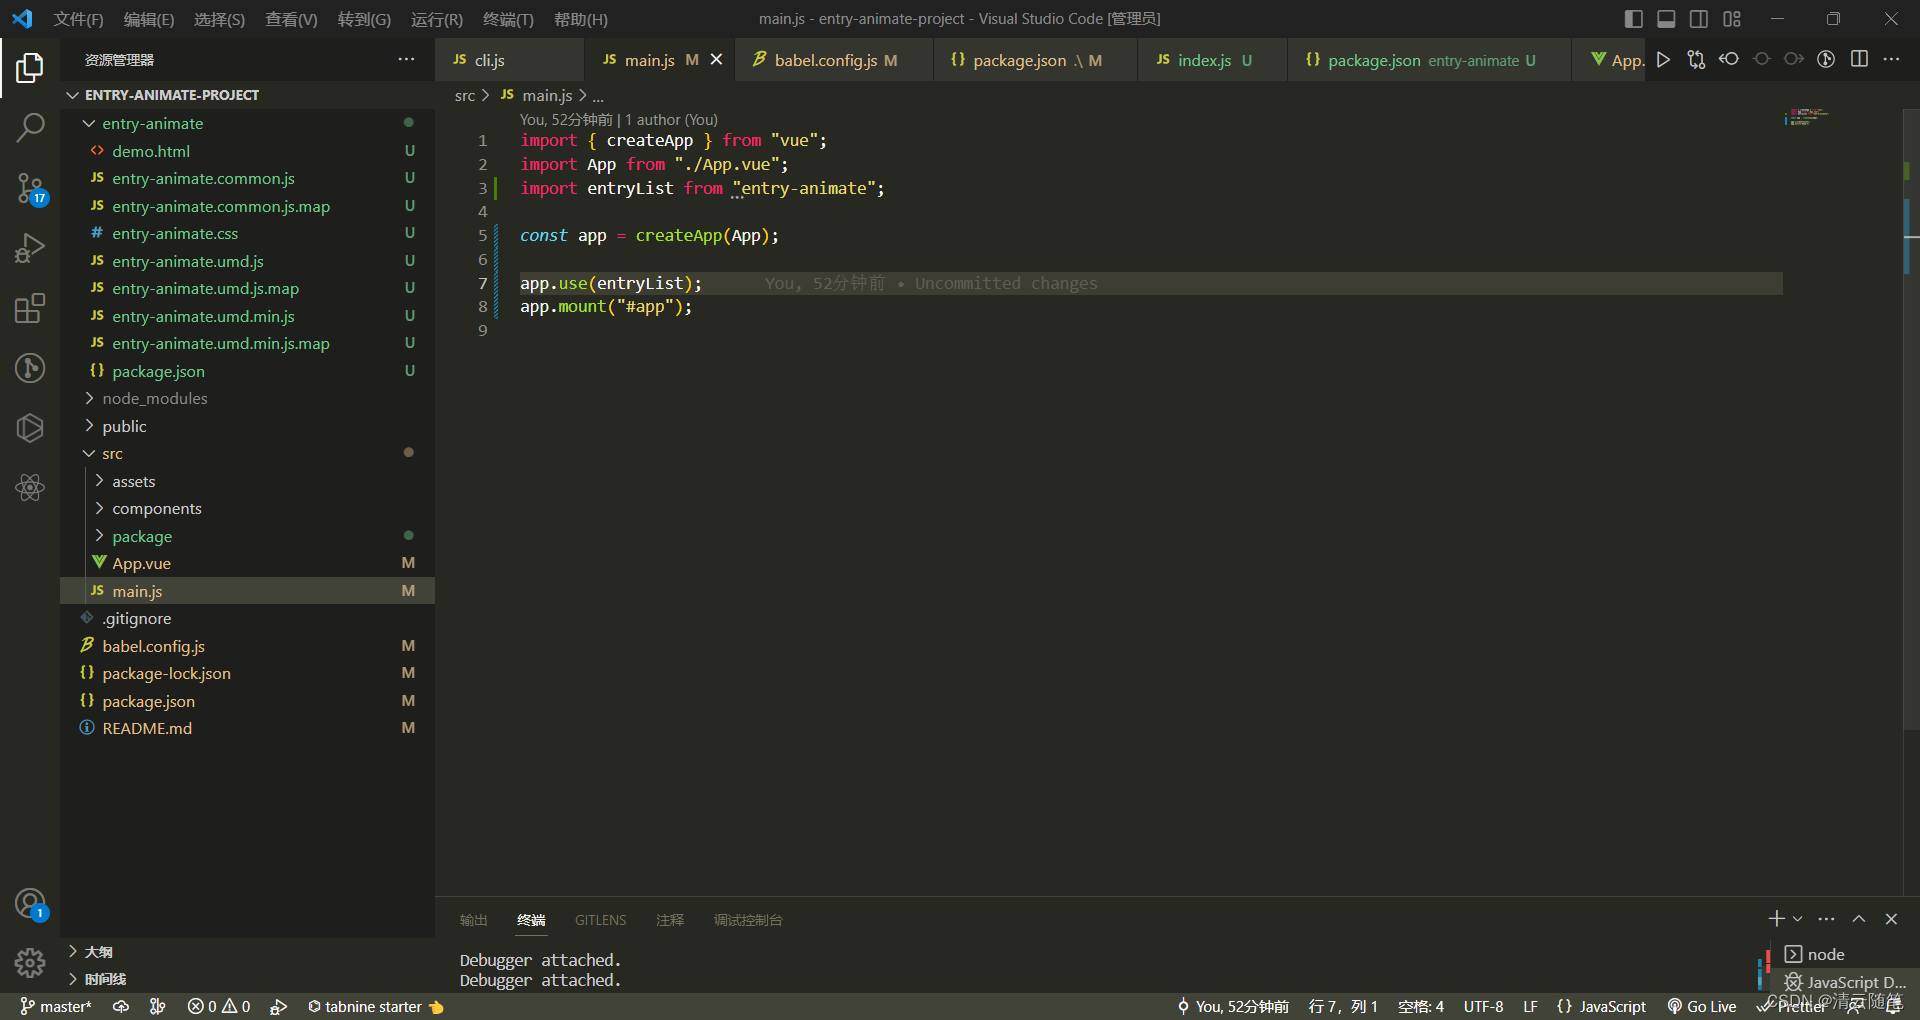
- 使用
具体的效果,就不上传视频了
搞定收工,这样发布就完成了,以后就能从npm 拉包进行项目开发了
npm 链接 entry-animate - npm