Windows11下yolov5环境配置系列教程(基础部分)
Windows11下yolov5环境配置系列教程(基础部分)_wnowswolf的博客-CSDN博客
安装 Anaconda3 可以改为miniconda 占用更小
将安装目录下的Scripts和condabin文件夹的路径加入环境变量即可。以下为详细步骤:
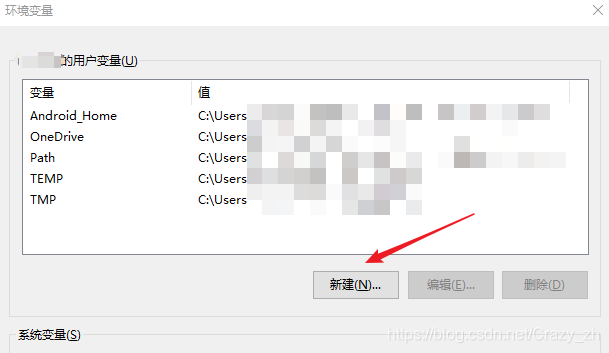
1. 打开环境变量页
右击我的电脑->属性->更多设置->高级->环境变量->新建
2. 填入路径
打开conda安装目录,将Scripts和condabin文件夹的路径填入变量值文本框,中间用半角分号;隔开,然后点击确定。如下图所示: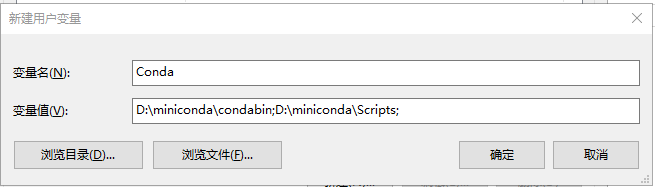
3. 加入环境变量
在变量栏中找到Path,单击,然后点击编辑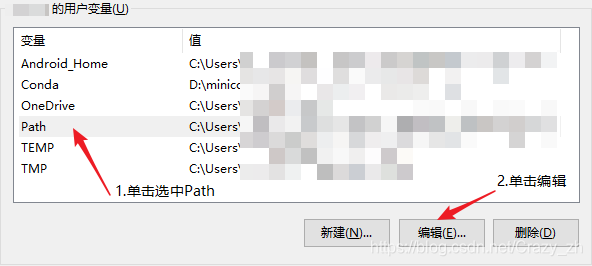
单击新建,或直接双击下方空白处,键入刚才输入的变量名,我的是%Conda%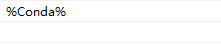
依次点击确定
4. 测试
打开cmd 键入conda --version,回车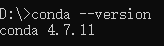
5 设置镜像源
# 添加清华源
conda config --add channels https://mirrors.tuna.tsinghua.edu.cn/anaconda/pkgs/free/
conda config --add channels https://mirrors.tuna.tsinghua.edu.cn/anaconda/cloud/conda-forge/
conda config --add channels https://mirrors.tuna.tsinghua.edu.cn/anaconda/cloud/pytorch/

# 添加阿里云镜像源
conda config --add channels https://mirrors.aliyun.com/anaconda/pkgs/free/
conda config --add channels https://mirrors.aliyun.com/anaconda/pkgs/main/

# 添加中科大源
conda config --add channels https://mirrors.ustc.edu.cn/anaconda/pkgs/free/
conda config --add channels https://mirrors.ustc.edu.cn/anaconda/pkgs/main/
conda config --add channels https://mirrors.ustc.edu.cn/anaconda/cloud/conda-forge/
conda config --add channels https://mirrors.ustc.edu.cn/anaconda/cloud/msys2/
conda config --add channels https://mirrors.ustc.edu.cn/anaconda/cloud/bioconda/
conda config --add channels https://mirrors.ustc.edu.cn/anaconda/cloud/menpo/


# 设置搜索时显示通道地址
conda config --set show_channel_urls yes

删除镜像源

conda config --remove channels defaults

conda config --remove channels https://mirrors.aliyun.com/anaconda/pkgs/free/

配置文件
C:\Users\Administrator
.condarc
channels:
  - https://mirrors.tuna.tsinghua.edu.cn/anaconda/cloud/msys2/win-64
  - https://mirrors.tuna.tsinghua.edu.cn/anaconda/cloud/msys2/noarch
  - https://mirrors.tuna.tsinghua.edu.cn/anaconda/pkgs/r/win-64
  - https://mirrors.tuna.tsinghua.edu.cn/anaconda/pkgs/r/noarch
  - https://mirrors.tuna.tsinghua.edu.cn/anaconda/pkgs/main/win-64
  - https://mirrors.tuna.tsinghua.edu.cn/anaconda/pkgs/main/noarch
  - https://mirrors.tuna.tsinghua.edu.cn/anaconda/pkgs/free/win-64
  - https://mirrors.tuna.tsinghua.edu.cn/anaconda/pkgs/free/noarch
  - https://mirrors.tuna.tsinghua.edu.cn/anaconda/cloud/pytorch/win-64
  - https://mirrors.tuna.tsinghua.edu.cn/anaconda/cloud/pytorch/noarch
  - defaults
show_channel_urls: true
conda clean --all #清理无用的包或安装包
Windows11下yolov5环境配置系列教程(基础部分)_wnowswolf的博客-CSDN博客
conda create -n yolov5 python=3.9
激活
conda activate yolov5
conda list
- 创建虚拟环境:
conda create -n [虚拟环境名] python=[版本]- 显示虚拟环境:
conda env list- 激活虚拟环境:
conda activate + [虚拟环境名]
关键网址:
Miniconda 下载地址:https://mirrors.tuna.tsinghua.edu.cn/anaconda/miniconda/
pypi 国内源:https://mirrors.tuna.tsinghua.edu.cn/help/pypi/
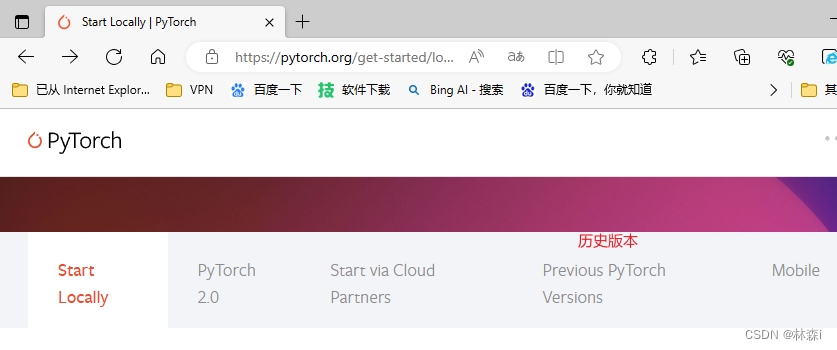
pip config set global.index-url https://pypi.tuna.tsinghua.edu.cn/simplePytorch 官方地址https://pytorch.org/
YoloV5
需要支持coda 具体教程百度
安装nv卡的 coda
然后再官网找到安装pytorch的命令
我的比较老 是9.2版本的coda
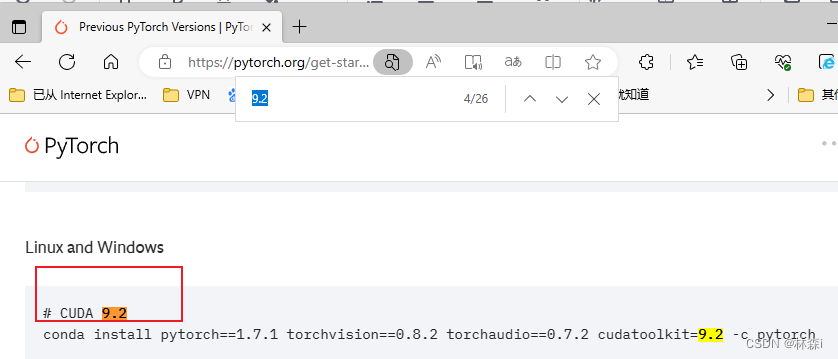
pip install torch==1.7.1+cu92 torchvision==0.8.2+cu92 torchaudio==0.7.2 -f https://download.pytorch.org/whl/torch_stable.html
注意可能会安装不成功 这样
pip install torch==1.7.1 torchvision==0.8.2 torchaudio==0.7.2 -f https://download.pytorch.org/whl/torch_stable.html
把后缀去掉
Github地址https://github.com/ultralytics/yolov5
下载后 2023.6.28 日 把 numpy>=1.18.5 改为
到这里我失败了,难受安装不成功
  WARNING: Ignore distutils configs in setup.cfg due to encoding errors.
WARNING: Ignore distutils configs in setup.cfg due to encoding errors.
ERROR: pip's dependency resolver does not currently take into account all the packages that are installed. This behaviour is the source of the following dependency conflicts.
torch-kmeans 0.2.0 requires torch>=1.08, but you have torch 1.7.1 which is incompatible.
Successfully installed torch-1.7.1+cu110
测试是否安装成功 python detect.py
换成这个
【零基础上手yolov5】yolov5的安装与相关环境的搭建_罅隙`的博客-CSDN博客
失败失败失败 不想搞了