爬取中央气象台每日预报结果
1、数据网站介绍
中央气象台网站提供了1-7天的各要素预报信息(这里以降水信息为例)。该网站通过气象观测数据和数值模型分析,提供了全国范围内各地区未来几天的降水情况预报。用户可以通过该网站获取准确的降水预报,以便做出相应的气象决策和安排。无论是个人还是专业人士,都可以在中央气象台网站上获取可靠的降水预报信息,以帮助其日常生活或工作中的气象需求。
2、python爬取代码
from selenium import webdriver
from selenium.webdriver.common.action_chains import ActionChains
# from selenium.webdriver.support.ui import Select
# from selenium.webdriver.chrome.service import Service
import time
import os
import urllib.request
import datetime
# import sys
# sys.path.append("D:\ProgramFiles\Anoconda3\envs\pyht\Lib\site-packages/")
"""
version:
selenium = 3.141.0
"""
def get_picture():
level = ['24小时']
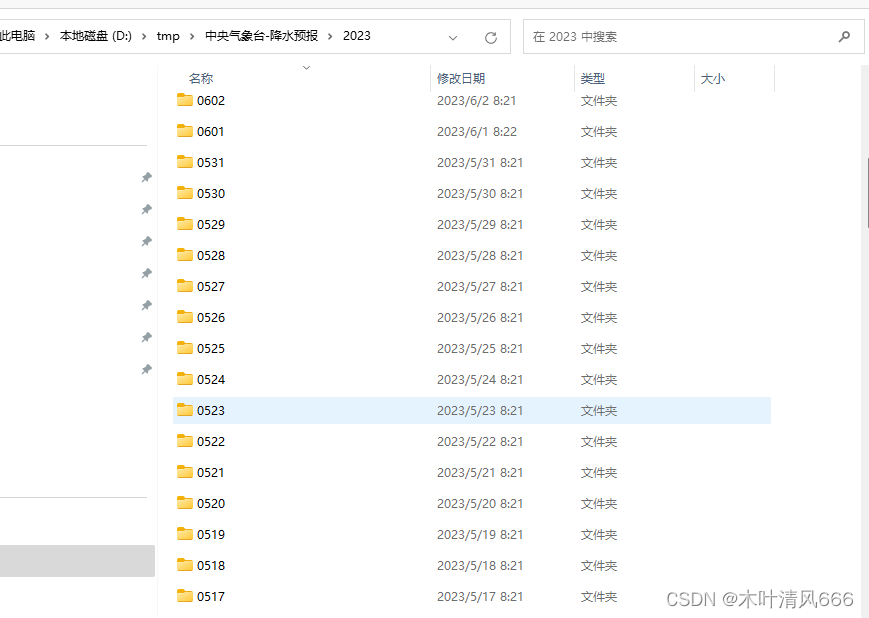
save_map_path = "D:/tmp/中央气象台-降水预报/"
save_git_path = "D:\My_Document\GitHub\HthtPre.github.io\Forecast/"
# chrome_driver = 'D:/Browser_Download/chromedriver_win32/chromedriver.exe' # chromedriver的文件位置
chrome_driver = r"D:\Browser_Download\chromedriver_win32113.0.5672.63\chromedriver.exe"
driver = webdriver.Chrome(executable_path=chrome_driver) # 加载浏览器驱动
# driver = webdriver.Chrome(service = Service("D:\python\chubanshe\geckodriver.exe")) # 加载浏览器驱动
# driver.get('http://www.nmc.cn/publish/precipitation/1-day.html') # 打开页面
driver.get('http://www.nmc.cn/publish/precipitation/1-7day-precipitation.html')
time.sleep(3)
# 模拟鼠标选择高度层
try:
for z in level:
button1 = driver.find_element_by_link_text(z) # 通过link文字精确定位元素
action = ActionChains(driver).move_to_element(button1) # 鼠标悬停在一个元素上
action.click(button1).perform() # 鼠标单击
# time.sleep(1)
for p in range(7): # 下载最近6个时次的天气图
str_p = str(p)
if p > 0:
# 模拟鼠标选择时间
button2 = driver.find_element_by_id('next') # 通过id精确定位元素
action = ActionChains(driver).move_to_element(button2) # 鼠标悬停在一个元素上
action.click(button2).perform() # 鼠标单击
time.sleep(3)
# 模拟鼠标选择图片
elem_pic = driver.find_element_by_id('imgpath') # 通过id精确定位元素
action = ActionChains(driver).move_to_element(elem_pic)
# action.context_click(elem_pic).perform() #鼠标右击
filename0 = str(elem_pic.get_attribute('src')).split('/')[-1].split('?')[0] # 获取文件名
filename = filename0[36:44] + '-day' + str(int(filename0[48:51])//24) + filename0[-4:]
# print(filename)
# 获取图片src
src1 = elem_pic.get_attribute('src')
save_path = save_map_path + '/' + filename0[36:40] + '/' + filename0[40:44] + '/'
save_git = save_git_path + '/' + filename0[36:40] + '/' + filename0[40:44] + '/CMA/'
# 保存7天预报结果
if os.path.exists(save_path) is not True:
os.makedirs(save_path)
# git上传3天预报结果
if os.path.exists(save_git) is not True:
os.makedirs(save_git)
urllib.request.urlretrieve(src1, save_path + filename)
# if p<3:
# urllib.request.urlretrieve(src1, save_git + filename)
print(filename)
time.sleep(3)
except:
print("爬取结果失败!!!")
driver.quit()
if __name__ == "__main__":
get_picture()
time.sleep(10)
# 判断爬取结果是否完整
save_path = "D:/tmp/中央气象台-降水预报/"
time_tick = datetime.datetime.now().strftime("%Y%m%d")
year = time_tick[0:4]
mon = time_tick[4:6]
day = time_tick[6:8]
pic_path = os.path.join(save_path+year, mon+day)
pic_list = os.listdir(pic_path)
# 如果爬取结果不是7天,则再爬取一次,一共三次机会
flag = 1
if (len(pic_list) != 7) and (flag < 3):
time.sleep(60)
get_picture()
flag += 1
elif (len(pic_list) != 7) and (flag >= 3):
print("尝试爬取三次,但都失败了")
else:
print("爬取成功,图片已保存!")
3、windows定时任务
依据下列步骤,在windows中指定定时任务,保持电脑一直在线,即可每日自动获取相应的预报结果。
- 打开任务计划程序:在开始菜单中搜索"任务计划程序"并打开它。
- 创建新任务:在任务计划程序窗口中,点击左侧的"创建基本任务",进入任务创建向导。
- 命名和描述任务:在第一个页面上,输入任务的名称和描述,然后点击"下一步"。
- 设置触发器:在下一个页面上,选择触发任务的条件,如"每天"、“每周”、“每月"等,然后点击"下一步”。
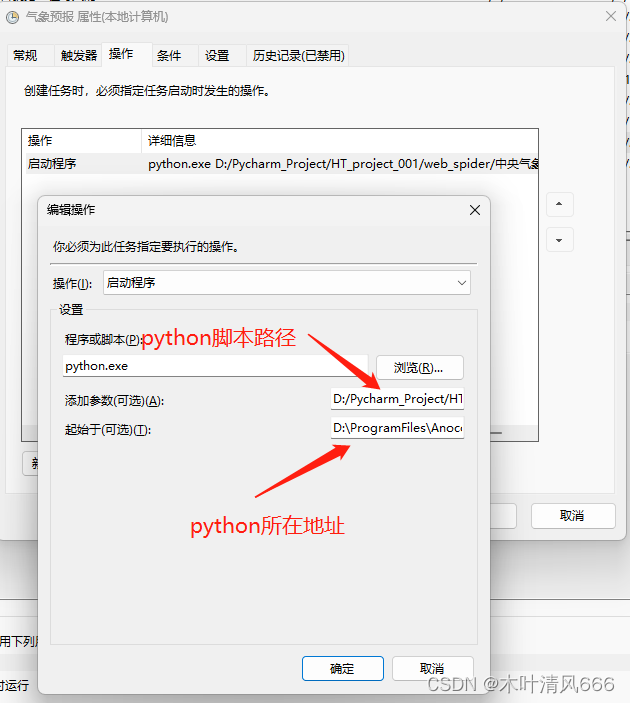
- 设置操作:在下一个页面上,选择要执行的操作,如运行某个程序、打开某个文件等,然后点击"下一步"。
- 配置任务:在下一个页面上,根据需要设置任务的附加选项,如启动时是否显示窗口、是否需要管理员权限等,然后点击"下一步"。
- 完成设置:在最后一页上,确认你所设置的任务配置,然后点击"完成"。