我们利用 SpringMVC 中的 MultipartFile 来进行文件上传作业
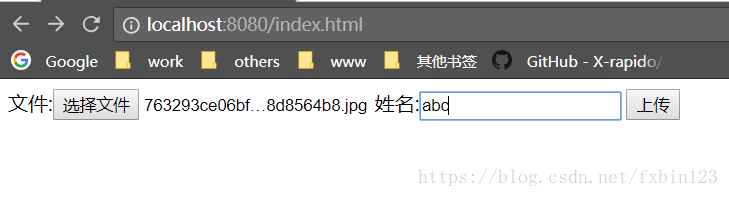
前端代码(因为最近一直做的是前后端分离,前端写的有点丑,勿怪~~~):
<!DOCTYPE html>
<html lang="en">
<head>
    <meta charset="UTF-8">
    <title>文件上传</title>
</head>
<body>
<form enctype="multipart/form-data" method="post" action="/file/upload">
    文件:<input type="file" name="file"/>
    姓名:<input type="text" name="name"/>
    <input type="submit" value="上传"/>
</form>
</body>
</html>
后端实现:
package com.fxbin123.controller;
import com.alibaba.fastjson.JSONObject;
import org.springframework.web.bind.annotation.GetMapping;
import org.springframework.web.bind.annotation.RequestMapping;
import org.springframework.web.bind.annotation.RequestParam;
import org.springframework.web.bind.annotation.RestController;
import org.springframework.web.multipart.MultipartFile;
import javax.servlet.http.HttpServletRequest;
import java.io.File;
import java.io.IOException;
import java.util.HashMap;
import java.util.Map;
import java.util.UUID;
/**
* Created with IntelliJ IDEA.
* User: fxbin
* Date: 2018/5/30
* Time: 5:43
* Description:
*/
@RestController
@RequestMapping("/file")
public class FileController {
private final static String filePath = "D://data/";
@RequestMapping("/upload")
public JSONObject upload(@RequestParam("file") MultipartFile file, HttpServletRequest request){
JSONObject result = new JSONObject();
// 姓名
String name = request.getParameter("name");
System.out.println("姓名:" + name);
// 文件名
String fileName = file.getOriginalFilename();
System.out.println("文件名: " + fileName);
// 文件后缀
String suffixName = fileName.substring(fileName.lastIndexOf("."));
System.out.println("文件后缀名: " + suffixName);
// 重新生成唯一文件名,用于存储数据库
String newFileName = UUID.randomUUID().toString()+suffixName;
System.out.println("新的文件名: " + newFileName);
//创建文件
File dest = new File(filePath + newFileName);
Map map = new HashMap();
map.put("filePath", dest.getAbsolutePath());
map.put("name", name);
try {
file.transferTo(dest);
result.put("success", true);
result.put("data", map);
return result;
} catch (IOException e) {
e.printStackTrace();
}
return (JSONObject) result.put("success", false);
}
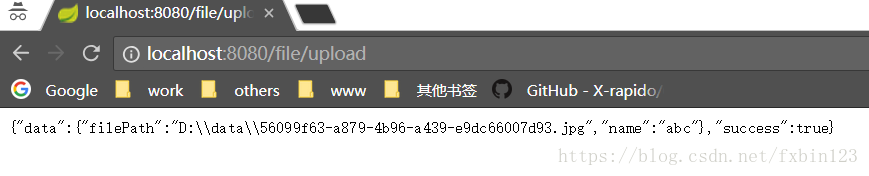
}接下来简单测试一下:
然而,,,哦啊,,,报错了(尴尬了)。。。

原来是我D 盘 没有data 目录,创建之,再来一次,成功,同时打印出了我们的期望值
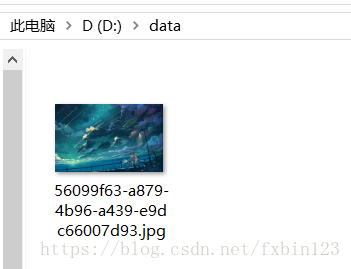
看下D盘 data 目录,我们上传的图片已经静静的躺在了那里~~~
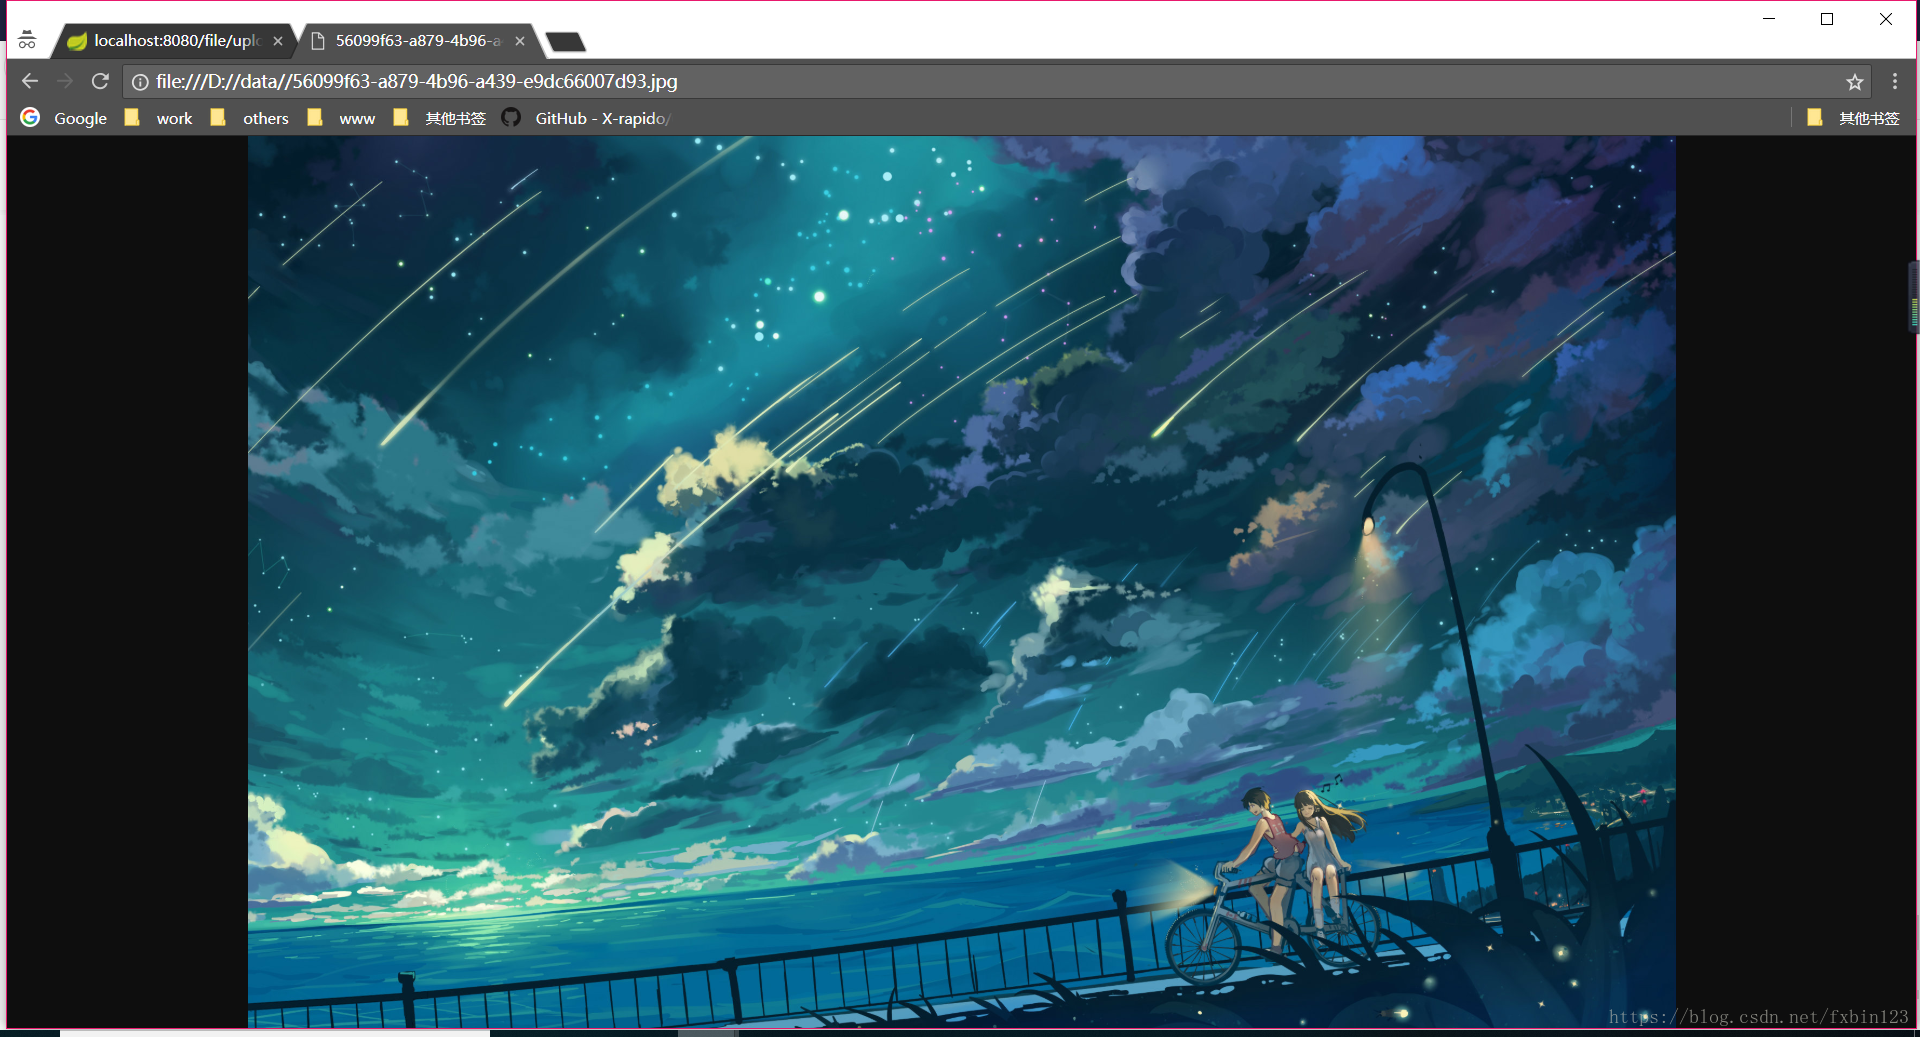
使用返回的文件路径,同样可以查看已经上传的图片
当然了,在实际开发中,我们需要上传的文件大小做限制,这里我们在 application.yml 中通过配置的方式 限制上传大小为 100kb
spring:
  servlet:
    multipart:
      max-file-size: 100kb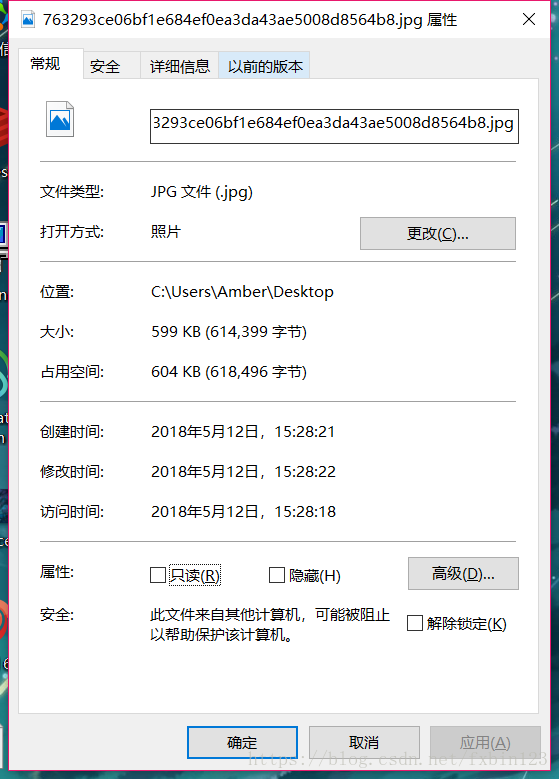
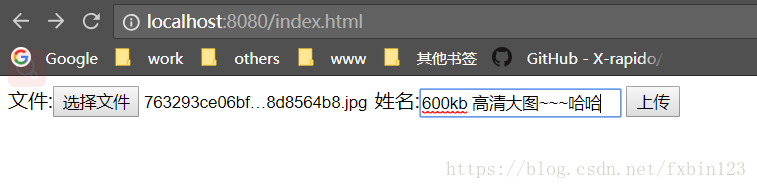
我们就上传这张 600kb 的图片,看看会如何。。。
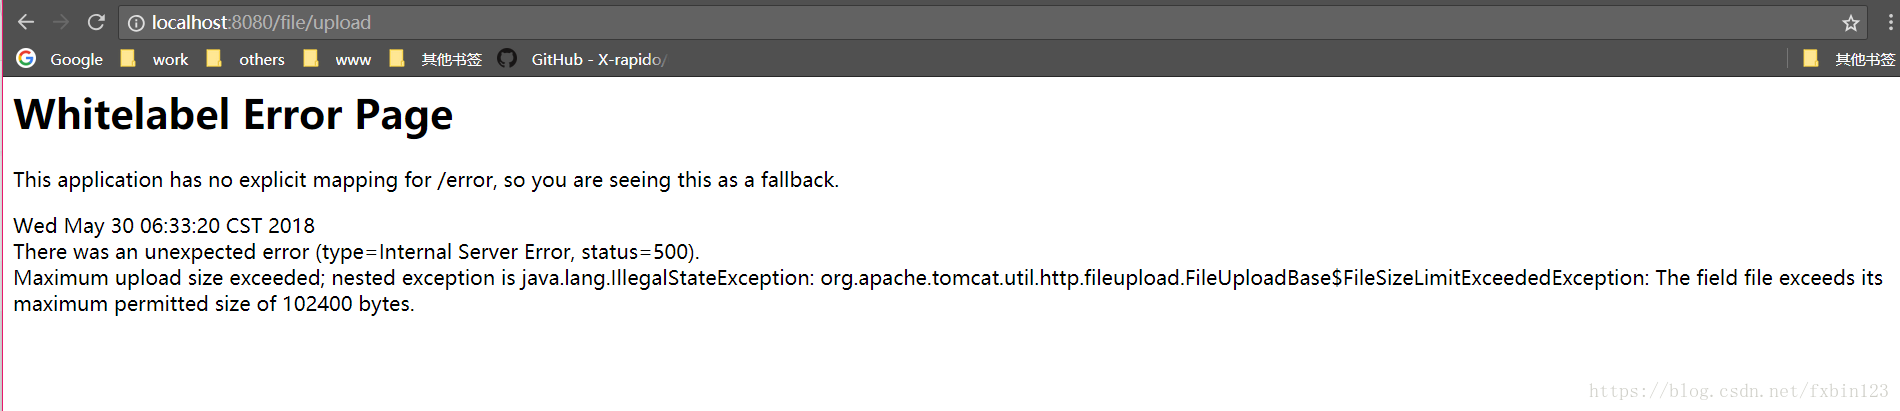
果然,不能太嚣张啊,这张图片有点嚣张,被成功的拦截了。。。浏览器返回的信息告诉我们最大限制是 100kb ,与我们的期望相符,当然了,对文件大小的限制不止这一种方法,
还可以通过 直接获取 上传文件的大小, ex:
file.getSize();
# 在代码中对上传的文件大小做限制
或者在 Application 类中 注册MultiPartConfigElement 的方式
package com.fxbin123;

import org.springframework.boot.SpringApplication;
import org.springframework.boot.autoconfigure.SpringBootApplication;
import org.springframework.boot.web.servlet.MultipartConfigFactory;
import org.springframework.context.annotation.Bean;

import javax.servlet.MultipartConfigElement;

/**
 * Created with IntelliJ IDEA.
 * User: fxbin
 * Date: 2018/5/22
 * Time: 23:06
 * Description:
 */
@SpringBootApplication
public class Application {

    public static void main(String[] args) throws Exception {
        SpringApplication.run(Application.class, args);
    }

    @Bean
    public MultipartConfigElement multipartConfigElement() {
        MultipartConfigFactory factory = new MultipartConfigFactory();
        //单个文件最大   KB,MB
        factory.setMaxFileSize("100KB");
        /// 设置总上传数据总大小
        factory.setMaxRequestSize("1024000KB");
        return factory.createMultipartConfig();
    }

}
在此就不一一进行叙述,有兴趣的朋友可自行尝试