Spring Boot 与 Thymeleaf模板引擎集成
(一)介绍
SpringBoot默认不支持jsp,默认使用thymeleaf模板引擎。thymeleaf类似于Velocity、Freemarker的模板引擎,这里不详细介绍thymeleaf的具体语法和使用,以后有时间会详细介绍它的,下面主要介绍它与springboot的集成。
(二)步骤
1.添加依赖
在pom.xml下添加:
<dependency>
   <groupId>org.springframework.boot</groupId>
   <artifactId>spring-boot-starter-thymeleaf</artifactId>
</dependency>
注意:spring-boot-starter-thymeleaf包下已经包括了spring-boot-starter-web,所以可以把spring-boot-starter-web的依赖去掉
2. 配置属性
其实不用配置什么属性就可以使用thymeleaf模板引擎的。
一些配置选项(application.properties):
#thymelea模板配置
spring.thymeleaf.prefix=classpath:/templates/
spring.thymeleaf.suffix=.html
spring.thymeleaf.mode=HTML5
spring.thymeleaf.encoding=UTF-8
spring.thymeleaf.content-type=text/html
spring.thymeleaf.cache=false
spring.resources.chain.strategy.content.enabled=true
spring.resources.chain.strategy.content.paths=/**
关键一点配置(关闭缓存,更新文件页面不会因为缓存,得不到及时刷新的):
spring.thymeleaf.cache=false
3. 创建模板文件
扫描二维码关注公众号,回复:
1633698 查看本文章

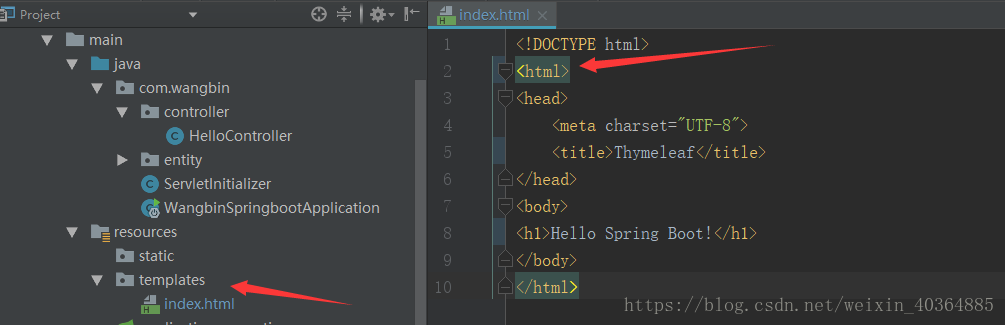
在resouces的templates目录下创建模板文件以.html结尾的。
注意:在新建模板文件的话,我第一次直接选择新建html文件时,结果运行不成功:
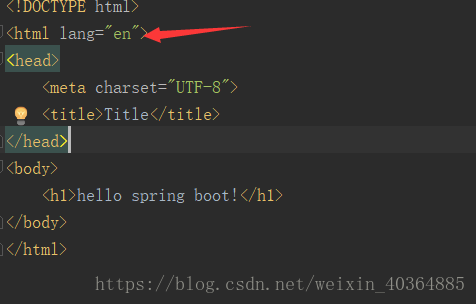
后来去掉lang="en",就好了,但是后来又加上却又可以成功,不知道什么原因。
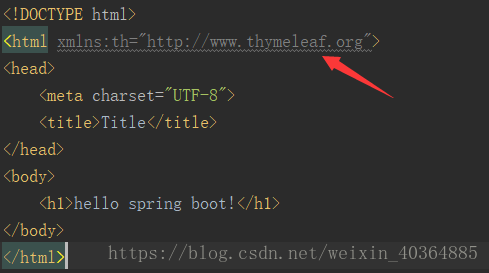
网上说:Thymeleaf文件需要添加命名空间
xmlns:th="http://www.thymeleaf.org"
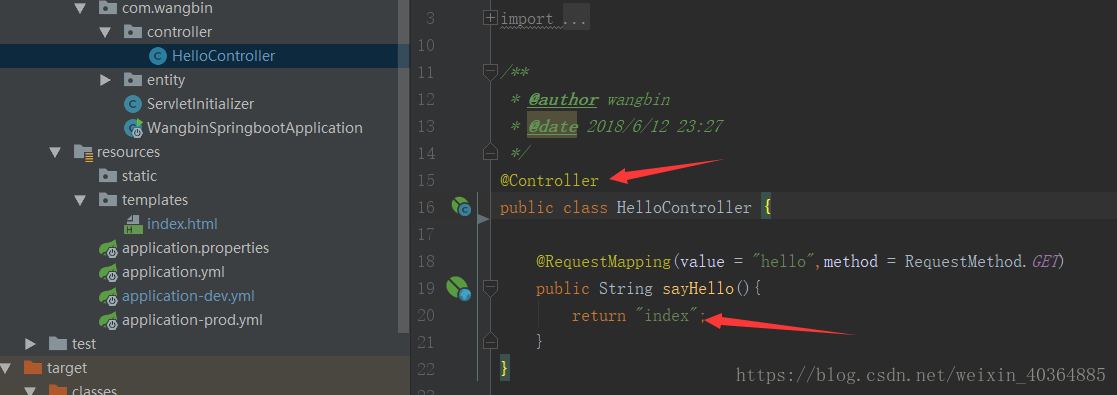
4. 创建测试Controller类路由路径(跟普通Controller层没有区别)
5. 运行程序
在浏览器输入localhost:8080/hello,会出现如下效果,表示springboot+Thymeleaf集成成功了。恭喜您!
