springboot实现邮件发送功能:
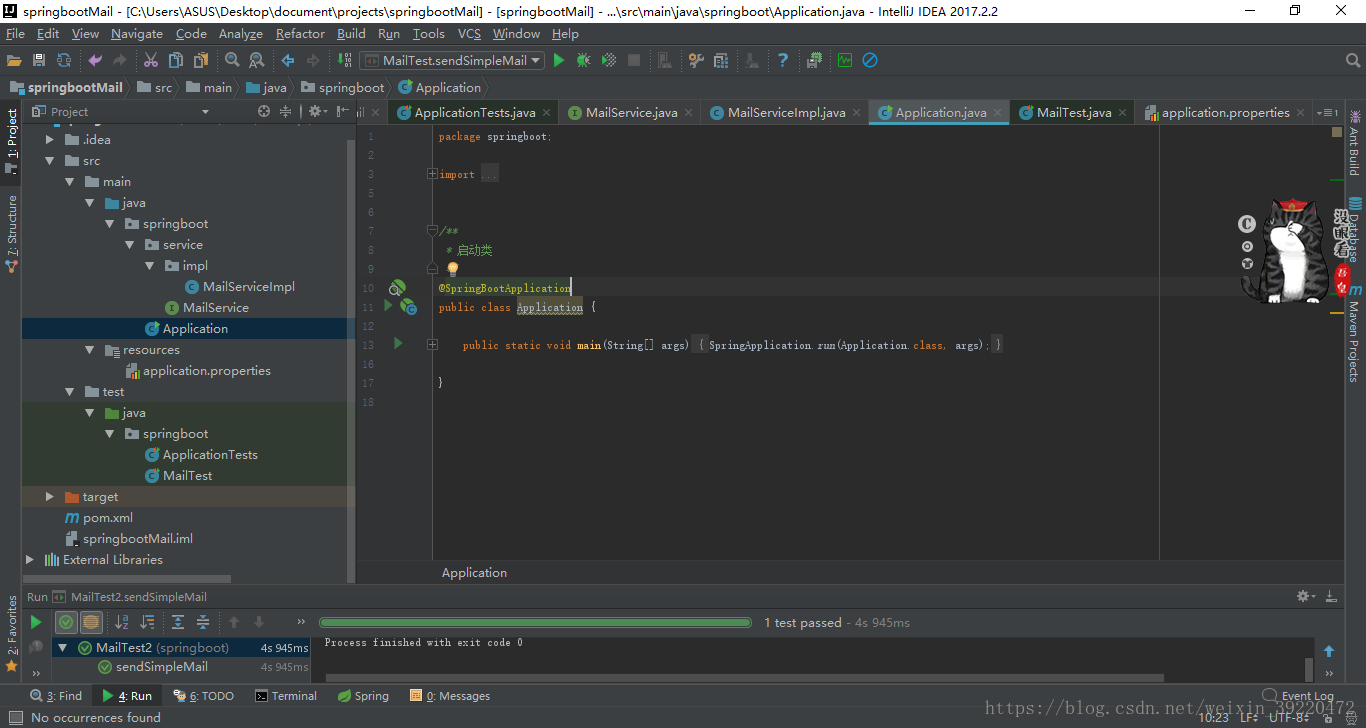
1.整体目录结构:
2.新建一个springboot项目:在pom.xml添加依赖:
<parent>
  <groupId>org.springframework.boot</groupId>
  <artifactId>spring-boot-starter-parent</artifactId>
  <version>2.0.1.RELEASE</version>
</parent>

<properties>
  <project.build.sourceEncoding>UTF-8</project.build.sourceEncoding>
  <java.version>1.8</java.version>
</properties>

<dependencies>
  <dependency>
    <groupId>org.springframework.boot</groupId>
    <artifactId>spring-boot-starter</artifactId>
  </dependency>

  <dependency>
    <groupId>org.springframework.boot</groupId>
    <artifactId>spring-boot-starter-mail</artifactId>
  </dependency>

  <dependency>
    <groupId>org.springframework.boot</groupId>
    <artifactId>spring-boot-starter-test</artifactId>
    <scope>test</scope>
  </dependency>

</dependencies>
3.在resources文件目录下写application.properties配置文件如下:
spring.application.name=spirng-boot-mail spring.mail.host=smtp.qq.com spring.mail.username=[email protected] spring.mail.password=授权码 spring.mail.default-encoding=UTF-8 mail.fromMail.addr=[email protected] //表明发送者(可以不写,个人喜好) //如果不加下面3句,会报530错误 spring.mail.properties.mail.smtp.auth=true spring.mail.properties.mail.smtp.starttls.enable=true spring.mail.properties.mail.smtp.starttls.required=true记得在qq邮箱,设置-》账户-》POP3/IMAP/SMTP/Exchange/CardDAV/CalDAV服务开启pop3/smtp服务,获得授权码。

4.编写发送邮件服务接口,实现发送邮件功能:
/**
 * 邮件服务接口
 * Created by ASUS on 2018/5/5
 *
 * @Authod Grey Wolf
 */
public interface MailService {

    /**
     * 发送简单邮件
     * @param to
     * @param subject
     * @param content
     */
    void sendMail(String to,String subject,String content);
}
/**
 *
 * 邮件服务类
 * Created by ASUS on 2018/5/5
 *
 * @Authod Grey Wolf
 */

@Service("mailService")
public class MailServiceImpl implements MailService {

    @Autowired
    private JavaMailSender mailSender;

//读取application.properties的内容
  @Value("${mail.fromMail.addr}")
    private String form;
    /**
     * 发送简单邮件
     * @param to 接受者
     * @param subject 主题
     * @param content 内容
     */
    @Override
    public void sendMail(String to, String subject, String content) {
        SimpleMailMessage mailMessage=new SimpleMailMessage();
        mailMessage.setFrom(form);//发起者
        mailMessage.setTo(to);//接受者

    //如果发给多个人的:
    //mailMessage.setTo("1xx.com","2xx.com","3xx.com");
        mailMessage.setSubject(subject);
        mailMessage.setText(content);
        try {
            mailSender.send(mailMessage);
            System.out.println("发送简单邮件");
        }catch (Exception e){
            System.out.println("发送简单邮件失败");
        }
    }
}
5.编写邮件测试类:
/**
 * 发送邮件测试类
 * Created by ASUS on 2018/5/5
 *
 * @Authod Grey Wolf
 */
@RunWith(SpringRunner.class)
@SpringBootTest
public class MailTest {

    @Autowired
    private MailService mailService;

    @Value("${mail.fromMail.addr}")
    private String form;

    @Test
    public  void sendSimpleMail() throws Exception{
        mailService.sendMail(form,"简单邮件","springboot实现邮件发送");
    }
}
6.记得在根目录下编写个springboot的启动类,如果没写的,会报错哦。
/**
 * 启动类
 */
@SpringBootApplication
public class Application {

   public static void main(String[] args) {
      SpringApplication.run(Application.class, args);
   }

}
7.run测试类MailTest:,查看结果:

我的座右铭:不会,我可以学;落后,我可以追赶;跌倒,我可以站起来;我一定行。