目录
1. 说明
本篇文章是对上篇文章训练的模型进行测试。首先是将训练好的模型进行重新加载,然后采用opencv对图片进行加载,最后将加载好的图片输送给模型并且显示结果。
2. fashion_mnist的ANN模型测试
2.1 导入相关库
在这里导入需要的第三方库如cv2,如果没有,则需要自行下载。
from tensorflow import keras
import skimage, os, sys, cv2
from PIL import ImageFont, Image, ImageDraw  # PIL就是pillow包(保存图像)
import numpy as np
# 导入tensorflow
import tensorflow as tf
# 导入keras
from tensorflow import keras
from keras.datasets import fashion_mnist
2.2 加载数据和模型
把fashion_mnist数据集进行加载,并且把训练好的模型也加载进来。
# fashion数据集列表
class_names = ['T-shirt/top', 'Trouser', 'Pullover', 'Dress', 'Coat',
               'Sandal', 'Shirt', 'Sneaker', 'Bag', 'Ankle boot']
# 加载fashion数据
(x_train, y_train), (x_test, y_test) = fashion_mnist.load_data()
# 加载ann_mnist.h5文件,重新生成模型对象
recons_model = keras.models.load_model('ann_fashion.h5')
2.3 设置保存图片的路径
将数据集的某个数据以图片的形式进行保存,便于测试的可视化。
在这里设置图片存储的位置。
# 创建图片保存路径
test_file_path = os.path.join(sys.path[0], 'imgs', 'test100.png')
# 存储测试数据的任意一个
Image.fromarray(x_test[100]).save(test_file_path)
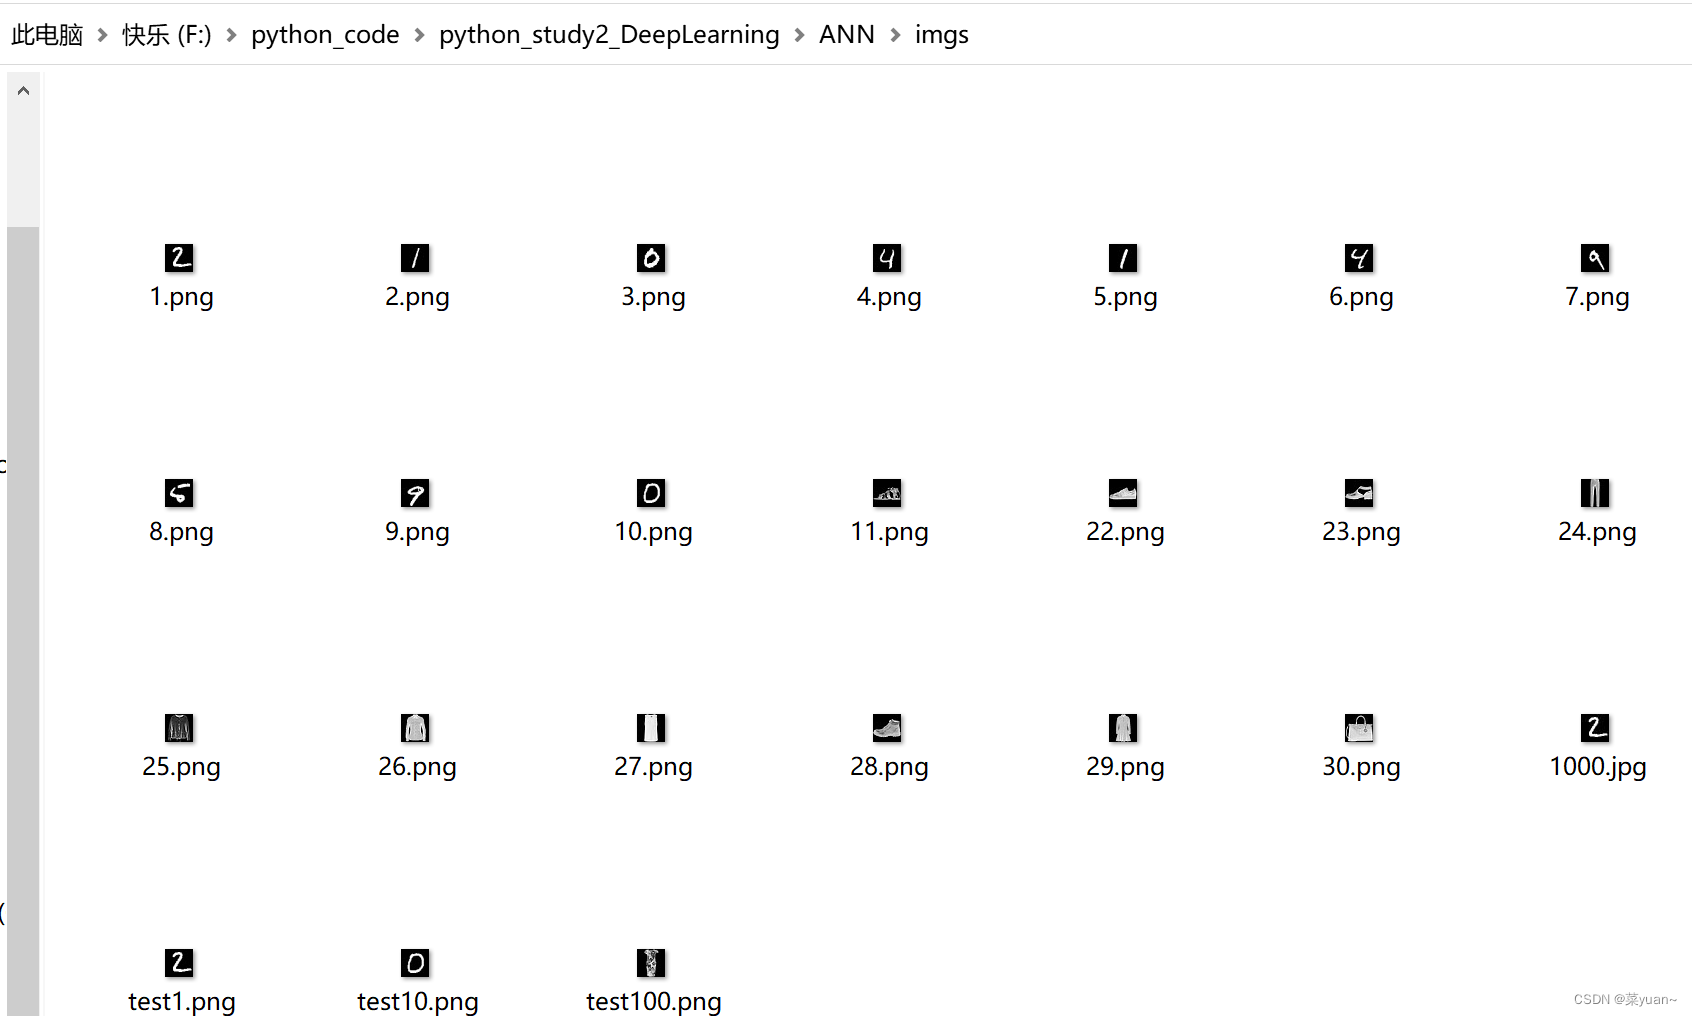
在书写完上述代码后,需要在代码的当前路径下新建一个imgs的文件夹用于存储图片,如下。
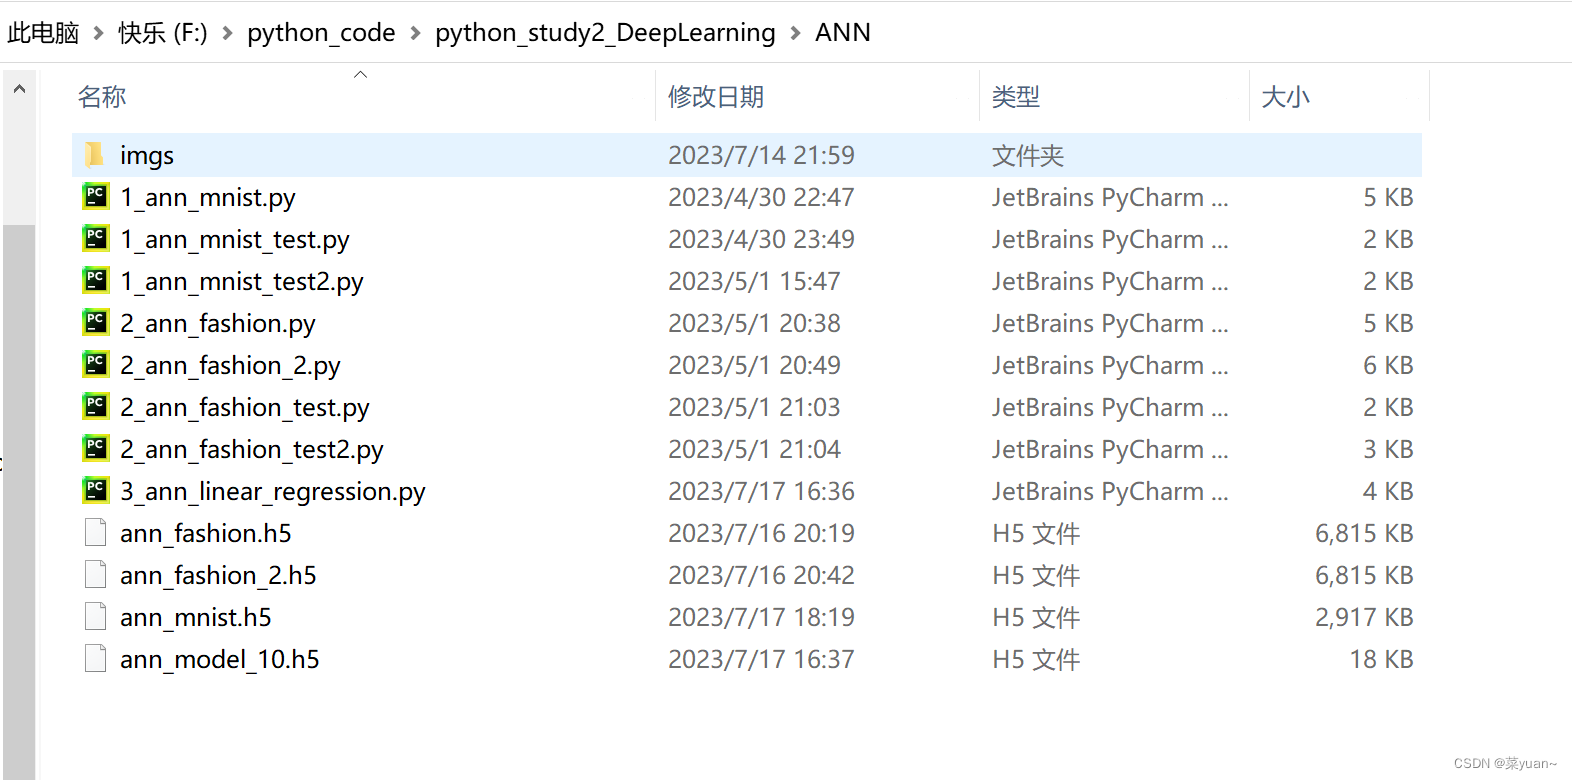
执行完上述代码后就会在imgs的文件中可以发现多了一张图片,如下(下面测试了很多次)。
2.4 加载图片
采用cv2对图片进行加载,下面最后一行代码取一个通道的原因是用opencv库也就是cv2读取图片的时候,图片是三通道的,而训练的模型是单通道的,因此取单通道。
# 加载本地test.png图像
image = cv2.imread(test_file_path)
# 复制图片
test_img = image.copy()
# 将图片大小转换成(28,28)
test_img = cv2.resize(test_img, (28, 28))
# 取单通道值
test_img = test_img[:, :, 0]
2.5 图片预处理
对图片进行预处理,即进行归一化处理和改变形状处理,这是为了便于将图片输入给训练好的模型进行预测。
# 预处理: 归一化 + reshape
new_test_img = (test_img/255.0).reshape(1, 784)
2.6 对图片进行预测
将图片输入给训练好我的模型并且进行预测。
预测的结果是10个概率值,所以需要进行处理, np.argmax()是得到概率值最大值的序号,也就是预测的数字。
# 预测
y_pre_pro = recons_model.predict(new_test_img, verbose=1)
y_pre_pro = tf.nn.softmax(y_pre_pro)  # 因为模型搭建的时候,输出层没有激活函数softmax,因此这里需要使用softmax
# 哪一类数字
class_id = np.argmax(y_pre_pro, axis=1)[0]
print('test.png的预测概率:', y_pre_pro)
print('test.png的预测概率:', y_pre_pro[0, class_id])
print('test.png的所属类别:', class_names[class_id])
text = str(class_names[class_id])
2.7 显示图片
对预测的图片进行显示,把预测的数字显示在图片上。
下面5行代码分别是创建窗口,设定窗口大小,显示图片,停留图片,清除内存。
# # 显示
cv2.namedWindow('img', 0)
cv2.resizeWindow('img', 500, 500)  # 自己设定窗口图片的大小
cv2.imshow('img', image)
cv2.waitKey()
cv2.destroyAllWindows()
3. 完整代码和显示结果
以下是完整的代码和图片显示结果。
from tensorflow import keras
import skimage, os, sys, cv2
from PIL import ImageFont, Image, ImageDraw  # PIL就是pillow包(保存图像)
import numpy as np
# 导入tensorflow
import tensorflow as tf
# 导入keras
from tensorflow import keras
from keras.datasets import fashion_mnist
# fashion数据集列表
class_names = ['T-shirt/top', 'Trouser', 'Pullover', 'Dress', 'Coat',
               'Sandal', 'Shirt', 'Sneaker', 'Bag', 'Ankle boot']
# 加载fashion数据
(x_train, y_train), (x_test, y_test) = fashion_mnist.load_data()
# 加载ann_mnist.h5文件,重新生成模型对象
recons_model = keras.models.load_model('ann_fashion.h5')
# 创建图片保存路径
test_file_path = os.path.join(sys.path[0], 'imgs', 'test100.png')
# 存储测试数据的任意一个
Image.fromarray(x_test[100]).save(test_file_path)
# 加载本地test.png图像
image = cv2.imread(test_file_path)
# 复制图片
test_img = image.copy()
# 将图片大小转换成(28,28)
test_img = cv2.resize(test_img, (28, 28))
# 取单通道值
test_img = test_img[:, :, 0]
# 预处理: 归一化 + reshape
new_test_img = (test_img/255.0).reshape(1, 784)
# 预测
y_pre_pro = recons_model.predict(new_test_img, verbose=1)
y_pre_pro = tf.nn.softmax(y_pre_pro)  # 因为模型搭建的时候,输出层没有激活函数softmax,因此这里需要使用softmax
# 哪一类数字
class_id = np.argmax(y_pre_pro, axis=1)[0]
print('test.png的预测概率:', y_pre_pro)
print('test.png的预测概率:', y_pre_pro[0, class_id])
print('test.png的所属类别:', class_names[class_id])
text = str(class_names[class_id])
# # 显示
cv2.namedWindow('img', 0)
cv2.resizeWindow('img', 500, 500)  # 自己设定窗口图片的大小
cv2.imshow('img', image)
cv2.waitKey()
cv2.destroyAllWindows()
To enable them in other operations, rebuild TensorFlow with the appropriate compiler flags.
1/1 [==============================] - 0s 224ms/step
test.png的预测概率: tf.Tensor(
[[1.3604405e-02 4.0369225e-04 4.1837210e-04 9.8322290e-01 1.0399223e-04
1.5519042e-07 2.2383246e-03 8.2791501e-10 8.1014296e-06 1.0210023e-08]], shape=(1, 10), dtype=float32)
test.png的预测概率: tf.Tensor(0.9832229, shape=(), dtype=float32)
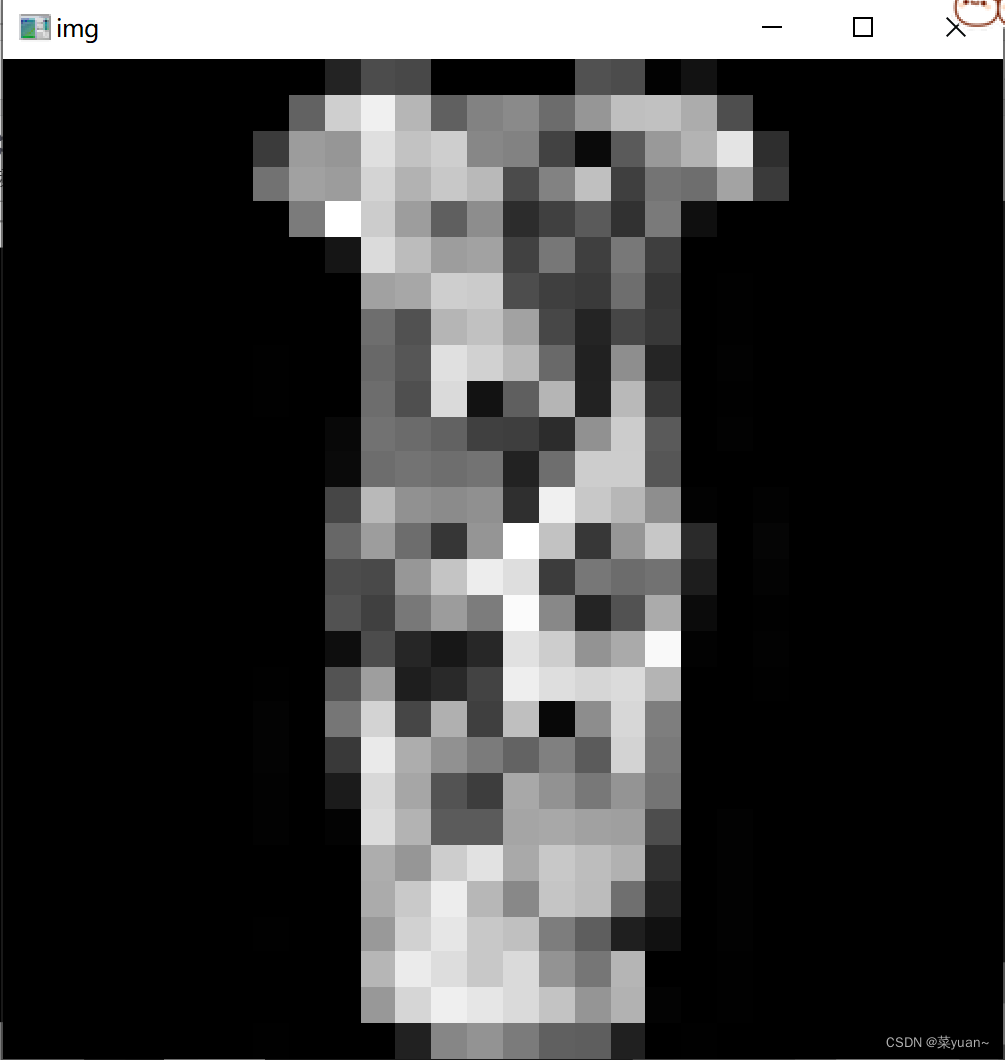
test.png的所属类别: Dress
4. 多张图片进行测试的完整代码以及结果
为了测试更多的图片,引入循环进行多次测试,效果更好。
from tensorflow import keras
import skimage, os, sys, cv2
from PIL import ImageFont, Image, ImageDraw # PIL就是pillow包(保存图像)
import numpy as np
# 导入tensorflow
import tensorflow as tf
# 导入keras
from tensorflow import keras
from keras.datasets import fashion_mnist
# fashion数据集列表
class_names = ['T-shirt/top', 'Trouser', 'Pullover', 'Dress', 'Coat',
'Sandal', 'Shirt', 'Sneaker', 'Bag', 'Ankle boot']
# 加载fashion_mnist数据
(x_train, y_train), (x_test, y_test) = fashion_mnist.load_data()
# 加载ann_fashion.h5文件,重新生成模型对象
recons_model = keras.models.load_model('ann_fashion.h5')
prepicture = int(input("input the number of test picture :"))
for i in range(prepicture):
path1 = input("input the test picture path:")
# 创建图片保存路径
test_file_path = os.path.join(sys.path[0], 'imgs', path1)
# 存储测试数据的任意一个
num = int(input("input the test picture num:"))
Image.fromarray(x_test[num]).save(test_file_path)
# 加载本地test.png图像
image = cv2.imread(test_file_path)
# 复制图片
test_img = image.copy()
# 将图片大小转换成(28,28)
test_img = cv2.resize(test_img, (28, 28))
# 取单通道值
test_img = test_img[:, :, 0]
# 预处理: 归一化 + reshape
new_test_img = (test_img/255.0).reshape(1, 784)
# 预测
y_pre_pro = recons_model.predict(new_test_img, verbose=1)
y_pre_pro = tf.nn.softmax(y_pre_pro) # 因为模型搭建的时候,输出层没有激活函数softmax,因此这里需要使用softmax
# 哪一类数字
class_id = np.argmax(y_pre_pro, axis=1)[0]
print('test.png的预测概率:', y_pre_pro)
print('test.png的预测概率:', y_pre_pro[0, class_id])
print('test.png的所属类别:', class_names[class_id])
text = str(class_names[class_id])
# # 显示
cv2.namedWindow('img', 0)
cv2.resizeWindow('img', 500, 500) # 自己设定窗口图片的大小
cv2.imshow('img', image)
cv2.waitKey()
cv2.destroyAllWindows()
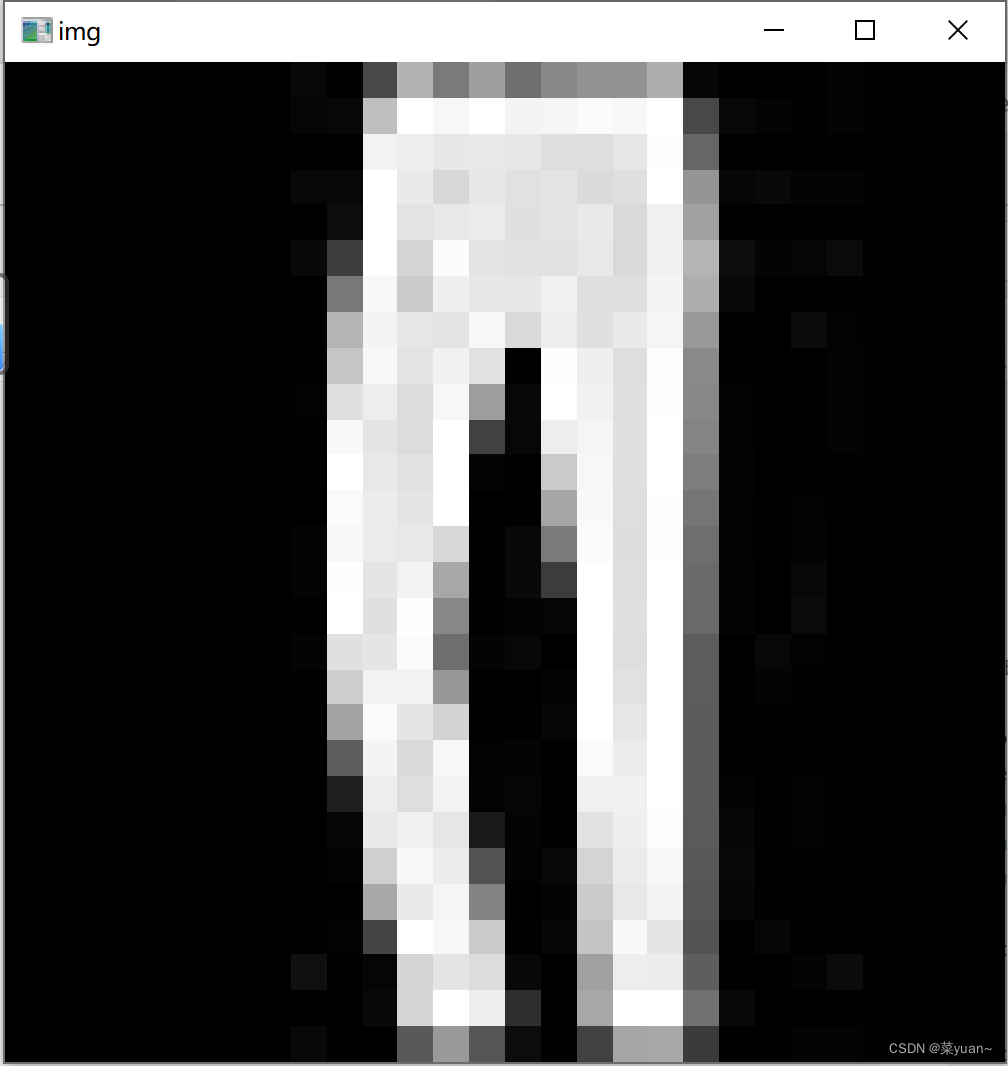
下面的test picture num指的是数据集中该数据的序号(0-59999),并不是值实际的数字。
```python
To enable them in other operations, rebuild TensorFlow with the appropriate compiler flags.
input the number of test picture :2
input the test picture path:71.jpg
input the test picture num:2
1/1 [==============================] - 0s 176ms/step
test.png的预测概率: tf.Tensor(
[[5.1171044e-20 1.0000000e+00 1.0369056e-20 3.2896547e-11 1.0296870e-15
3.9021204e-35 1.4200611e-16 0.0000000e+00 3.1272054e-24 3.7608996e-36]], shape=(1, 10), dtype=float32)
test.png的预测概率: tf.Tensor(1.0, shape=(), dtype=float32)
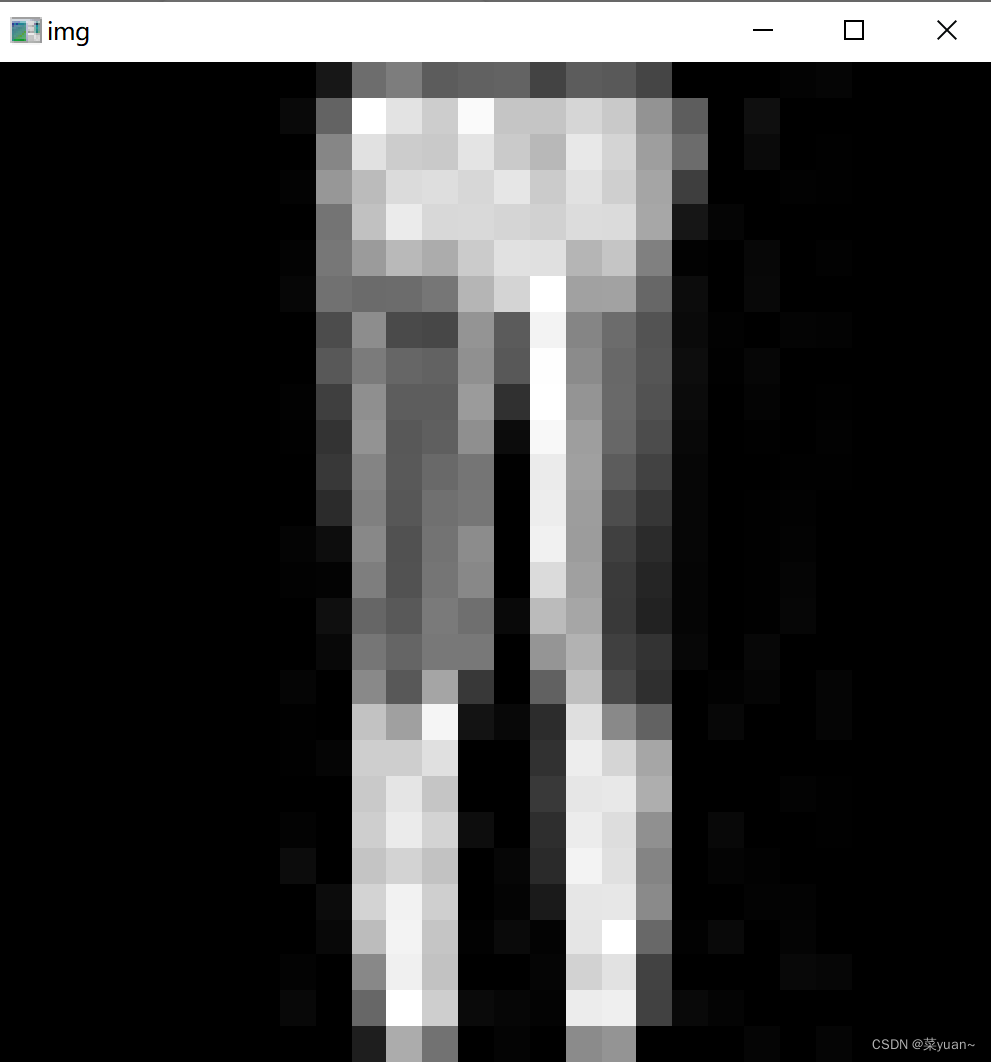
test.png的所属类别: Trouser
input the test picture path:72.jpg
input the test picture num:3
1/1 [==============================] - 0s 32ms/step
test.png的预测概率: tf.Tensor(
[[2.8700330e-18 1.0000000e+00 5.2245058e-19 7.1288919e-10 3.2442375e-14
  2.9884308e-32 3.5976920e-15 2.7016272e-38 3.2129908e-22 3.0112130e-33]], shape=(1, 10), dtype=float32)
test.png的预测概率: tf.Tensor(1.0, shape=(), dtype=float32)
test.png的所属类别: Trouser