目录
1. 说明
本篇文章是对上篇文章训练的模型进行测试。首先是将训练好的模型进行重新加载,然后采用opencv对图片进行加载,最后将加载好的图片输送给模型并且显示结果。
2. cifar10的CNN模型测试
2.1 导入相关库
在这里导入需要的第三方库如cv2,如果没有,则需要自行下载,自行下载时候一般建议镜像源,这样下载的快。
from tensorflow import keras
import skimage, os, sys, cv2
from PIL import ImageFont, Image, ImageDraw  # PIL就是pillow包(保存图像)
import numpy as np
# 导入tensorflow
import tensorflow as tf
# 导入keras
from tensorflow import keras
from keras.datasets import cifar10
2.2 加载数据和模型
把cifar10数据集进行加载,并且把训练好的模型也加载进来,同时建立cifar10数据集列表便于最后的结果展示。
# cifar10数据集列表
class_names = ["airplane", "automobile", "bird", "cat", "deer",
               "dog", "frog", "horse", "ship", "truck"]

# 加载fashion数据
(x_train, y_train), (x_test, y_test) = cifar10.load_data()
# 加载cnn_cifar10_4.h5文件,重新生成模型对象
recons_model = keras.models.load_model('cnn_cifar10_4.h5')
2.3 设置保存图片的路径
将数据集的某个数据以图片的形式进行保存,便于测试的可视化。
在这里设置图片存储的位置,便于将图片进行存储。
# 创建图片保存路径
test_file_path = os.path.join(sys.path[0], 'imgs', 'test1000.png')
# 存储测试数据的任意一个
Image.fromarray(x_test[1000]).save(test_file_path)
在书写完上述代码后,需要在代码的当前路径下新建一个imgs的文件夹用于存储图片,如下。

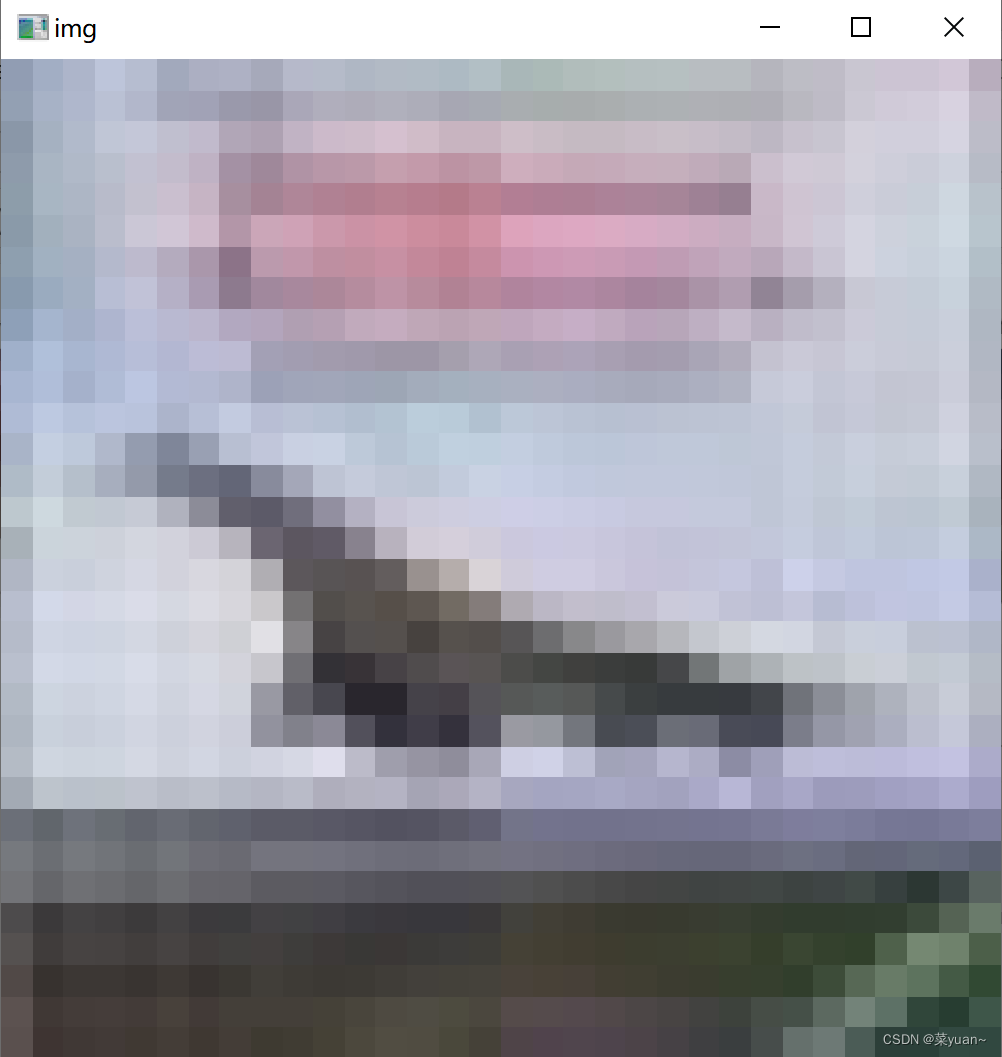
执行完上述代码后就会在imgs的文件中可以发现多了一张图片,如下(下面测试了很多次)。
2.4 加载图片
采用cv2对图片进行加载,用opencv库也就是cv2读取图片的时候,图片是三通道的,而训练的模型是三通道的,因此不只用取单通道,而是三通道,这里和之前的灰度图不同。
# 加载本地test.png图像
image = cv2.imread(test_file_path)
# 复制图片
test_img = image.copy()
# 将图片大小转换成(32,32)
test_img = cv2.resize(test_img, (32, 32))
2.5 图片预处理
对图片进行预处理,即进行归一化处理和改变形状处理,这是为了便于将图片输入给训练好的模型进行预测。
# 预处理: 归一化 + reshape
new_test_img = (test_img/255.0).reshape(1, 32, 32, 3)
2.6 对图片进行预测
将图片输入给训练好我的模型并且进行预测。
预测的结果是10个概率值,所以需要进行处理, np.argmax()是得到概率值最大值的序号,也就是预测的数字。
# 预测
y_pre_pro = recons_model.predict(new_test_img, verbose=1)
# 哪一类
class_id = np.argmax(y_pre_pro, axis=1)[0]
print('test.png的预测概率:', y_pre_pro)
print('test.png的预测概率:', y_pre_pro[0, class_id])
print('test.png的所属类别:', class_names[class_id])
2.7 显示图片
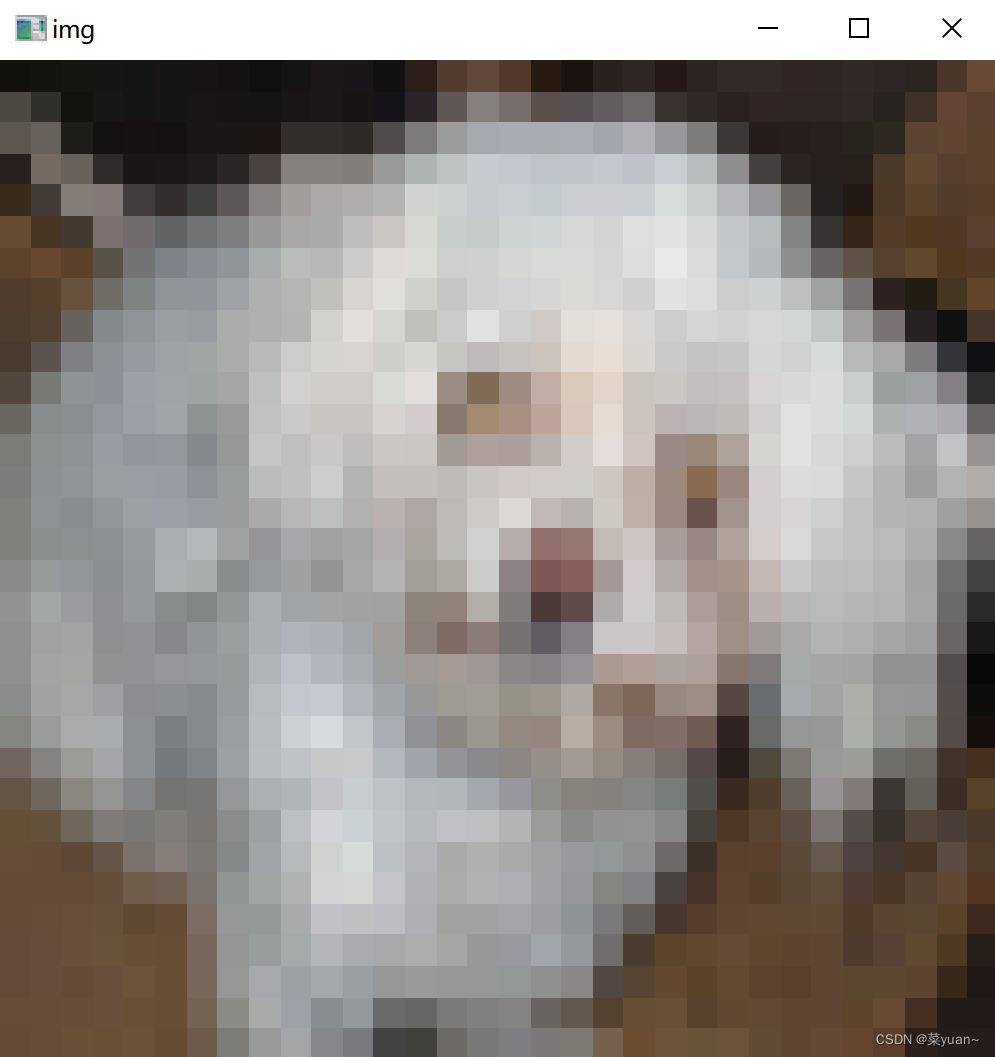
对预测的图片进行显示,把预测的数字显示在图片上。
下面5行代码分别是创建窗口,设定窗口大小,显示图片,停留图片,清除内存。
# # 显示
cv2.namedWindow('img', 0)
cv2.resizeWindow('img', 500, 500)  # 自己设定窗口图片的大小
cv2.imshow('img', image)
cv2.waitKey()
cv2.destroyAllWindows()
3. 完整代码和显示结果
以下是完整的代码和图片显示结果。
from tensorflow import keras
import skimage, os, sys, cv2
from PIL import ImageFont, Image, ImageDraw  # PIL就是pillow包(保存图像)
import numpy as np
# 导入tensorflow
import tensorflow as tf
# 导入keras
from tensorflow import keras
from keras.datasets import cifar10
# cifar10数据集列表
class_names = ["airplane", "automobile", "bird", "cat", "deer",
               "dog", "frog", "horse", "ship", "truck"]

# 加载fashion数据
(x_train, y_train), (x_test, y_test) = cifar10.load_data()
# 加载cnn_cifar10_4.h5文件,重新生成模型对象
recons_model = keras.models.load_model('cnn_cifar10_4.h5')
# 创建图片保存路径
test_file_path = os.path.join(sys.path[0], 'imgs', 'test1000.png')
# 存储测试数据的任意一个
Image.fromarray(x_test[1000]).save(test_file_path)
# 加载本地test.png图像
image = cv2.imread(test_file_path)
# 复制图片
test_img = image.copy()
# 将图片大小转换成(32,32)
test_img = cv2.resize(test_img, (32, 32))
# 预处理: 归一化 + reshape
new_test_img = (test_img/255.0).reshape(1, 32, 32, 3)
# 预测
y_pre_pro = recons_model.predict(new_test_img, verbose=1)
# 哪一类
class_id = np.argmax(y_pre_pro, axis=1)[0]
print('test.png的预测概率:', y_pre_pro)
print('test.png的预测概率:', y_pre_pro[0, class_id])
print('test.png的所属类别:', class_names[class_id])
# # 显示
cv2.namedWindow('img', 0)
cv2.resizeWindow('img', 500, 500)  # 自己设定窗口图片的大小
cv2.imshow('img', image)
cv2.waitKey()
cv2.destroyAllWindows()
To enable them in other operations, rebuild TensorFlow with the appropriate compiler flags.
1/1 [==============================] - 0s 173ms/step
test.png的预测概率: [[5.1407650e-08 1.3184264e-07 1.4382408e-05 3.0730411e-03 6.6092167e-07
  9.9690622e-01 3.4352513e-07 4.4902617e-06 5.1169474e-07 1.9515875e-07]]
test.png的预测概率: 0.9969062
test.png的所属类别: dog
4. 多张图片进行测试的完整代码以及结果
为了测试更多的图片,引入循环进行多次测试,效果更好。
from tensorflow import keras
from keras.datasets import cifar10
import skimage, os, sys, cv2
from PIL import ImageFont, Image, ImageDraw  # PIL就是pillow包(保存图像)
import numpy as np

# cifar10数据集列表
class_names = ["airplane", "automobile", "bird", "cat", "deer",
               "dog", "frog", "horse", "ship", "truck"]
# 加载mnist数据
(x_train, y_train), (x_test, y_test) = cifar10.load_data()
# 加载cnn_fashion.h5文件,重新生成模型对象
recons_model = keras.models.load_model('cnn_cifar10_4.h5')

prepicture = int(input("input the number of test picture :"))
for i in range(prepicture):
    path1 = input("input the test picture path:")
    # 创建图片保存路径
    test_file_path = os.path.join(sys.path[0], 'imgs', path1)
    # 存储测试数据的任意一个
    num = int(input("input the test picture num:"))
    Image.fromarray(x_test[num]).save(test_file_path)
    # 加载本地test.png图像
    image = cv2.imread(test_file_path)
    # 复制图片
    test_img = image.copy()
    # 将图片大小转换成(28,28)
    test_img = cv2.resize(test_img, (32, 32))
    # 预处理: 归一化 + reshape
    new_test_img = (test_img/255.0).reshape(1, 32, 32, 3)
    # 预测
    y_pre_pro = recons_model.predict(new_test_img, verbose=1)
    # 哪一类数字
    class_id = np.argmax(y_pre_pro, axis=1)[0]
    print('test.png的预测概率:', y_pre_pro)
    print('test.png的预测概率:', y_pre_pro[0, class_id])
    print('test.png的所属类别:', class_names[class_id])
    # # 显示
    cv2.namedWindow('img', 0)
    cv2.resizeWindow('img', 500, 500)  # 自己设定窗口图片的大小
    cv2.imshow('img', image)
    cv2.waitKey()
    cv2.destroyAllWindows()
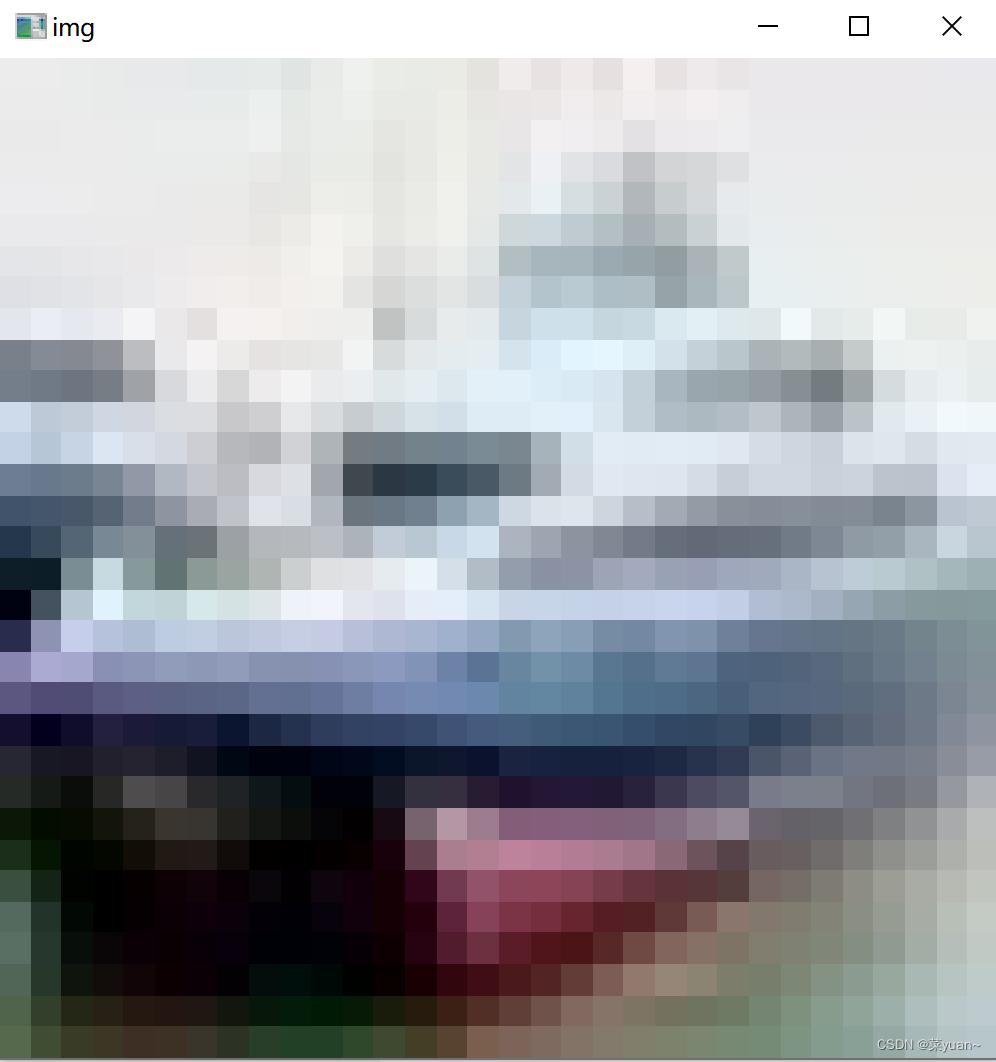
input the number of test picture :2
input the test picture path:90.jpg
input the test picture num:1
1/1 [==============================] - 0s 149ms/step
test.png的预测概率: [[1.5192369e-05 1.2153896e-03 4.3699760e-10 8.3202184e-07 6.7535249e-09
  2.5758654e-10 2.1669943e-07 7.0233480e-12 9.9875784e-01 1.0427103e-05]]
test.png的预测概率: 0.99875784
test.png的所属类别: ship
input the test picture path:91.jpg
input the test picture num:3
1/1 [==============================] - 0s 144ms/step
test.png的预测概率: [[9.3968987e-01 7.0652168e-06 8.8076144e-03 3.7453551e-04 2.6135262e-02
  9.9803242e-07 9.7372030e-08 1.5685426e-07 2.4942497e-02 4.1973537e-05]]
test.png的预测概率: 0.9396899
test.png的所属类别: airplane