目录
1. 说明
本篇文章是对上篇文章宝可梦模型训练的模型进行测试。首先是将训练好的模型进行重新加载,然后采用opencv对图片进行加载,最后将加载好的图片输送给模型并且显示结果。
2. 宝可梦模型的CNN模型测试
2.1 导入相关库
在这里导入需要的第三方库如cv2,如果没有,则需要自行下载,自行下载时候一般建议镜像源,这样下载的快。
import tensorflow as tf
from PIL import ImageFont, Image, ImageDraw
from tensorflow import keras
import cv2, os, sys
import numpy as np
label = ['妙蛙种子', '小火龙', '超梦', '皮卡丘', '杰尼龟']
2.2 加载模型
把训练好的模型也加载进来,这里不用加载数据,因为数据是自制的。
network = keras.models.load_model('my_bkm.h5')
network.summary()
2.3 设置保存图片的路径
将数据集的某个数据以图片的形式进行保存,便于测试的可视化,这里在之前已经分了测试集,因此设置图片路径即可。
在这里设置图片存储的位置,便于将图片进行存储。
path = os.path.join(sys.path[0], 'test.png')
上述代码是将test文件夹里面的test.png进行测试,如果想测试其它的只需改为x.jpg即可。
2.4 加载图片
采用cv2对图片进行加载,用opencv库也就是cv2读取图片的时候,图片是三通道的,而训练的模型是三通道的,因此不只用取单通道,而是三通道,这里和之前的灰度图不同。
image = cv2.imread(path)
img = image.copy()
img = cv2.resize(img, (96, 96))
img = cv2.cvtColor(img, cv2.COLOR_BGR2RGB)
2.5 数据处理和归一化
将输入网络的图片进行数据处理转换到0-1之间,然后进行归一化处理。
归一化后加快了梯度下降求最优解的速度,也即加快训练网络的收敛性。
def normalize(x):
    img_mean = tf.constant([0.485, 0.456, 0.406])
    img_std = tf.constant([0.229, 0.224, 0.225])
    x = (x - img_mean) / img_std
    return x


def preprocess(x):
    x = tf.expand_dims(x, axis=0)
    x = tf.cast(x, dtype=tf.float32) / 255.
    # x = normalize(x)
    return x
2.6 对图片进行预测
将图片输入给训练好我的模型并且进行预测。
因为是五分类,所以预测的结果是5个概率值,所以需要进行处理,np.argmax()是得到概率值最大值的序号,也就是预测的数字。
result = network(img)
result = tf.nn.softmax(result)
print(result)
index = tf.argmax(result, axis=-1)
print(label[int(index)])
2.7 显示图片
对预测的图片进行显示,把预测的数字显示在图片上。
下面5行代码分别是创建窗口,设定窗口大小,显示图片,停留图片,清除内存。
扫描二维码关注公众号,回复:
16159361 查看本文章

cv2.namedWindow('img', 0)
cv2.resizeWindow('img', 500, 500)   # 自己设定窗口图片的大小
#cv2.putText(image, label[int(index)], (166, 54), cv2.FONT_HERSHEY_SCRIPT_SIMPLEX, 1.2, (255, 0, 0), 2)
cv2.imshow('img', image)
cv2.waitKey()
cv2.destroyAllWindows()
3. 完整代码和显示结果
以下是完整的代码和图片显示结果。
import tensorflow as tf
from PIL import ImageFont, Image, ImageDraw
from tensorflow import keras
import cv2, os, sys
import numpy as np
label = ['妙蛙种子', '小火龙', '超梦', '皮卡丘', '杰尼龟']

network = keras.models.load_model('my_bkm.h5')
network.summary()
path = os.path.join(sys.path[0], 'test.png')
image = cv2.imread(path)
img = image.copy()
img = cv2.resize(img, (96, 96))
img = cv2.cvtColor(img, cv2.COLOR_BGR2RGB)


def show_chinese(img,text,pos):
    img_pil = Image.fromarray(cv2.cvtColor(img, cv2.COLOR_BGR2RGB))
    font = ImageFont.truetype(font='msyh.ttc', size=36)
    draw = ImageDraw.Draw(img_pil)
    draw.text(pos, text, font=font, fill=(255, 0, 0))  # PIL中RGB=(255,0,0)表示红色
    img_cv = np.array(img_pil)                         # PIL图片转换为numpy
    img = cv2.cvtColor(img_cv, cv2.COLOR_RGB2BGR)      # PIL格式转换为OpenCV的BGR格式
    return img


def normalize(x):
    img_mean = tf.constant([0.485, 0.456, 0.406])
    img_std = tf.constant([0.229, 0.224, 0.225])
    x = (x - img_mean) / img_std
    return x


def preprocess(x):
    x = tf.expand_dims(x, axis=0)
    x = tf.cast(x, dtype=tf.float32) / 255.
    # x = normalize(x)
    return x


img = preprocess(img)

# img= tf.cast(img, dtype=tf.uint8)

result = network(img)
result = tf.nn.softmax(result)
print(result)
index = tf.argmax(result, axis=-1)
print(label[int(index)])

# # 显示
image = show_chinese(image, label[int(index)], (356, 54))
cv2.namedWindow('img', 0)
cv2.resizeWindow('img', 500, 500)   # 自己设定窗口图片的大小
#cv2.putText(image, label[int(index)], (166, 54), cv2.FONT_HERSHEY_SCRIPT_SIMPLEX, 1.2, (255, 0, 0), 2)
cv2.imshow('img', image)
cv2.waitKey()
cv2.destroyAllWindows()
tf.Tensor([[1.1600139e-09 2.5695030e-05 8.4645586e-15 9.9997413e-01 6.6168944e-08]], shape=(1, 5), dtype=float32)
皮卡丘

4. 多张图片进行测试的完整代码以及结果
为了测试更多的图片,引入循环进行多次测试,效果更好。
import tensorflow as tf
from PIL import ImageFont, Image, ImageDraw
from tensorflow import keras
import cv2, os, sys
import numpy as np
label = ['妙蛙种子', '小火龙', '超梦', '皮卡丘', '杰尼龟']
def show_chinese(img,text,pos):
    img_pil = Image.fromarray(cv2.cvtColor(img, cv2.COLOR_BGR2RGB))
    font = ImageFont.truetype(font='msyh.ttc', size=36)
    draw = ImageDraw.Draw(img_pil)
    draw.text(pos, text, font=font, fill=(255, 0, 0))  # PIL中RGB=(255,0,0)表示红色
    img_cv = np.array(img_pil)                         # PIL图片转换为numpy
    img = cv2.cvtColor(img_cv, cv2.COLOR_RGB2BGR)      # PIL格式转换为OpenCV的BGR格式
    return img


def normalize(x):
    img_mean = tf.constant([0.485, 0.456, 0.406])
    img_std = tf.constant([0.229, 0.224, 0.225])
    x = (x - img_mean) / img_std
    return x


def preprocess(x):
    x = tf.expand_dims(x, axis=0)
    x = tf.cast(x, dtype=tf.float32) / 255.
    # x = normalize(x)
    return x


network = keras.models.load_model('my_bkm.h5')
network.summary()
prepicture = int(input("input the number of test picture :"))
for i in range(prepicture):
    path1 = input("input the test picture path:")
    path = os.path.join(sys.path[0], path1)
    image = cv2.imread(path)
    img = image.copy()
    img = cv2.resize(img, (96, 96))
    img = cv2.cvtColor(img, cv2.COLOR_BGR2RGB)
    img = preprocess(img)
    # img= tf.cast(img, dtype=tf.uint8)
    result = network(img)
    result = tf.nn.softmax(result)
    print(result)
    index = tf.argmax(result, axis=-1)
    print(label[int(index)])
    # # 显示
    image = show_chinese(image, label[int(index)], (356, 54))
    cv2.namedWindow('img', 0)
    cv2.resizeWindow('img', 500, 500)   # 自己设定窗口图片的大小
    #cv2.putText(image, label[int(index)], (166, 54), cv2.FONT_HERSHEY_SCRIPT_SIMPLEX, 1.2, (255, 0, 0), 2)
    cv2.imshow('img', image)
    cv2.waitKey()
    cv2.destroyAllWindows()
input the number of test picture :2
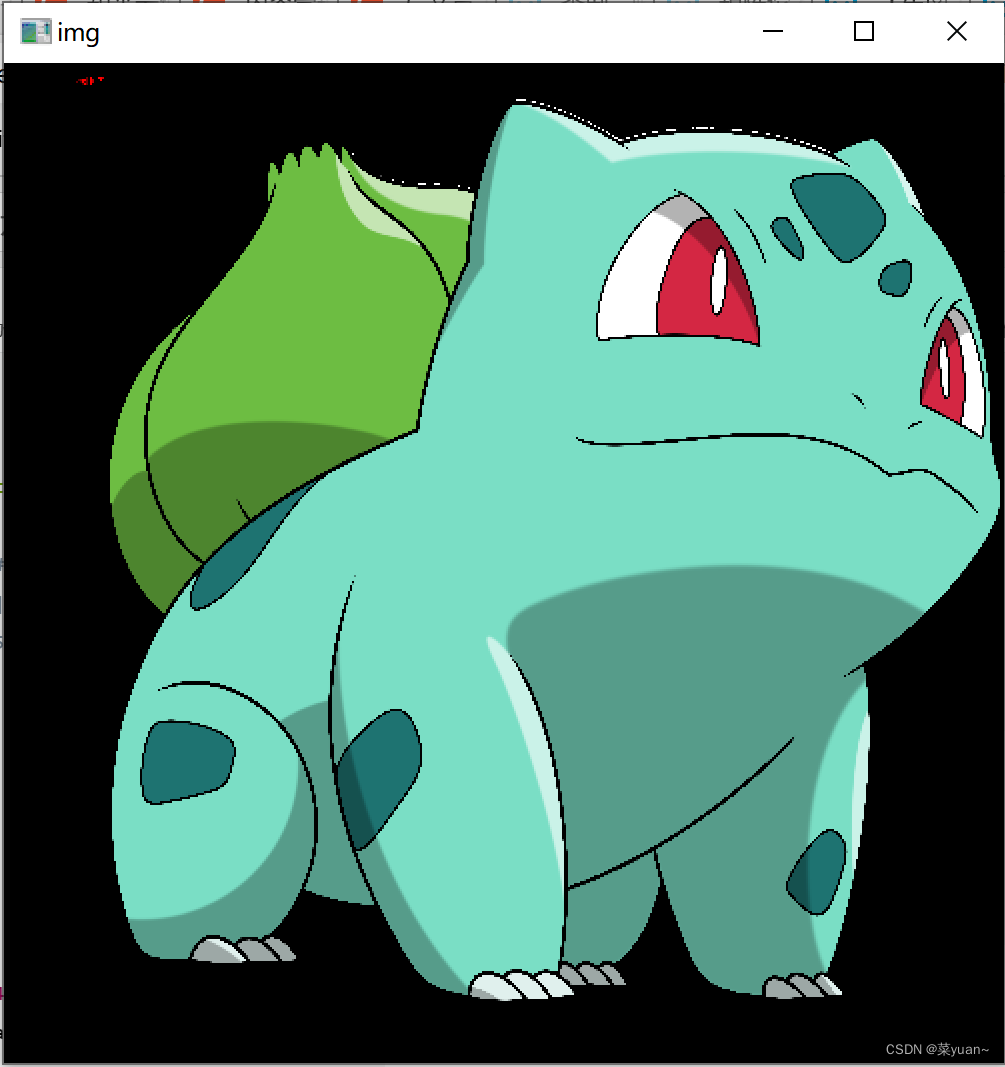
input the test picture path:1.png
tf.Tensor([[9.9998260e-01 1.2735860e-07 4.3719947e-06 3.5391193e-07 1.2507204e-05]], shape=(1, 5), dtype=float32)
妙蛙种子
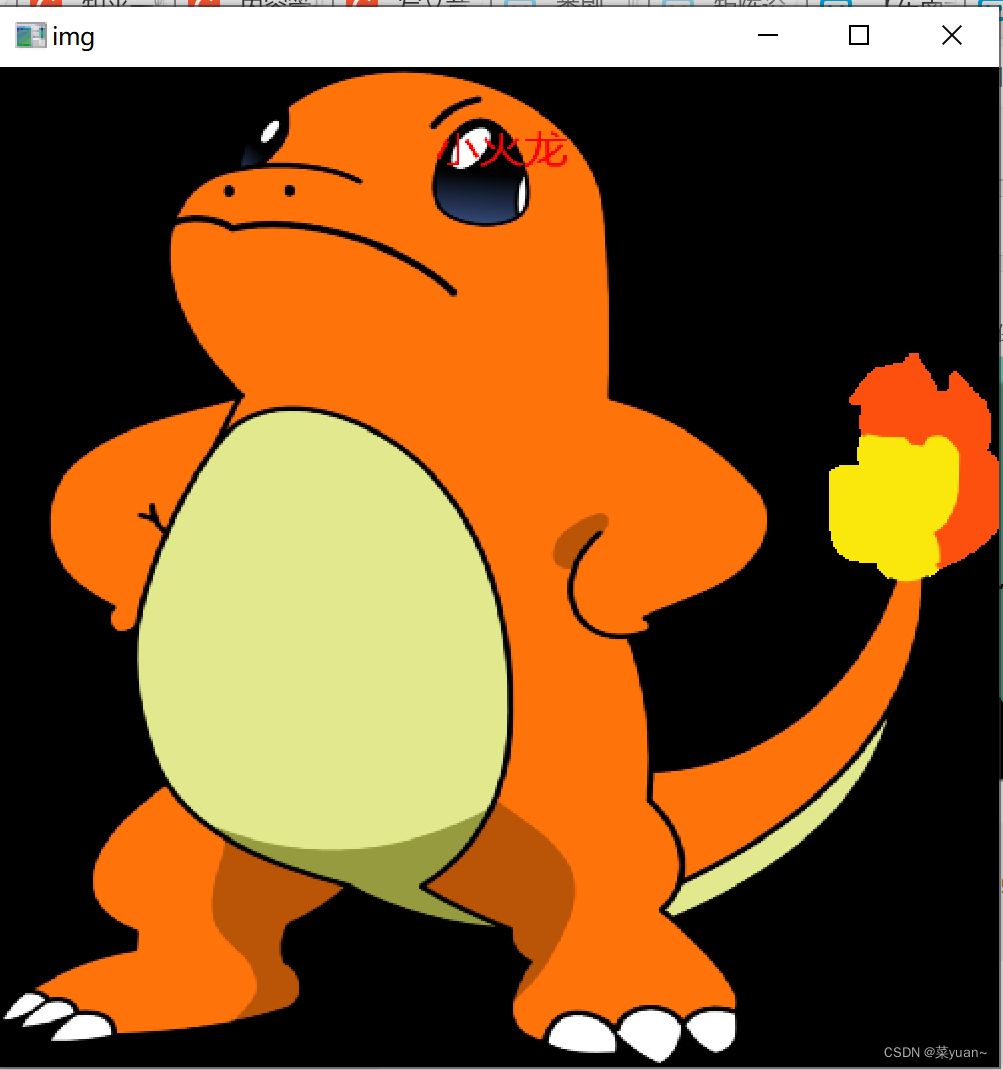
input the test picture path:4.png
tf.Tensor([[1.6705857e-11 9.9999821e-01 2.3859246e-12 1.7547414e-06 3.2666370e-09]], shape=(1, 5), dtype=float32)
小火龙