本章主要讲述快速构建一套springcloud alibaba微服务,一切从简
nacos官网 https://nacos.io/zh-cn/docs/quick-start.html
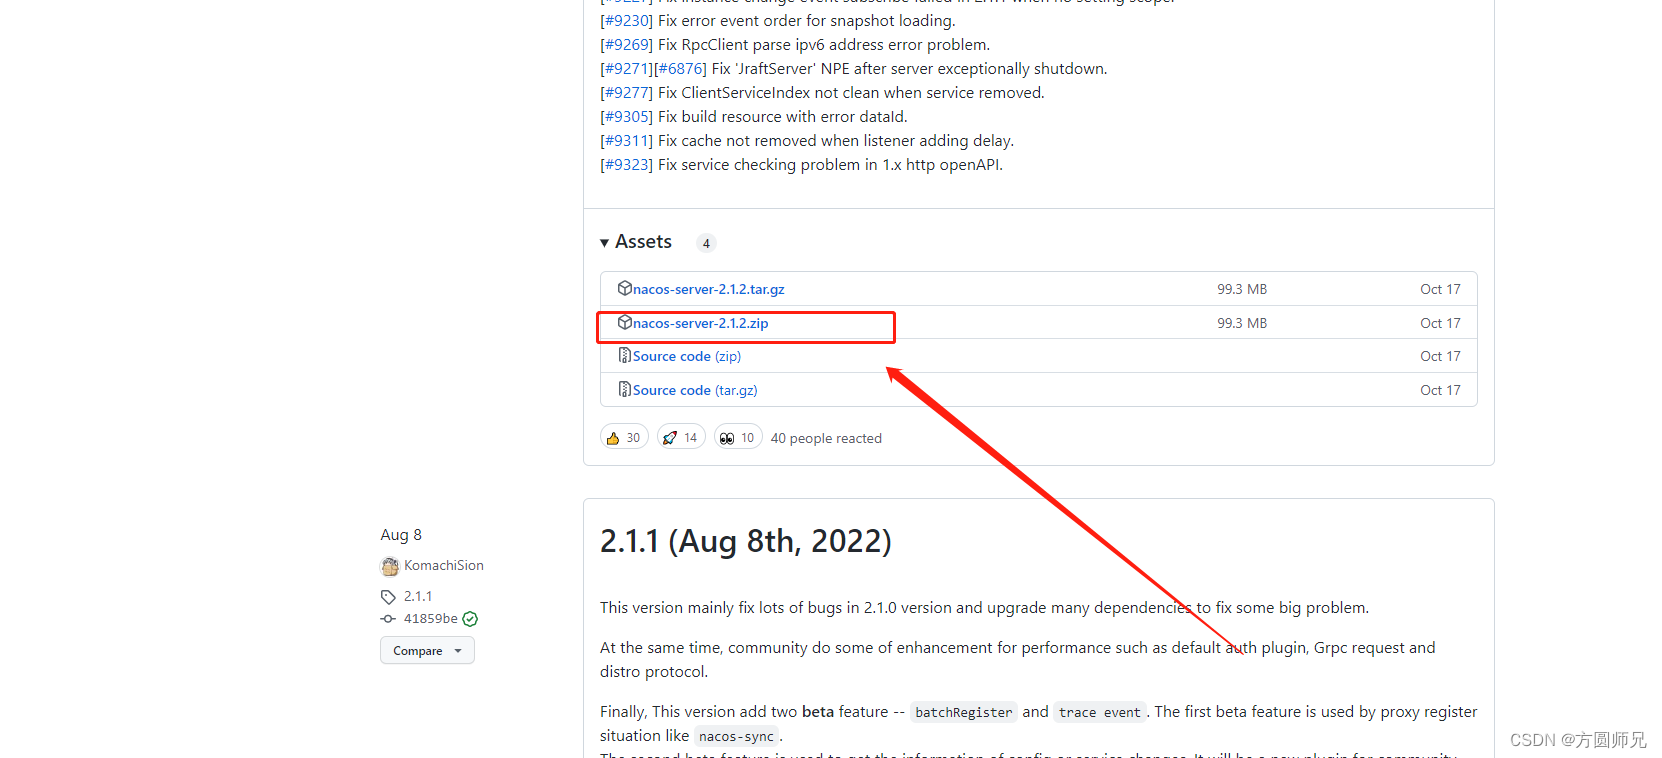
1.下载启动nacos注册中心
Git地址 https://github.com/alibaba/nacos/releases
1.1 nacos自带默认数据库 derby,集群情况下持久化数据源需要修改,普通模式可不修改
复制mysql-schema.sql文件,创建对应的库表信息
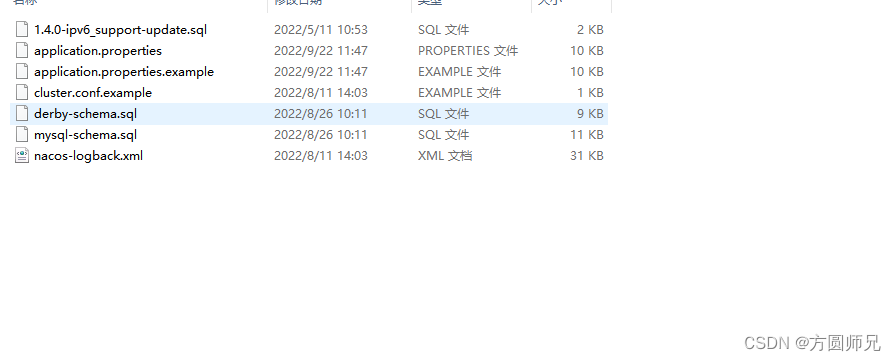
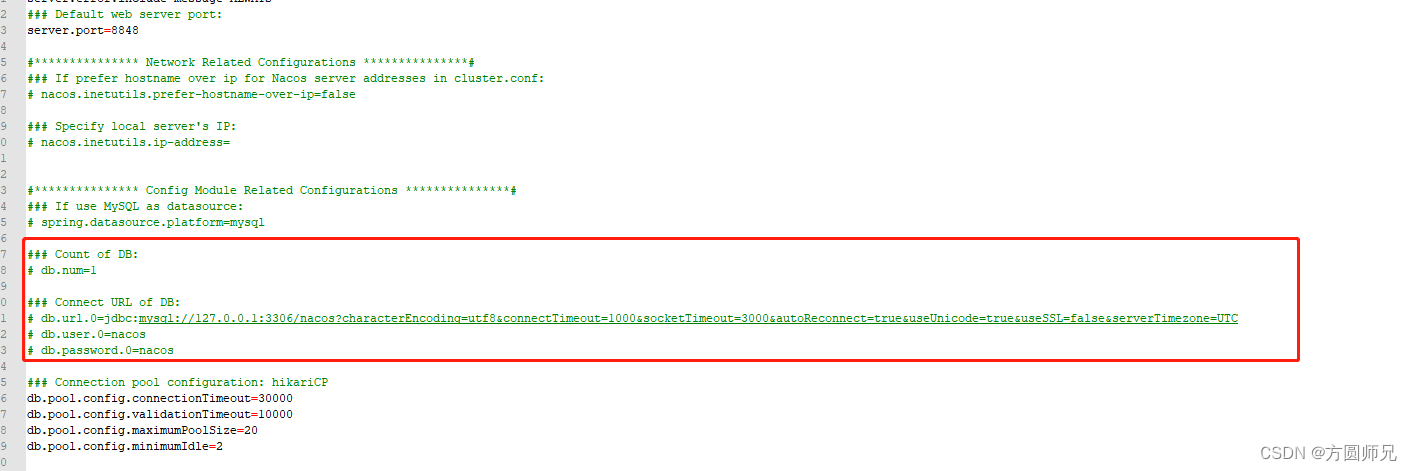
1.2 修改application.properties 中的mysql连接部分
2. 启动注册中心
进入bin目录下,linux启动startup.sh , win启动startup.cmd
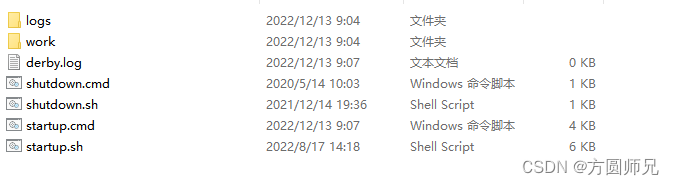
2.1 单体nacos,直接启动startup会出现启动不起来情况,需要修改一下启动配置
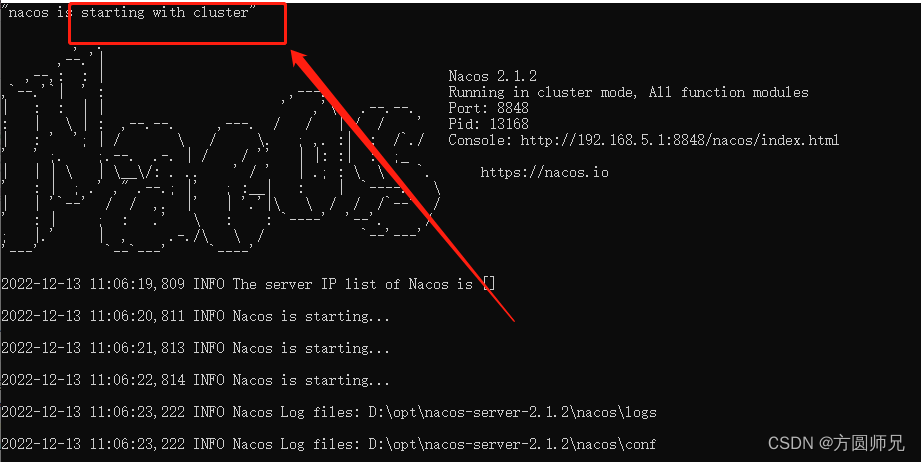
将 cluster 修改成 standalone 后,重新启动

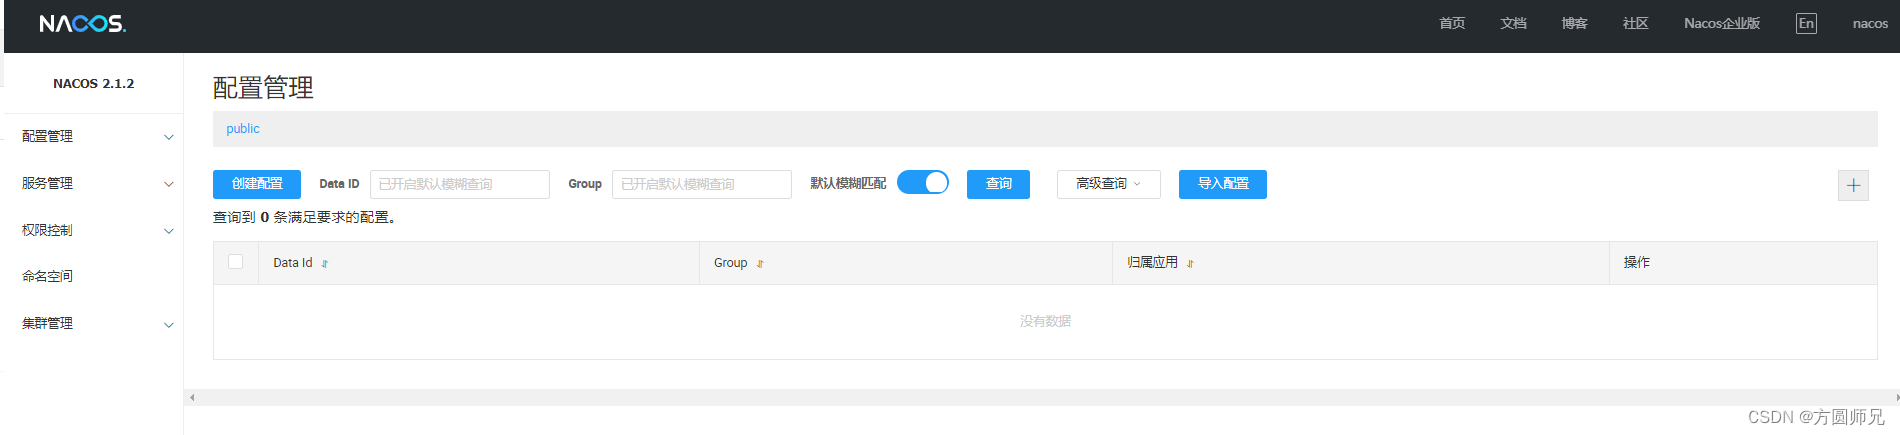
2.3 访问 nacos的dashboard
http://localhost:8848/nacos/index.html
账号:nacos
密码:nacos
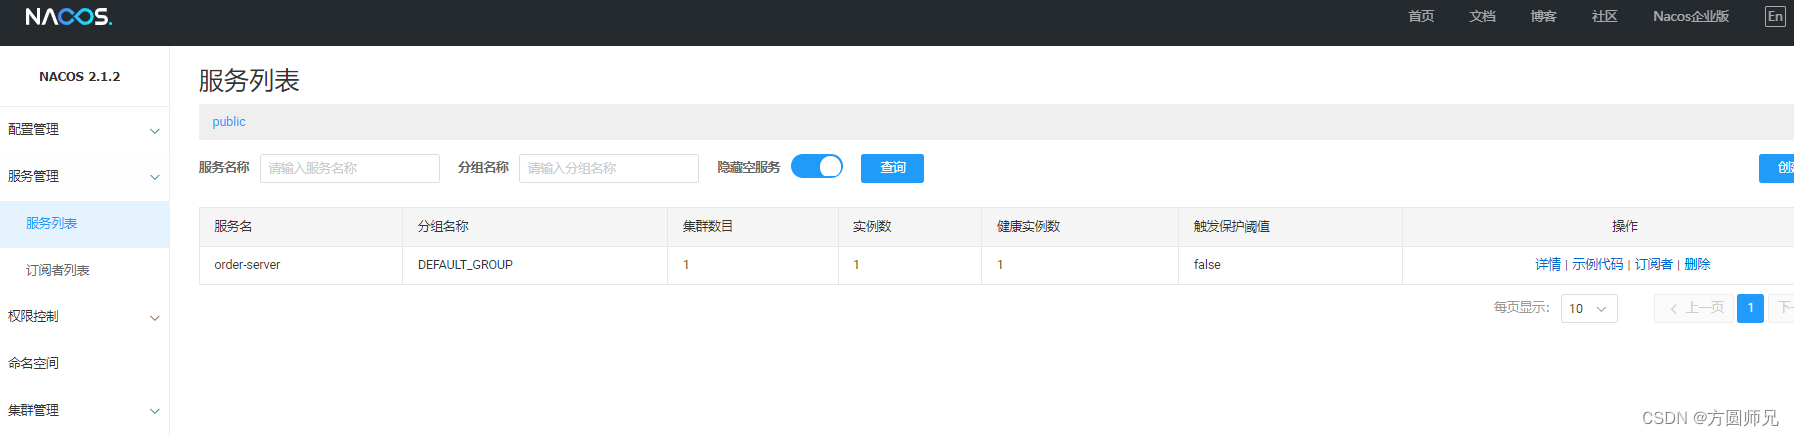
3. 启动服务注册到nacos
3.1 创建项目引入依赖
<?xml version="1.0" encoding="UTF-8"?>
<project xmlns="http://maven.apache.org/POM/4.0.0"
         xmlns:xsi="http://www.w3.org/2001/XMLSchema-instance"
         xsi:schemaLocation="http://maven.apache.org/POM/4.0.0 http://maven.apache.org/xsd/maven-4.0.0.xsd">
    <parent>
        <artifactId>spring-cloud</artifactId>
        <groupId>org.example</groupId>
        <version>1.0-SNAPSHOT</version>
    </parent>
    <modelVersion>4.0.0</modelVersion>

    <artifactId>order-server</artifactId>
    <dependencyManagement>
        <dependencies>
            <dependency>
                <groupId>org.springframework.cloud</groupId>
                <artifactId>spring-cloud-dependencies</artifactId>
                <version>Hoxton.SR12</version>
                <type>pom</type>
                <scope>import</scope>
            </dependency>
            <dependency>
                <groupId>com.alibaba.cloud</groupId>
                <artifactId>spring-cloud-alibaba-dependencies</artifactId>
                <version>2.2.6.RELEASE</version>
                <type>pom</type>
                <scope>import</scope>
            </dependency>
            <!--springboot依赖-->
            <dependency>
                <groupId>org.springframework.boot</groupId>
                <artifactId>spring-boot-dependencies</artifactId>
                <version>2.3.7.RELEASE</version>
                <type>pom</type>
                <scope>import</scope>
            </dependency>
        </dependencies>
    </dependencyManagement>

    <dependencies>
        <dependency>
            <groupId>org.springframework.boot</groupId>
            <artifactId>spring-boot-starter-web</artifactId>
        </dependency>
        <dependency>
            <groupId>com.alibaba.cloud</groupId>
            <artifactId>spring-cloud-starter-alibaba-nacos-discovery</artifactId>
        </dependency>
        <dependency>
            <groupId>com.alibaba.cloud</groupId>
            <artifactId>spring-cloud-starter-alibaba-nacos-config</artifactId>
        </dependency>
        <dependency>
            <groupId>org.projectlombok</groupId>
            <artifactId>lombok</artifactId>
        </dependency>
    </dependencies>
    <build>
        <finalName>order</finalName>
        <plugins>
            <plugin>
                <groupId>org.springframework.boot</groupId>
                <artifactId>spring-boot-maven-plugin</artifactId>
                <executions>
                    <execution>
                        <goals>
                            <goal>repackage</goal>
                        </goals>
                    </execution>
                </executions>
                <configuration>
                    <includeSystemScope>true</includeSystemScope>
                </configuration>
            </plugin>
            <plugin>
                <groupId>org.apache.maven.plugins</groupId>
                <artifactId>maven-surefire-plugin</artifactId>
                <configuration>
                    <skipTests>true</skipTests>
                </configuration>
            </plugin>
        </plugins>
    </build>

</project>
3.2 创建yml文件
##bootstrap.yml
server:
  port: 8099
spring:
  application:
    name: order-server
  cloud:
    nacos:
      discovery:
        server-addr: localhost:8848
      config:
        file-extension: yaml
##application.yml
spring:
  profiles:
    active: dev
  main:
    allow-bean-definition-overriding: true
##application-dev.yml
config:
  user: 123
3.3 主启动类增加注解,增加rest接口,后启动
@SpringBootApplication
@EnableDiscoveryClient
public class OrderApplication {


    public static void main(String[] args) {


        SpringApplication.run(OrderApplication.class,args);
    }
}
@RefreshScope//动态刷新配置中的信息
@RestController
public class OrderController {


    @Value("${config.user}")
    public String user;

    @GetMapping("/user")
    public String user(){


        System.out.println(user);
        return user;
    }
}
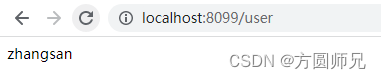
3.4 动态刷新微服务配置
在 3.3 中启动了 服务并增加一个接口,我们调用一下

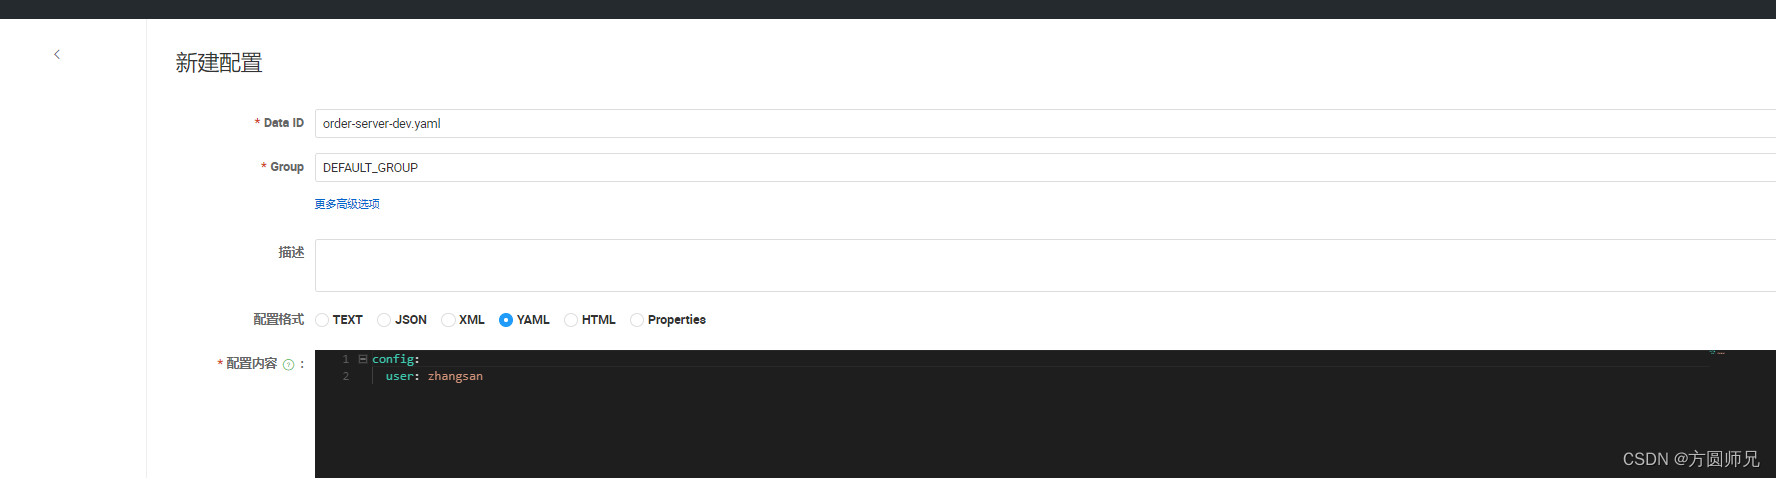
3.4.1 创建配置信息
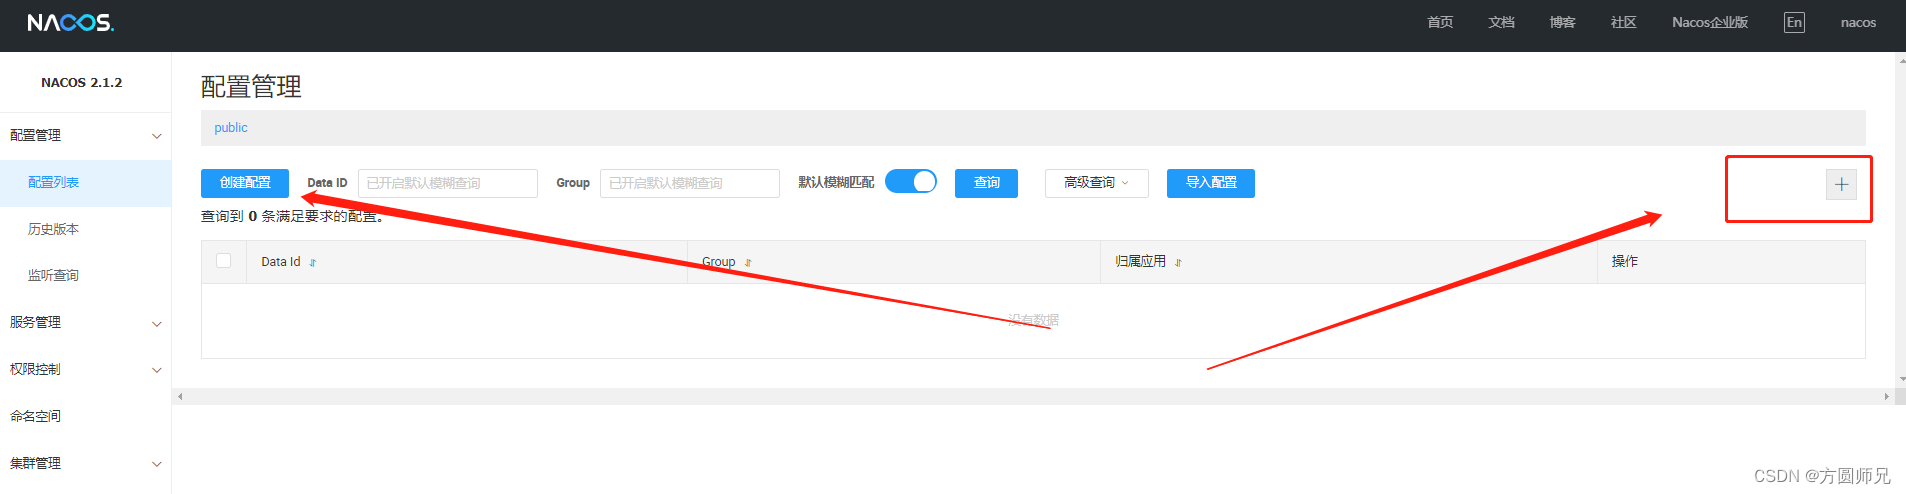
data id由 ${spring.application.name}-${spring.profiles.active}.${spring.cloud.nacos.config.file-extension}构成
再次查看修改成功
关于group和namespaces就暂时不介绍了,可以直接在项目的yml文件中进行增加修改