前言
本月作业,利用Nacos快速搭建微服务,消费者用java,服务提供者用多种语言实现。
目的:面向应用高可用、高扩展,大应用场景。
因测试,本地单机部署。
一、启动Nacos注册中心
官网:home
下载编译好的程序,注意:需要java环境,8+,必须是64位,否则会报错。
解压后:
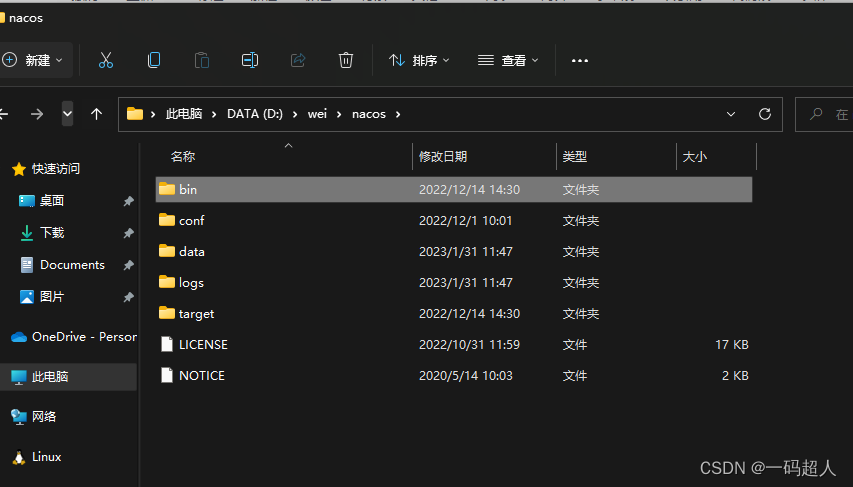
注意:路径不可以有中文!
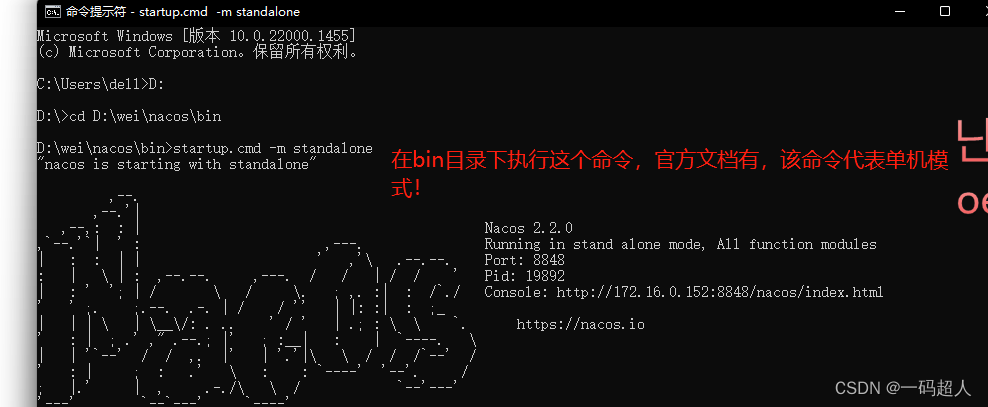
启动成功后显示的地址便是注册中心后台地址。
注意如果是线上环境必须给它配置mysql,在目录的conf目录下,毕竟是集群,这里因单机模式,所以它会使用内置的数据库。具体操作可百度,不难。
默认账号密码:
nacos
nacos
二、配置springcloud服务提供者


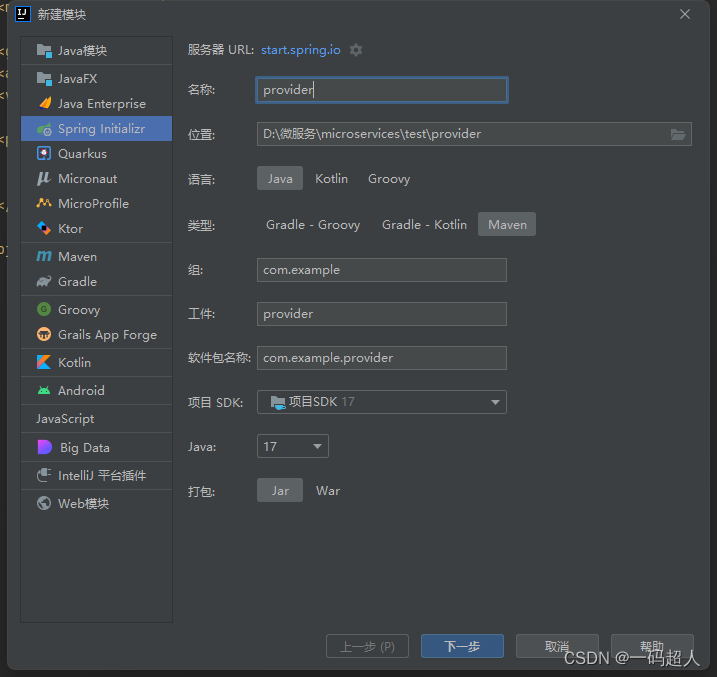
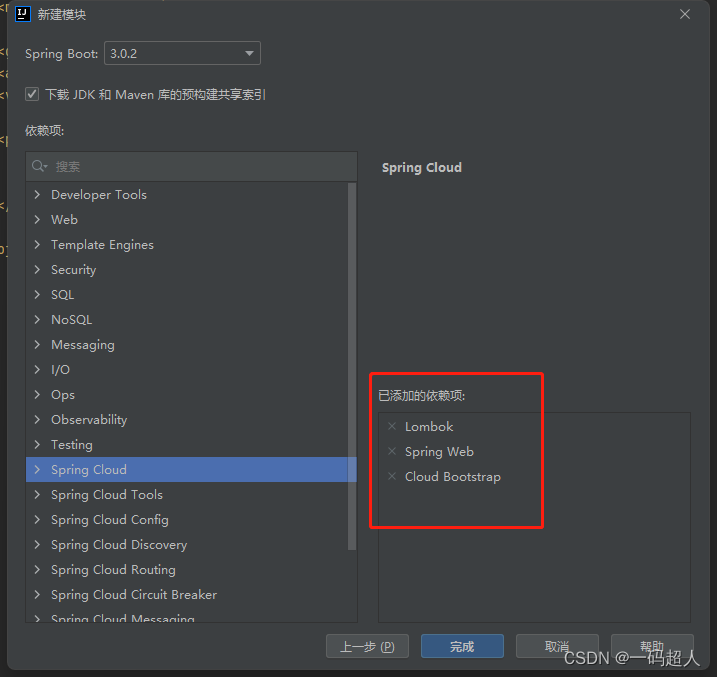
新建模块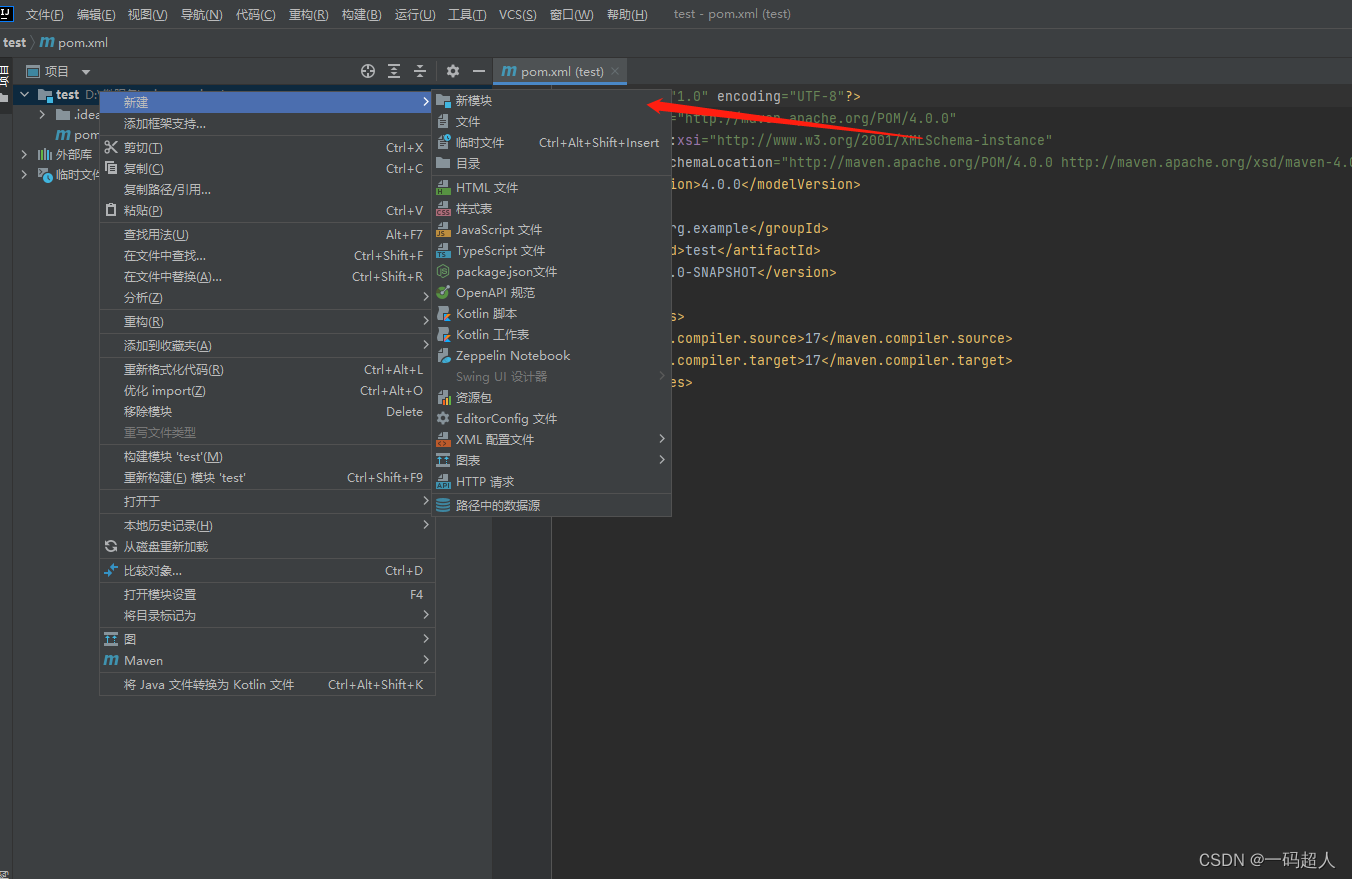

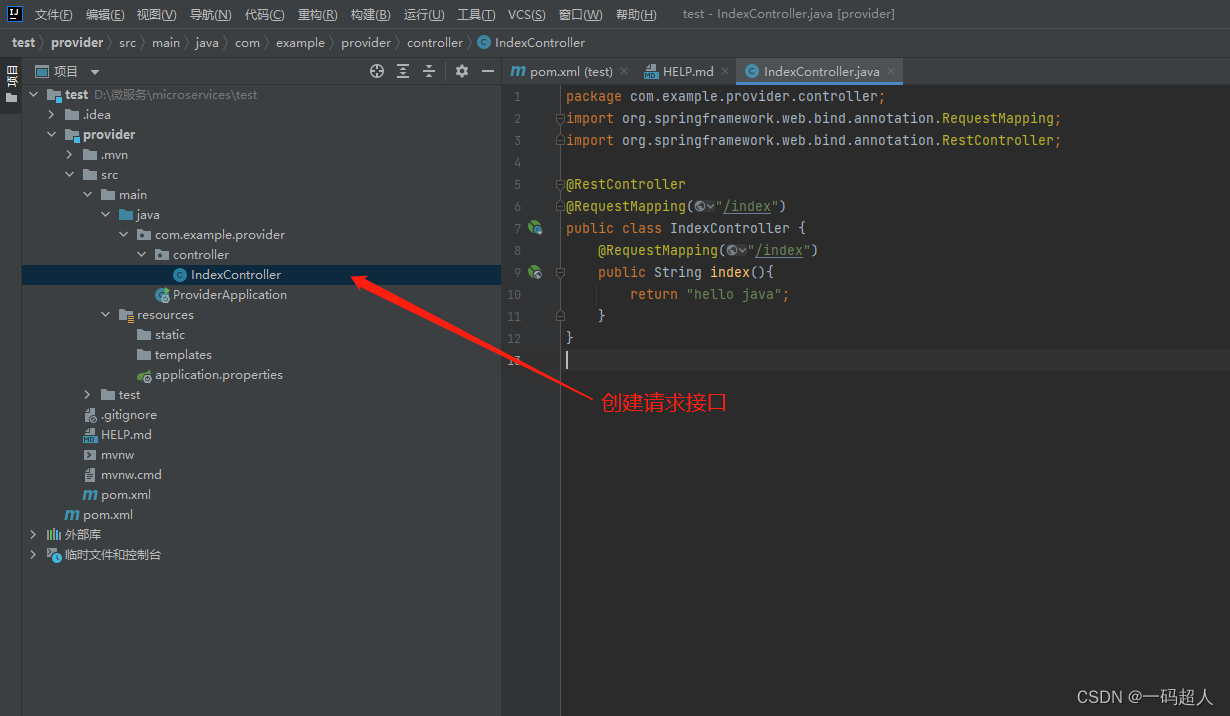
package com.example.provider.controller;
import org.springframework.web.bind.annotation.RequestMapping;
import org.springframework.web.bind.annotation.RestController;

@RestController
@RequestMapping("/index")
public class IndexController {
    @RequestMapping("/index")
    public String index(){
        return "hello java";
    }
}
配置yaml

server:
  port: 9191
spring:
  application:
    name: java-provider
  cloud:
    nacos:
      discovery:
        server-addr: 127.0.0.1:8848

package com.example.provider;

import org.springframework.boot.SpringApplication;
import org.springframework.boot.autoconfigure.SpringBootApplication;
import org.springframework.cloud.client.discovery.EnableDiscoveryClient;

@SpringBootApplication
@EnableDiscoveryClient
public class ProviderApplication {

    public static void main(String[] args) {
        SpringApplication.run(ProviderApplication.class, args);
    }

}
添加nacos依赖。
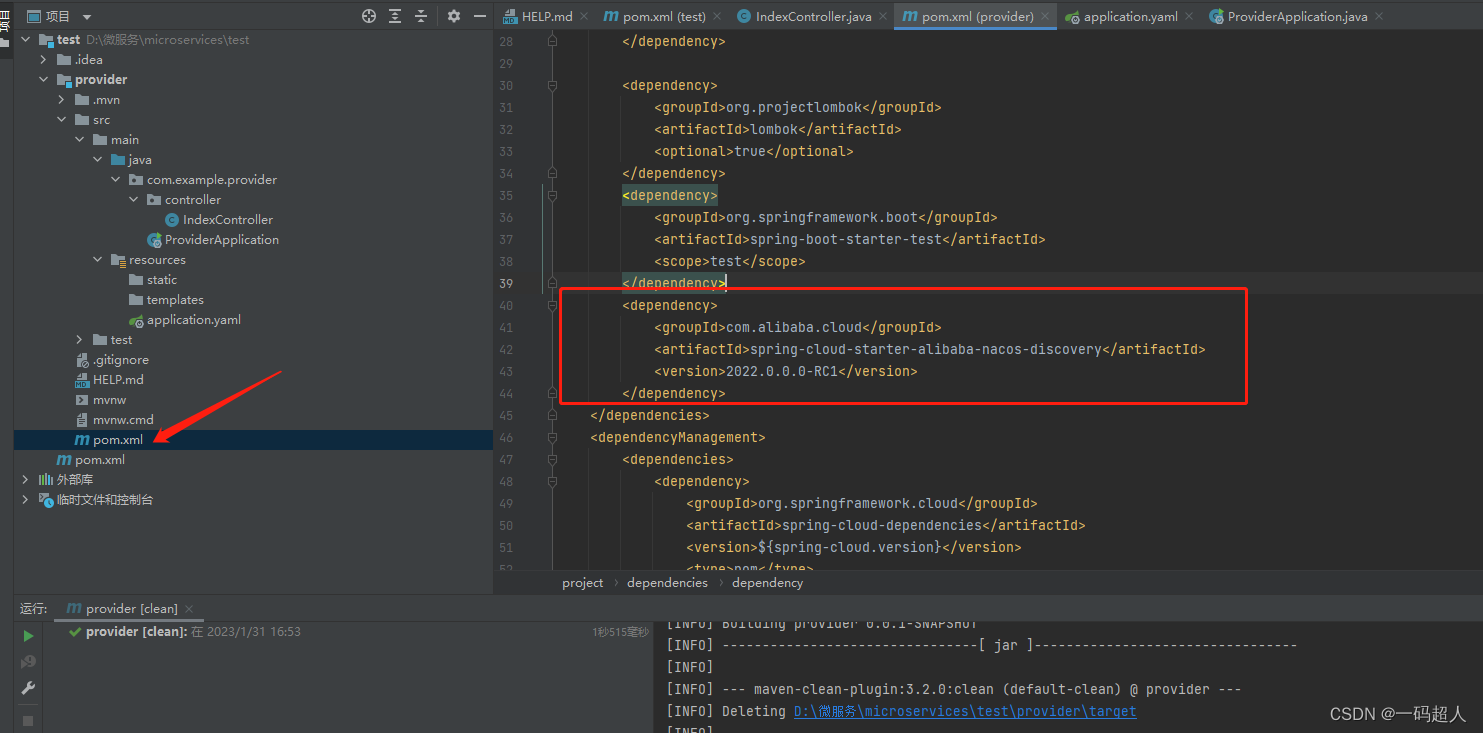
<dependency>
<groupId>com.alibaba.cloud</groupId>
<artifactId>spring-cloud-starter-alibaba-nacos-discovery</artifactId>
<version>2022.0.0.0-RC1</version>
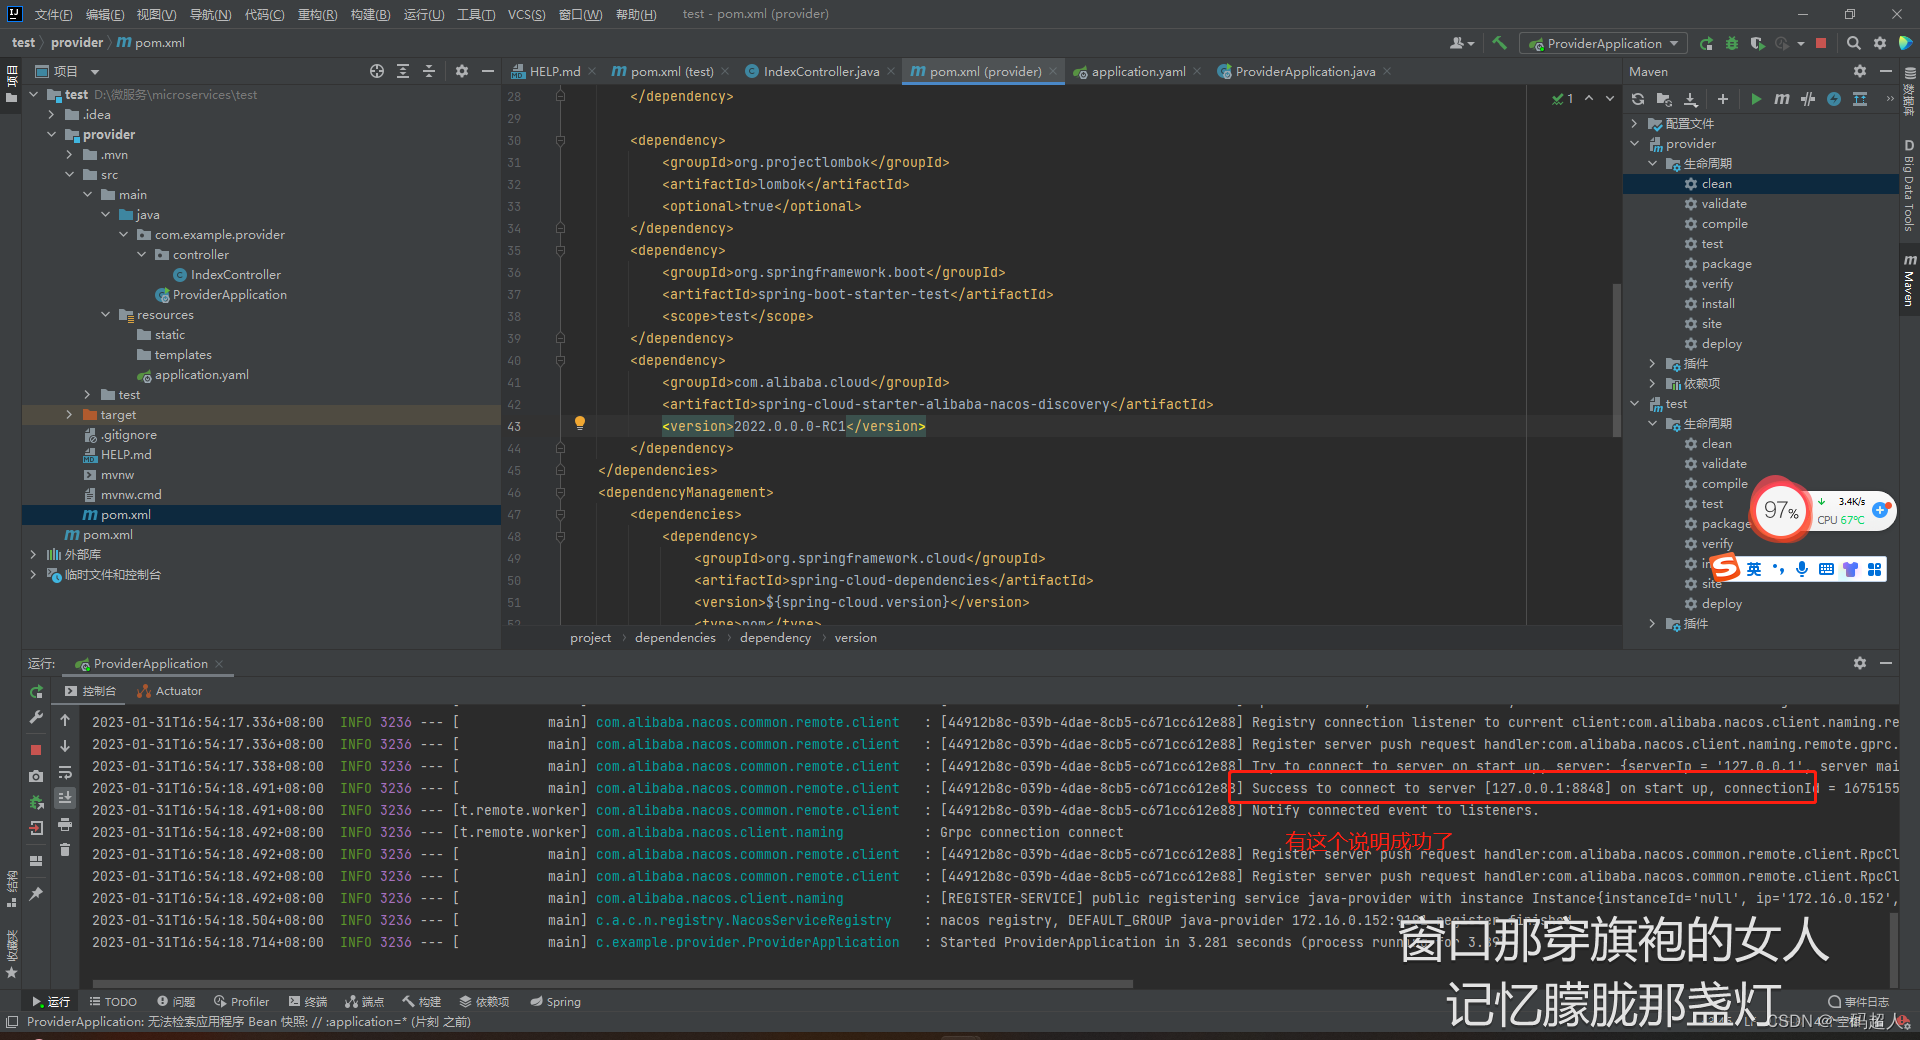
</dependency>启动服务者

三、配置springcloud消费者
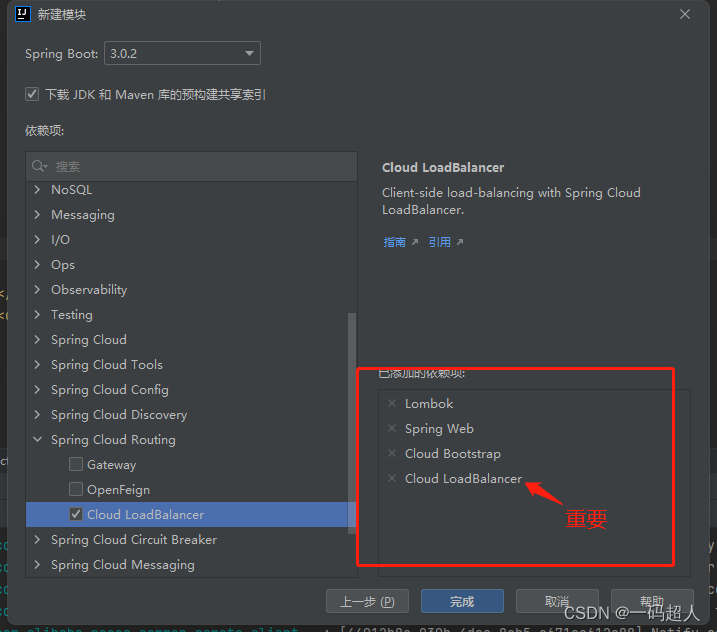
新建模块


package com.example.consumer;

import org.springframework.boot.SpringApplication;
import org.springframework.boot.autoconfigure.SpringBootApplication;
import org.springframework.cloud.client.discovery.EnableDiscoveryClient;
import org.springframework.cloud.client.loadbalancer.LoadBalanced;
import org.springframework.context.annotation.Bean;
import org.springframework.web.client.RestTemplate;

@SpringBootApplication
@EnableDiscoveryClient
public class ConsumerApplication {

    public static void main(String[] args) {
        SpringApplication.run(ConsumerApplication.class, args);
    }

    @LoadBalanced
    @Bean
    public RestTemplate restTemplate() {
        return new RestTemplate();
    }
}
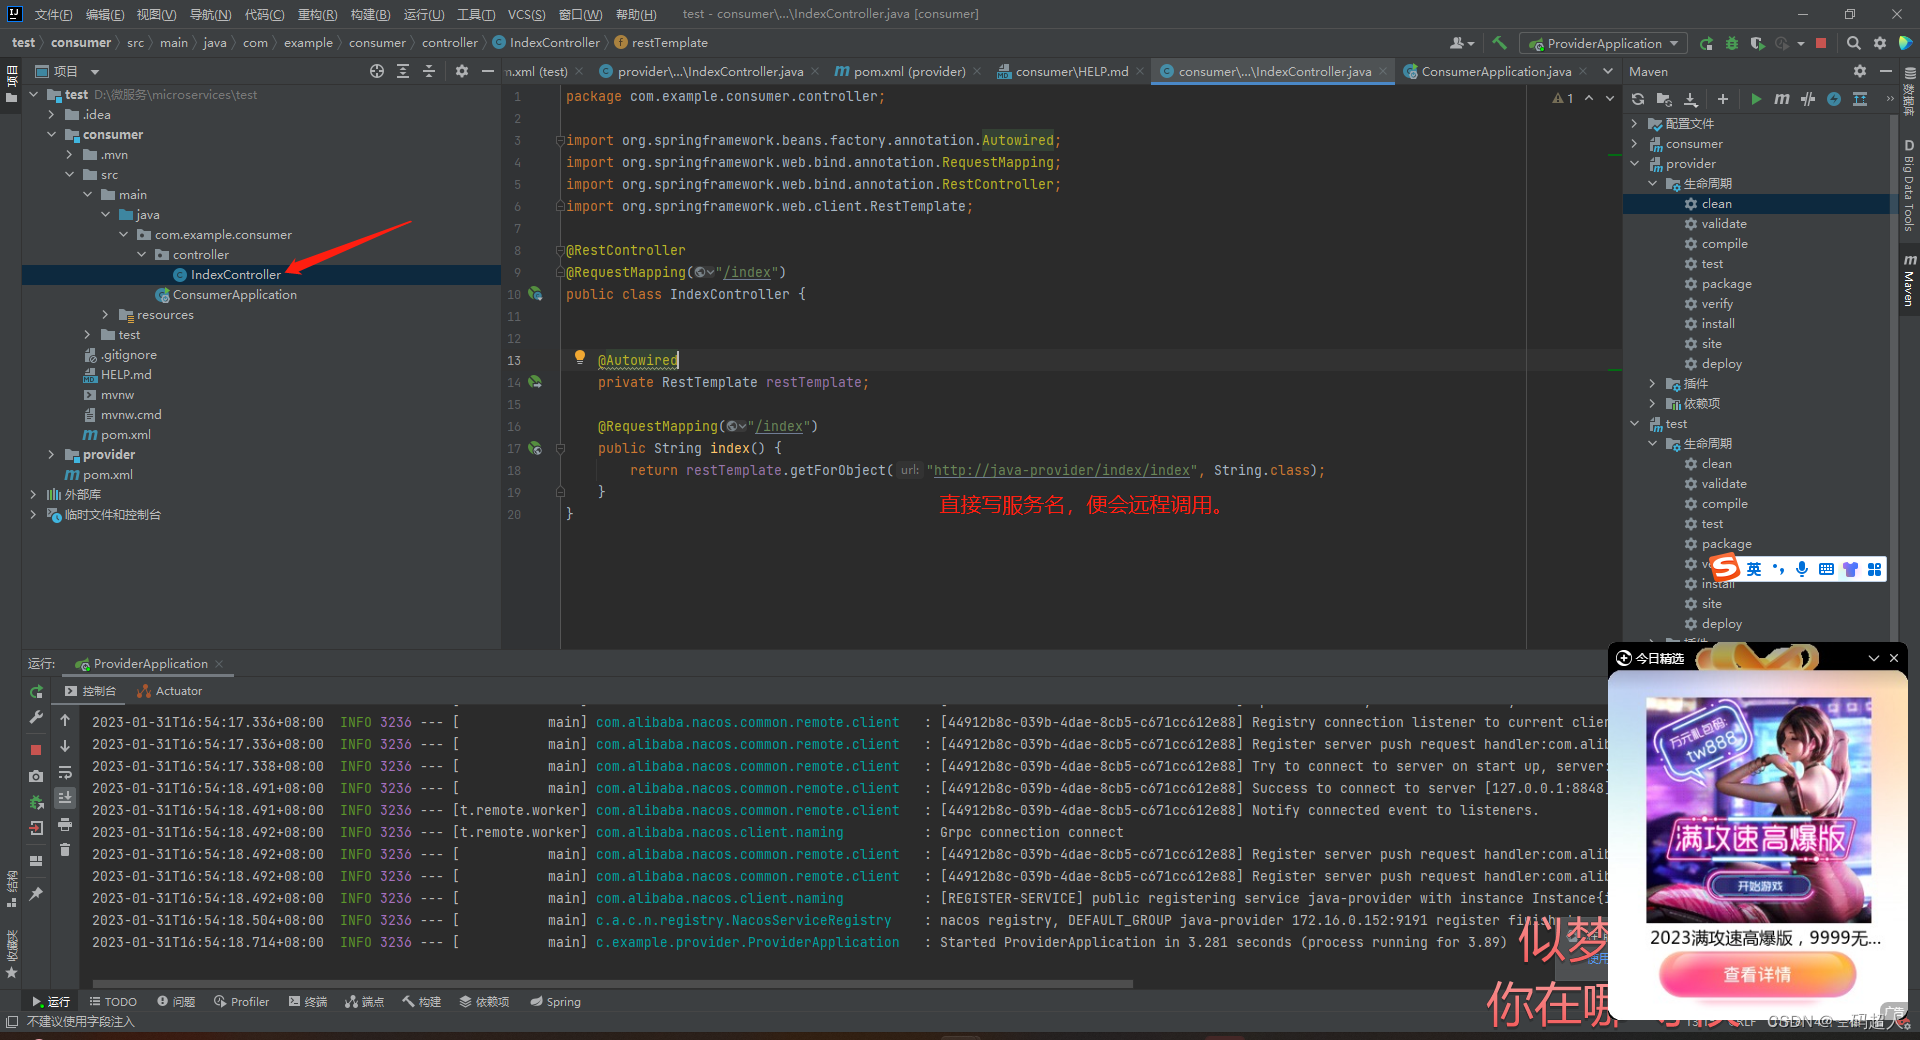
package com.example.consumer.controller;

import org.springframework.beans.factory.annotation.Autowired;
import org.springframework.web.bind.annotation.RequestMapping;
import org.springframework.web.bind.annotation.RestController;
import org.springframework.web.client.RestTemplate;

@RestController
@RequestMapping("/index")
public class IndexController {


    @Autowired
    private RestTemplate restTemplate;

    @RequestMapping("/index")
    public String index() {
        return restTemplate.getForObject("http://java-provider/index/index", String.class);
    }
}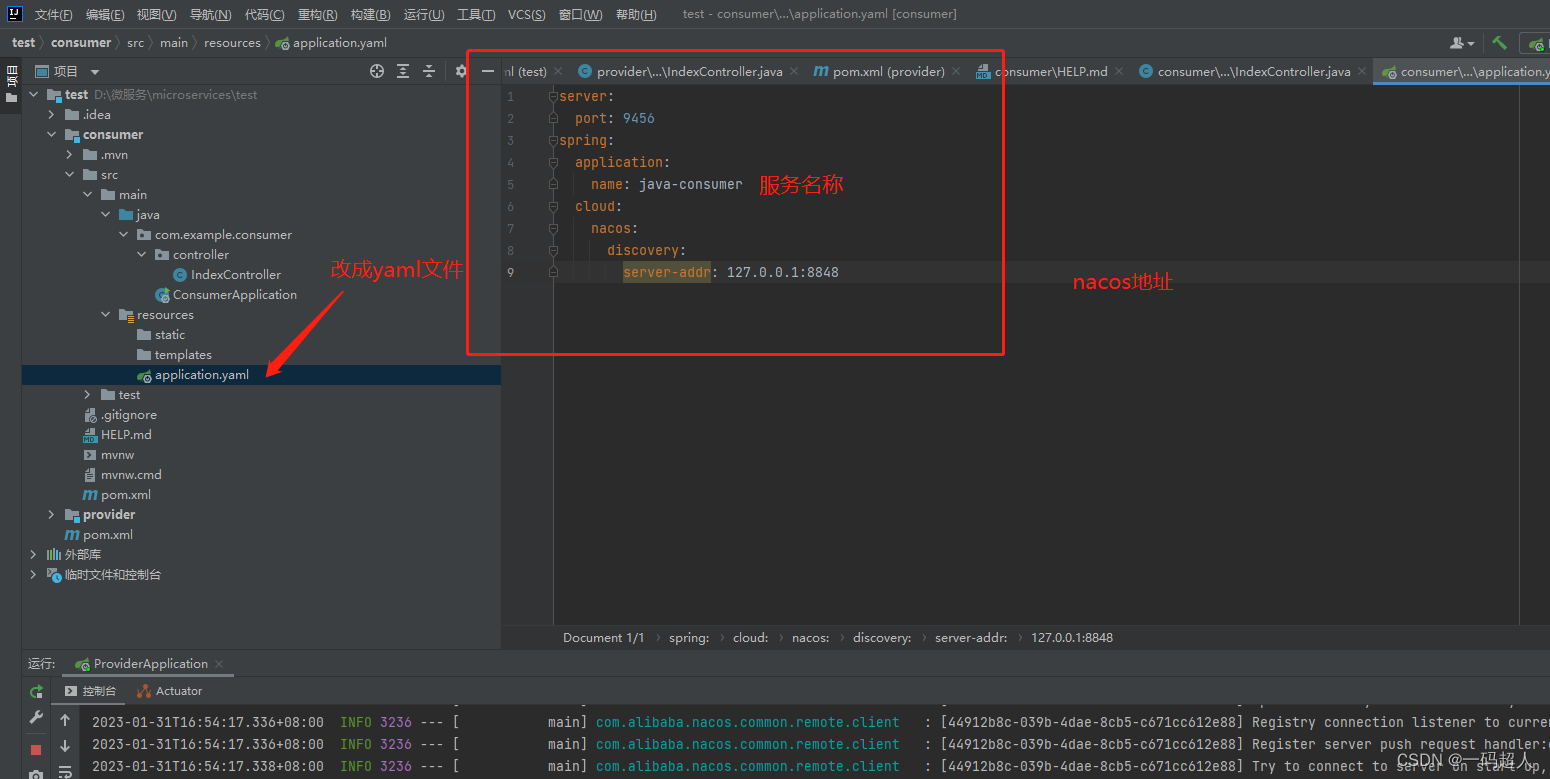
server:
  port: 9456
spring:
  application:
    name: java-consumer
  cloud:
    nacos:
      discovery:
        server-addr: 127.0.0.1:8848
加入依赖
启动消费者

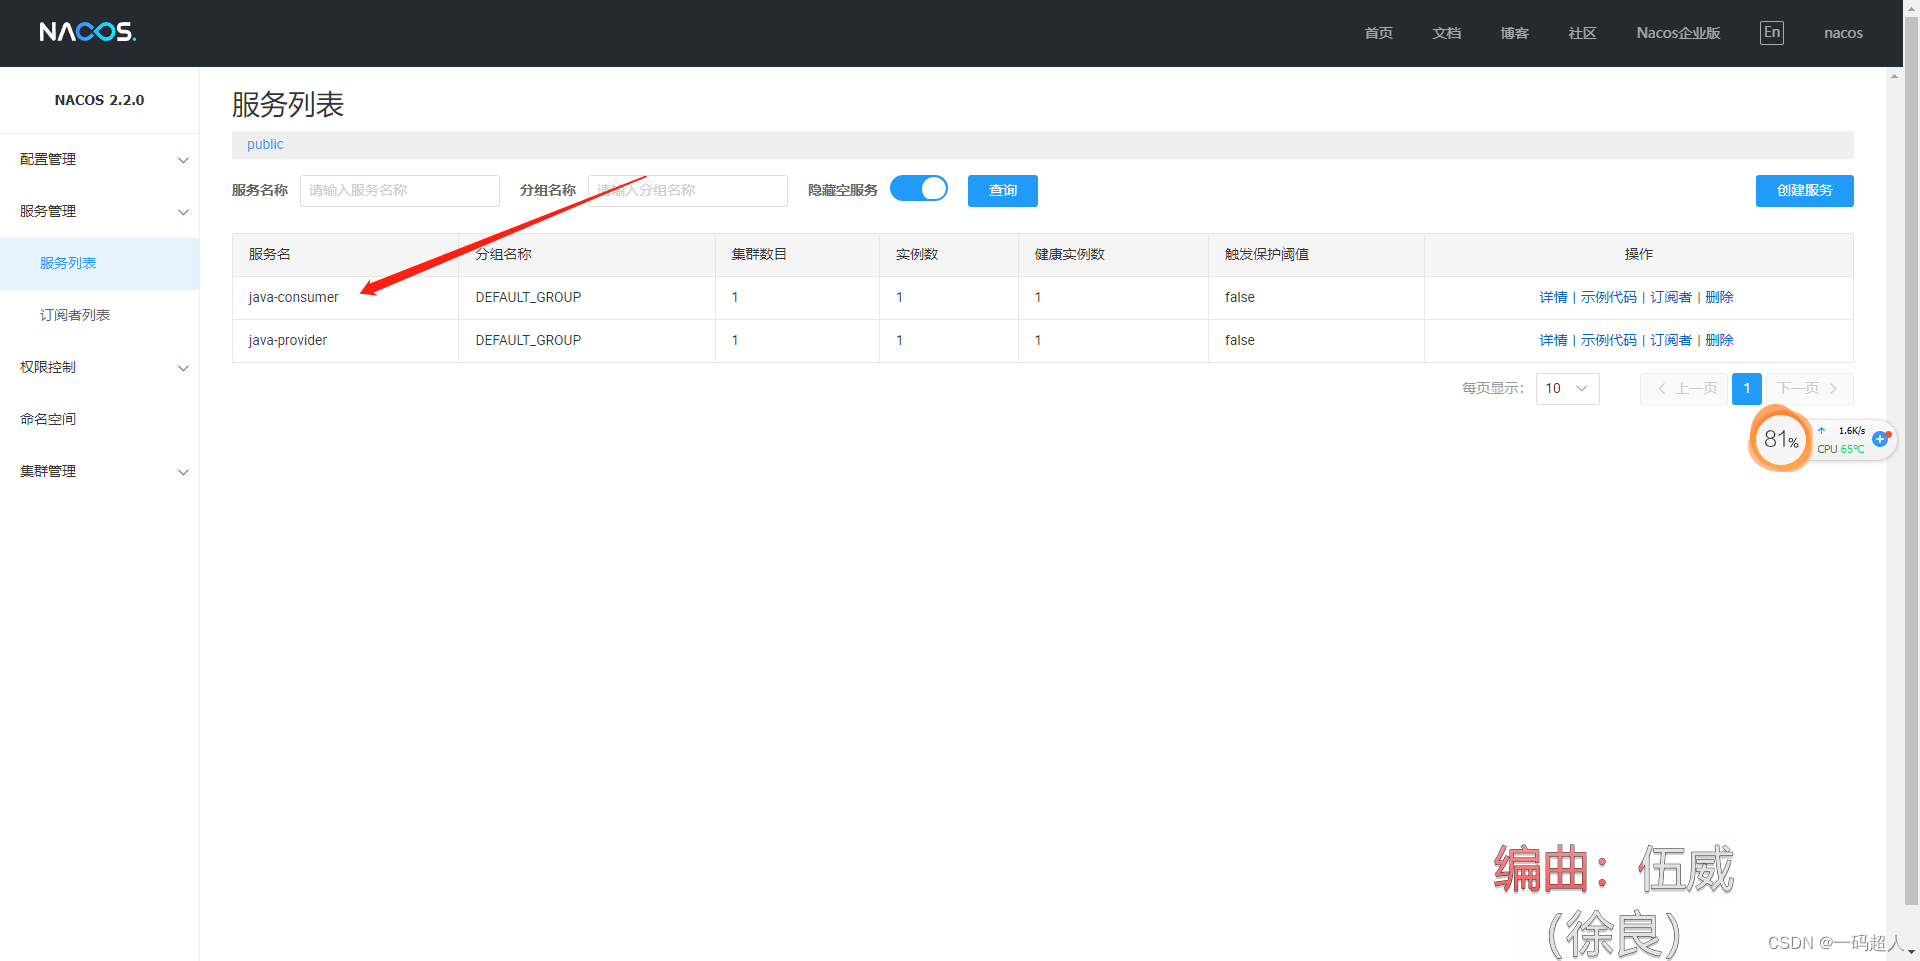
直接请求消费者接口

说明消费者成功远程调用了服务者接口拿到数据。成功!
四、配置go服务者
引入nacos依赖
go get -u github.com/nacos-group/nacos-sdk-go/v2本程序使用的是gin框架,直接贴代码了。
package main

import (
	"fmt"
	"github.com/gin-gonic/gin"
	"github.com/nacos-group/nacos-sdk-go/v2/clients"
	"github.com/nacos-group/nacos-sdk-go/v2/common/constant"
	"github.com/nacos-group/nacos-sdk-go/v2/vo"
)
func NacosInit(){

	clientConfig := constant.ClientConfig{
		NamespaceId:         "", // 如果需要支持多namespace,我们可以场景多个client,它们有不同的NamespaceId。当namespace是public时,此处填空字符串。
		TimeoutMs:           5000,
		NotLoadCacheAtStart: true,
		LogDir:              "log",
		CacheDir:            "cache",
		LogLevel:            "debug",
	}
	//nacos信息
	serverConfigs := []constant.ServerConfig{
		{
			IpAddr:      "127.0.0.1", //此处可以使用网址和ip
			ContextPath: "/nacos",
			Port:        8848,
			Scheme:      "http",
		},
	}


	// 将服务注册到nacos
	namingClient,_ := clients.NewNamingClient(
		vo.NacosClientParam{
			ClientConfig:  &clientConfig,
			ServerConfigs: serverConfigs,
		},
	)


	namingClient.RegisterInstance(vo.RegisterInstanceParam{
		Ip:          "127.0.0.1",
		Port:        9789,//本程序端口
		ServiceName: "go-provider",
		Weight:      10,
		Enable:      true,
		Healthy:     true,
		Ephemeral:   true,
		Metadata:    map[string]string{"idc":"shanghai"},
		ClusterName: "DEFAULT", // 默认值DEFAULT
		GroupName:   "DEFAULT_GROUP",   // 默认值DEFAULT_GROUP
	})

	//获取nacos存在服务的信息
	instance, err := namingClient.SelectOneHealthyInstance(vo.SelectOneHealthInstanceParam{
		ServiceName: "sso",
		GroupName:   "DEFAULT_GROUP",             // 默认值DEFAULT_GROUP
		Clusters:    []string{"DEFAULT"}, // 默认值DEFAULT
	})
	fmt.Println(instance)
	fmt.Println(err)
	configClient, err := clients.NewConfigClient(
		vo.NacosClientParam{
			ClientConfig:  &clientConfig,
			ServerConfigs: serverConfigs,
		},
	)
	//获取配置
	configClientcontent, err := configClient.GetConfig(vo.ConfigParam{
		DataId: "im-nacos-go",
		Group:  "DEFAULT_GROUP"})
	fmt.Println(configClientcontent)
	fmt.Println(err)

}

func main() {
	NacosInit()
	ginServer := gin.Default()

	//响应页面给前端
	ginServer.GET("/index/index", func(context *gin.Context) {
		context.String(200, "hello go")
	})
	//服务器端口
	ginServer.Run(":9789")

}
消费者接口添加远程调用
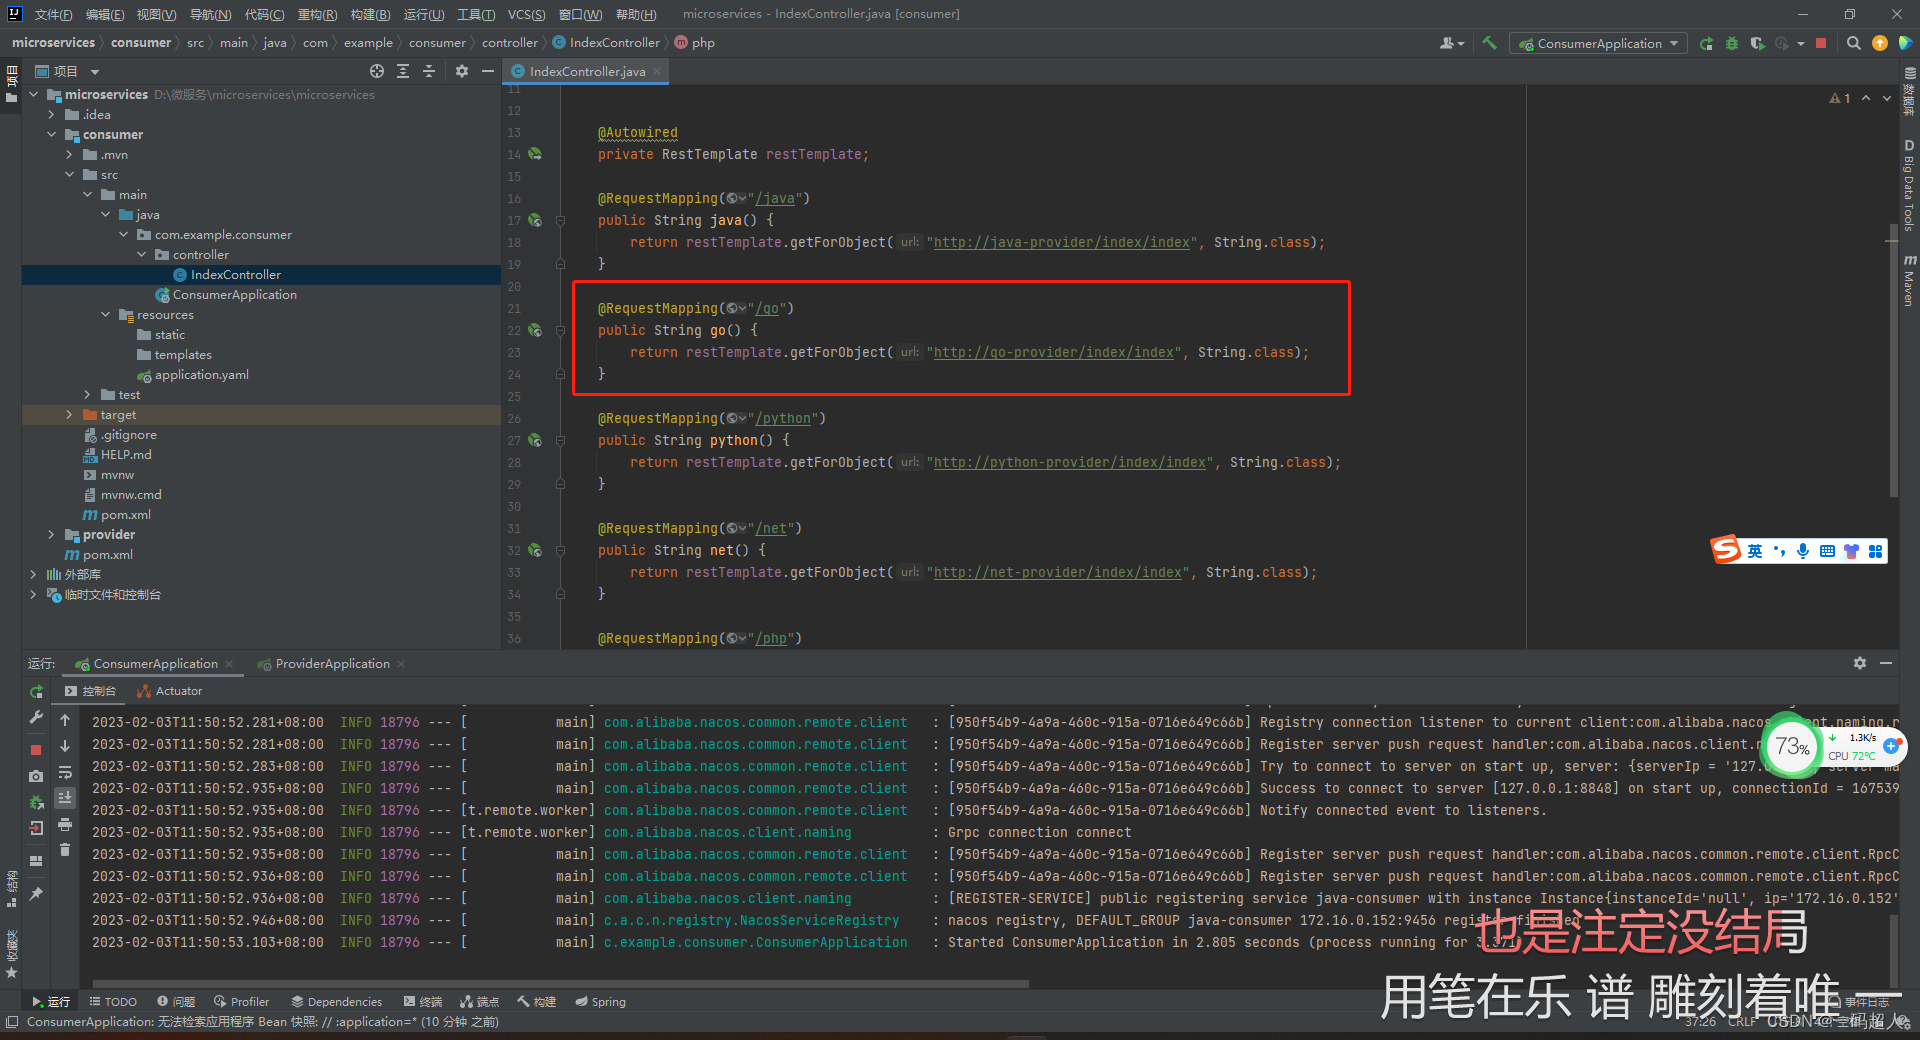
@RequestMapping("/go")
public String go() {
return restTemplate.getForObject("http://go-provider/index/index", String.class);
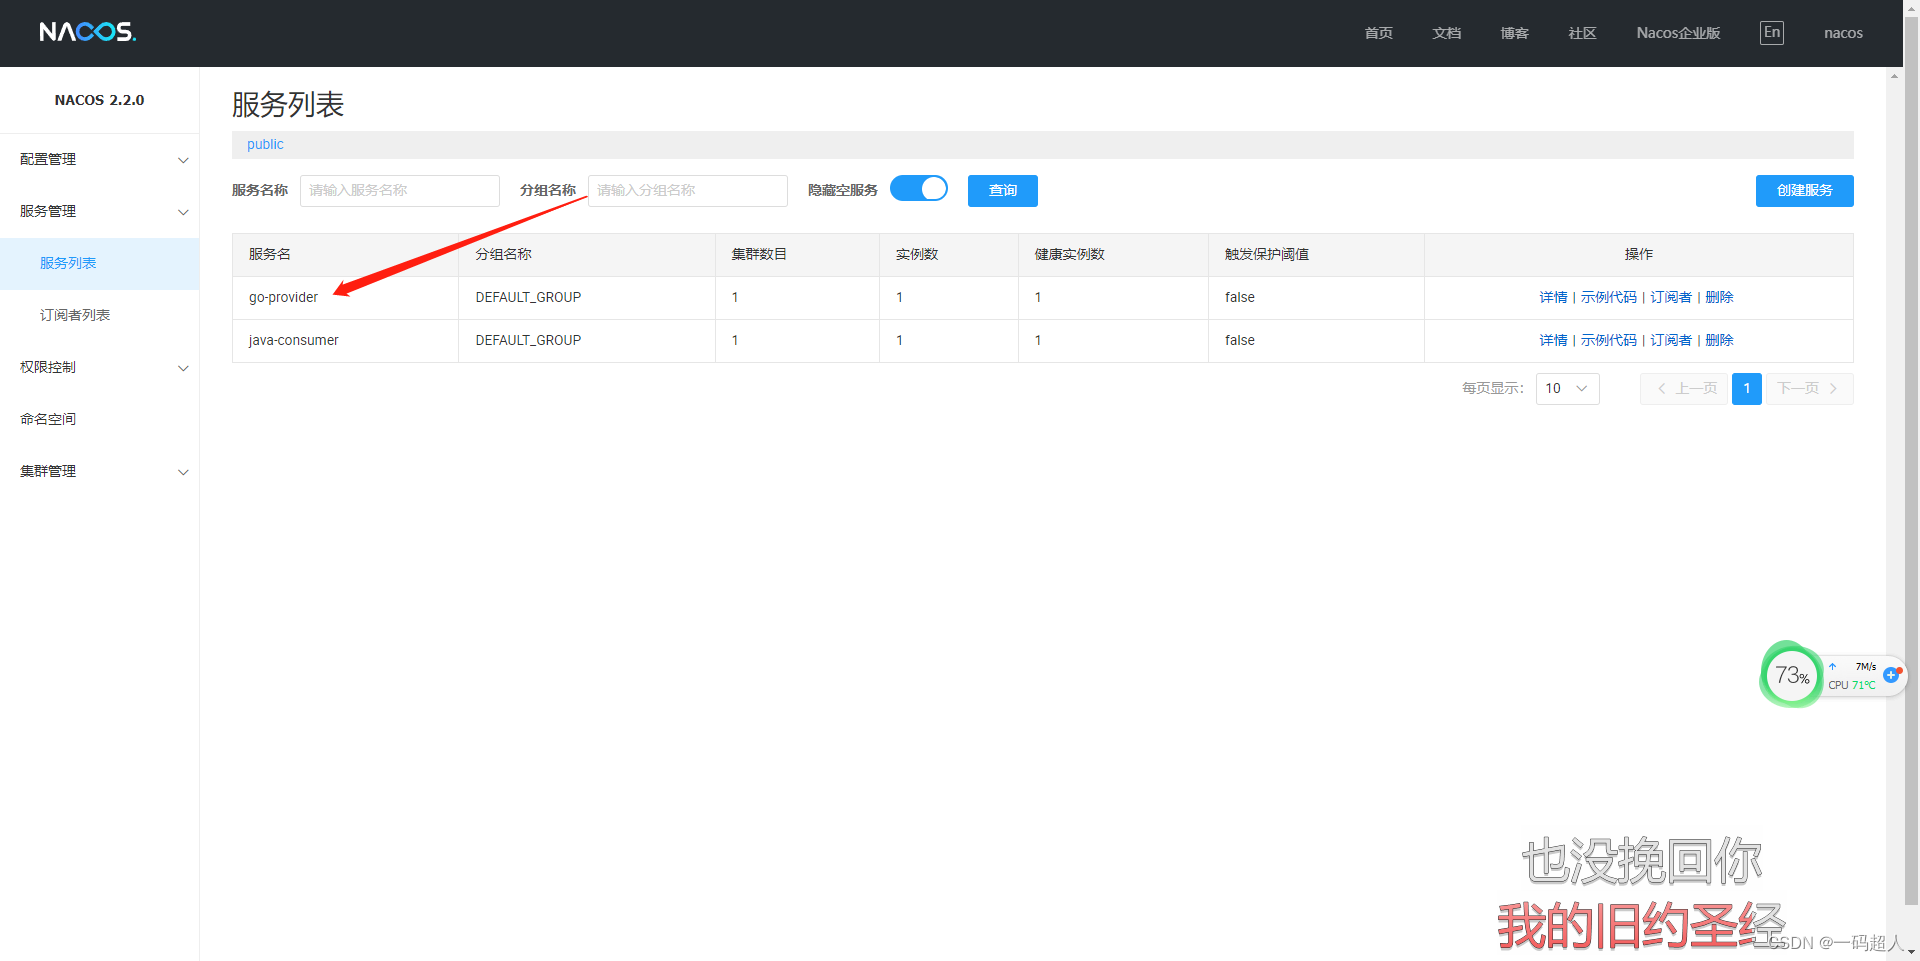
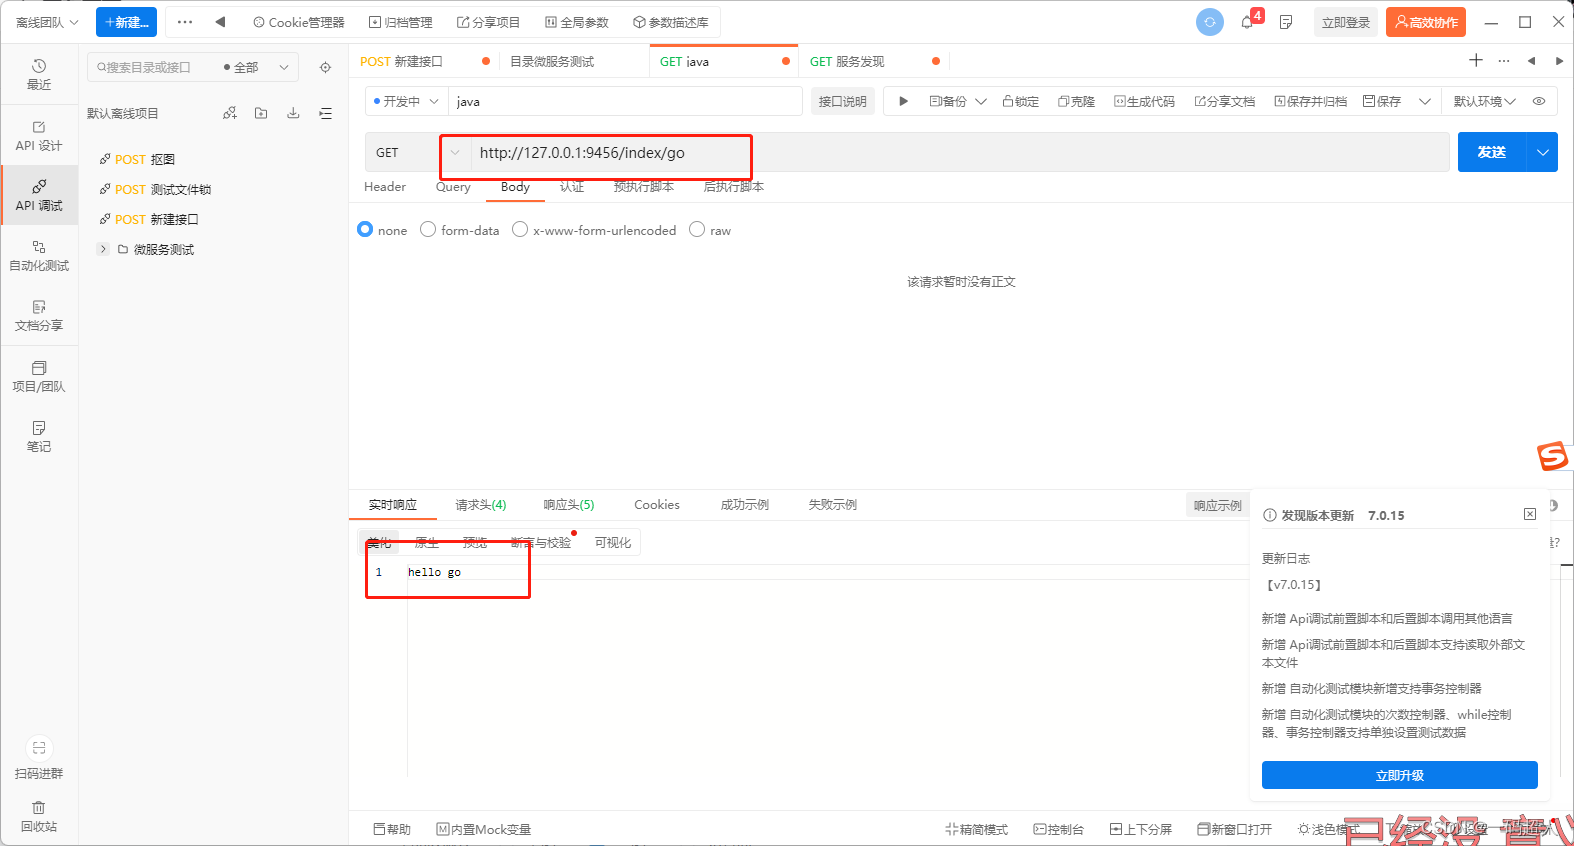
}测试结果
五、配置Python服务者
nacos依赖
pip install nacos-sdk-python使用flask框架集成,注意需要加入定时任务来发送心跳,更新nacos健康状态。
from flask import Flask
import nacos
from flask_apscheduler import APScheduler

app = Flask(__name__)
# Nacos服务器地址
SERVER_ADDRESSES = "127.0.0.1:8848"
# 命名空间
NAMESPACE = "public"
# 获取Nacos客户端工具,四个参数(Nacos服务器地址,命名空间,用户名,密码)
client = nacos.NacosClient(SERVER_ADDRESSES, namespace=NAMESPACE)
# 组名
# group = "DEFAULT_GROUP"
# 服务名称
SERVER_NAME = "python-provider"
# 注册服务实例
client.add_naming_instance(SERVER_NAME, "127.0.0.1", 5000)
# 定时任务

scheduler = APScheduler()


# 定时任务:发送给nacos进行健康检查
@scheduler.task("interval", id='do_job_1', seconds=10)
def refresh_session():
    client.send_heartbeat(SERVER_NAME, "127.0.0.1", 5000)
    pass


scheduler.init_app(app=app)
scheduler.start()


@app.route('/index/index')
def index():  # put application's code here
    return 'Hello python!'


if __name__ == '__main__':
    app.run()

消费者添加远程调用
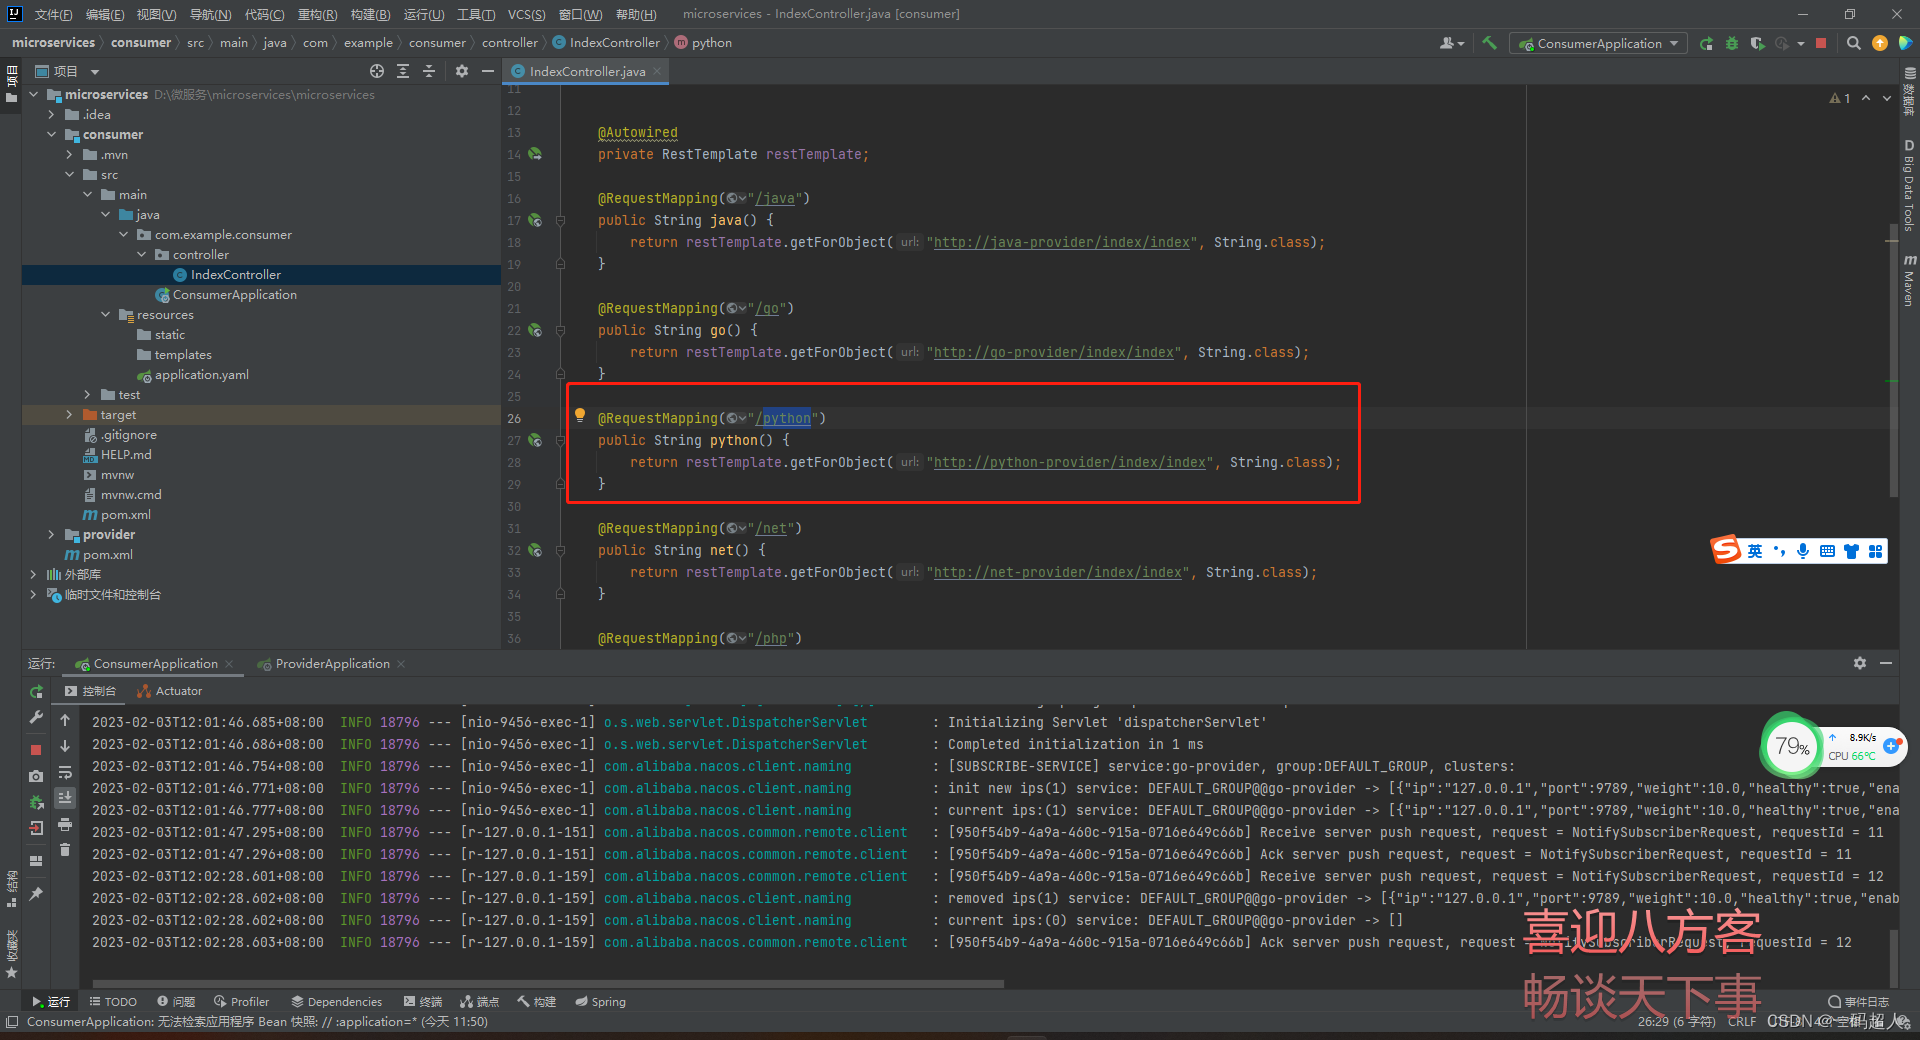
    @RequestMapping("/python")
    public String python() {
        return restTemplate.getForObject("http://python-provider/index/index", String.class);
    }
测试调用

六、配置.net服务者
加入nacos依赖
dotnet add package nacos-sdk-csharp
dotnet add package nacos-sdk-csharp.AspNetCore
dotnet add package nacos-sdk-csharp.Extensions.Configuration
dotnet add package nacos-sdk-csharp.YamlParser
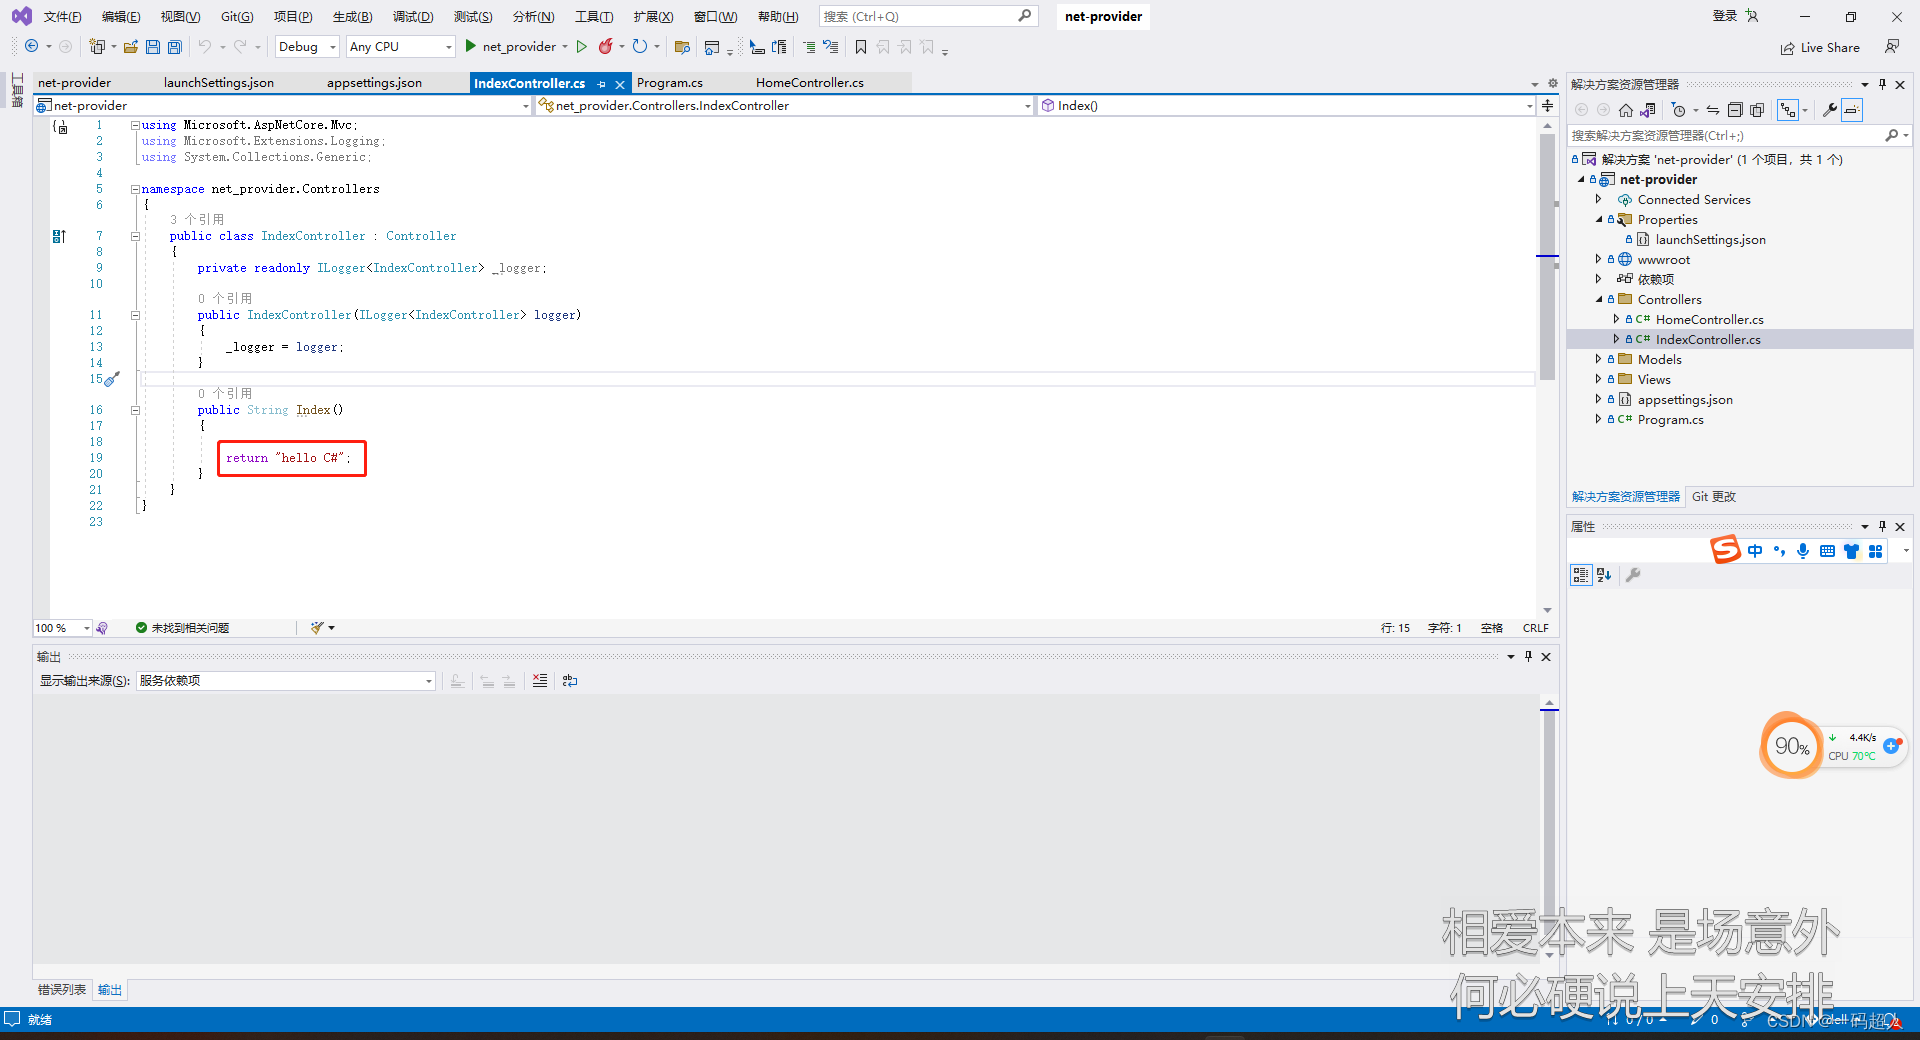
dotnet add package nacos-sdk-csharp.IniParser程序使用的是ASP.NET,.net6。
写个请求接口
配置nacos

// 服务注册
builder.Services.AddNacosAspNet(builder.Configuration, section: "nacos");
appsettings.json
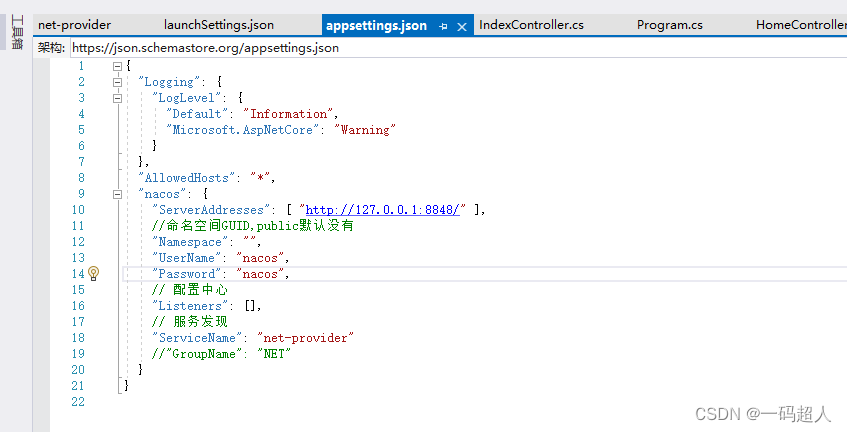
"nacos": {
"ServerAddresses": [ "http://127.0.0.1:8848/" ],
//命名空间GUID,public默认没有
"Namespace": "",
"UserName": "nacos",
"Password": "nacos",
// 配置中心
"Listeners": [],
// 服务发现
"ServiceName": "net-provider"
//"GroupName": "NET"
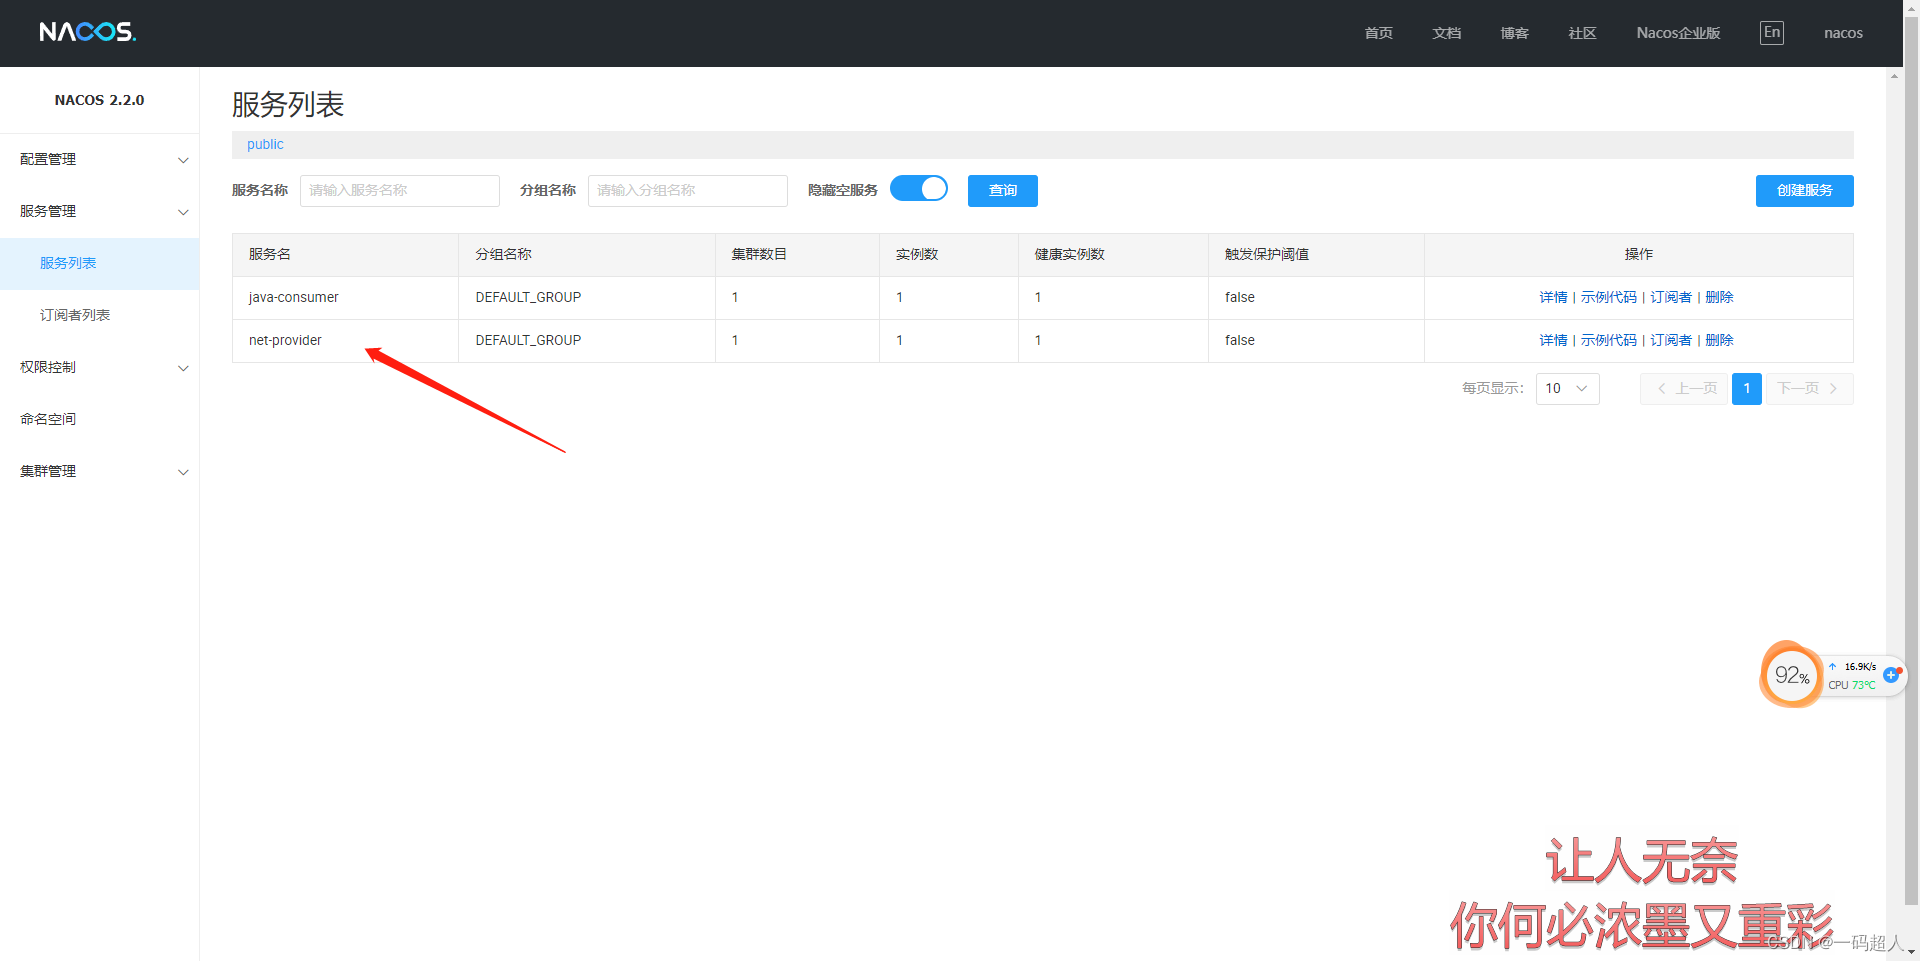
}启动.net
消费者远程调用

    @RequestMapping("/net")
    public String net() {
        return restTemplate.getForObject("http://net-provider/index/index", String.class);
    }
测试成功
七、配置PHP服务者
引入nacos依赖
composer require tinywan/nacos-sdk-php因php是脚本语言,所以使用webman常驻框架,保障健康状态的准确性。
webman官网:安装-webman手册
因需要实时更新健康状态引入crontab定时任务组件
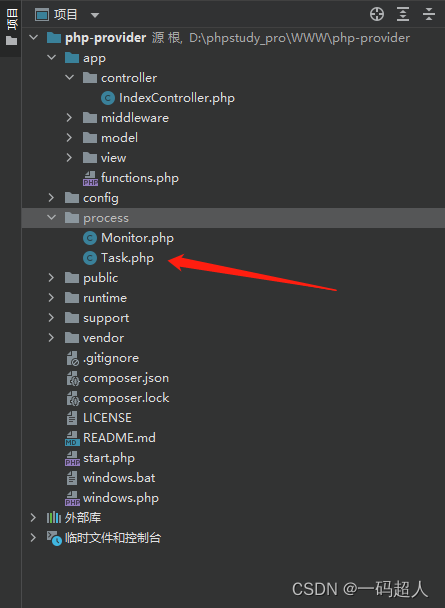
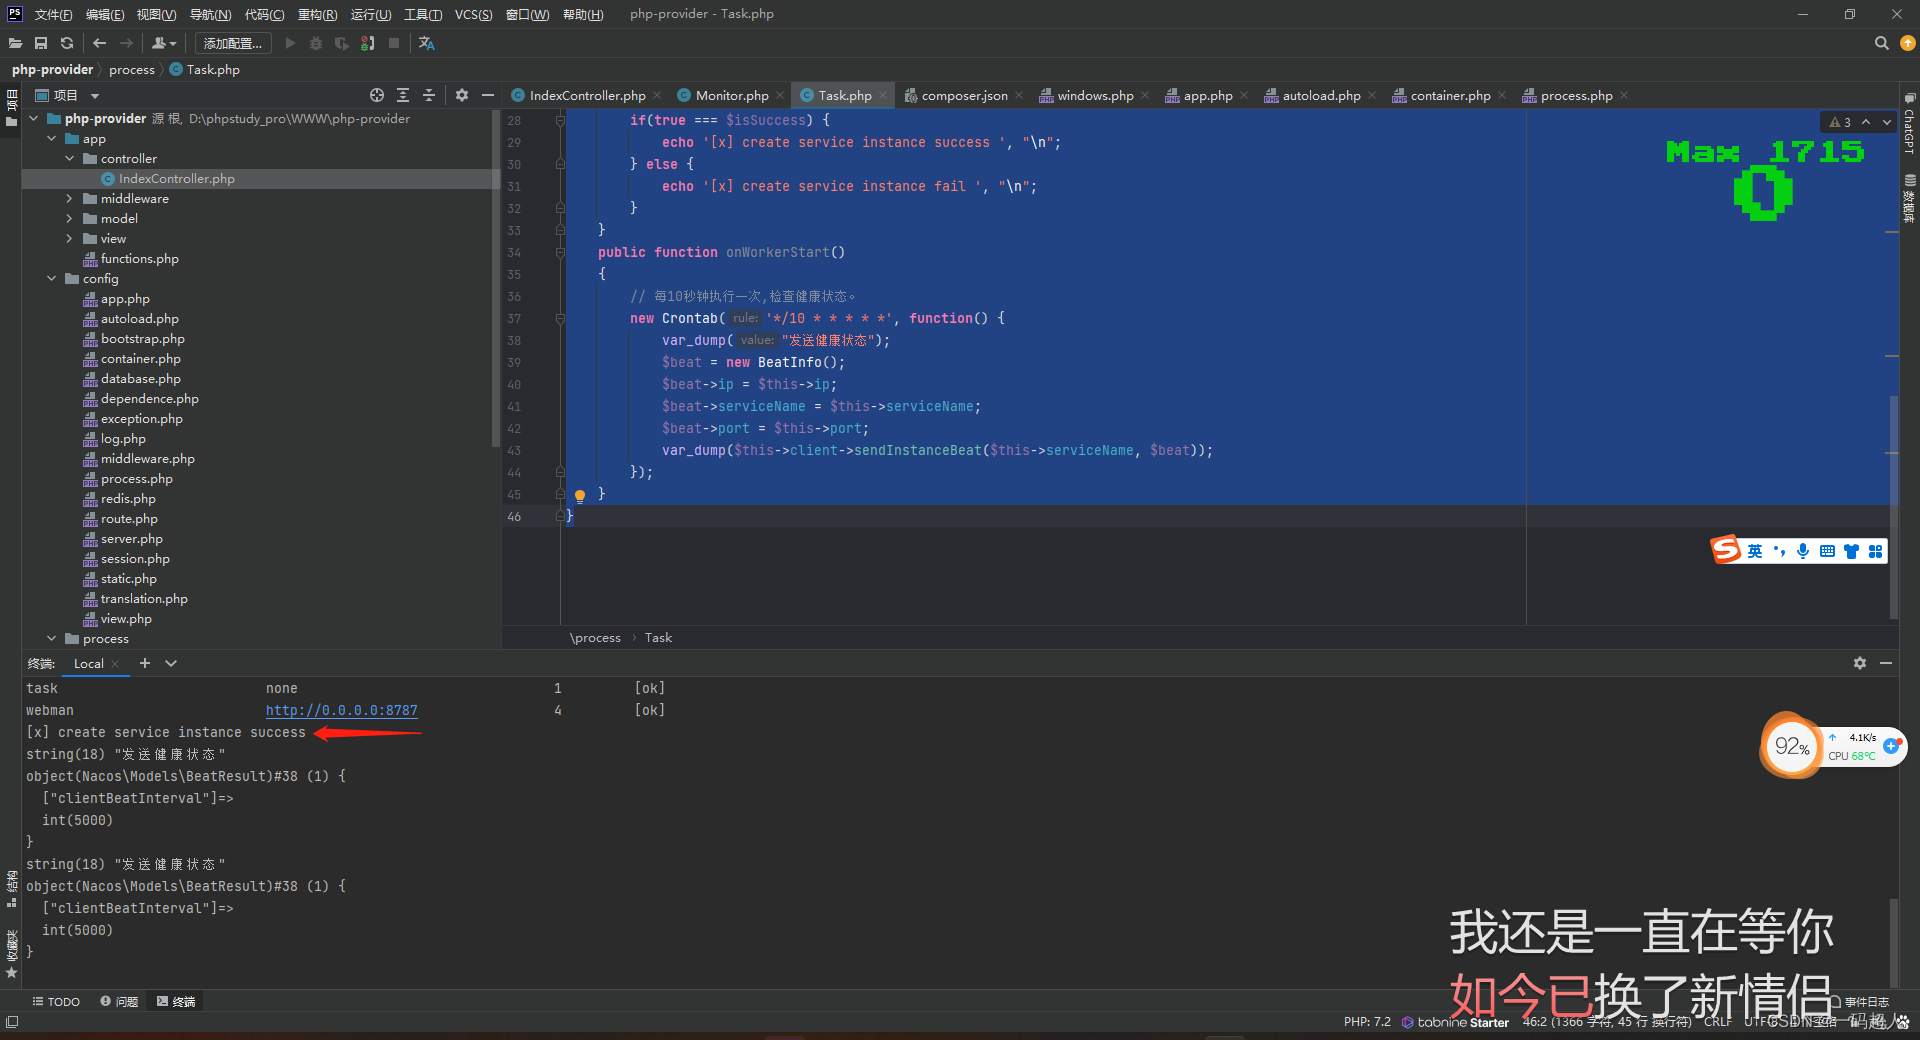
process目录下创建Task.php
<?php
namespace process;

use Nacos\Models\BeatInfo;
use Nacos\Models\ServiceInstance;
use Nacos\NacosClient;
use Workerman\Crontab\Crontab;

class Task
{
    private $client = null;
    private $serviceName = 'php-provider';
    private $ip = '172.16.0.152';
    private $port = 8787;
    public function __construct(){
        $this->client = new NacosClient('localhost', 8848);

        $serviceName  = $this->serviceName;
        $instance = new ServiceInstance();
        $instance->serviceName = $serviceName;
        $instance->ip = $this->ip;
        $instance->port = $this->port;
        $instance->healthy = true;
        $instance->ephemeral = false;
        $instance->weight = 1;

        $isSuccess = $this->client->createInstance($instance);
        if(true === $isSuccess) {
            echo '[x] create service instance success ', "\n";
        } else {
            echo '[x] create service instance fail ', "\n";
        }
    }
    public function onWorkerStart()
    {
        // 每10秒钟执行一次,检查健康状态。
        new Crontab('*/10 * * * * *', function() {
            var_dump("发送健康状态");
            $beat = new BeatInfo();
            $beat->ip = $this->ip;
            $beat->serviceName = $this->serviceName;
            $beat->port = $this->port;
            var_dump($this->client->sendInstanceBeat($this->serviceName, $beat));
        });
    }
}
使任务生效

    'task' => [
        'handler' => process\Task::class
    ],
简单写个请求接口

启动程序
配置消费者远程调用
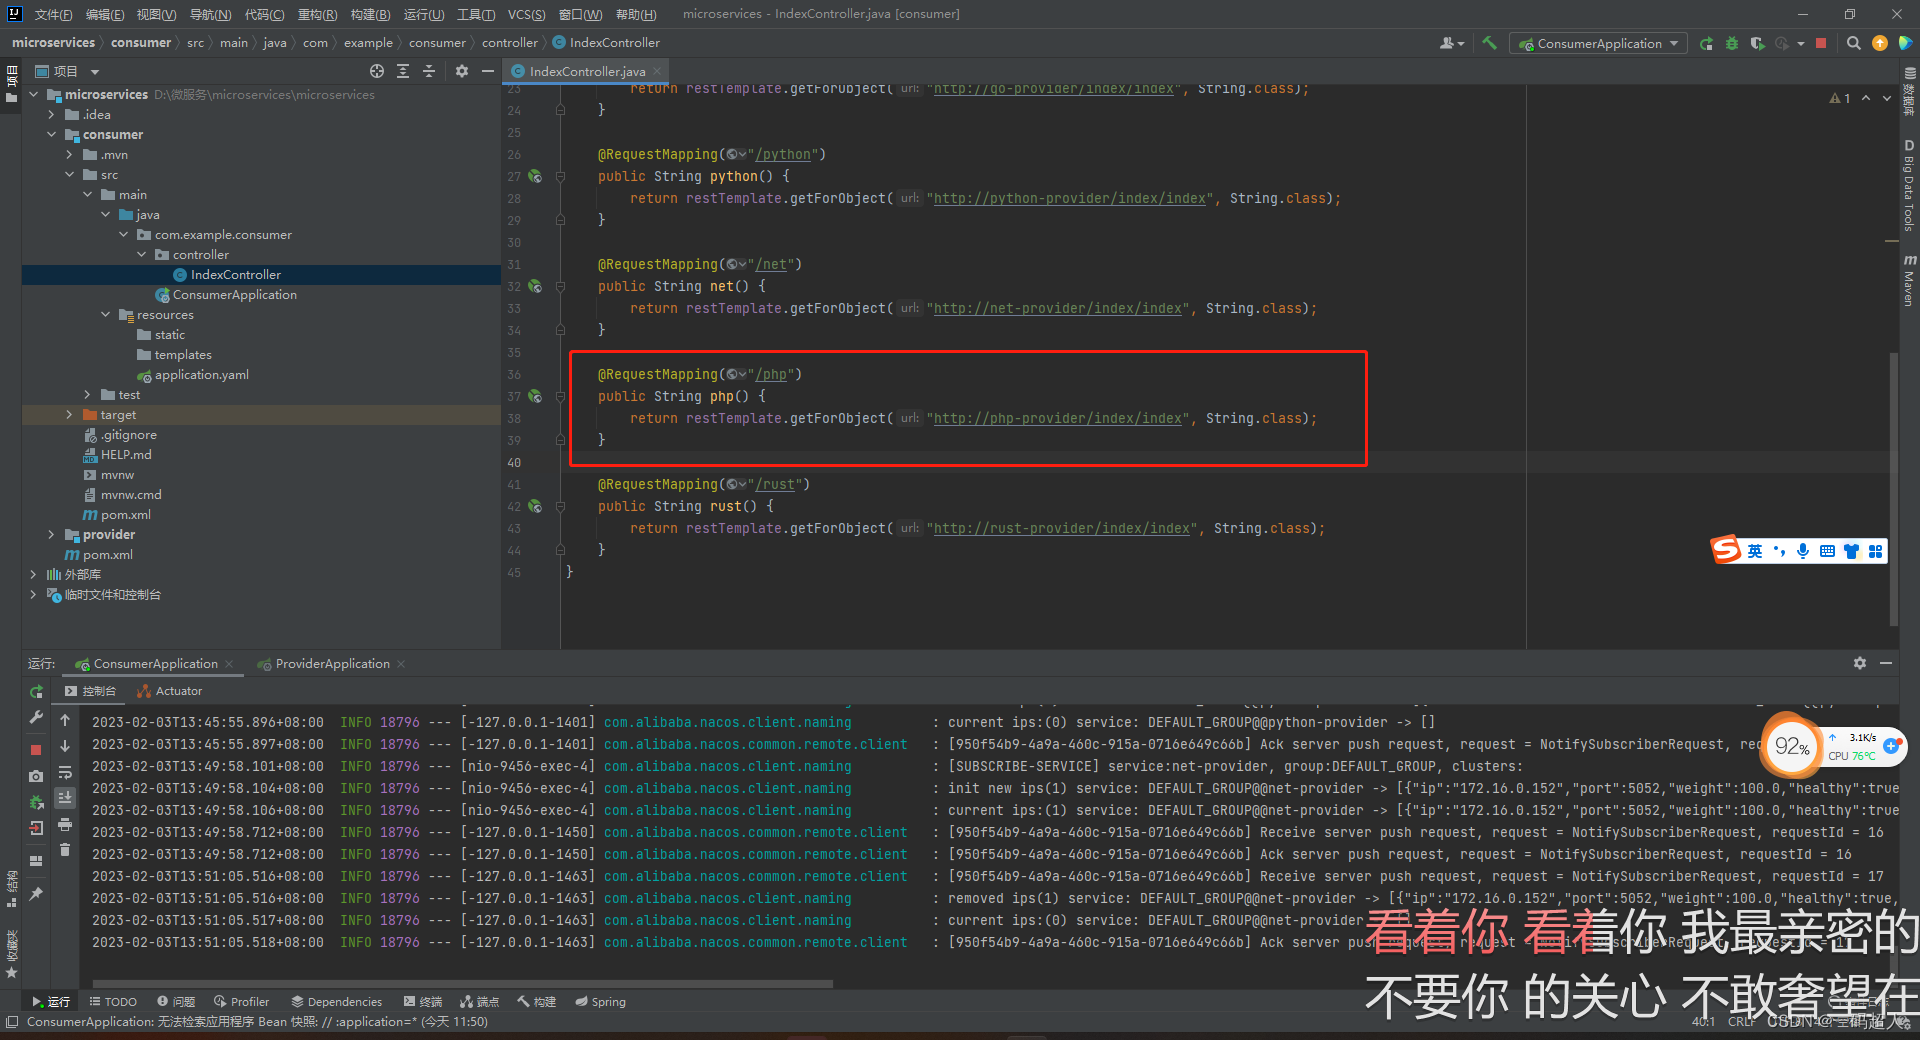
    @RequestMapping("/php")
    public String php() {
        return restTemplate.getForObject("http://php-provider/index/index", String.class);
    }
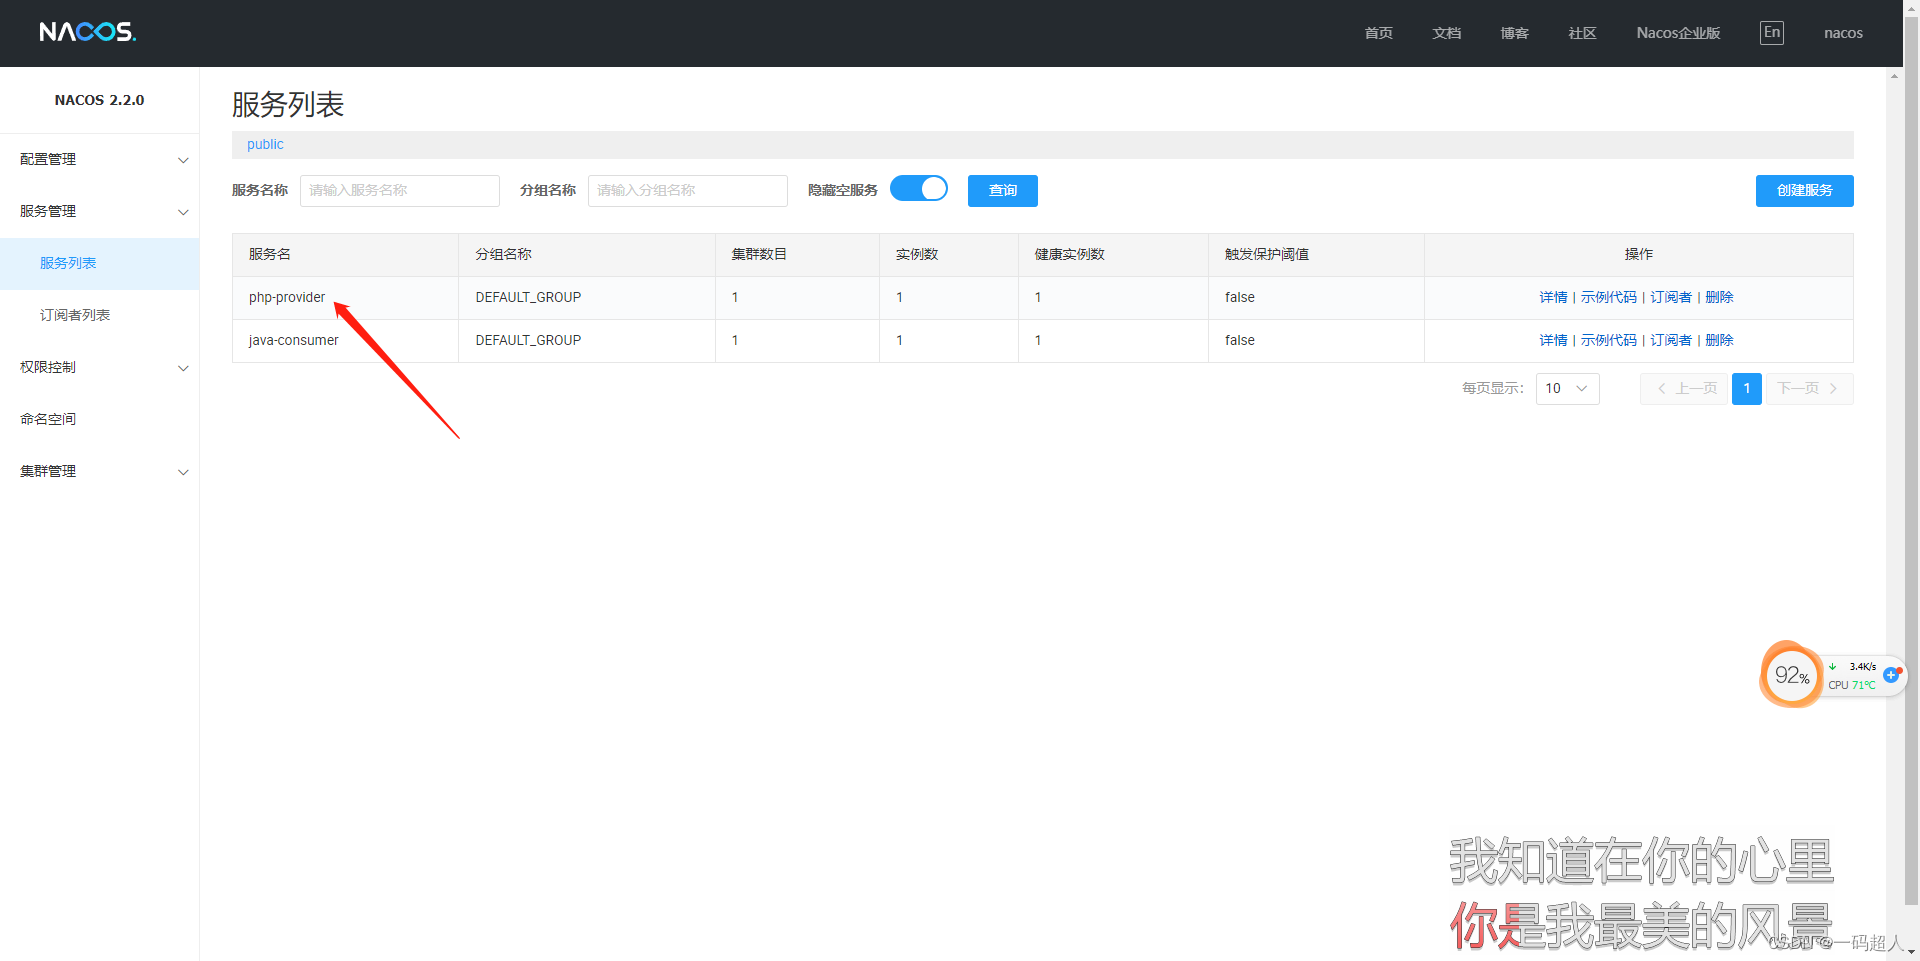
测试成功!
八、配置Rust服务者
嗯。。。rust目前没看到官方或者兼容比较好的包,这个我是根据Nacos官方openapi自己写了只能。
openapi地址:Open API 指南
原理也很好理解,作为提供服务者,走注册和创建服务接口,然后定时发送健康状态就好啦!
涉及全局配置那就调用配置获取接口
web框架依赖
[dependencies]
actix-web = "3"
actix-rt = "1"
serde = "1"
reqwest = { version = "0.10.4" , features= ["blocking"]}
async-std = "1.5"
percent-encoding = "2.1.0"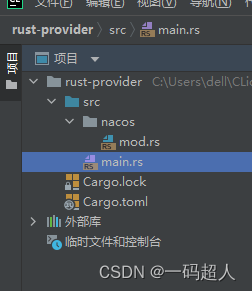
main.rs
use actix_web::{get, App, HttpResponse, HttpServer, Responder};
use serde::{Serialize, Deserialize};

static NACOS_SERVER: &str = "http://127.0.0.1:8848/nacos";
static PROVIDER_NAME: &str = "rust-provider";
static PROVIDER_HOST: &str = "127.0.0.1";
static PROVIDER_PORT: i32 = 8666;
mod nacos;
#[get("/index/index")]
async fn index() -> impl Responder {
    HttpResponse::Ok().body("hello rust")
}

#[actix_web::main]
async fn main() {
    nacos::register_service();
    println!("111");
    HttpServer::new(|| {
        App::new()
            .service(index)
    }).bind("127.0.0.1:8666").unwrap().run();
    nacos::ping_schedule();
}
mod.rs
use crate::NACOS_SERVER;
use crate::PROVIDER_HOST;
use crate::PROVIDER_NAME;
use crate::PROVIDER_PORT;
use percent_encoding::{utf8_percent_encode, AsciiSet, CONTROLS};
use std::time::Duration;
use async_std::task;

const FRAGMENT: &AsciiSet = &CONTROLS.add(b' ').add(b'"').add(b'{').add(b'}').add(b':').add(b',');
///
/// https://nacos.io/
/// http://127.0.0.1:8848/nacos/v1/ns/instance?serviceName=rust-microservice&ip=127.0.0.1&port=8080
pub fn register_service() {
    println!("register service: {:?}", NACOS_SERVER);

    task::spawn(
        async {
            let client = reqwest::blocking::Client::new();
            let body = client.post(
                format!("{}/v1/ns/instance?serviceName={}&ip={}&port={}",
                        NACOS_SERVER,
                        PROVIDER_NAME,
                        PROVIDER_HOST,
                        PROVIDER_PORT).as_str()
            ).send().unwrap().text();
            println!("{:?}", body);
        }
    );
}
fn ping() {
    //
    // nacos 文档中没有说明 metadata 必选, 测试发现,如果没有 metadata 信息, java 端会有错误
    //
    let beat = format!("{

   {\"serviceName\":\"{}\",\"ip\":\"{}\",\"port\":\"{}\",\"weight\":1,\"metadata\":{

   {}}}}", PROVIDER_NAME, PROVIDER_HOST, PROVIDER_PORT);
    let  encode = utf8_percent_encode(&beat, FRAGMENT).to_string();
    task::spawn(
        async move {

            let client = reqwest::blocking::Client::new();
            let _body = client.put(
                format!("{}/v1/ns/instance/beat?serviceName={}&beat={}",
                        NACOS_SERVER,
                        PROVIDER_NAME,
                        encode
                ).as_str()
            ).send().unwrap().text();
            println!("ping result:{:?}", _body);
        }
    );
}


pub fn ping_schedule() {
    println!("ping schedule");
    loop {
        ping();
        std::thread::sleep(Duration::from_secs(10));
    }
}
运行测试,那个启动是真的慢。。。。

配置消费者远程调用

    @RequestMapping("/rust")
    public String rust() {
        return restTemplate.getForObject("http://rust-provider/index/index", String.class);
} 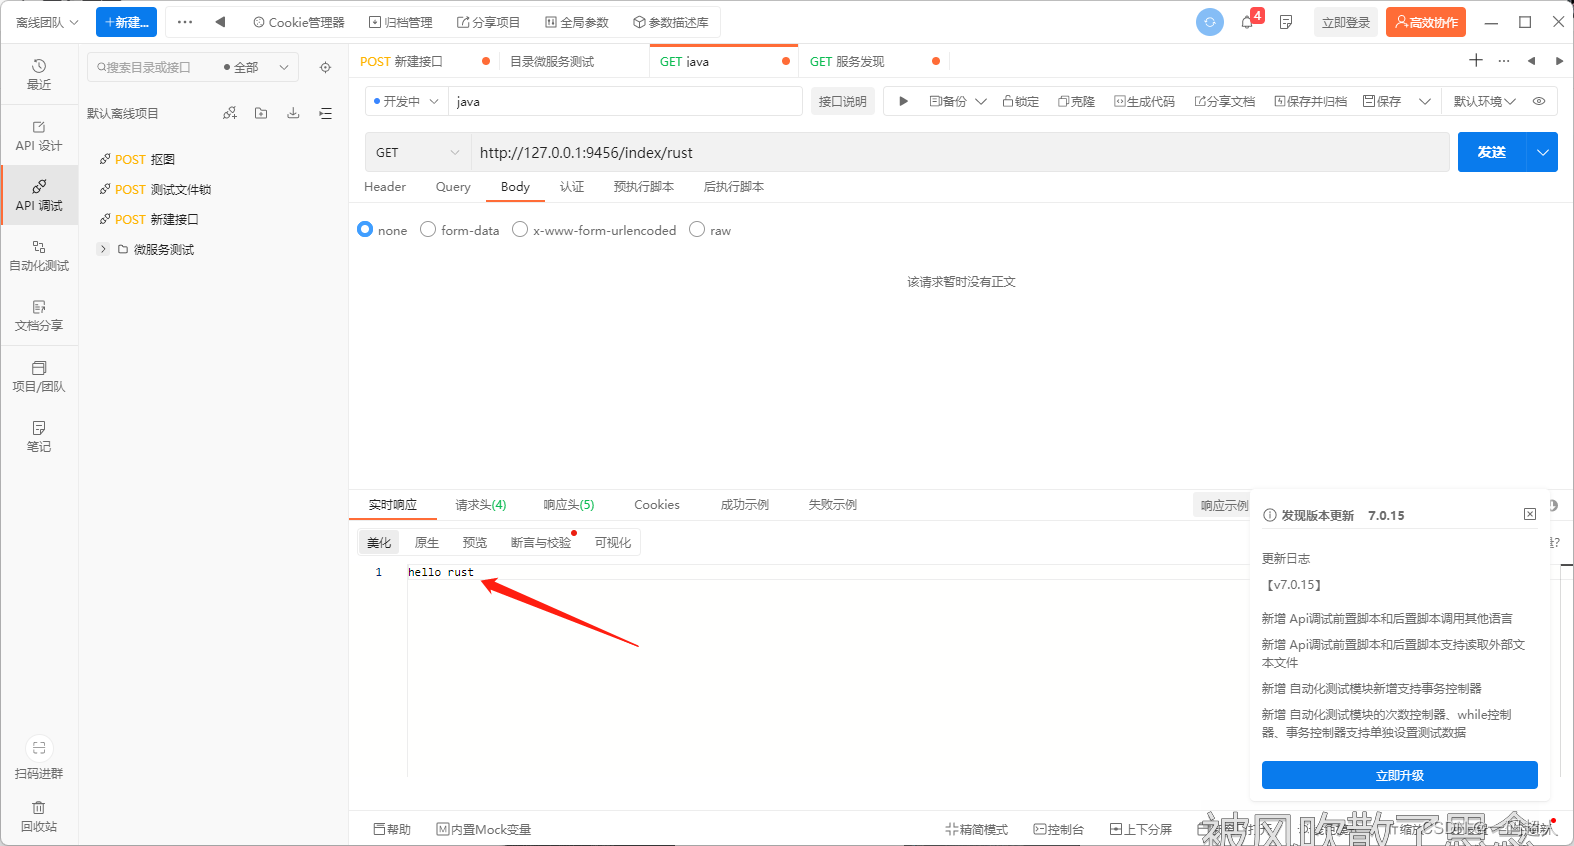
测试没有问题!
九、总结
嗯。。。感觉这玩意真的方便,如果一个项目用微服务集成,那真的可以不考虑语言了,由注册中心管理各个服务来给消费者远程调用,还支持服务的负载均衡。真好~!加上自动化部署和集群管理k8s、docker那真的就神了,不过微服务还是需要链路追踪来检查问题。成本呢也会很高,涉及对象存储、redis公共缓存等,也就是说集群了资源数据得公共才行,统一管理,不然我怕乱。。。
Nacos真的很强大,整体概念就是可创建全局配置,如:OSS配置信息、redis配置信息等等等,然后各个服务者可以获取该配置来使用,这样改个redis地址密码啥的不需要重新部署,它是动态获取的,直接在nacos后台修改就行了!很方便,再就是支持服务者集群权重健康状态等等,真的很强大!
最后贴上源代码地址,代码很简单,深入学习。
链接:https://pan.baidu.com/s/1qnAH-lnmQP3J6bFlKsy5xw
提取码:duzp