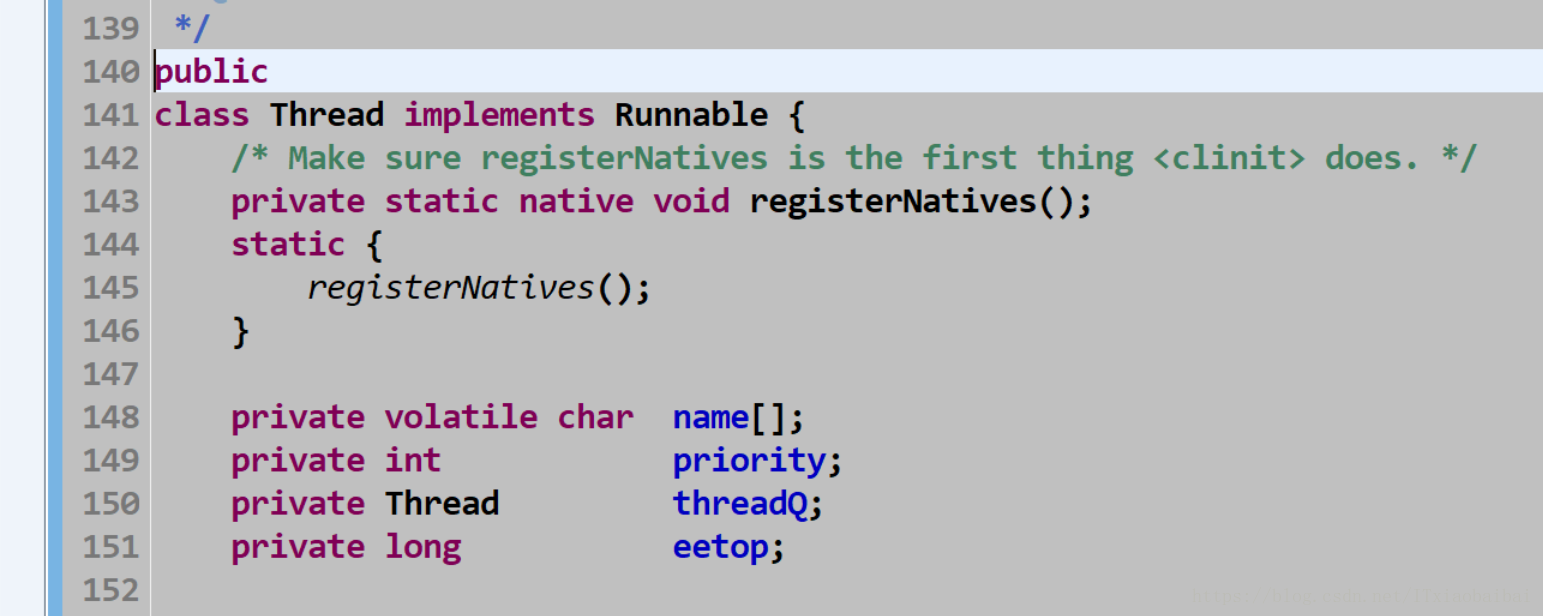
1>>>>>>>>继承Thread
第一步:继承 Thread 类
第二步:重写 run() 方法
第三步:创建对象,调用 start 方法,启动线程。
package com.wbs.Thread;

public class MyThread extends Thread {
	@Override
	public void run() {
		for (int i = 0; i < 10; i++) {
			System.out.println(Thread.currentThread().getName()+"    "+"第"+i+"次执行");
		}
	}


	public static void main(String[] args) {
		//创建线程
		MyThread th=new MyThread();
		th.start();
	}
}

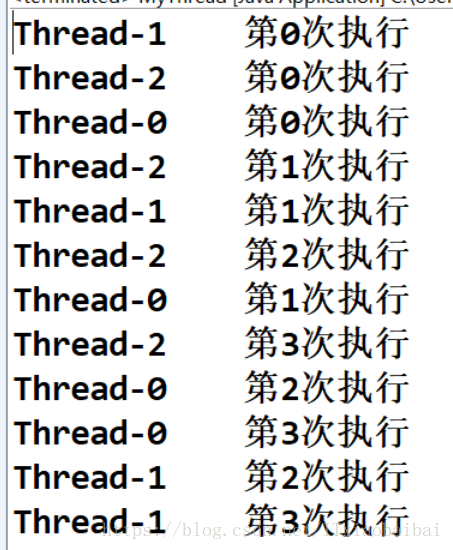
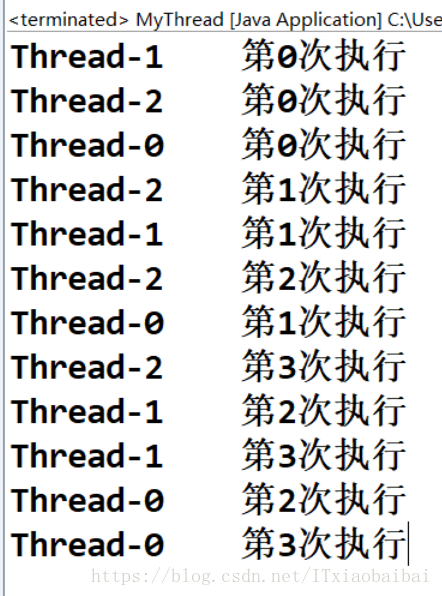
多线程
package com.wbs.Thread;

public class MyThread extends Thread {
	@Override
	public void run() {
		for (int i = 0; i < 4; i++) {
			System.out.println(Thread.currentThread().getName()+"    "+"第"+i+"次执行");
		}
	}


	public static void main(String[] args) {
		//创建线程
		MyThread th1=new MyThread();
		MyThread th2=new MyThread();
		MyThread th3=new MyThread();
		th1.start();
		th2.start();
		th3.start();
	}
}
2>>>>>>>>>实现Runnable接口
第一步:实现 Runnable 接口
第二步:重写 run 方法
第三步:创建一个 Thread 对象
第四步:通过 Thread 对象,调用 Thread 类中的 start() 方法启动线程
package com.wbs.Thread;

public class MyThread1 implements Runnable {
	@Override
	public void run() {
		for (int i = 0; i < 4; i++) {
			System.out.println(Thread.currentThread().getName()+"    "+"第"+i+"次执行");
		}
	}


	public static void main(String[] args) {
		//创建线程
		MyThread th1=new MyThread();
		MyThread th2=new MyThread();
		MyThread th3=new MyThread();
		th1.start();
		th2.start();
		th3.start();
	}

}

注意:在java开发的过程中一般是实现Runnable接口,因为java是单继承的,有时候继承了一些类之后,不能再继承,其实Thread类也是实现了Runnable接口