1. 新建request.js
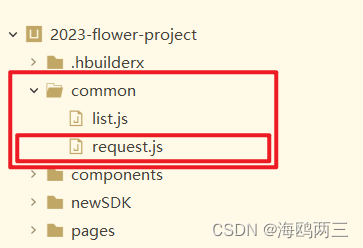
在目录下新建common文件,common文件下新建request.js。目录结构如下:
common/request.js
在request.js里面写入:
var baseUrl = 'http://localhost:9999' //基本路径

//接口封装
function request(datas) {


	//Promise 异步编程的一种解决方案
	var promise = new Promise((resolve, reject) => {


		uni.request({


			url: baseUrl + datas.url,
			data: datas.data || {

    },
			method: datas.method || 'GET',
			header: {


				'Authorization':'Bearer '+ datas.Authorization,  //token
				'content-type': datas.type ||
					'application/json;charset=UTF-8', //内容类型(默认 application/json;charset=UTF-8)
			},
			success: function(res) {


				resolve(res)
			},
			fail: function(err) {


				console.log(err)
				reject(err)
			}
		})
	})
	return promise;
}
module.exports = request;
2. 在main.js中引入
import request from "common/request.js"//封装接口请求

Vue.prototype.requestfs=request  //封装接口请求
注:Vue.prototype.requestfs=request 中 requestfs用于日后项目中调用axios,用法请往后看。
3. 实际使用axios
使用模板
在方法里面直接使用以下代码接口,并且填入实际的接口路径以及参数等。因为封装时写了
Vue.prototype.requestfs=request //封装接口请求这句话,所以调用axios的时候直接使用 this.requestfs即可。
this.requestfs({


	url: '',//填写请求路径
	data: '',//填写参数(看后端是什么传参方式)
	method: "POST", //填写请求,GET默认不写本行代码
	Authorization: this.token, //填写token (看接口请求是否需要传token)
}).then(res => {


	//if (res.data.msg == "success") {  //根据后端返回数据判断
		console.log("请求成功",res)
	//}
})
使用案例
1. 以GET请求为例,最简单的请求数据渲染列表
封装的时候默认是GET请求,故方法里面只需填写请求路径url即可。
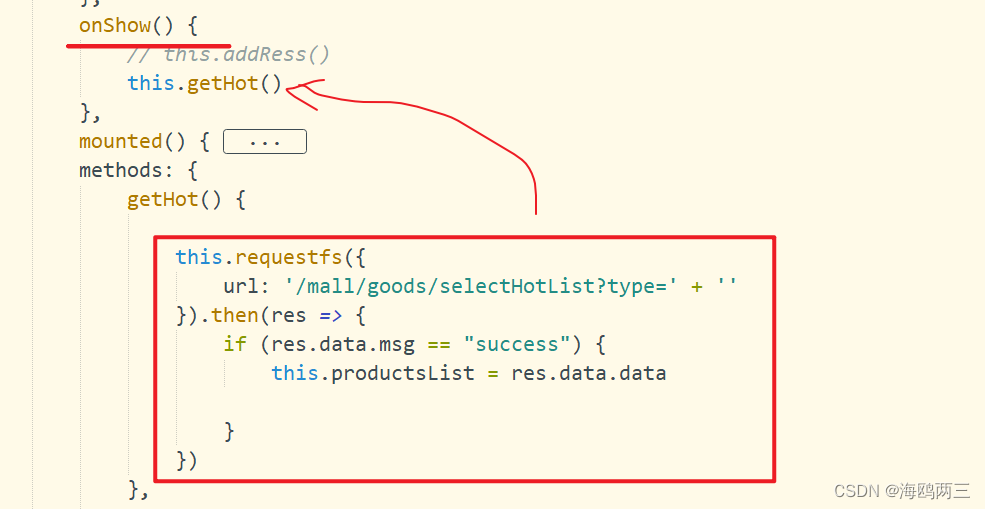
onShow() {


	this.getHot()
},
methods: {


	getHot() {


		this.requestfs({


			url: '/mall/goods/selectHotList?type=' + ''
		}).then(res => {


			if (res.data.msg == "success") {


				this.productsList = res.data.data
			}
		})
	},
}
2. 以GET请求为例,需要token
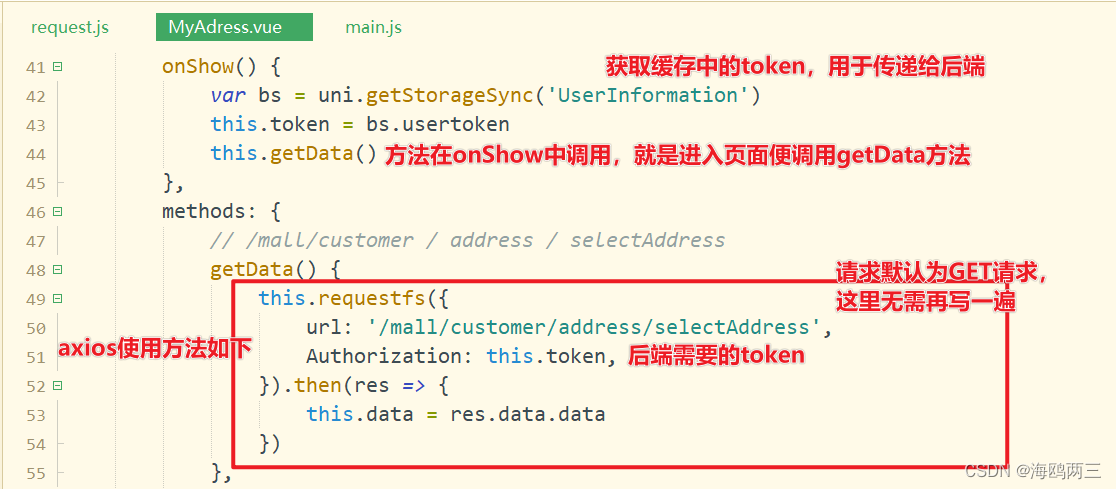
onShow() {


	var bs = uni.getStorageSync('UserInformation')
	this.token = bs.usertoken
	this.getData()
},
methods: {


	getData() {


		this.requestfs({


			url: '/mall/customer/address/selectAddress',
			Authorization: this.token,
		}).then(res => {


			this.data = res.data.data
		})
	},
}
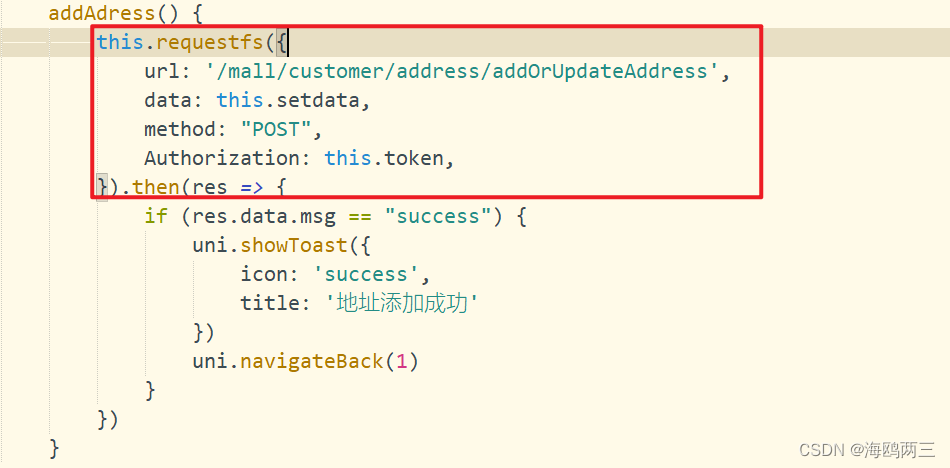
3. 以POST请求为例,并且需要传递参数和token