文章目录
多线程案例
阻塞队列
概念
阻塞队列是一种特殊的队列. 也遵守 “先进先出” 的原则.
阻塞队列能是一种线程安全的数据结构, 并且具有以下特性:
- 当队列满的时候, 继续入队列就会阻塞, 直到有其他线程从队列中取走元素.
- 当队列空的时候, 继续出队列也会阻塞,直到有其他线程往队列中插入元素.
阻塞队列的一个典型应用场景就是 “生产者消费者模型”. 这是一种非常典型的开发模型.
生产者消费者模型
生产者消费者模式就是通过一个容器来解决生产者和消费者的强耦合问题。
生产者和消费者彼此之间不直接通讯,而通过阻塞队列来进行通讯,所以生产者生产完数据之后不用等。待消费者处理,直接扔给阻塞队列,消费者不找生产者要数据,而是直接从阻塞队列里取.
- 阻塞队列就相当于一个缓冲区,平衡了生产者和消费者的处理能力
- 阻塞队列也能使生产者和消费者之间 解耦.
消息队列:特殊的队列,相当于在阻塞队列的基础上,加了一个“消息的类型”。按照指定类别进行先进先出。
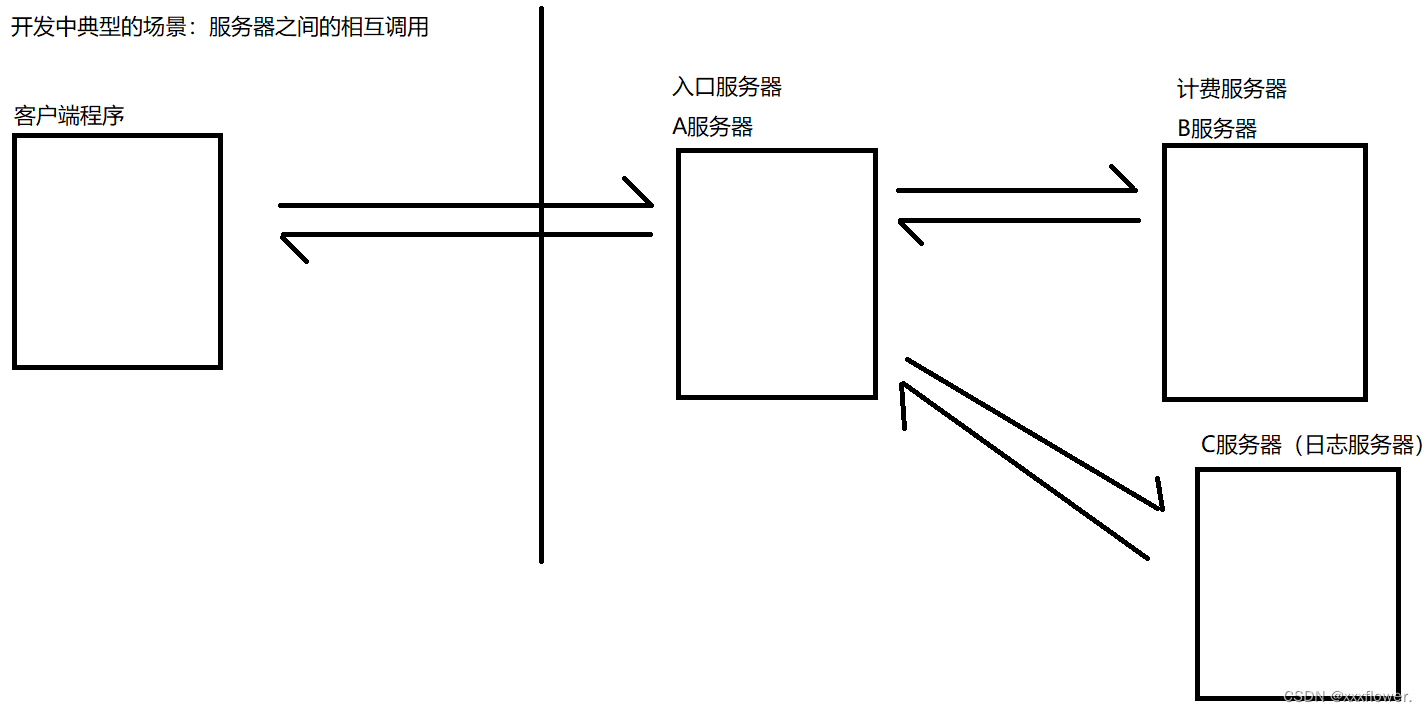
在以上场景中:此时A把请求转发给B,B处理完之后把结果反馈给A。此时就可以视为是A调用了B。此时A和B之间的耦合是比较高的。如果B出现问题了,那么A也有可能会出现问题。若此时再加一个服务器C,就要重新修改A的代码,在此过程中,很容易出现bug。
针对以上场景,使用生产者消费者模型就可以有效的降低耦合。

此时A和B之间的耦合就大大降低了。
A不知道B,A只知道队列。同理B不知道A,B也只知道队列。AB任何一个出bug了对另一个的影响是非常小的。
我们来写一个生产者消费者模型:
import java.util.concurrent.BlockingQueue;
import java.util.concurrent.LinkedBlockingQueue;

public class ThreadDemo22 {


    public static void main(String[] args) {


        BlockingQueue<Integer> blockingQueue = new LinkedBlockingQueue<>();

        //创建两个线程,来作为生产者和消费者
        Thread customer = new Thread(()->{


            while(true){


                try {


                    Integer result = blockingQueue.take();
                    System.out.println("消费元素:"+result);
                } catch (InterruptedException e) {


                    throw new RuntimeException(e);
                }
            }
        });
        customer.start();
        Thread producer = new Thread(()->{


            int count = 0;
            while (true){


                try {


                    blockingQueue.put(count);
                    System.out.println("生产元素:"+ count);
                    count++;
                    //控制500ms生产一个元素
                    Thread.sleep(500);
                } catch (InterruptedException e) {


                    throw new RuntimeException(e);
                }
            }
        });
        producer.start();
    }
}
标准库中的阻塞队列
public interface BlockingQueue<E> extends Queue<E> {

    ...};
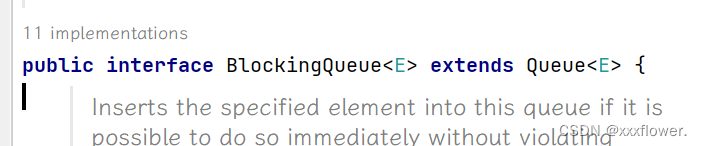
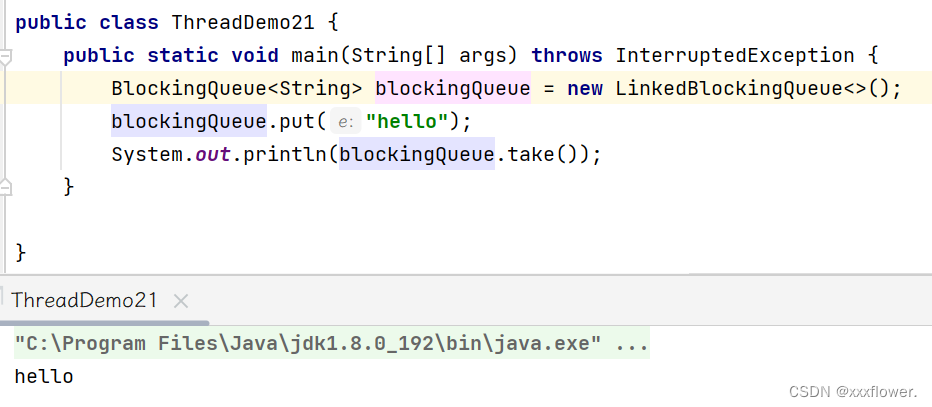
BlockingQueue 是一个接口. 真正实现的类是 LinkedBlockingQueue.
put 方法用于阻塞式的入队列, take 用于阻塞式的出队列.
BlockingQueue 也有 offer, poll, peek 等方法, 但是这些方法不带有阻塞特性
自己实现一个阻塞队列
import java.util.concurrent.BlockingQueue;
//自己实现一个阻塞队列:
class MyBlockingQueue{
private int[] items = new int[1000];
private int head = 0;
private int tail = 0;
private int size = 0;
//入队列
public void put(int value) throws InterruptedException {
synchronized (this) {
while (size == items.length) {
//队列满了,此时要产生阻塞
this.wait();
}
items[tail] = value;
tail++;
if (tail >= items.length) {
tail = 0;
}
size++;
//唤醒 take 中的wait
this.notify();
}
}
//出队列
public Integer take() throws InterruptedException {
int result = 0;
synchronized (this){
while(size == 0){
this.wait();
}
result = items[head];
head++;
if(head >= items.length){
head = 0;
}
size--;
//唤醒 put中的wait
this.notify();
}
return result;
}
}
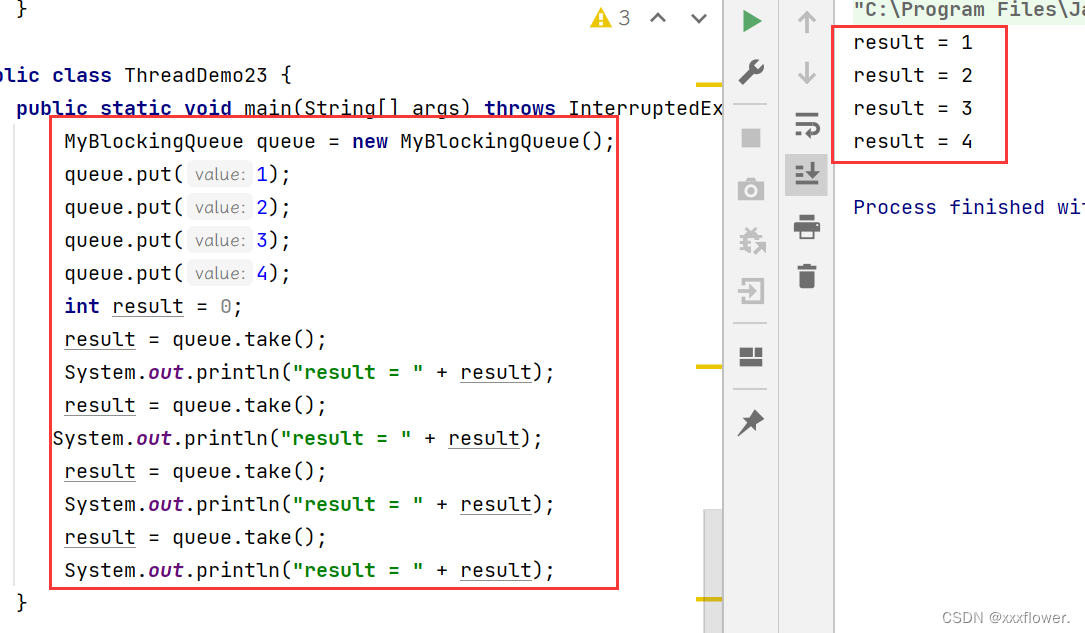
public class ThreadDemo23 {
public static void main(String[] args) throws InterruptedException {
/*MyBlockingQueue queue = new MyBlockingQueue();
queue.put(1);
queue.put(2);
queue.put(3);
queue.put(4);
int result = 0;
result = queue.take();
System.out.println("result = " + result);
result = queue.take();
System.out.println("result = " + result);
result = queue.take();
System.out.println("result = " + result);
result = queue.take();
System.out.println("result = " + result);*/
MyBlockingQueue queue = new MyBlockingQueue();
Thread customer = new Thread(()->{
while(true){
try {
Integer result = queue.take();
System.out.println("消费元素:"+result);
Thread.sleep(500);
} catch (InterruptedException e) {
throw new RuntimeException(e);
}
}
});
customer.start();
Thread produce = new Thread(()->{
int count = 0;
while(true){
System.out.println("生产元素:"+count);
try {
queue.put(count);
} catch (InterruptedException e) {
throw new RuntimeException(e);
}
count++;
}
});
produce.start();
}
}
定时器
概念
定时器:指定特定时间段之后执行一个事先准备好的方法/代码。
定时器第软件开发中的一个重要组件。尤其是在网络编程的时候。类似于一个“闹钟”。达到一个设定的时间之后, 就执行某个指定好的代码.
标准库中的定时器
标准库中提供了一个 Timer 类. Timer 类的核心方法为 schedule .
schedule 包含两个参数. 第一个参数指定即将要执行的任务代码, 第二个参数指定多长时间之后 执行 (单位为毫秒).
Timer timer = new Timer();
        timer.schedule(new TimerTask() {


            @Override
            public void run() {


                System.out.println("运行定时器任务1!");
            }
        },3000);
timer.schedule();
这个方法的效果是给定时器注册一个任务,任务不会立即执行,而是在指定时间进行执行。
实现定时器
- 让被注册的任务,能够在指定时间内被执行
做法:单独在定时器内部搞一个线程,让这个线程周期性的扫描**(扫描线程)**,判定任务是否时间到。 - 一个定时器是可以注册N个任务的**(schedule线程)**,N个任务会按照最初约定的时间,按顺序执行。
这N个任务,就需要使用带有优先级的阻塞队列来保存。(带有优先级是因为可以按照时间小的作为优先级高的,此时队首元素就是整个队列中,最先要执行的任务。此时,上述扫描线程只需要查看一下队首元素即可,不需要遍历整个队列。(效率大大提高))
在这里插入代码片import java.util.concurrent.PriorityBlockingQueue;
//使用这个类表示一个定时器中的任务
class MyTask implements Comparable<MyTask>{
//要执行的任务内容
private Runnable runnable;
//任务在何时执行
private long time;
public MyTask(Runnable runnable,long time){
this.runnable = runnable;
this.time = time;
}
//获取当前任务的时间
public long getTime() {
return time;
}
//执行任务
public void run(){
runnable.run();
}
@Override
public int compareTo(MyTask o) {
//重写方法,按照时间排序。队首元素是时间最小的任务。
return (int)(this.time-o.time);
}
}
//定时器
class MyTimer{
//扫描线程
private Thread t = null;
//使用一个优先级队列。来保存任务
private PriorityBlockingQueue<MyTask> queue = new PriorityBlockingQueue<>();
//使用这个对象来进行加锁/等待通知
private Object locker = new Object();
public MyTimer(){
t = new Thread(){
public void run() {
while (true) {
try {
//取出队首元素,检查看看队首元素任务是否时间到了
//如果时间没到,就把任务塞回队列中
//如果时间到了,就把任务进行执行
synchronized (locker) {
MyTask myTask = queue.take();
long curTime = System.currentTimeMillis();
if (curTime < myTask.getTime()) {
//时间没到,塞回队列
queue.put(myTask);
//在put之后,进行一个wait
locker.wait(myTask.getTime() - curTime);
} else {
//时间到了,执行任务
myTask.run();
}
}
} catch (InterruptedException e) {
e.printStackTrace();
}
}
}
};
t.start();
}
public void schedule(Runnable runnable,long after){
MyTask task = new MyTask(runnable,System.currentTimeMillis()+after);
queue.put(task);
synchronized (locker) {
locker.notify();
}
}
}
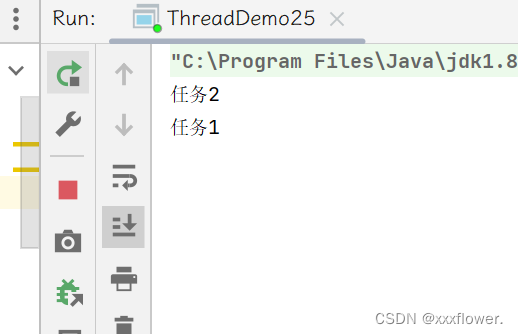
public class ThreadDemo25 {
public static void main(String[] args) {
MyTimer myTimer = new MyTimer();
myTimer.schedule(new Runnable(){
public void run(){
System.out.println("任务1");
}
},2000);
myTimer.schedule(new Runnable(){
public void run(){
System.out.println("任务2");
}
},1000);
}
}
运行结果:
线程池
线程池存在的意义:使用进程来实现并发编程。太重了。此时引入了线程,线程也是叫做“轻量级进程”。创建线程比创建进程更加高效;销毁线程比销毁进程更高效;调度线程比调度进程更高效。此时,使用多线程就可以在很多时候代替进程来实现并发编程了。但是随着并发程度的提高,随着我们对于性能要求标准的提高。线程变得也没有那么轻量。
当我们想要进一步提高效率,有两种方式:
- 轻量级线程——协程/纤程
- 使用线程池,来降低创建/销毁线程的开销。
即事先把需要使用的线程创建好,放到池中。后面需要使用的时候,直接从池中获取。用完了,就放在池中。
以上操作,比创建/销毁更高效。
创建/销毁线程,是由操作系统内核完成的。从池子中获取还给池,是我们自己代码就能实现的,不必交给内核操作。
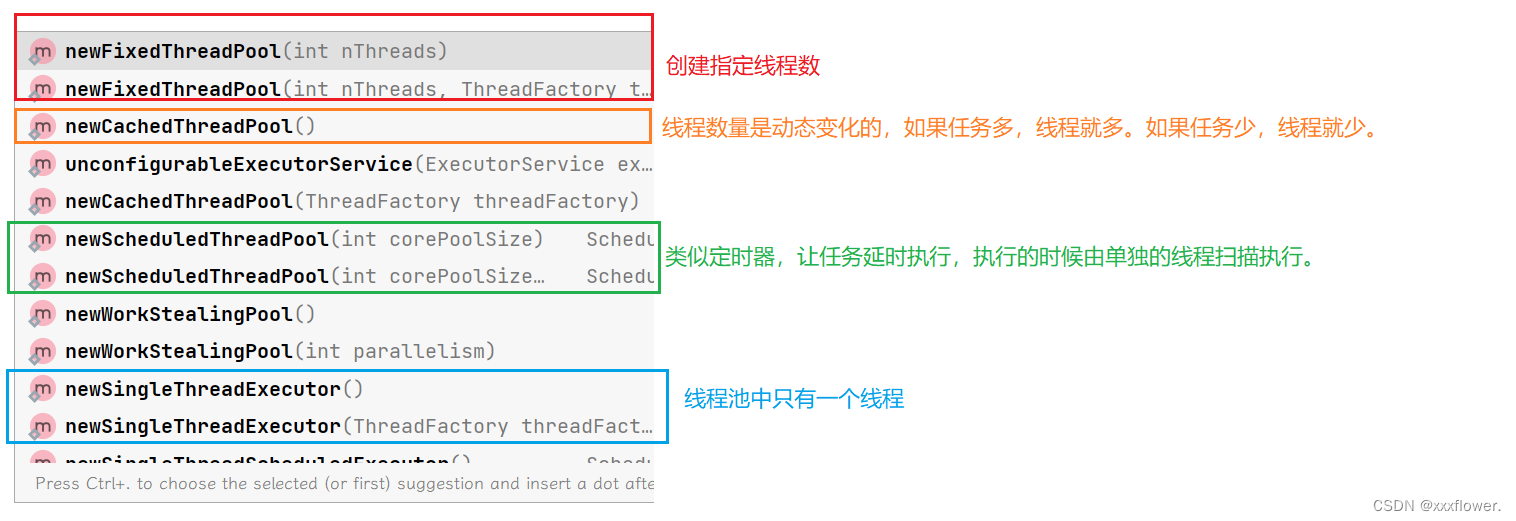
标准库中的线程池
ExecutorService pool = Executors.newFixedThreadPool(10);
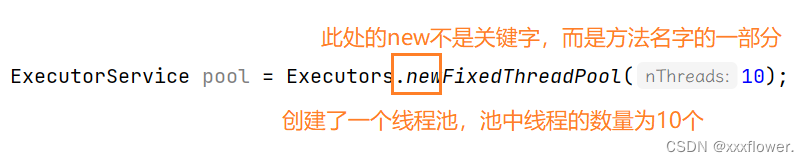
上述操作,使用某个类的某个静态方法,直接构造出一个对象。(隐藏new)
这样的方法,就称为“工厂方法”。
提供这个工厂方法的类,就叫做“工厂类”此处这个代码就使用了工厂模式这种设计模式。
工厂模式
工厂模式:使用普通的方法,来代替构造方法,创建对象。
例如:
现在有一个类:
class Point{


	public Point(double X,double Y){

    };
	public Point(double R,double A){

    };
}
此时代码出错,因为构造方法只能有一个。但是我们想要实现两种表示做表的方式。那么这种情况下我们就可以使用工厂模式。
class PointFactory{


	public static Point makePointXY(double X,double Y){

    };
	public static Point makePointRA(double R,double A){

    };
}
此时就解决了上述问题。
线程池中提供的方法:submit;
public static void main(String[] args) {


        ExecutorService pool = Executors.newFixedThreadPool(10);
        for (int i = 0; i < 1000; i++) {


            int n = i;
            pool.submit(new Runnable() {


                @Override
                public void run() {


                    System.out.println("hello"+n);
                }
            });
        }

    }
我们需要注意的是上述代码中的变量捕获问题。 也就是为什么在打印的时候要单独创建出一个变量n,不用i?
i是主线程中的局部变量(在主线程的栈上)。随着主线程这里代码块执行结束就销毁了。为了避免作用域的差异,导致后续执行run的时候i已经销毁了。于是就有了变量捕获,也就是让run方法将刚才主线程的i往run的栈上拷贝一份。变量捕获只能捕获final修饰的变量(JDK1.8之前),JDK1.8之后放松标准,只要代码中没有修改这个变量,也可以捕获。
上述代码中,i是有修改的,是不能捕获的。而n是没有修改的,虽然没有final修饰,但是也能捕获。
ThreadPoolExecutor();构造方法参数详解(重点)

为了便于理解这里参数之间的关系, 我们使用生活中的例子来类比理解, 假设这里有一家公司:
- corePoolSize表示核心线程数, 公司的正式员工.
那核心线程数最合适值是多少呢? 假设CPU有N核心, 最适核心线程数是N? 是2N? 是1.5N? 只要你能够说出一个具体的数, 那就错了,
最适的核心线程数要视情况和业务场景而定, 没有一个绝对的标准的值.
- maximumPoolSize表示最大线程数,就是核心线程数与非核心线程数之和, 公司的正式员工和请来的零时工(非核心线程),
现有的工作正式工干不完时, 就会招来零时工帮忙干活. - keepAliveTime非核心线程最长等待新任务的时间, 超过此时间, 该线程就会被销毁; 就是相当于零时工最长摸鱼时间,
公司里面是不养闲人的, 零时工长时间没有工作干就会被辞退了, 整体的策略, 正式员工保底, 临时工动态调节. - unit上面参数的时间单位.
- workQueue线程池的任务队列(阻塞队列), 通过submit方法将任务注册到该队列中.
- threadFactory线程工厂, 线程创建的方案.
- handler拒绝策略, 描述了当线程池任务队列满了, 如果继续添加任务会以什么样的方式处理.
在Java标准库中提供了4个拒绝策略, 如下:
| Modifier and Type | Class and Description |
|---|---|
| static class | ThreadPoolExecutor.AbortPolicy 如果任务太多, 队列满了, 直接抛出异常RejectedExecutionException . |
| static class | ThreadPoolExecutor.CallerRunsPolicy 如果任务太多, 队列满了, 多出来的任务, 谁加的, 谁负责执行. |
| static class | ThreadPoolExecutor.DiscardOldestPolicy 如果任务太多, 队列满了, 丢弃最旧的未处理的任务. |
| static class | ThreadPoolExecutor.DiscardPolicy 如果任务太多, 队列满了, 丢弃多出来的任务. |
实现线程池
import java.util.concurrent.BlockingQueue;
import java.util.concurrent.LinkedBlockingQueue;
class MyThreadPool{
private BlockingQueue<Runnable> queue = new LinkedBlockingQueue<>();
//n表示线程的数量
public MyThreadPool(int n){
//创建线程
for (int i = 0; i < n; i++) {
Thread t = new Thread(()->{
while(true){
try {
Runnable runnable = queue.take();
runnable.run();
} catch (InterruptedException e) {
throw new RuntimeException(e);
}
}
});
t.start();
}
}
//
public void submit(Runnable runnable) {
try {
queue.put(runnable);
} catch (InterruptedException e) {
e.printStackTrace();
}
}
}
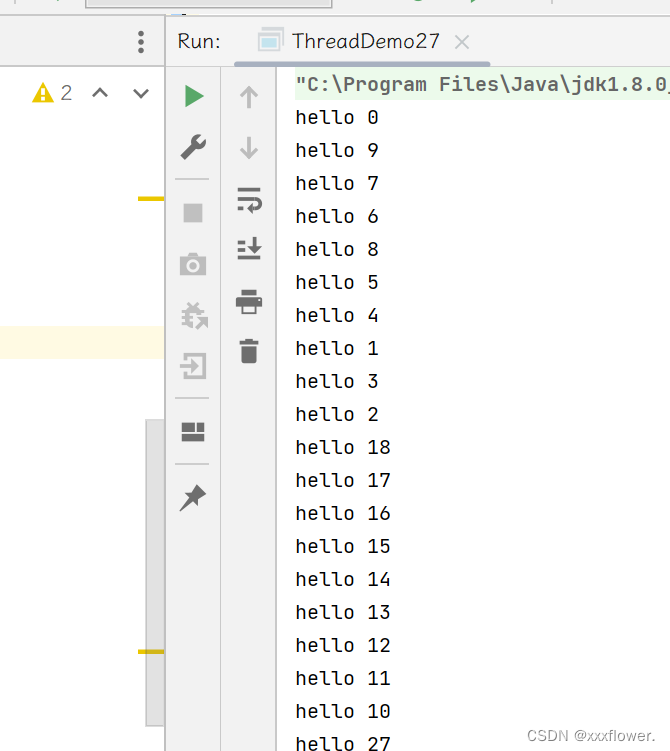
public class ThreadDemo27 {
public static void main(String[] args) {
MyThreadPool pool = new MyThreadPool(10);
for (int i = 0; i < 1000; i++) {
int n = i;
pool.submit(new Runnable() {
@Override
public void run() {
System.out.println("hello " + n);
}
});
}
}
}