前言
DBnet++ 是白翔老师团队最新的文字检测算法,是在DBnet的基础上做了一些优化而得到的效果更好的模型。DBNet++网络在DBNet的基础上对head部分做了改进,DBNet直接把几个头分支concat起来,DBNet++通过Adaptive Scale Fusion (ASF)模块来连接,而ASF模块本质上来说就是一个空间自注意力机制模块,对于存在多尺度的场景文字定位效果更好。同时,由于DBnet++比起DBnet多增加了一个模块,速度上也会相对来说慢一些,当然,比起其他带有复杂后处理的流程的文字定位模型,这点时间的增加其实也很微不足道。本次博客不去详细讲解DBnet++的模型结构和具体算法,主要是讲述其在电子显示屏上的文字定位模型训练和推理过程。DBnet++代码官方地址GitHub地址
环境搭建
环境搭建参照官方地址readme中的步骤
- Python3
- PyTorch == 1.2
- GCC >= 4.9 (This is important for PyTorch)
- CUDA >= 9.0 (10.1 is recommended)
- # first, make sure that your conda is setup properly with the right environment
  # for that, check that `which conda`, `which pip` and `which python` points to the
  # right path. From a clean conda env, this is what you need to do

  conda create --name DB -y
  conda activate DB

  # this installs the right pip and dependencies for the fresh python
  conda install ipython pip

  # python dependencies
  pip install -r requirement.txt

  # install PyTorch with cuda-10.1
  conda install pytorch torchvision cudatoolkit=10.1 -c pytorch

  # clone repo
  git clone https://github.com/MhLiao/DB.git
  cd DB/

  # build deformable convolution opertor
  # make sure your cuda path of $CUDA_HOME is the same version as your cuda in PyTorch
  # make sure GCC >= 4.9
  # you need to delete the build directory before you re-build it.
  echo $CUDA_HOME
  cd assets/ops/dcn/
  python setup.py build_ext --inplace
整个环境搭建流程,没有出现太大的问题,只有最后一步编译dcn算子的时候,报错了如下的错误:
前面是一大堆warining....
failed with exit status 1
针对这个问题,查了一下issue,其他小伙伴也遇到过这个问题,主要是pytorch版本的问题或者cuda home没有设置正确。笔者的环境下的pytorch是1.4.0, cuda是10.1,然后在编译dcn算子之前export了cuda home路径——export CUDA_HOME=/usr/local/cuda,就可以成功编译了。
数据集处理
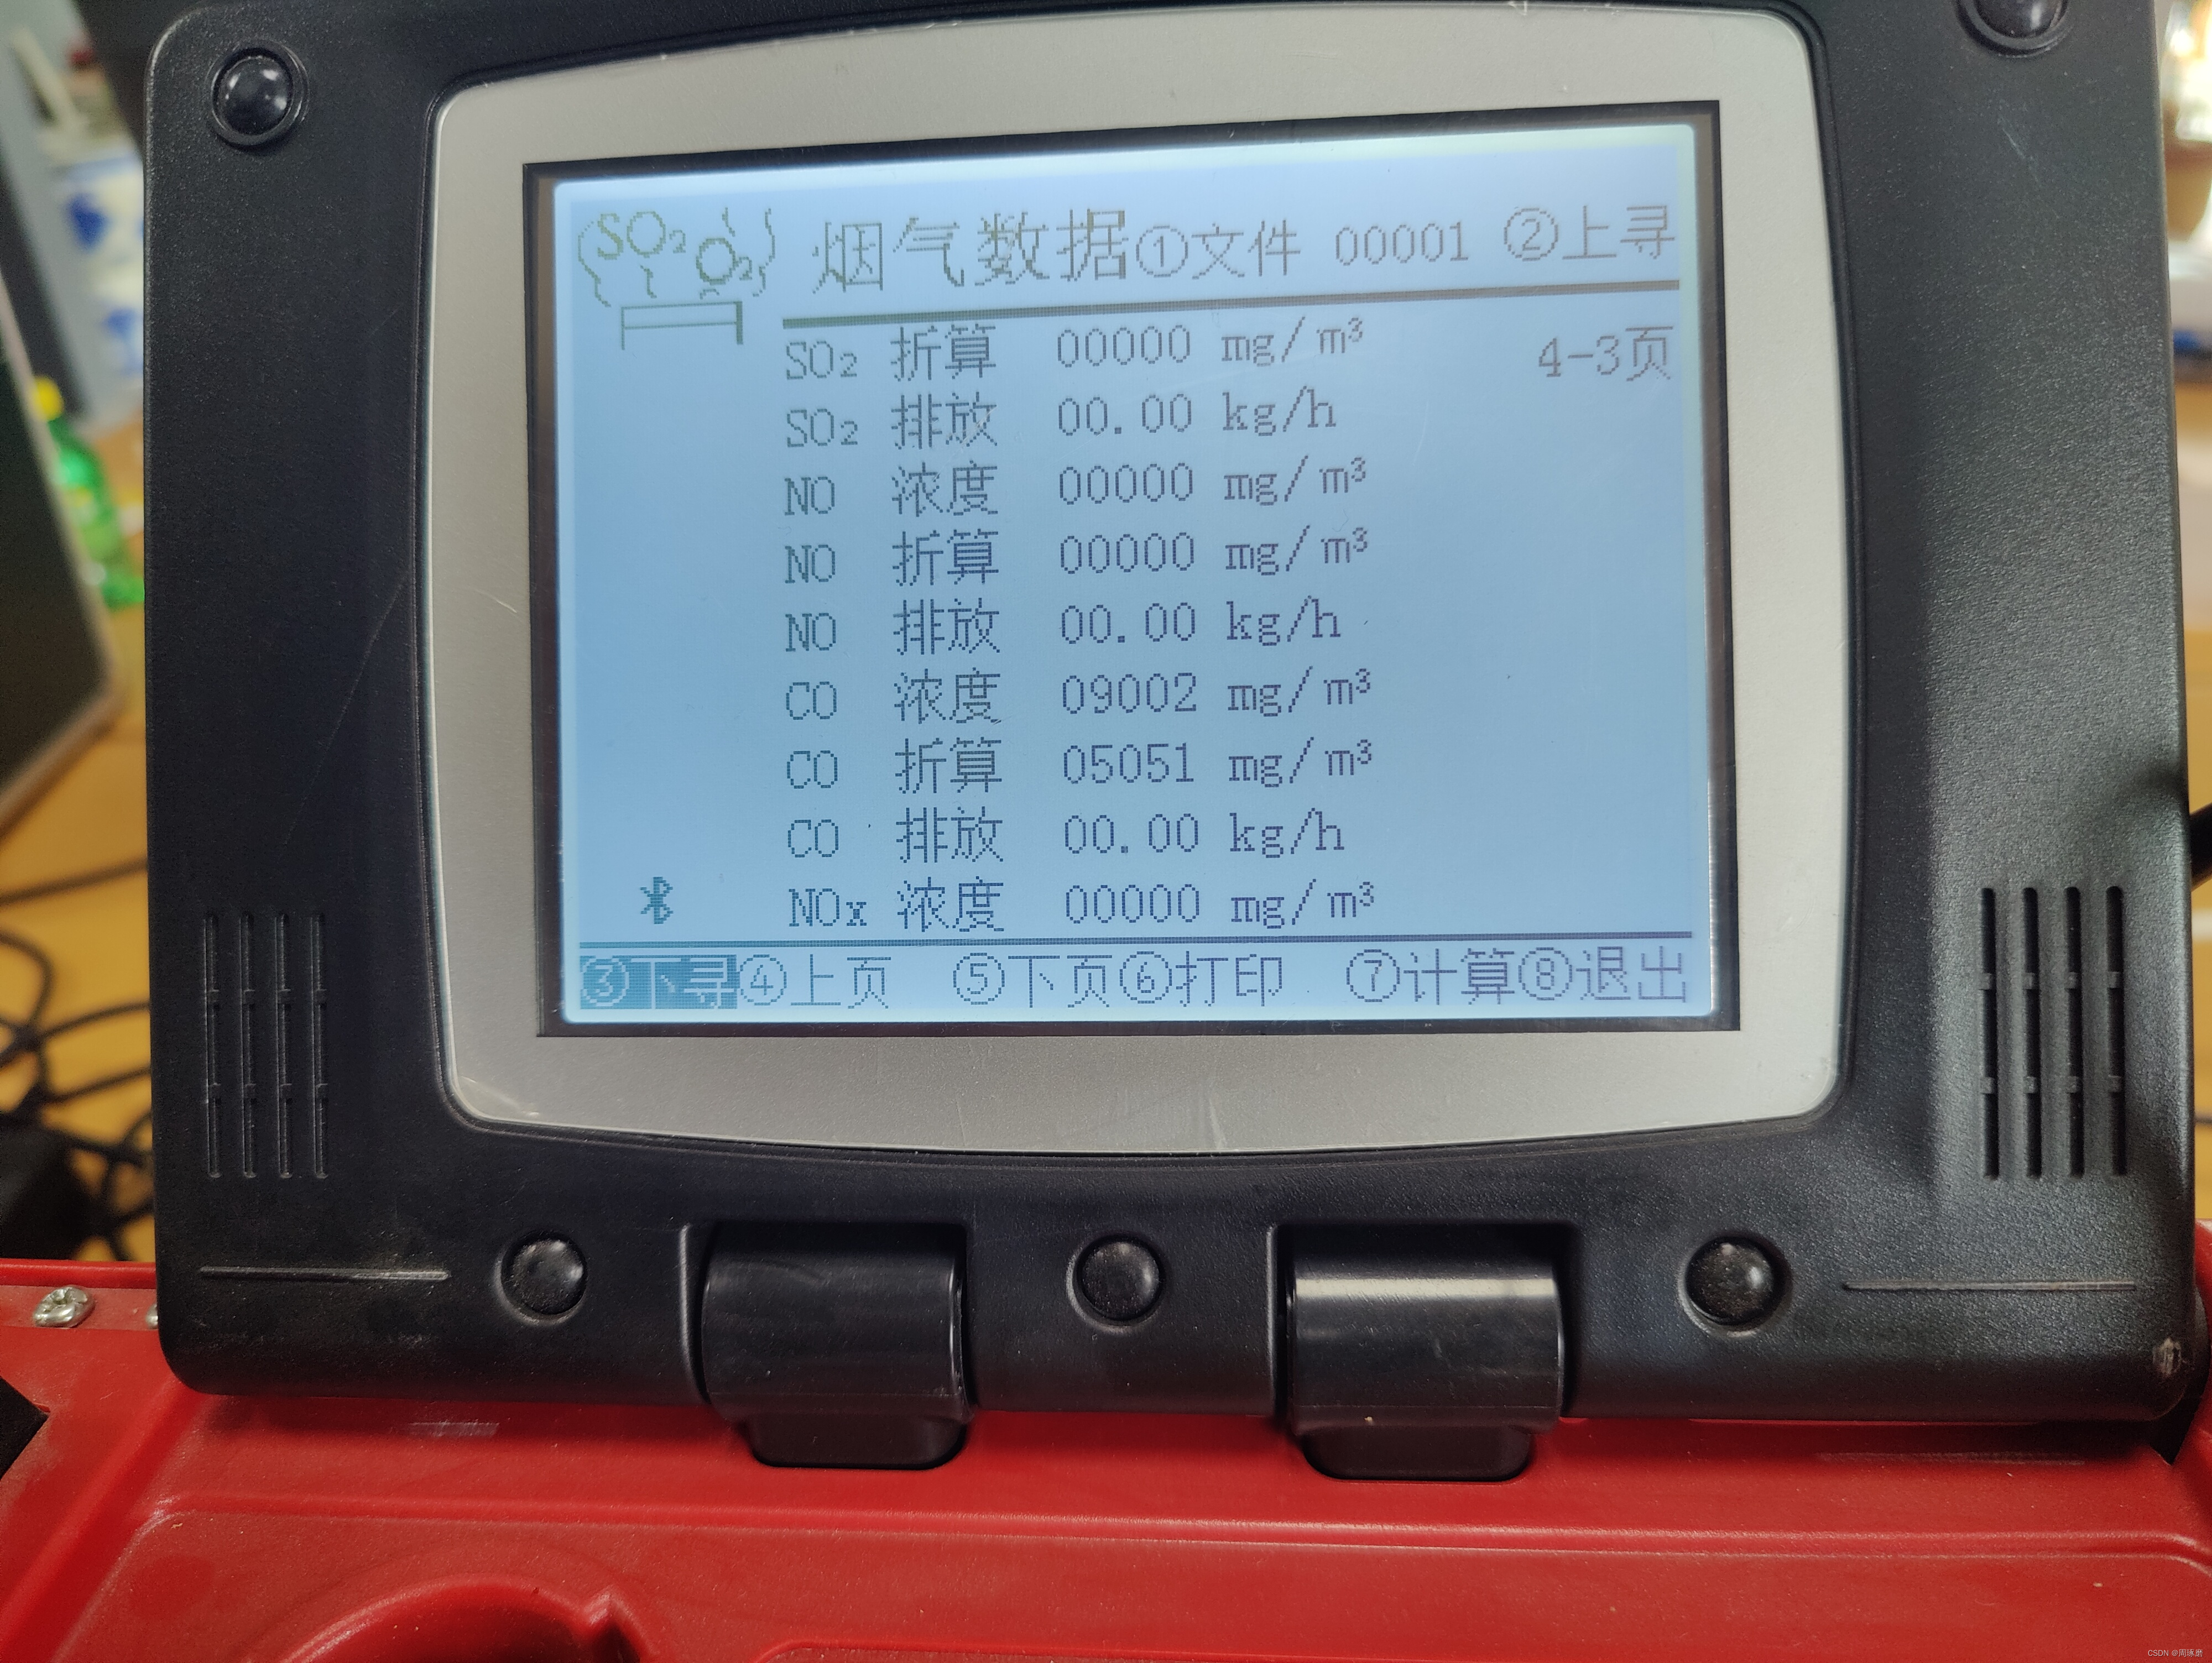
场景数据样式如下:


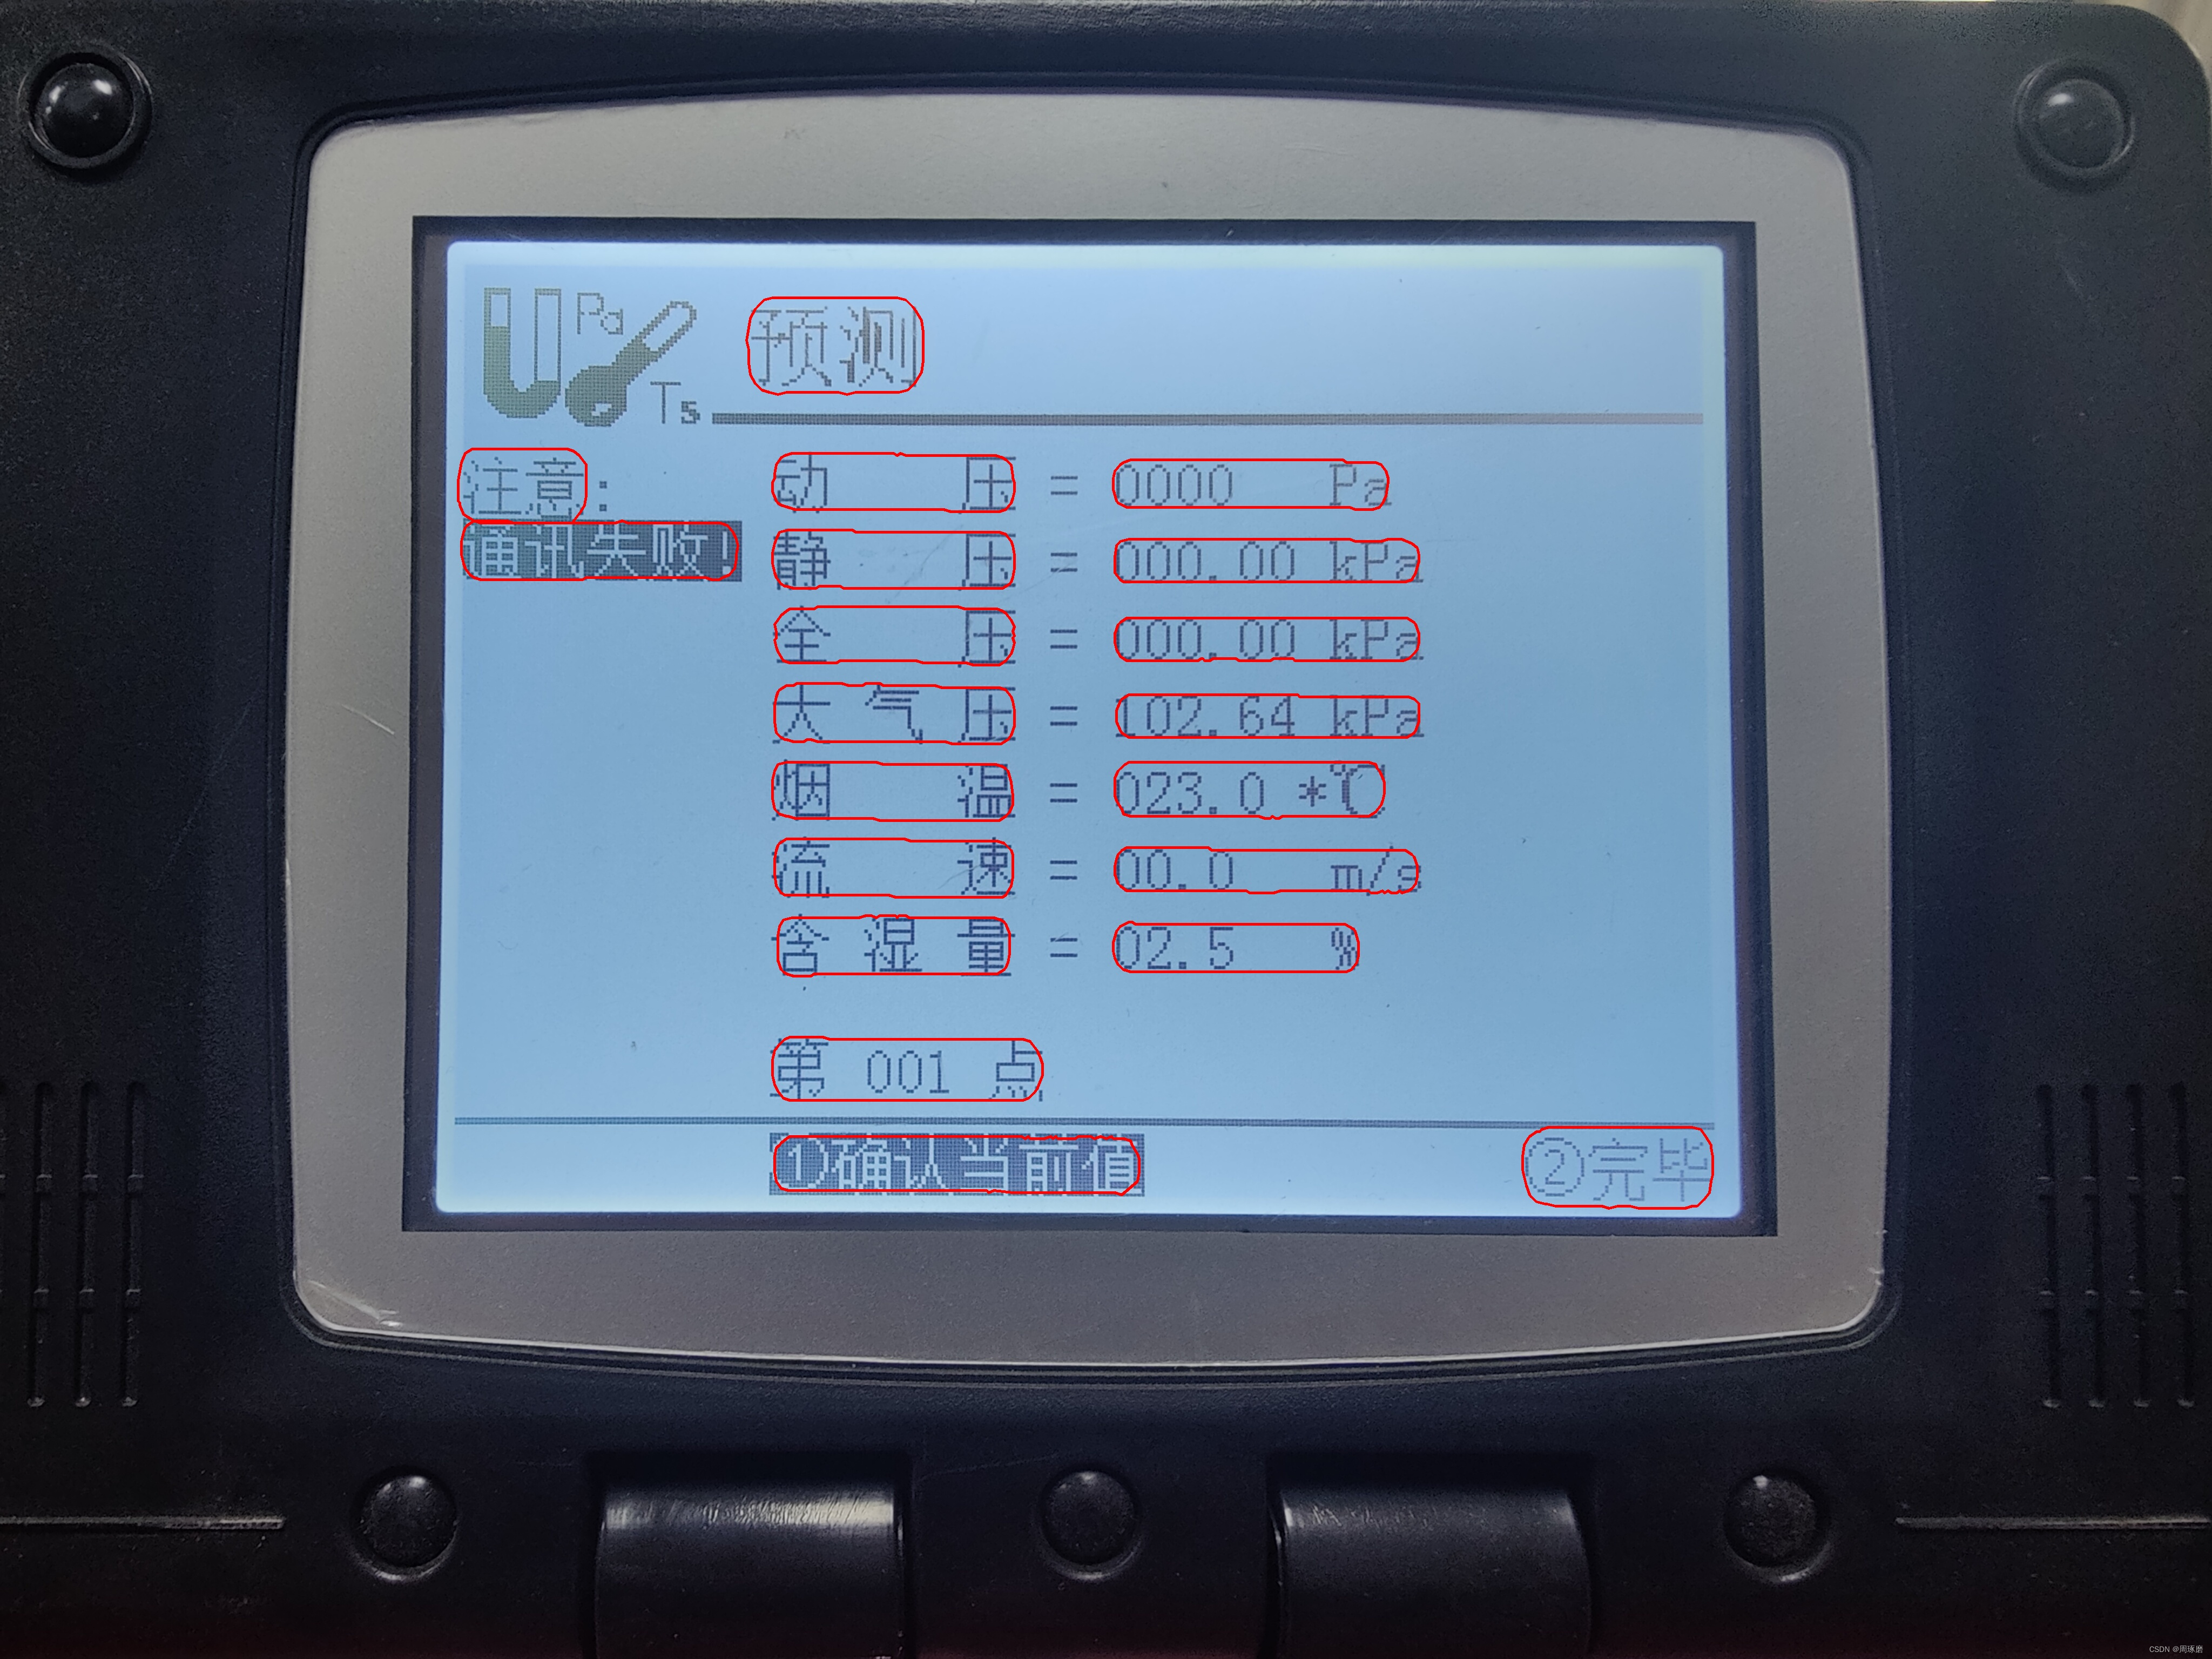
处理步骤是先用labelme标注定位框,然后将其转成如下的格式:

train_list.txt 和 test_list.txt 存储的是图片名字列表,train_gts 和 test_gts则是保存的多个txt(与图片名字一一对应)文件,而txt中则是该图片的每行文字坐标(相邻两个数字为1个坐标点,总共4个坐标):

至此,数据集处理完毕,保存图片,图片gts,图片列表的文件放在DB-master/datasets文件夹下即可。
模型训练
模型训练这个部分其实没有什么太多的难度,对新手很友好,参照readme中的步骤即可
python train.py experiments/ASF/td500_resnet50_deform_thre_asf.yaml
因为训练数据不是很多,所以也没有尝试使用多卡训练,而且作者也强调了,不确定多卡训练能否成功。
训练超参数修改主要在td500_resnet50_deform_thre_asf.yaml中的line45~line55
        scheduler:
            class: OptimizerScheduler
            optimizer: "SGD"
            optimizer_args:
                lr: 0.007
                momentum: 0.9
                weight_decay: 0.0001
            learning_rate:
                class: DecayLearningRate
                epochs: 1000
        epochs: 1000
模型训练过程中最容易报错的地方就是数据load部分,因为这个项目所有的数据load基本上都在data/image_dataset.py这个文件中,如果出现数据load的错误,debug一下这个文件,主要看看路径是否有问题。
模型测试
模型测试的命令行如下:
CUDA_VISIBLE_DEVICES=0 python eval.py experiments/ASF/td500_resnet50_deform_thre_asf.yaml --resume path-to-model-directory/totaltext_resnet18 --polygon --box_thresh 0.7
这里最开始笔者没有设置cuda环境,直接就运行python eval.py,还出现了如下的错误:
Traceback (most recent call last):
  File "eval.py", line 193, in <module>
    main()
  File "eval.py", line 79, in main
    Eval(experiment, experiment_args, cmd=args, verbose=args['verbose']).eval(args['visualize'])
  File "eval.py", line 176, in eval
    pred = model.forward(batch, training=False)
  File "/home//project/DB-master/structure/model.py", line 57, in forward
    pred = self.model(data, training=self.training)
  File "/home//miniconda3/envs/DB/lib/python3.7/site-packages/torch/nn/modules/module.py", line 532, in __call__
    result = self.forward(*input, **kwargs)
  File "/home//miniconda3/envs/DB/lib/python3.7/site-packages/torch/nn/parallel/data_parallel.py", line 152, in forward
    outputs = self.parallel_apply(replicas, inputs, kwargs)
  File "/home//miniconda3/envs/DB/lib/python3.7/site-packages/torch/nn/parallel/data_parallel.py", line 162, in parallel_apply
    return parallel_apply(replicas, inputs, kwargs, self.device_ids[:len(replicas)])
  File "/home//miniconda3/envs/DB/lib/python3.7/site-packages/torch/nn/parallel/parallel_apply.py", line 85, in parallel_apply
    output.reraise()
  File "/home//miniconda3/envs/DB/lib/python3.7/site-packages/torch/_utils.py", line 394, in reraise
    raise self.exc_type(msg)
TypeError: Caught TypeError in replica 1 on device 1.
Original Traceback (most recent call last):
  File "/home//miniconda3/envs/DB/lib/python3.7/site-packages/torch/nn/parallel/parallel_apply.py", line 60, in _worker
    output = module(*input, **kwargs)
  File "/home//miniconda3/envs/DB/lib/python3.7/site-packages/torch/nn/modules/module.py", line 532, in __call__
    result = self.forward(*input, **kwargs)
TypeError: forward() missing 1 required positional argument: 'data'
后来在python eval.py前面加了CUDA_VISIBLE_DEVICES=0就运行成功了
这是我的测试集的测试结果 :

可以看到,在355张测试集上,模型精度达到了0.87,召回率达到了0.868,算是不错的效果了。
最后展示几张测试集可视化的结果

最后也附上结果可视化的代码:
def show_results():
    img_path = "icdar2015/text_localization/test"  ##测试图片路径
    coord_p = "../results/" ##模型预测坐标txt路径
    out_show = "result_show" ##可视化保存结果

    for img_n in os.listdir(img_path):

        img = cv2.imread(os.path.join(img_path, img_n))
        txt_n = "res_" + img_n.split(".")[0] + ".txt" ##模型预测的txt文件夹名就是res+图片名+.txt
        with open(os.path.join(coord_p, txt_n), 'r', encoding='utf-8') as f:
            lines = f.readlines()
        for line in lines:
            parts = line.strip().split(',')
            line = [i.strip('\ufeff').strip('\xef\xbb\xbf') for i in parts]
            num_points = math.floor((len(line) - 1) / 2) * 2
            poly = np.array(list(map(int, line[:num_points]))).reshape((-1,1,2))

            cv2.polylines(img,[poly],True,(0,0,255), 3, 1)


        cv2.imwrite(os.path.join(out_show, img_n), img)