量化框架qkeras:
qkeras是谷歌的感知训练量化框架,具有一些功能:
1、支持导入keras模型到qkeras模型;
2、支持剪枝和量化,使用tensorflow lite一起配合,简直不要太好用;
3、支持指定量化函数,量化的bit数目、量化的小数点左边bit数、对称性等;
4、容易扩展,可以使用keras的设计准则自定义构建块去扩展keras的函数,并且发展出sota模型;
qkeras的量化:
1、使用keras搭建的模型,可以直接转换成qkeras的量化模型;
2、使用pytorch、mxnet等其他框架搭建的模型,可以手动转换成qkeras搭建的模型;
示例:
官网的实例直接运行会有比较多的问题,这里改成这样的导入方式,解决问题;并且保留最核心的部分,删除无用语句。
from __future__ import absolute_import
from __future__ import division
from __future__ import print_function

import tensorflow as tf
from qkeras import *
from qkeras.utils import model_save_quantized_weights
import numpy as np


np.random.seed(42)

NB_EPOCH = 100
BATCH_SIZE = 64
VERBOSE = 1
NB_CLASSES = 10
OPTIMIZER = tf.keras.optimizers.legacy.Adam(lr=0.0001, decay=0.000025)
VALIDATION_SPLIT = 0.1
train = 1

# 1、导入数据;
(x_train, y_train), (x_test, y_test) = tf.keras.datasets.mnist.load_data()
RESHAPED = 784
x_test_orig = x_test
x_train = x_train.astype("float32")
x_test = x_test.astype("float32")
x_train = x_train[..., np.newaxis]
x_test = x_test[..., np.newaxis]
x_train /= 256.0
x_test /= 256.0

y_train = tf.keras.utils.to_categorical(y_train, NB_CLASSES)
y_test = tf.keras.utils.to_categorical(y_test, NB_CLASSES)

# 2、搭建量化模型;
x = x_in = tf.keras.layers.Input(
    x_train.shape[1:-1] + (1,), name="input")
x = QConv2D(
    32, (2, 2), strides=(2,2),
    kernel_quantizer=quantized_bits(4,0,1),
    bias_quantizer=quantized_bits(4,0,1),
    name="conv2d_0_m")(x)
x = QActivation("quantized_relu(4,0)", name="act0_m")(x)
x = QConv2D(
    64, (3, 3), strides=(2,2),
    kernel_quantizer=quantized_bits(4,0,1),
    bias_quantizer=quantized_bits(4,0,1),
    name="conv2d_1_m")(x)
x = QActivation("quantized_relu(4,0)", name="act1_m")(x)
x = QConv2D(
    64, (2, 2), strides=(2,2),
    kernel_quantizer=quantized_bits(4,0,1),
    bias_quantizer=quantized_bits(4,0,1),
    name="conv2d_2_m")(x)
x = QActivation("quantized_relu(4,0)", name="act2_m")(x)
x = tf.keras.layers.Flatten()(x)
x = QDense(NB_CLASSES, kernel_quantizer=quantized_bits(4,0,1),
           bias_quantizer=quantized_bits(4,0,1),
           name="dense")(x)
x = tf.keras.layers.Activation("softmax", name="softmax")(x)

model = tf.keras.Model(inputs=[x_in], outputs=[x])
model.summary()
model.compile(
    loss="categorical_crossentropy", optimizer=OPTIMIZER, metrics=["accuracy"])

# 3、训练模型;
if train:
    history = model.fit(
      x_train, y_train, batch_size=BATCH_SIZE,
      epochs=NB_EPOCH, initial_epoch=1, verbose=VERBOSE,
      validation_split=VALIDATION_SPLIT)

    # 4、计算测试准确度;
    score = model.evaluate(x_test, y_test, verbose=VERBOSE)
    print("Test score:", score[0])
    print("Test accuracy:", score[1])

    # 5、保存量化模型;
    model_save_quantized_weights(model)

    #6、打印模型参数shape;
    for layer in model.layers:
      for w, weight in enumerate(layer.get_weights()):
        print(layer.name, w, weight.shape)
	print_qstats(model)
基本逻辑步骤:
扫描二维码关注公众号,回复:
15879447 查看本文章

1、导入数据;
2、搭建量化模型;
3、训练模型;
4、计算测试准确度;
5、保存量化模型;
6、打印模型参数shape;
依赖版本:
# This file may be used to create an environment using:
# $ conda create --name <env> --file <this file>
# platform: win-64
ca-certificates=2023.01.10=haa95532_0
certifi=2022.12.7=py37haa95532_0
openssl=1.1.1t=h2bbff1b_0
pip=22.3.1=py37haa95532_0
python=3.7.16=h6244533_0
setuptools=65.6.3=py37haa95532_0
sqlite=3.41.2=h2bbff1b_0
vc=14.2=h21ff451_1
vs2015_runtime=14.27.29016=h5e58377_2
wheel=0.38.4=py37haa95532_0
wincertstore=0.2=py37haa95532_2
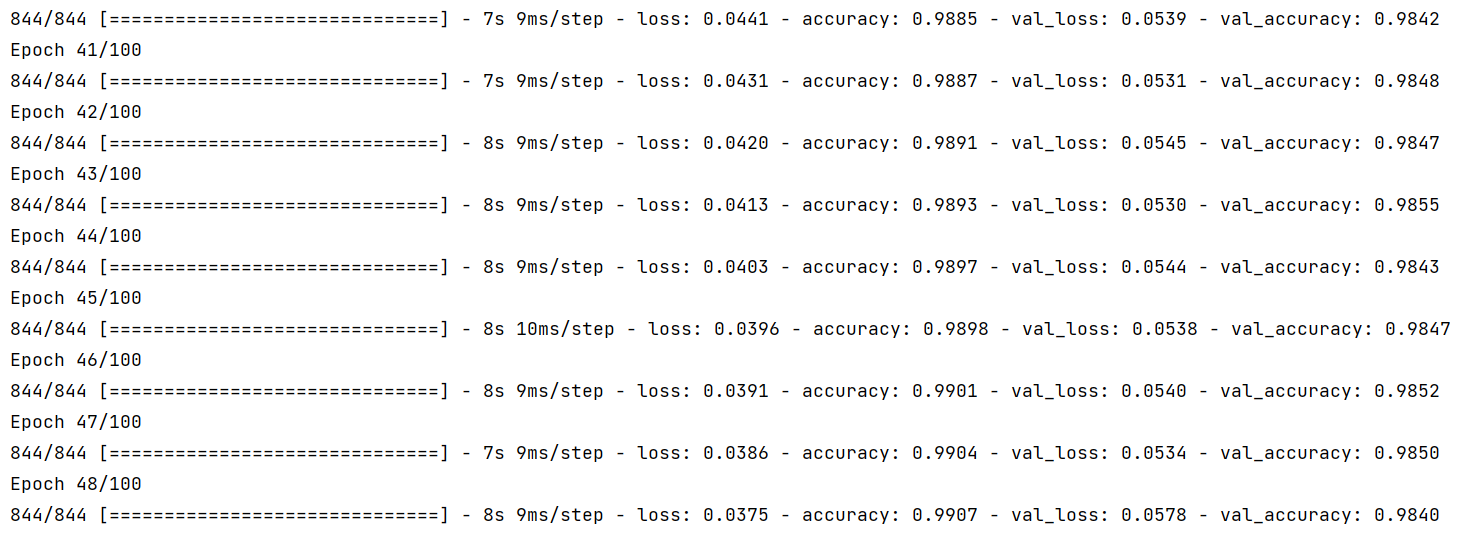
训练过程:
参考:
GitHub - google/qkeras: QKeras: a quantization deep learning library for Tensorflow Keras