安装
npm install electron --save-dev
“electron”: “^6.0.2”

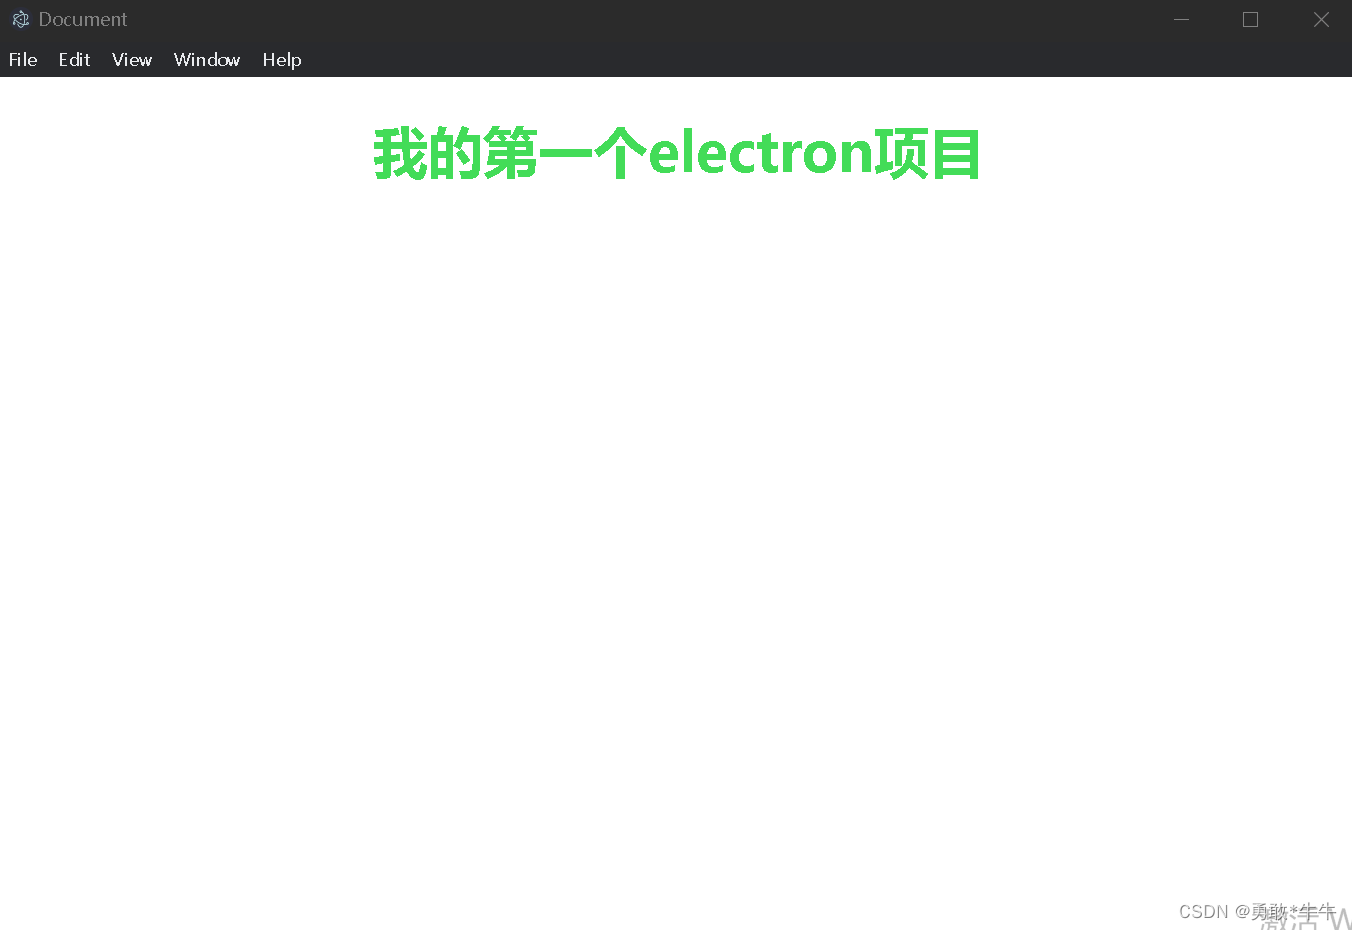
程序入口文件,index.js
const {

    app,BrowserWindow} = require("electron");

app.on("ready",function(){


    let win = new BrowserWindow({

    //使用app对象来创建一个窗口
        width: 800,
        height:600
    });
    win.loadFile('./index.html')//需要显示的内容
})
配置pack.json
{


  "name": "demo1",
  "version": "1.0.0",
  "description": "",
  "main": "index.js",
  "scripts": {


    "test": "electron ."
  },
  "keywords": [],
  "author": "",
  "license": "ISC",
  "devDependencies": {


    "electron": "^22.0.0"
  }
}
启动
npm run test
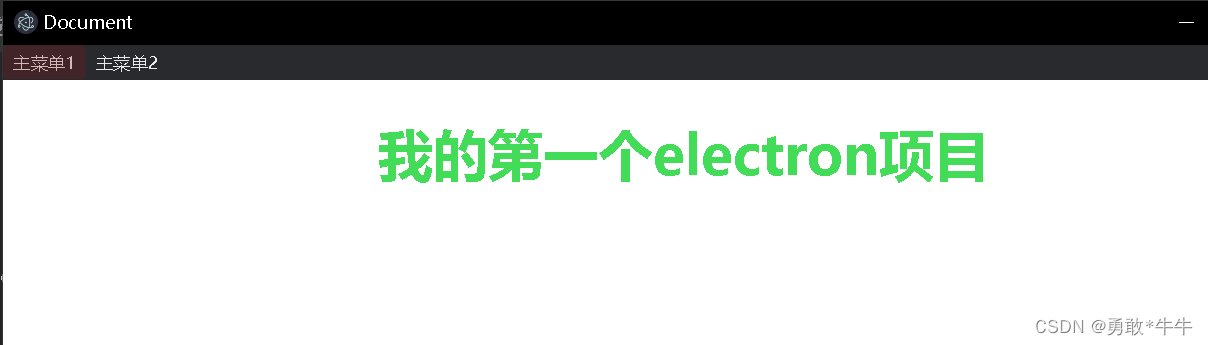
创建自定义的菜单
const {

    Menu} = require('electron');
const template =[
    {


        label:"主菜单1",
        submenu:[
            {

    label:'菜单1.1'},
            {

    label:'菜单1.2'},
            {

    label:'菜单1.3'},
            {

    label:'菜单1.4'}
        ]
    },
    {


        label:"主菜单2",
        submenu:[
            {

    label:'菜单2.1'},
            {

    label:'菜单2.2'},
            {

    label:'菜单2.3'},
            {

    label:'菜单2.4'}
        ]
    }
]

const myMenu = Menu.buildFromTemplate(template);//创建一个菜单的模板结构
Menu.setApplicationMenu(myMenu)//设置到应用程序
require('./menu.js')

const {

    app,BrowserWindow} = require("electron");
let mainWindow = null;
app.on("ready",createWindow)

function createWindow (){


    mainWindow = new BrowserWindow({

    //使用app对象来创建一个窗口
        width: 800,
        height:600
    });
    mainWindow.loadFile('./index.html')//需要显示的内容
菜单单击事件,生成新的窗口
const {

    Menu,BrowserWindow} = require('electron');
const template =[
    {


        label:"主菜单1",
        submenu:[
            {

    label:'菜单1.1'},
            {

    label:'菜单1.2'},
            {

    label:'菜单1.3'},
            {

    label:'菜单1.4'}
        ]
    },
    {


        label:"主菜单2",
        submenu:[
            {

    label:'菜单2.1'},
            {


                label:'菜单2.2',
                click:newWindow //点击打开一个新的窗口函数
            },
            {

    label:'菜单2.3'},
            {

    label:'菜单2.4'}
        ]
    }
]

const myMenu = Menu.buildFromTemplate(template);//创建一个菜单的模板结构
Menu.setApplicationMenu(myMenu)//设置到应用程序
let otherwin = null //窗口体
//打开一个新的窗口函数
function newWindow(){


    otherwin = new BrowserWindow({

    //使用app对象来创建一个窗口
        width: 400,
        height:300,
        minWidth:400,
        minHeight:300
    });
    otherwin.loadFile('./other.html')//需要显示的内容
    otherwin.on("close",()=>{

     //关闭时操作
        otherwin = null
    })
}

菜单快捷键的设置ctrl+n
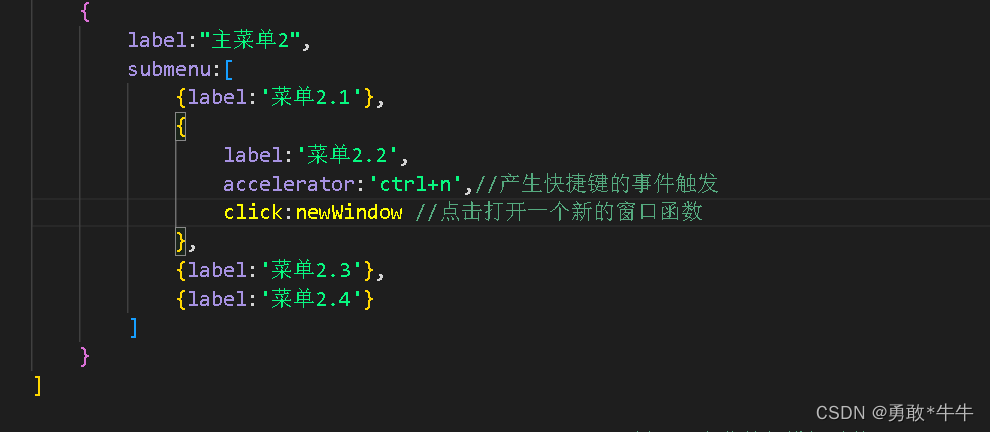
    {


        label:"主菜单2",
        submenu:[
            {

    label:'菜单2.1'},
            {


                label:'菜单2.2',
                accelerator:'ctrl+n',//产生快捷键的事件触发
                click:newWindow //点击打开一个新的窗口函数
            },
            {

    label:'菜单2.3'},
            {

    label:'菜单2.4'}
        ]
    }
]
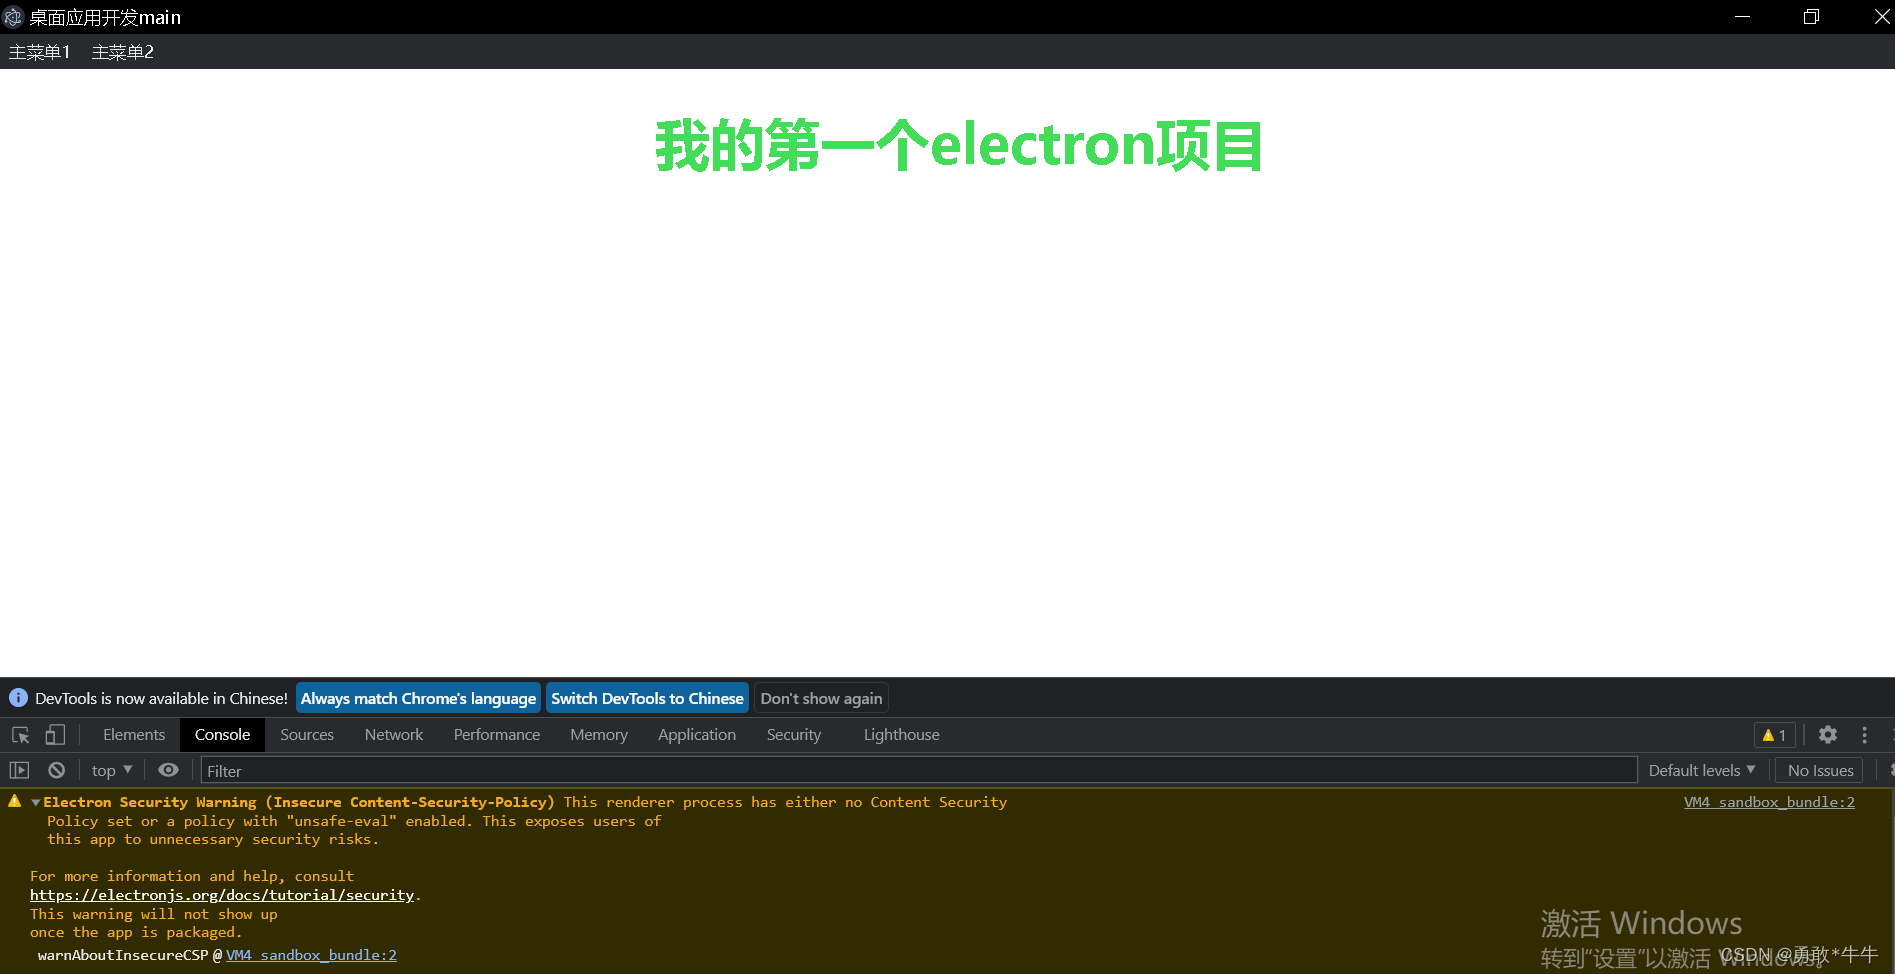
警告消除以及控制台显示与隐藏
- 不使用自定义的菜单
- 通过程序直接打开控制台
require('./menu.js')

const {

    app,BrowserWindow} = require("electron");
let mainWindow = null;
app.on("ready",createWindow)

function createWindow (){


    mainWindow = new BrowserWindow({

    //使用app对象来创建一个窗口
        width: 800,
        height:600
    });
    mainWindow.webContents.openDevTools();//直接打开控制台
    mainWindow.loadFile('./index.html');//需要显示的内容
    mainWindow.on("close",()=>{

     //关闭时操作
        mainWindow = null
    })
}
窗口体的配置可以有
function newWindow(){


    otherwin = new BrowserWindow({

    //使用app对象来创建一个窗口
        width: 400,
        height:300,
        minWidth:400,
        minHeight:300,
        maxHeight:800,
        maxWidth:600,
        x:100,
        y:50
    });
    otherwin.loadFile('./other.html')//需要显示的内容
    otherwin.on("close",()=>{

     //关闭时操作
        otherwin = null
    })
}
消除控制的警告信息
只需要增添上一个在主入口文件里面加上
process.env['ELECTRON_DISABLE_SECURITY_WARNINGS'] = 'true' //消除控制台警告
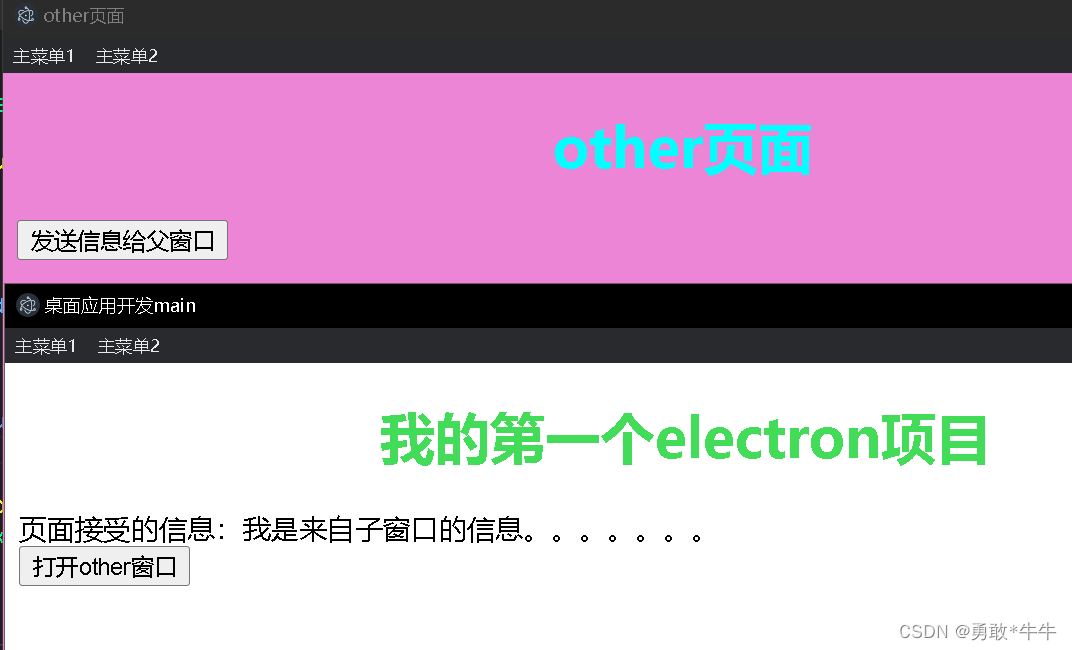
两个父子页面之间的相互通信
注意:请不要混淆方法 Window.open() 与方法 Document.open(),这两者的功能完全不同。为了使您的代码清楚明白,请使用 Window.open(),而不要使用Document.open().
opener
-
opener 属性是一个可读可写的属性,可返回对创建该窗口的 Window 对象的引用。—这句话怎么理解呢,例如
-
opener即谁打开我的,比如A页面利用window.open弹出了B页面窗口,那么A页面所在窗口就是B页面的opener,在B页面通过opener对象可以访问A页面。
-
注意:要求父窗口打开子窗口时须使用window.open方法才能使用window.opener回传值。
父:
let btn = document.querySelector('#btn');
btn.onclick = function(){


    window.open('other.html')
}
let msgspan = document.querySelector('#msg')
window.addEventListener("message",msg_obj=>{


    msgspan.innerText = msg_obj.data
})
子:
<body>
    <h1>other页面</h1>
    <button id="btn">发送信息给父窗口</button>
</body>
<script>
    let btn = document.querySelector("#btn");
    btn.onclick = function(){


        window.opener.postMessage("我是来自子窗口的信息。。。。。。。")
    }
</script>
基于这个网页开发不用考虑commjs,但是不要在混用这个es6的导入方式。
最终效果是:虽然写的是页面,但是通过这个electtron打开之后就会产生新的效果。
remote模块的使用
上面的这种打开的窗口就是说(暂时)没控制大小,是这个浏览器模式打开的方式,我可以通过这个electron的方法打开一个控制大小的窗口。(暂时就实现不了这个窗口之间的通信)
const BrowserWindow = require("electron").remote.BrowserWindow; //渲染进程里面需要使用这个构造方法。
let mainWindow= null;
let btn = document.querySelector('#btn');
btn.onclick = function(){


    mainWindow = new BrowserWindow({


        width: 300,
        height:300,
    })
    mainWindow.loadFile('./other.html');//需要显示的内容
    mainWindow.on("close",()=>{

     //关闭时操作
        mainWindow = null
    })
}
let msgspan = document.querySelector('#msg')
//就不生效了
window.addEventListener("message",msg_obj=>{


    msgspan.innerText = msg_obj.data
})
一些配置项:
require('./menu.js')
process.env['ELECTRON_DISABLE_SECURITY_WARNINGS'] = 'true' //消除控制台警告

const {

    app,BrowserWindow} = require("electron");
let mainWindow = null;
app.on("ready",createWindow)

function createWindow (){


    mainWindow = new BrowserWindow({

    //使用app对象来创建一个本地应用的窗口
        width: 800,
        height:600,
        webPreferences:{


            nodeIntegration:true,//让引入html中的es6中的js可以使用require
            enableRemoteModule:true,//让渲染进程可以使用remote
            // contextIsolation:false  // 把这一项require加上错误就会消失
        }
    });
    mainWindow.webContents.openDevTools();//直接打开控制台
    mainWindow.loadFile('./index.html');//需要显示的内容
    mainWindow.on("close",()=>{

     //关闭时操作
        mainWindow = null
    })
}