1. 源码:
github: https://github.com/CoinCheung/BiSeNet
git clone https://github.com/CoinCheung/BiSeNet.git
2. 预训练模型:
工程下载后解压,并在其中创建文件夹【model】用于存放预训练模型;

3. 运行demo
conda create -n bisenet python=3.8
conda activate bisenet

pip3 install torch torchvision torchaudio --index-url https://download.pytorch.org/whl/cu118
pip3 install opencv-python
pip3 install tabulate tqdm
3.1 使用 【bisenetv2_city】测试图片:
python tools/demo.py --config configs/bisenetv2_city.py --weight-path ./model/model_final_v2_city.pth --img-path ./example.png
会保存结果为【res.jpg】

3.2 使用【bisenetv2_coco】测试视频:
python tools/demo_video.py --config configs/bisenetv2_coco.py --weight-path ./model/model_final_v2_coco.pth --input ./video.mp4 --output res.mp4
会保存结果为【res.mp4】,展示的结果是从视频中截取的效果,所以彩色图和预测图片效果不对应,间隔了少量的帧数
4 训练cityscapes数据集
4.1 下载数据集并解压
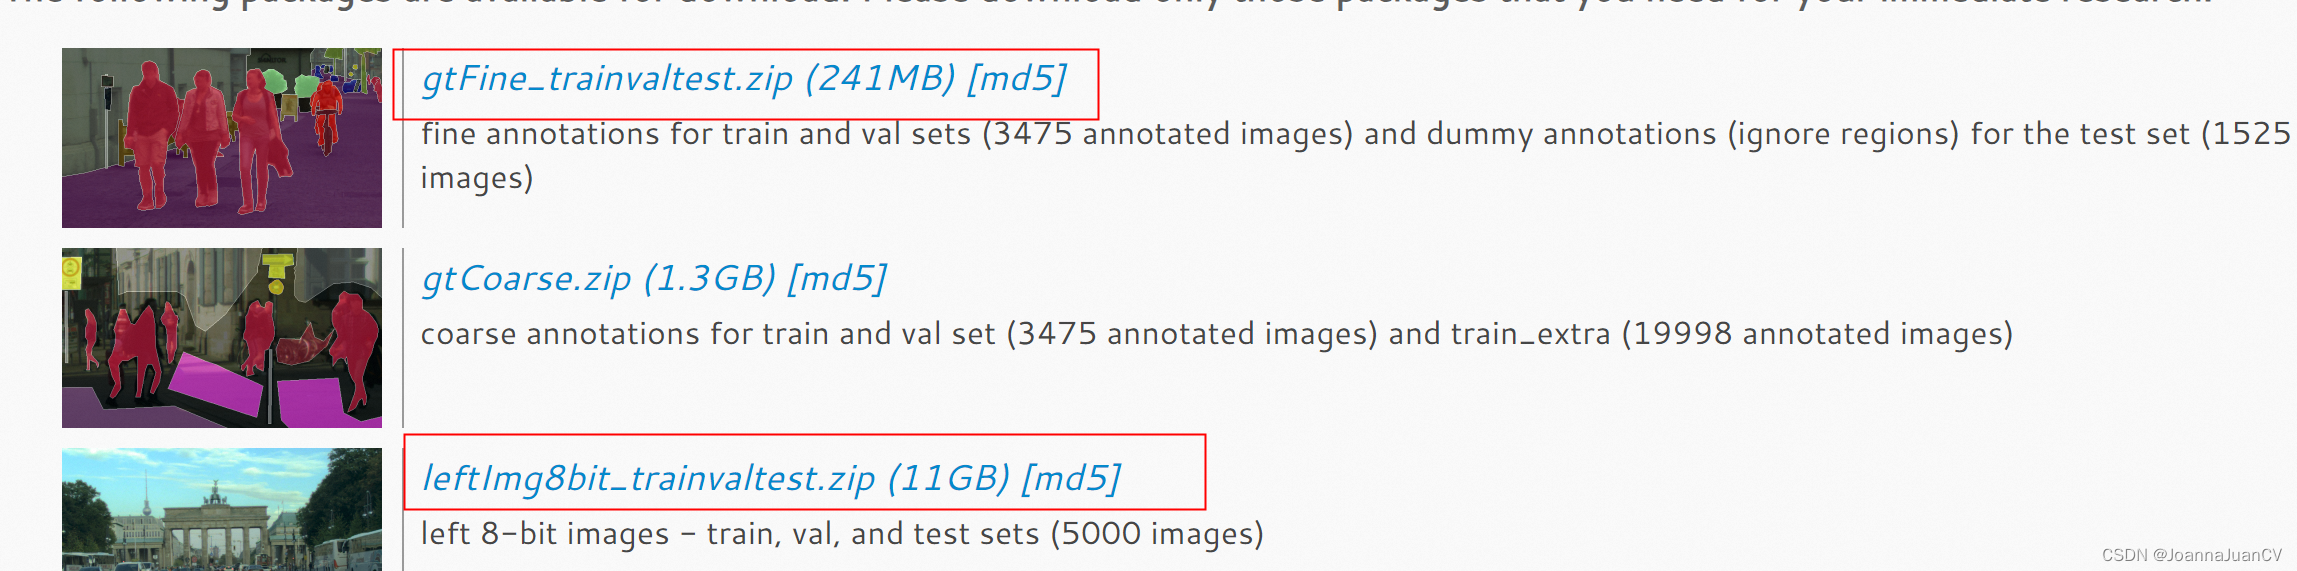
官网链接:https://www.cityscapes-dataset.com/,下载数据需要注册,且账号有一定的要求。登录后进行数据下载:
遵守该工程调用数据路径,我们需要在工程路径下的【./datasets/cityscapes】下创建个软连接。进入该路径运行:
cd ./datasets/cityscapes
rm-rf gtFine leftImg8bit
ln -s /mnt/e/project/data/BiSeNetV2/gtFine gtFine
ln -s /mnt/e/project/data/BiSeNetV2/leftImg8bit leftImg8bit
4.2 训练BiSeNetv2-cityscapes
源码提供的pytorch的分布式训练,而我们常有的是单机单卡、或单机多卡。
- 单机多卡
export CUDA_VISIBLE_DEVICES=0,1
python -m torch.distributed.launch --nproc_per_node=2 tools/train_amp.py --config configs/bisenetv2_city.py
- 单机单卡
export CUDA_VISIBLE_DEVICES=0
python -m torch.distributed.launch --nproc_per_node=1 tools/train_amp.py --config configs/bisenetv2_city.py
- 注意:
- 若报错“train_amp.py: error: unrecognized arguments: --local-rank=0”:
把脚本中的python3 -m torch.distributed.launch 换成 torchrun(推荐此方法);
或者修改torch版本,重配置环境; - 若报错"
修改BiSeNet/configs/bisenetv2_city.py 中的ims_per_gpu,改小,比如修改为2;
或者添加:
import os
os.environ["PYTORCH_CUDA_ALLOC_CONF"] = "max_split_size_mb:128"
4.3 模型评估
python tools/evaluate.py --config configs/bisenetv2_city.py --weight-path ./res/model_final.pth