0. 介绍
Nomachine是一款免费的远程桌面访问应用程序。支持用户从任何地方访问连接到Internet的计算机。该应用程序允许多个用户访问单个PC,且支持使用不同的操作系统。

官网链接:NoMachine - Free Remote Desktop for Everybody
1. 下载Nomachine
软件下载地址:NoMachine - Download Free Remote Desktop Access
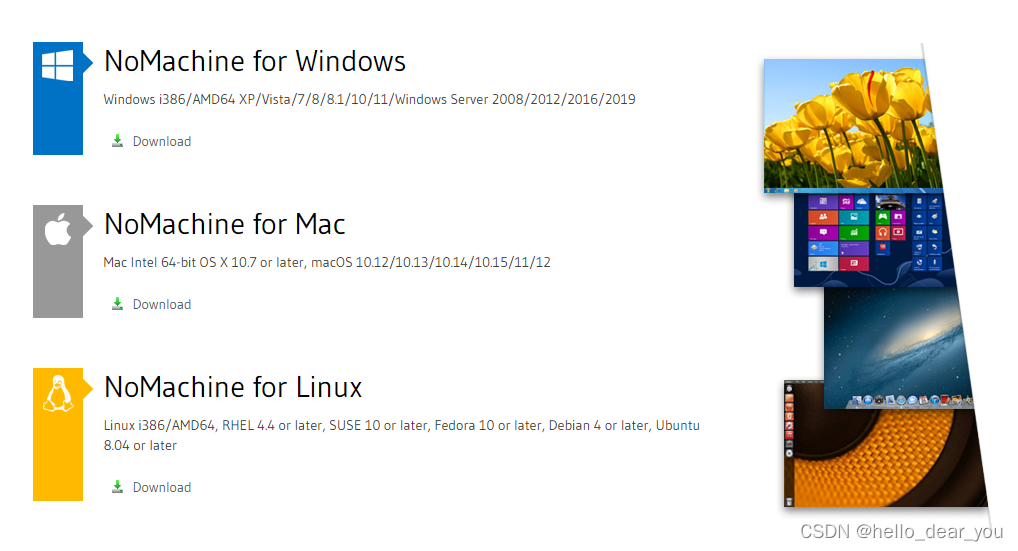

Nomachine支持不同操作系统Windows/Linux/Mac等,用户根据设备的平台选择下载不同的应用程序文件。本文是讲述如何在NVIDIA Jetson平台上安装Nomachine,Jetson属于arm框架所以需要下载arm版本。
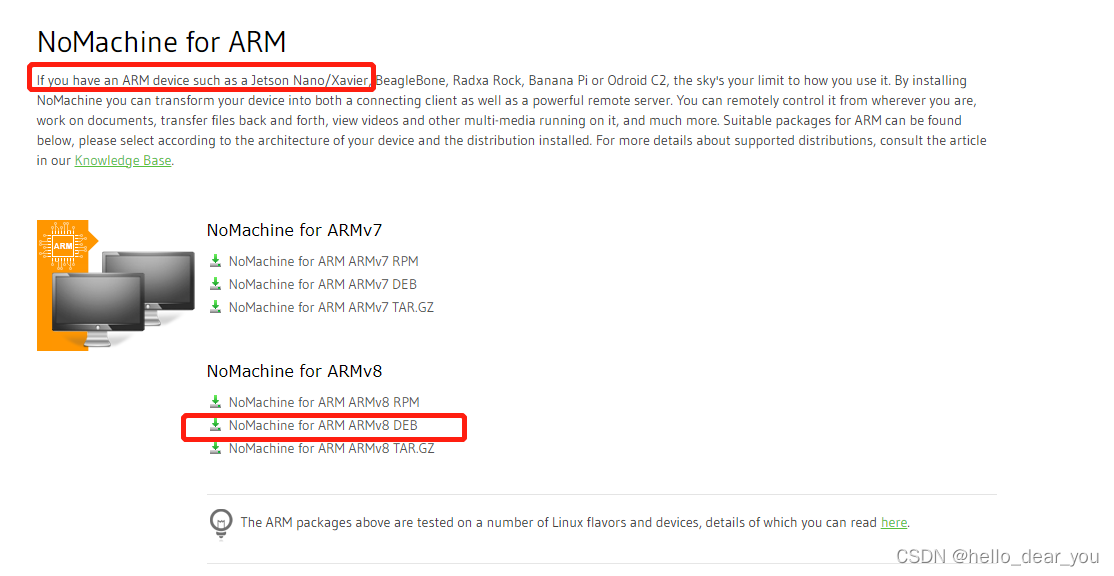
进入arm下载页,下载图中红框的文件,当然也可以使用wget命令进行安装.
sudo apt update
sudo apt -y install wget
wget https://download.nomachine.com/download/7.9/Arm/nomachine_7.9.2_1_arm64.deb
2. 安装Nomachine
一旦我们下载了Nomachine文件,我们可以通过apt或者dpkg命令进行安装。
sudo dpkg -i ./nomachine_7.9.2_1_arm64.deb 安装日志如下
Selecting previously unselected package nomachine.
(Reading database ... 209018 files and directories currently installed.)
Preparing to unpack ./nomachine_7.9.2_1_arm64.deb ...
Unpacking nomachine (7.9.2-1) ...
Setting up nomachine (7.9.2-1) ...
...
NX> 700 Node install completed with warnings.
NX> 700 Please review the install log for details.
NX> 700 Installing: nxserver version: 7.9.2.
NX> 700 Using installation profile: Ubuntu.
NX> 700 Install log is: /usr/NX/var/log/nxinstall.log.
NX> 700 Creating configuration in: /usr/NX/etc/server.cfg.
NX> 700 Install completed at: 二 6月 21 10:11:07 2022.
NX> 700 NoMachine was configured to run the following services:
NX> 700 NX service on port: 4000
3. 设置Nomachine
3.1 设置操作系统免密重启
通过设置系统免密码重启,使得Nomachine的服务可以自动重启。具体步骤如下:
-
搜索 system settings

-
进入User Accounts

-
点击unlock,输入root密码,将automatic login置为ON
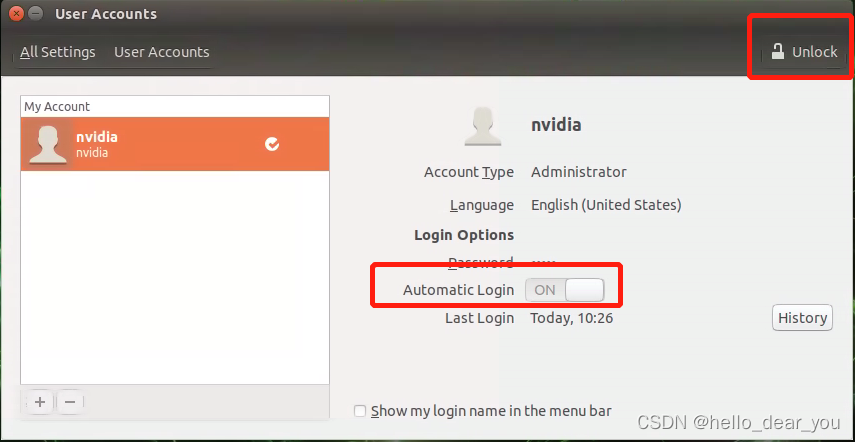
通过上述设置,机器再次重启或者开机之后,Nomachine会自动启动。
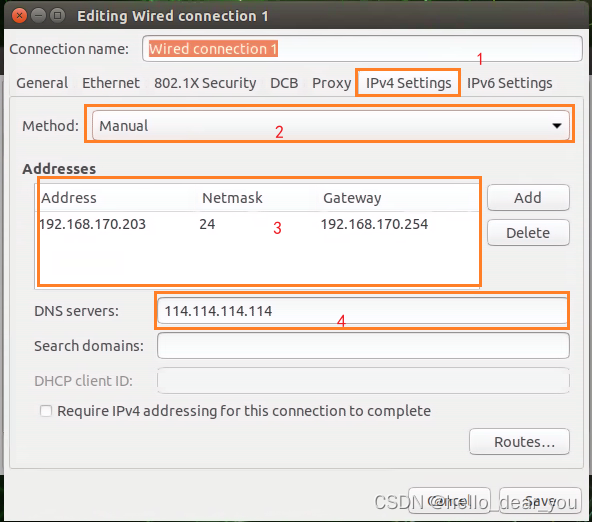
3.2 设置固定IP
Nomachine客户端连接服务端,需要指定IP地址,为了长期使用方便,可以将服务端设备设置成固定IP,具体步骤如下:
- 打开网络连接界面
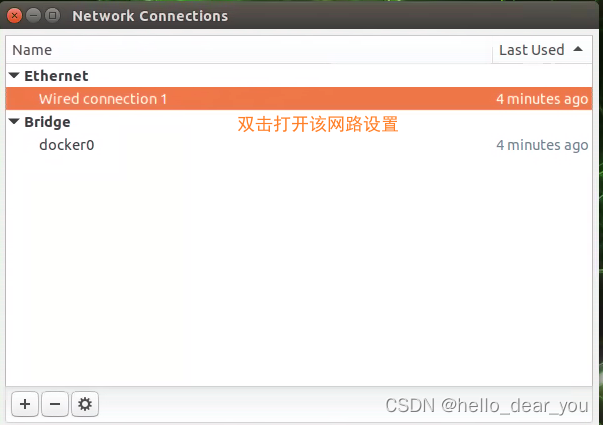
- 设置IPv4内容
4. 修改分辨率
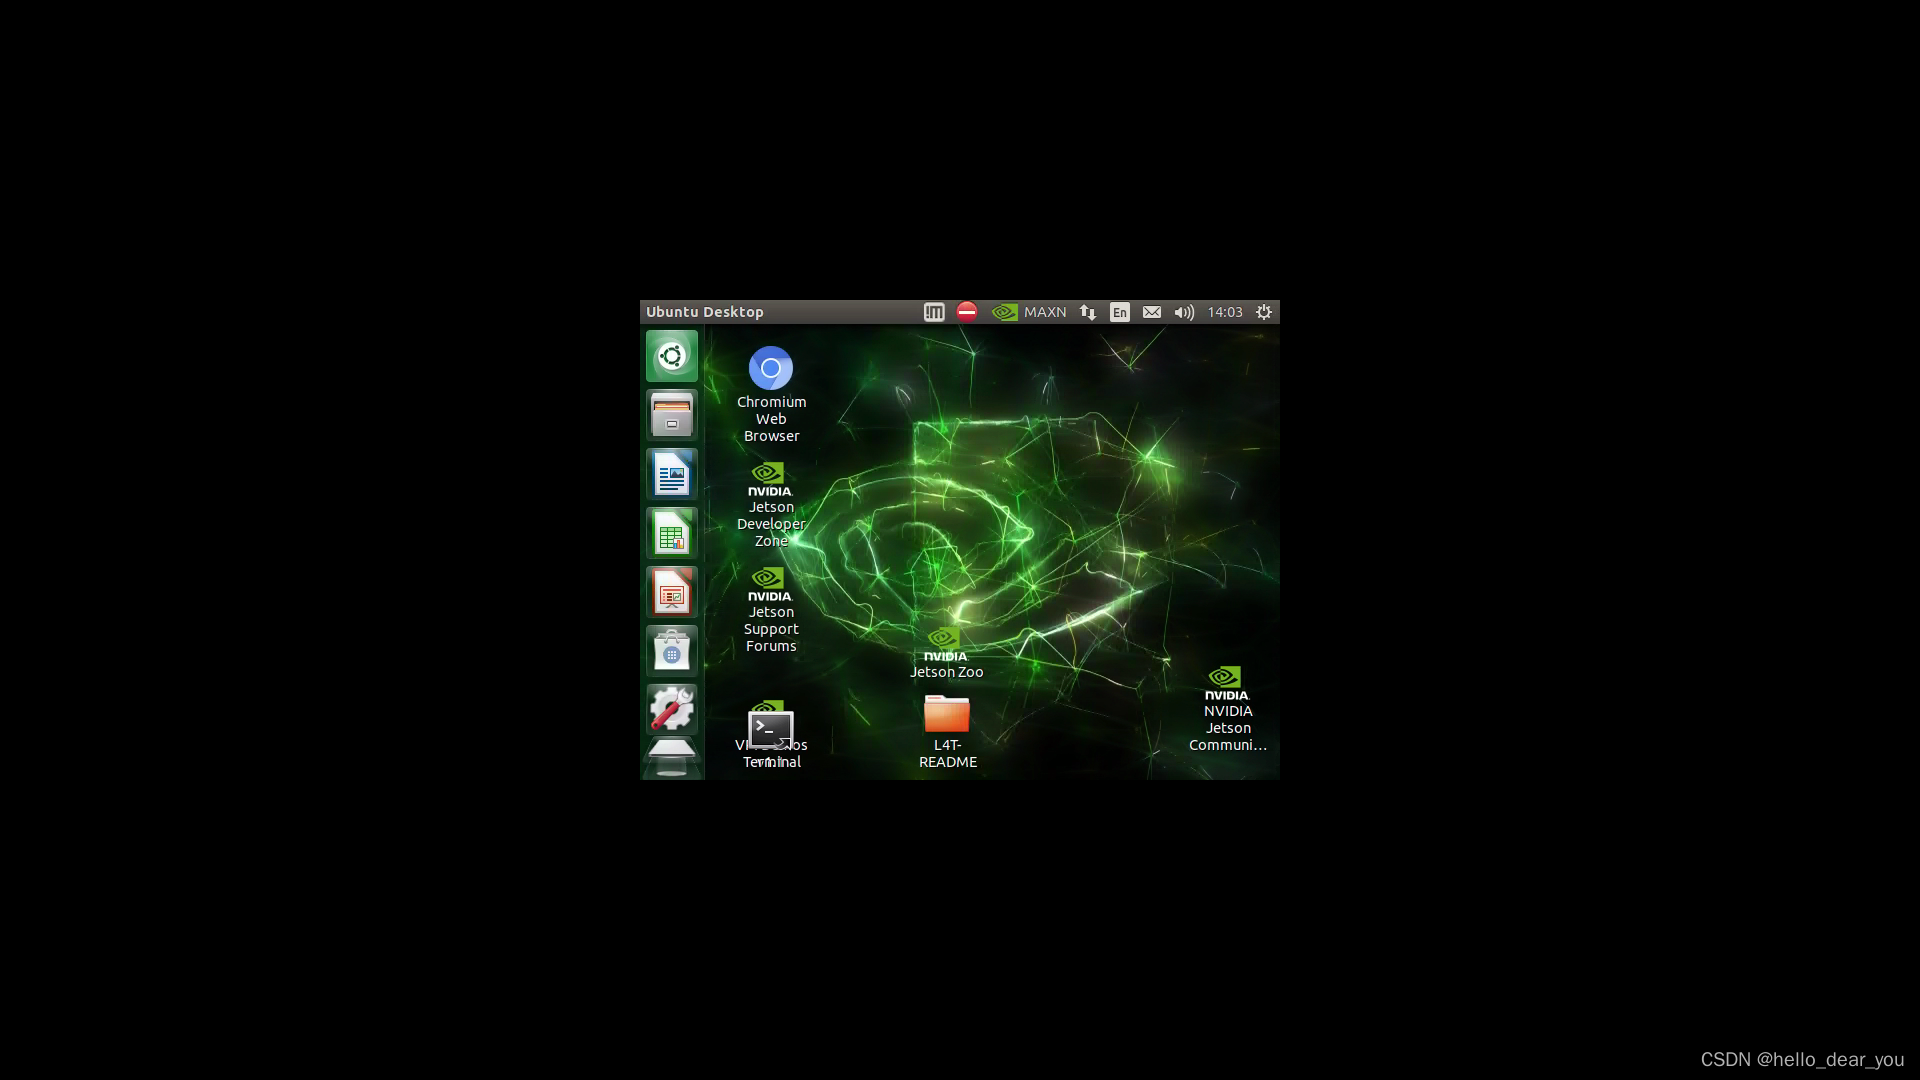
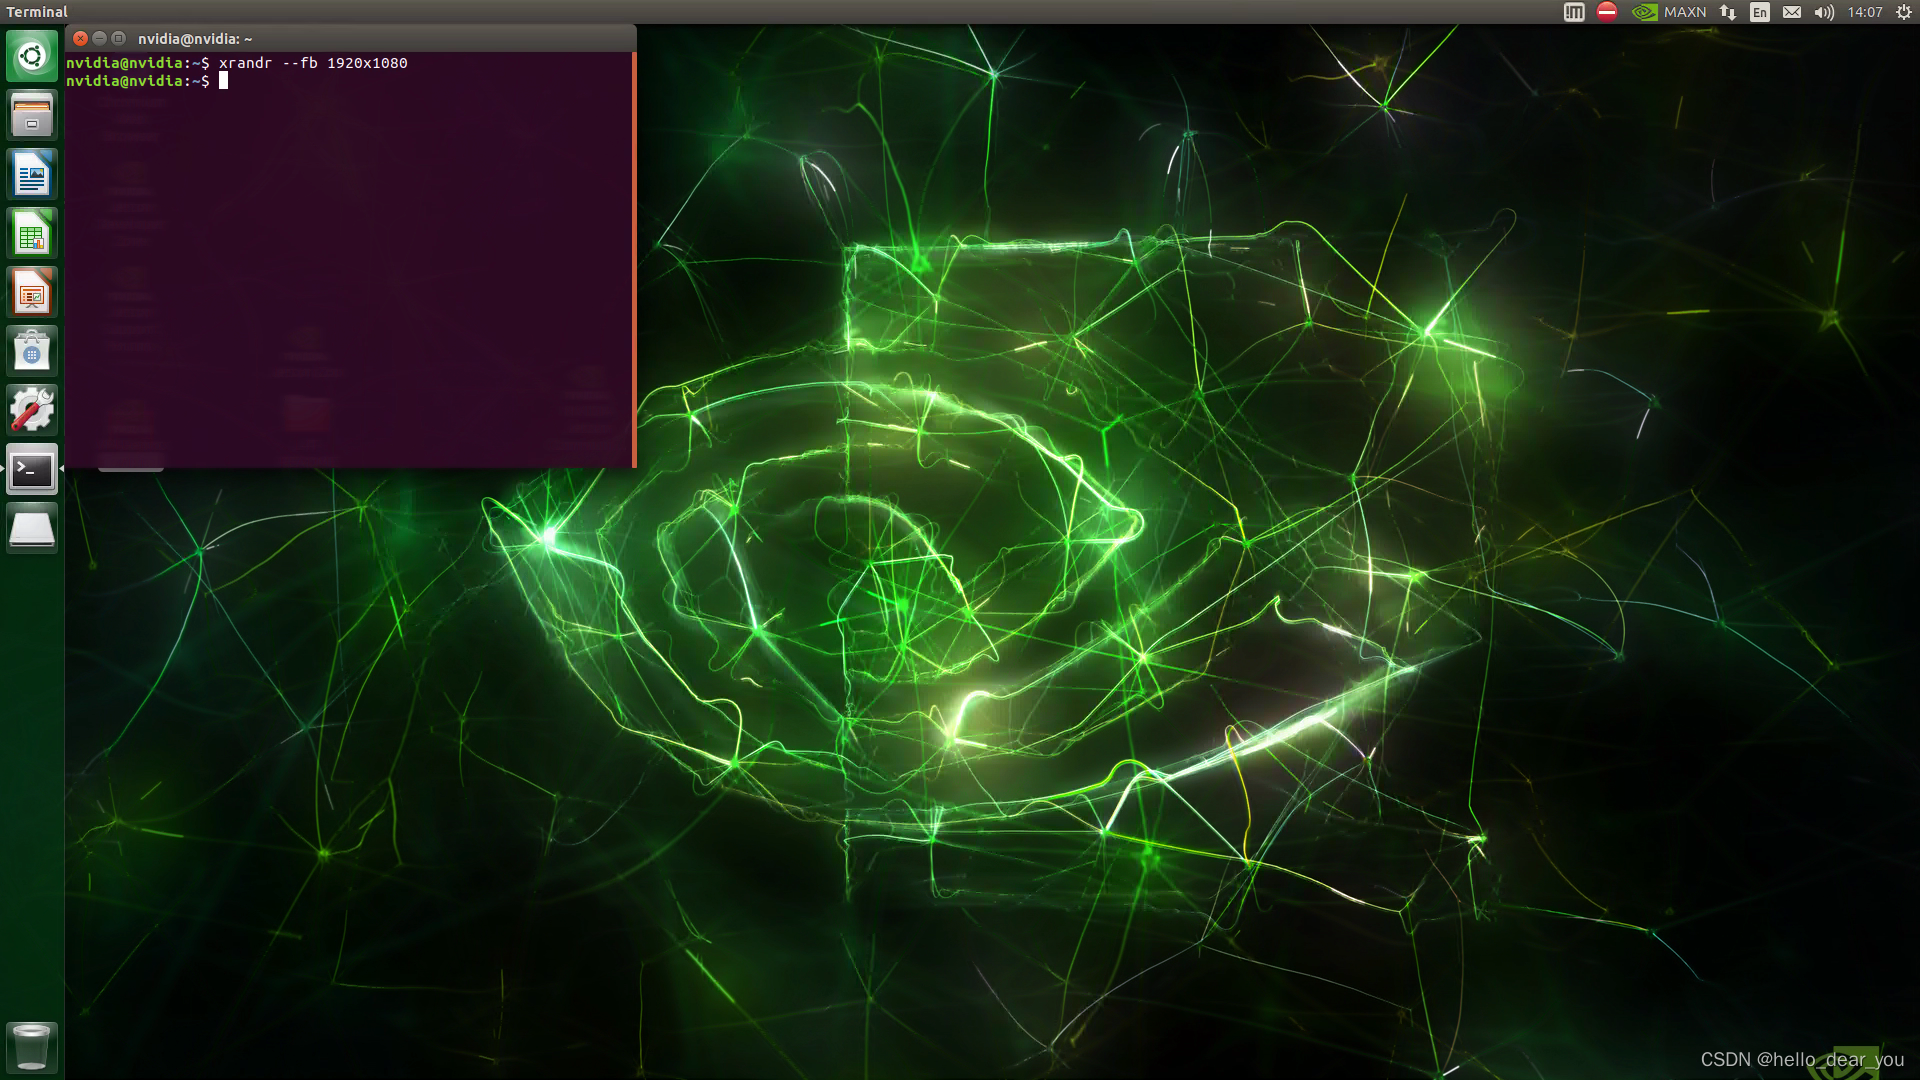
当连接之后出现如下界面,需要修改桌面分辨率
新建terminal,输入如下命令,然后关闭本机的连接,再次连接进入就好。
5. 客户端连接
客户端连接十分方便,具体步骤如下:


至此,完成了Nomachine工具的安装和使用介绍。