两台机器上都同时安装了zabbix-agent ,主要通过agent-Apache这台做介绍。以下的操作基于agent-Apache这台机器
步骤:
修改apache配置文件,开启server-status功能
root@agent:~# vi /etc/apache2/mods-enabled/status.conf
<Location /server-status>
                SetHandler server-status
                Require all granted
                #Require ip 192.0.2.0/24
</Location>
- 1
- 2
- 3
- 4
- 5
- 6
- 7
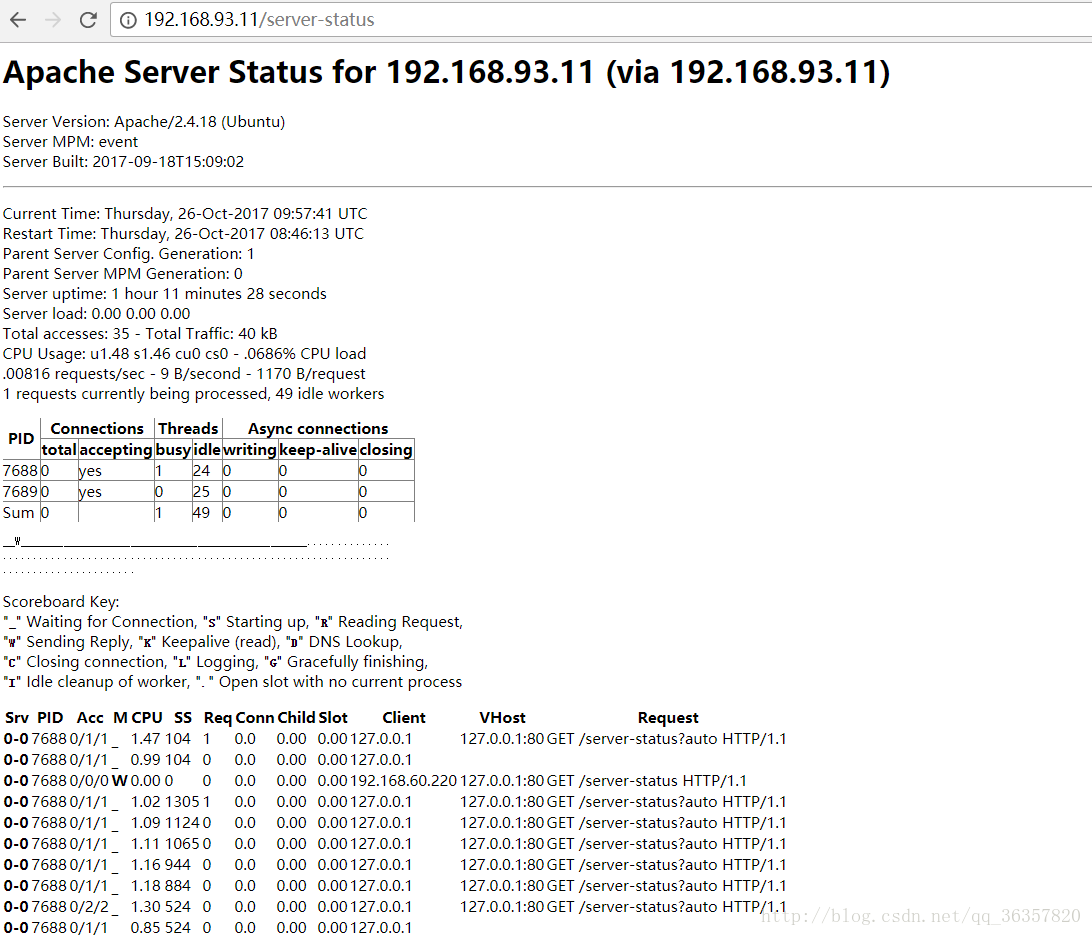
重启apache服务,浏览器输入http://ip/server-status ,确认配置生效
注意:倘若客户端是centos版本,操作如下
vi /etc/httpd/conf/httpd.conf(在文件最后添加)
ExtendedStatus On
<location /server-status>
    SetHandler server-status
    Order Allow,Deny
    Allow from all
</location>
- 1
- 2
- 3
- 4
- 5
- 6
- 7
重启httpd服务,浏览器输入http://ip/server-status ,确认配置生效
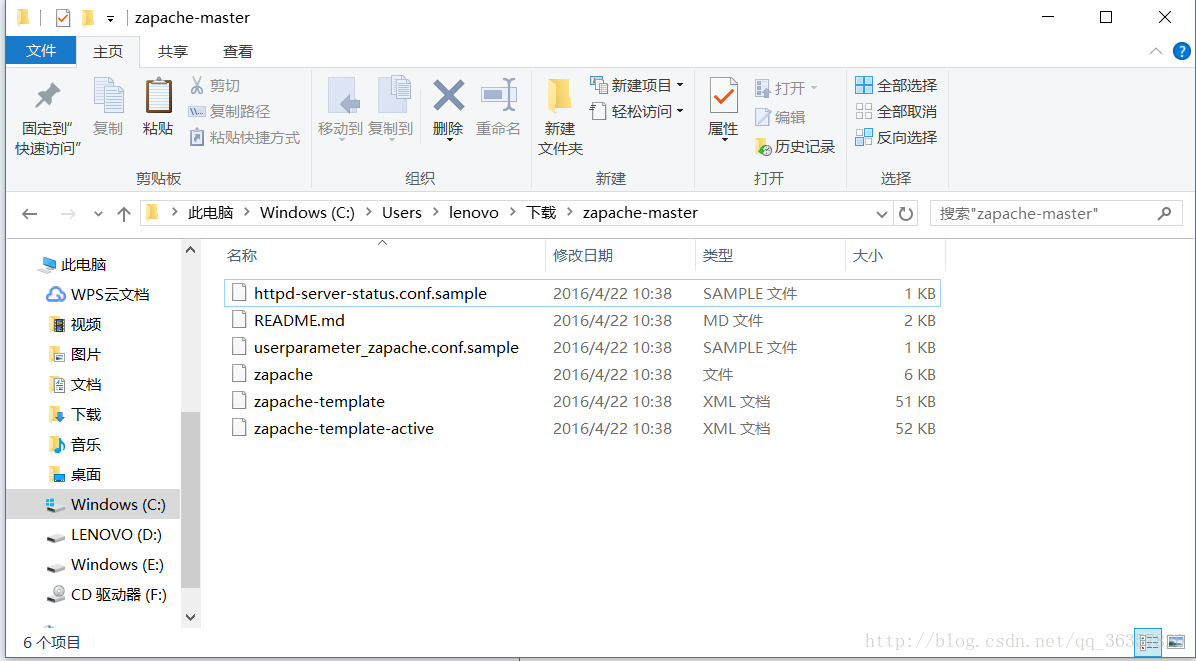
下载Apache模板 zapache https://github.com/lorf/zapache (下载到Windows桌面下)
XML代码
wget https://github.com/lorf/zapache/archive/master.zip
unzip master.zip

root@agent:~/zapache-master# ls
httpd-server-status.conf.sample  userparameter_zapache.conf.sample  zapache-template-active.xml
README.md                        zapache                            zapache-template.xml
- 1
- 2
- 3
- 4
- 5
- 6
- 7
httpd-server-status.conf.sample 是用于配置server-status的上个步骤已经配置过了
userparameter_zapache.conf.sample 、zapache 关键的文件
zapache-template-active.xml zapache-template.xml模板
将解压出来的几个重要文件放到相应目录
cp userparameter_zapache.conf.sample /etc/zabbix/zabbix_agentd.d/
cd /etc/zabbix/zabbix_agentd.d/
mv userparameter_zapache.conf.sample userparameter_zapache.conf
- 1
- 2
- 3
- 4
查看配置userparameter_zapache.conf内容
cat /etc/zabbix/zabbix_agentd.d/userparameter_zapache.conf
#
# This is a sample zabbix_agentd config file.
# Put it to /etc/zabbix_agentd.conf.d or otherwise integrate into agent config.
# Edit to your needs.
#
UserParameter=zapache[*],/var/lib/zabbixsrv/externalscripts/zapache \$1
- 1
- 2
- 3
- 4
- 5
- 6
- 7
- 8
可以看到应当把解压出来的zapache文件放到/var/lib/zabbixsrv/externalscripts/目录下,当然也可以修改这个目录位置,改为自定义的,我这里就用默认配置文件里的目录,因此,创建这个目录
mkdir -p /var/lib/zabbixsrv/externalscripts/
- 1
- 2
将zapache文件拷贝至/var/lib/zabbixsrv/externalscripts/目录
cp zapache /var/lib/zabbixsrv/externalscripts/
chmod +x /var/lib/zabbixsrv/externalscripts/zapache
- 1
- 2
- 3
修改zabbix agentd配置文件(ubuntu下可不做这步)
vi /etc/zabbix_agentd.conf
### Option: Include
#       You may include individual files or all files in a directory in the configuration file.
#       Installing Zabbix will create include directory in /usr/local/etc, unless modified during the compile time.
#
# Mandatory: no
# Default:
# Include=

#Include=/usr/local/etc/zabbix_agentd.userparams.conf
Include=/usr/local/etc/zabbix_agentd.d  #这把里的注释去掉
- 1
- 2
- 3
- 4
- 5
- 6
- 7
- 8
- 9
- 10
- 11
- 12
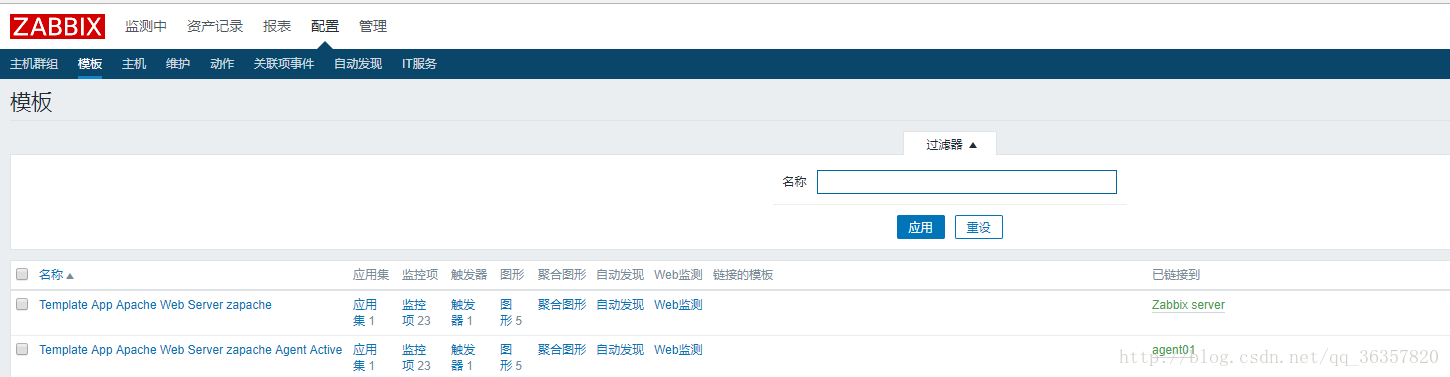
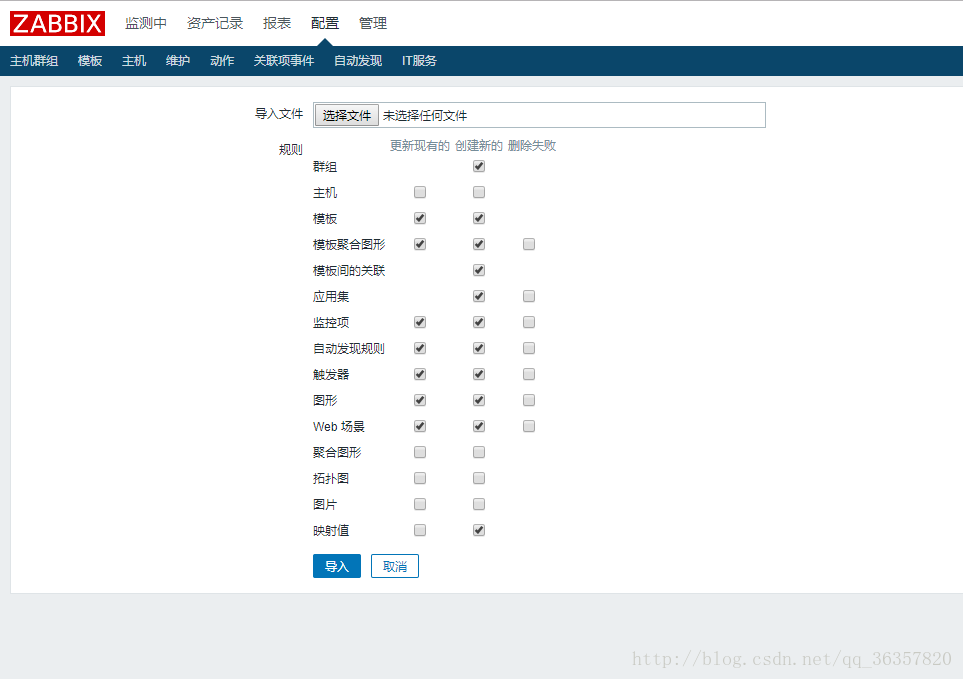
导入模板
扫描二维码关注公众号,回复:
1560951 查看本文章