3.创建用户
输入一键部署命令并回车
wget https://d.frps.cn/file/openvpn/openvpn-install.sh && bash openvpn-install.sh #执行安装脚本

This server is behind NAT. What is the public IPv4 address or hostname?
Public IPv4 address / hostname [101.33.76.24]:       #监听的IP默认即可
Which protocol should OpenVPN use?
   1) UDP (recommended)
   2) TCP
Protocol [1]: 2             #协议我这里使用TCP
What port should OpenVPN listen to?
Port [1194]:                #端口可以额外制定,或者默认
Select a DNS server for the clients:
   1) Current system resolvers
   2) Google
   3) 1.1.1.1
   4) OpenDNS
   5) Quad9
   6) AdGuard
DNS server [1]: 3                       #DNS我这里选择1.1.1.1 DNS
Enter a name for the first client:
Name [client]: test                     #创建用户
...
等待安装。。。。。
这样一个用户就算创建完了
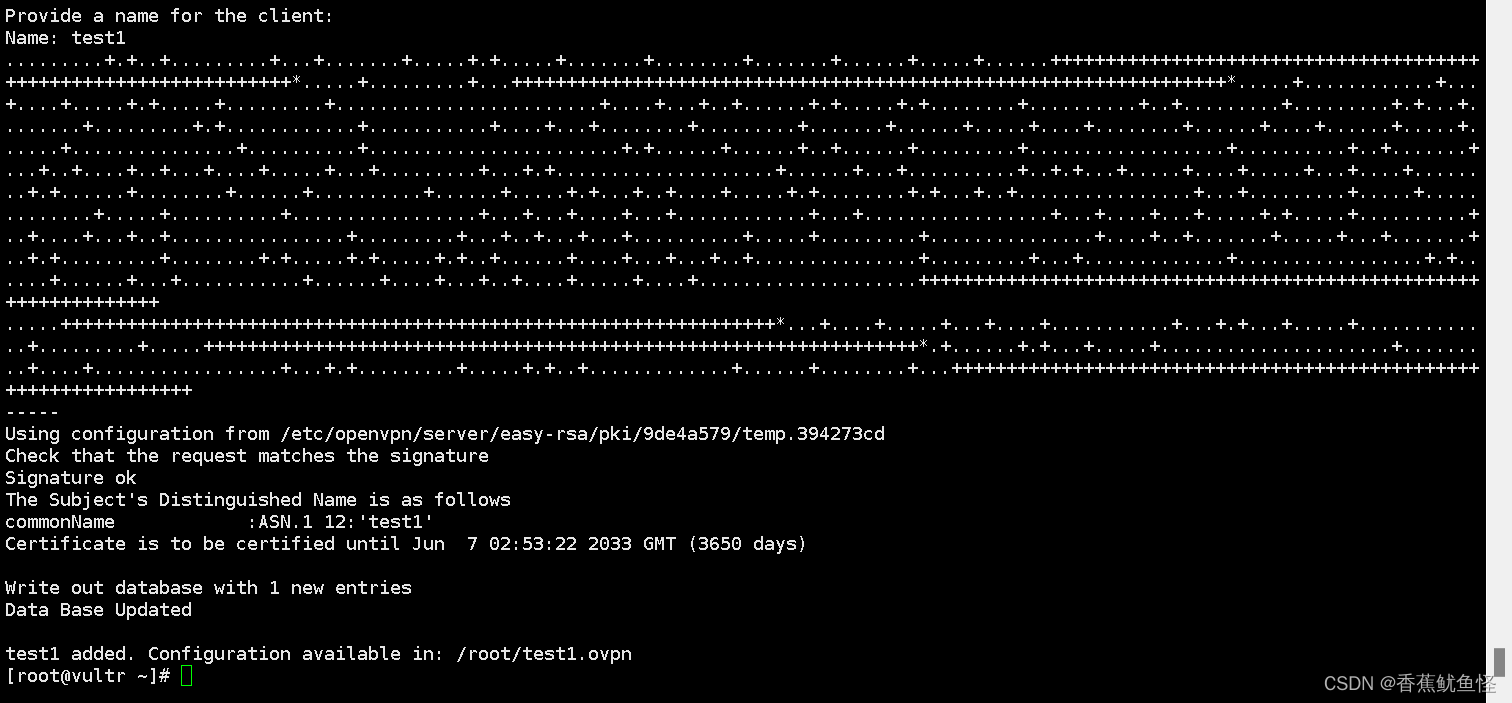
4.新增用户
只需要再次执行创建指令
wget https://d.frps.cn/file/openvpn/openvpn-install.sh && bash openvpn-install.sh #执行安装脚本
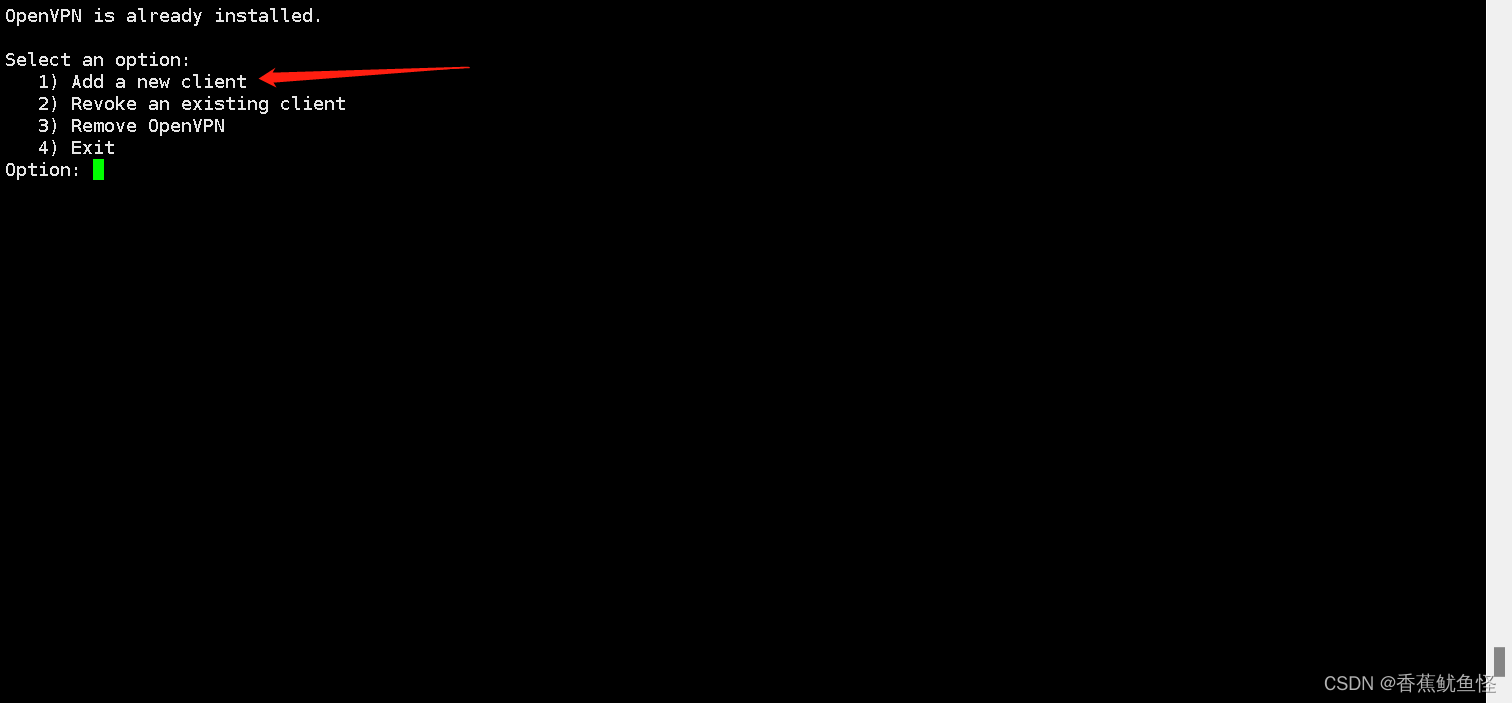
输入 1 回车,接着输入新增的用户名回车就可以了。