大家好!
今天我们用我们之前学习到的tkinter方法或者函数,完成一个登录窗口界面!

登录界面需要用到的tkinter方法或者函数我整理到下方链接好,不清楚的可以点击查看再回来:
扫描二维码关注公众号,回复:
15456435 查看本文章

好了!
下面先看看展示的结果是怎么样的!
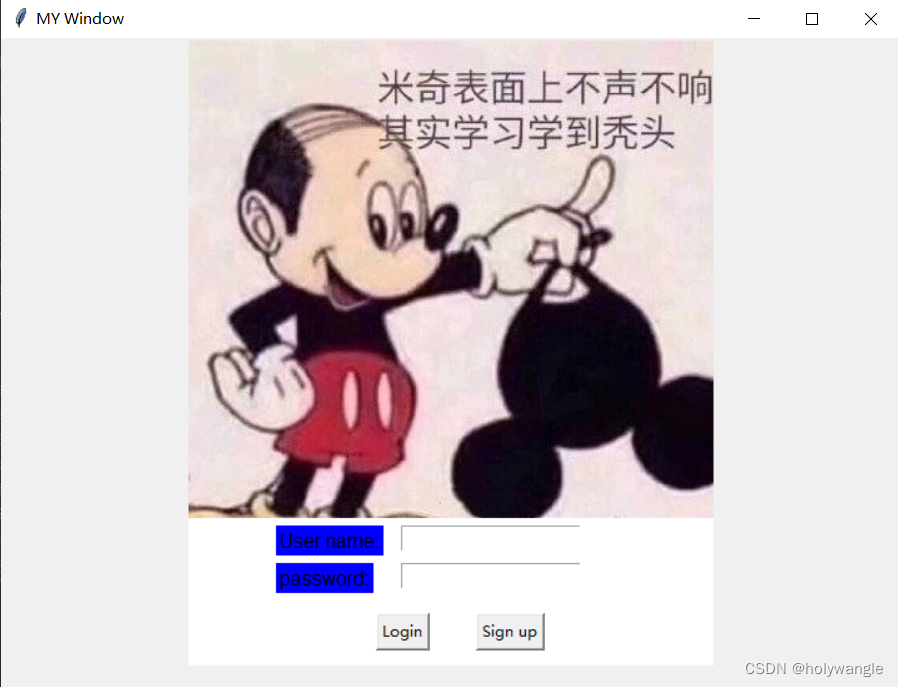
执行界面是这样的!
然后我输入对应的账号和密码,我这里设定是账号:123,密码:123

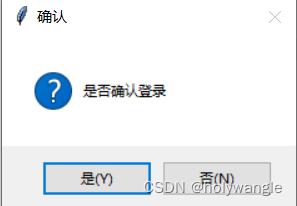
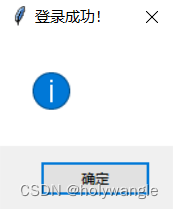
点击Login之后弹出是否确认登录的窗口,点击确认就显示登录成功!
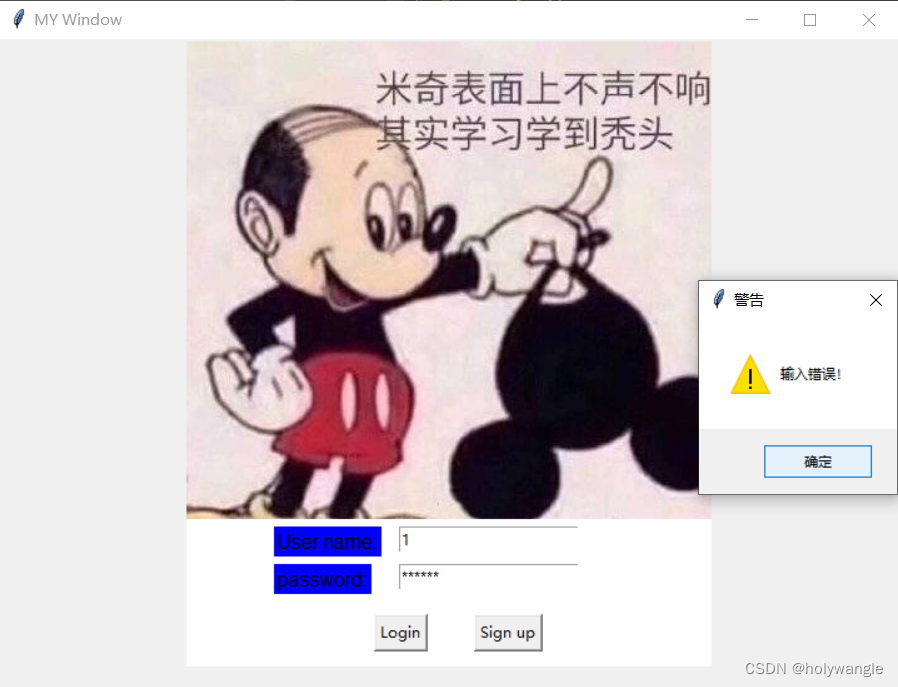
如果输入错误的话就弹出输入错误的窗口!
完整代码如下:
# 导入模块
import tkinter as tk
from PIL import Image, ImageTk
import tkinter.messagebox

# 创建窗口
window = tk.Tk()
# 设置窗口标题
window.title("MY Window")
# 设置标题
window.geometry("720x520")

# 创建画布对象
canvas = tk.Canvas(window, bg="white", height=500, width=420)
img = Image.open("./米奇老鼠.jpg")  # 打开图片
photo = ImageTk.PhotoImage(img)  # 使用ImageTk的PhotoImage方法
# 安置图片在画布上面
"""0,0其实代表着我们放置图片的具体;
位置anchor="nw"代表着原点位置;
image代表图片对象是谁"""
image = canvas.create_image(0, 0, anchor="nw", image=photo)
canvas.pack(side="top")

# 定义Var对象获取字符
var_user_name = tk.StringVar()
# 这里是初始化的,我这里为空,如果不想经常输入账号就可以设置一个默认账号
# 比如把下面的代码改为:var_user_name.set("123")
var_user_name.set("")
var_user_password = tk.StringVar()
var_user_password.set("")

# 定义标签
tk.Label(window, text="User name:", font=("Arial", 12), bg="blue").place(x=220, y=390)
tk.Label(window, text="password:", font=("Arial", 12), bg="blue").place(x=220, y=420)
# 定义输入框
entry_user_name = tk.Entry(window, textvariable=var_user_name).place(x=320, y=390)
entry_user_password = tk.Entry(window, textvariable=var_user_password, show="*").place(x=320, y=420)


def Login():
    user_name = var_user_name.get()
    user_password = var_user_password.get()
    if user_name == "123":
        if user_password == "123":
            a = tk.messagebox.askquestion(title="确认", message="是否确认登录")
            if a:
                tk.messagebox.showinfo(title="登录成功!")
    else:
        tk.messagebox.showwarning(title="警告", message="输入错误!")

# 这个还没完善
def Sign_up():
    pass


# 定义按钮
b1 = tk.Button(window, text="Login", command=Login)
b2 = tk.Button(window, text="Sign up", command=Sign_up)
b1.place(x=300, y=460)
b2.place(x=380, y=460)

# 显示窗口
window.mainloop()
第一步创建窗口:
# 创建窗口
window = tk.Tk()
# 设置窗口标题
window.title("MY Window")
# 设置标题
window.geometry("720x520")
第二步创建画布对象和插入背景图片:
# 创建画布对象
canvas = tk.Canvas(window, bg="white", height=500, width=420)
img = Image.open("./米奇老鼠.jpg")  # 打开图片
photo = ImageTk.PhotoImage(img)  # 使用ImageTk的PhotoImage方法
# 安置图片在画布上面
"""0,0其实代表着我们放置图片的具体;
位置anchor="nw"代表着原点位置;
image代表图片对象是谁"""
image = canvas.create_image(0, 0, anchor="nw", image=photo)
canvas.pack(side="top")
第三步定义标签和输入框:
# 定义标签
tk.Label(window, text="User name:", font=("Arial", 12), bg="blue").place(x=220, y=390)
tk.Label(window, text="password:", font=("Arial", 12), bg="blue").place(x=220, y=420)
# 定义输入框
entry_user_name = tk.Entry(window, textvariable=var_user_name).place(x=320, y=390)
entry_user_password = tk.Entry(window, textvariable=var_user_password, show="*").place(x=320, y=420)
第四步定义获取字符的Var对象:
# 定义Var对象获取字符
var_user_name = tk.StringVar()
# 这里是初始化的,我这里为空,如果不想经常输入账号就可以设置一个默认账号
# 比如把下面的代码改为:var_user_name.set("123")
var_user_name.set("")
var_user_password = tk.StringVar()
var_user_password.set("")
第五步设置按钮:
# 定义按钮
b1 = tk.Button(window, text="Login", command=Login)
b2 = tk.Button(window, text="Sign up", command=Sign_up)
b1.place(x=300, y=460)
b2.place(x=380, y=460)
最后一步定义函数:
def Login():
    user_name = var_user_name.get()
    user_password = var_user_password.get()
    if user_name == "123":
        if user_password == "123":
            a = tk.messagebox.askquestion(title="确认", message="是否确认登录")
            if a:
                tk.messagebox.showinfo(title="登录成功!")
    else:
        tk.messagebox.showwarning(title="警告", message="输入错误!")

# 这个还没完善
def Sign_up():
    pass
记得调用一下window.mainloop()显示窗口内容!!!
编写好之后我们就可以得到展示的结果了!
好了,今天的分享就这么多了,有什么不清楚或者我写错的地方,请多多指教!
私信,评论我呗!!!!!!
希望后续还再出一下好玩的窗口界面!
分享萌图!!