此前已经实现了后台搭建和数据库交互,现在开始编写小程序前端
编写小程序前端
小程序基础语法和框架结构在开放文档有很好的描述,此处不再赘述
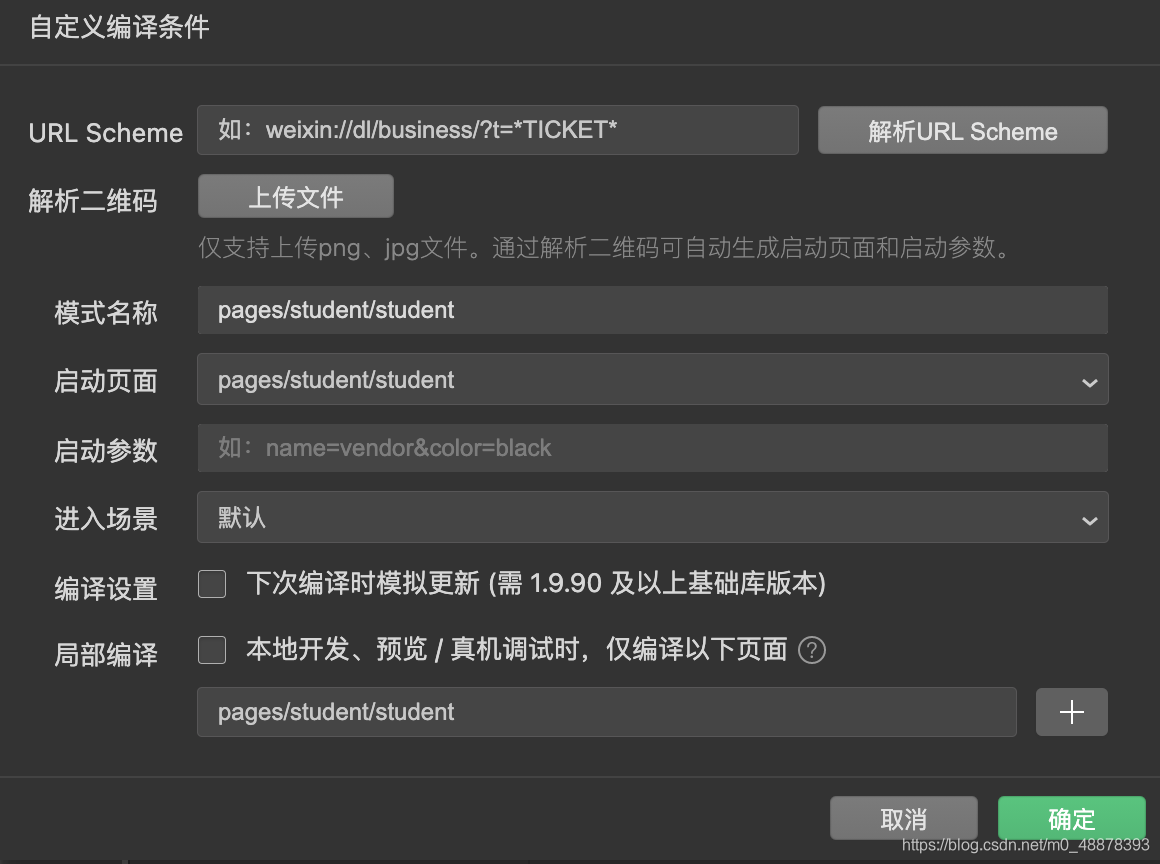
在app.json文件中配置一个新的页面,此处命名为student,并将编译模式中启动界面设为该界面
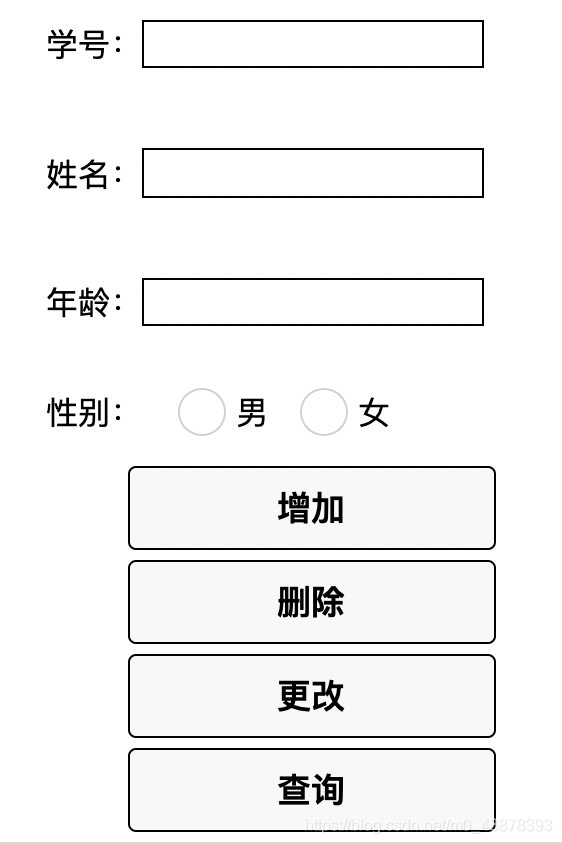
首先写一个能完成主要功能的界面,即输入信息和提交按钮
在wxml中使用了诸如view,input,radio,button等组件,并在wxss中设置样式,其中输入框可以获取框中内容,性别是单选框,下方增删改查按钮用于提交表单
在js中配置参数和方法
首先初始化需要用到的参数
let id,name,age,sex
在page里配置获取输入信息的函数
通过在wxml里设置的bindinput和bindchange获取输入框和单选框内容,函数中设置e为触发事件,将最后的内容赋值给信息参数
Page({


  data:{


  },
  getId(e){


    id=e.detail.value
  },
  getName(e){


    name=e.detail.value
  },
  getAge(e){


    age=e.detail.value
  },
  getSex(e){


    sex=e.detail.value
  },
})
对应的插入方法
访问端口并将数据传输,请求成功后当端口返回值为200,即客户端请求已成功则微信提示添加成功
状态码内容不再赘述,详细可参考HTTP状态码(完整版)作者:超级字节码
insert(){


  //console.log(id,name,age,sex)
  wx.request({


    url: 'http://localhost:8080/insert',
    data:{


      id,name,age,sex
    },
    success(res){


      if(res.statusCode==200){


        wx.showToast({


          title: '添加成功',
        })
      }else{


        wx.showToast({


          title: '添加失败',
          icon:'none'
        })
      }
    }
  })
}
删除方法
按照id删除,当输入了id时访问删除端口,未输入则微信提示未输入
delete(){


  if(id){


    wx.request({


      url: 'http://localhost:8080/delete',
      data:{


        id
      },
      success(res){


        if(res.statusCode==200){


          wx.showToast({


            title: '删除成功',
          })
        }
        else{


          wx.showToast({


            title: '学号不存在',
            icon:'none'
          })
        }
      }
    })
  }else{


    wx.showToast({


      title: '未输入学号',
      icon:'none'
    })
  }
}
更新方法
同样是根据id,修改方法已经在后端定义好了
update(){


  if(id){


    wx.request({


      url: 'http://localhost:8080/update',
      data:{


        id,name,age,sex
      },
      success(res){


        if(res.statusCode==200){


          wx.showToast({


            title: '修改成功',
          })
        }else{


          wx.showToast({


            title: '学号不存在',
            icon:'none'
          })
        }
      }
    })
  }else{


    wx.showToast({


      title: '未输入学号',
      icon:'none'
    })
  }
}
查询方法
因后端发布在端口的消息是一串json数据,对res进行解析可以得到res.data是需要做展示的列表,将其赋值给dataList,供前端做数据绑定
注意此处的let that=this,因网络请求异步,this只在wx.request里作用,而在外部需要赋值给that,才能将that得到的原始值用于赋值
后端已经写了根据id查找的方法,也可以在前端设置对应访问方式和展示方式
select(){


  let that=this				//注意
  wx.request({


    url: 'http://localhost:8080/getAll',
    success(res){


      if(res.statusCode==200){


        that.setData({


          dataList:res.data
        })
        wx.showToast({


          title: '查询成功',
        })
      }else{


        wx.showToast({


          title: '查询失败',
          icon:'none'
        })
      }
    }
  })
}
注意本文四个方法使用的都是get请求(默认),如需使用post请求,需要对wx的request请求做以下设置
wx.request({


      url: 'http://localhost:8080/insert',
      method:"POST",
      header:{


        "Content-Type": "application/x-www-form-urlencoded"
      },
查询内容

wxml和wxss源码
wxml
<view class="wk">
  <view class="bt">
    <text>学号:</text>
    <input bindinput="getId" />
  </view>
  <view class="bt">
    <text>姓名:</text>
    <input bindinput="getName" />
  </view>
  <view class="bt">
    <text>年龄:</text>
    <input bindinput="getAge" />
  </view>
  <view class="bt">
    <text>性别:</text>
    <radio-group bindchange="getSex" style="margin:10px">
      <radio value="男">男</radio>
      <radio value="女">女</radio>
    </radio-group>
  </view>
</view>

<button bindtap="insert">增加</button>
<button bindtap="delete">删除</button>
<button bindtap="update">更改</button>
<button bindtap="select">查询</button>

<view>
  <view class="table">
    <view class="tr">
      <view class="th th1">学号</view>
      <view class="th th2">姓名</view>
      <view class="th th3">年龄</view>
      <view class="th th4">性别</view>
    </view>
    <view class="tr" wx:for="{

     {dataList}}" wx:key="index">
      <view class="td td1">{

   {item.id}}</view>
      <view class="td td2">{

   {item.name}}</view>
      <view class="td td3">{

   {item.age}}</view>
      <view class="td td4">{

   {item.sex}}</view>
    </view>
  </view>
</view>
wxss
input {


  border: 1px solid;
  margin-block: 20px;
}

radio {


  margin-inline: 8px;
}


button {


  border: 1px solid;
  margin: 5px;
}

.bg {


  margin: 15px;
  border: 2px solid
}

.bt {


  display: flex;
  align-items: center;
}

.wk {


  margin-left: 55px;
}

.table {


  border: 1px solid #dadada;
  border-right: 0;
  border-bottom: 0;
  width: 98%;
  margin-left: 1%;
}

.tr {


  width: 100%;
  display: flex;
  justify-content: space-between;
}

.th,
.td {


  padding: 10px;
  border-bottom: 1px solid #dadada;
  border-right: 1px solid #dadada;
  text-align: center;
  width: 100%;
  font-size: 15px;
}

.th {


  font-weight: 800;
  font-size: 15px;
  color: #330e0e;
}