一、提前准备
1.1安装依赖工具
yum install -y curl policycoreutils-python openssh-server

systemctl start sshd
systemctl enable sshd
1.2安装Postfix邮件服务器
#安装 postfix
yum install -y postfix

#启动 postfix 并设置为开机启动
systemctl enable postfix
systemctl start postfix
1.3关闭防火墙
systemctl stop firewalld
systemctl disable firewalld
二、安装
2.1添加国内gitlab镜像源
--no-check-certificate 参数表示不检查ssl证书
wget https://mirrors.tuna.tsinghua.edu.cn/gitlab-ce/yum/el7/gitlab-ce-13.1.2-ce.0.el7.x86_64.rpm --no-check-certificate安装
rpm -ivh gitlab-ce-13.1.2-ce.0.el7.x86_64.rpm2.2修改配置文件
更改端口号为8081
2.3登录
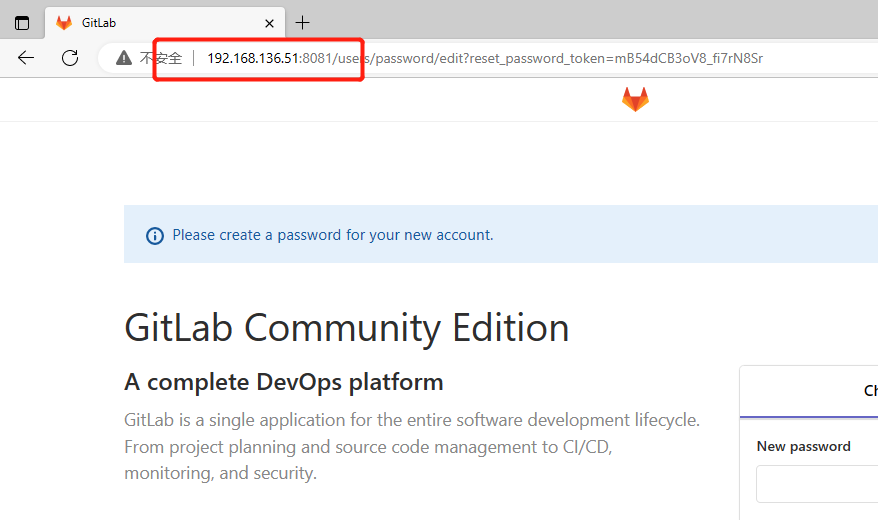
账号:root
密码:lgblgblgb(这是我设置的密码,不需要相同)
密码在文件 /etc/gitlab/initial_root_password 中查看,如果提示文件不存在,页面会引导你直接更改新的root密码,这样就无须查看了。
cat /etc/gitlab/initial_root_password2.4相关命令
gitlab-ctl start      // 启动所有 gitlab 组件;
gitlab-ctl stop       // 停止所有 gitlab 组件;
gitlab-ctl restart    // 重启所有 gitlab 组件;
gitlab-ctl status     // 查看服务状态;
gitlab-ctl reconfigure        // 刷新配置文件;
vim /etc/gitlab/gitlab.rb     // 修改默认的配置文件;
gitlab-rake gitlab:check SANITIZE=true --trace    // 检查gitlab;
gitlab-ctl tail        // 查看日志;
2.5设置中文
点击头像图标,选择“Settings”,选择“Perferences”栏选择“Preferences",下拉找到”Localization"区域,将“English”选项改成“Chinese,Simplifoed-简体中文",点击”Save changes"。
三、上传java项目
条件:
宿主机已安装jdk和idea
宿主机已安装git
宿主机有一个可上传的完整测试项目
2.1win10安装jdk1.8和idea2019
2.2安装git
2.3idea创建java项目
2.4检查时间服务器
date #在giatlab服务器终端执行,如果时间为北京时间进行下一步,如果是美国时间,先安装时间同步服务。

yum -y install chrony
cp -a /etc/chrony.conf /etc/chrony.conf.bak
sed -i 's/server/#server/g' /etc/chrony.conf
sed -i '/#server 3.centos.pool.ntp.org iburst/a\server ntp1.aliyun.com iburst' /etc/chrony.conf
systemctl restart chronyd
systemctl enable chronyd

systemctl enable chronyd  #重启gitlab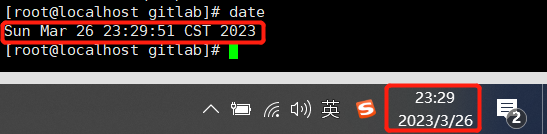
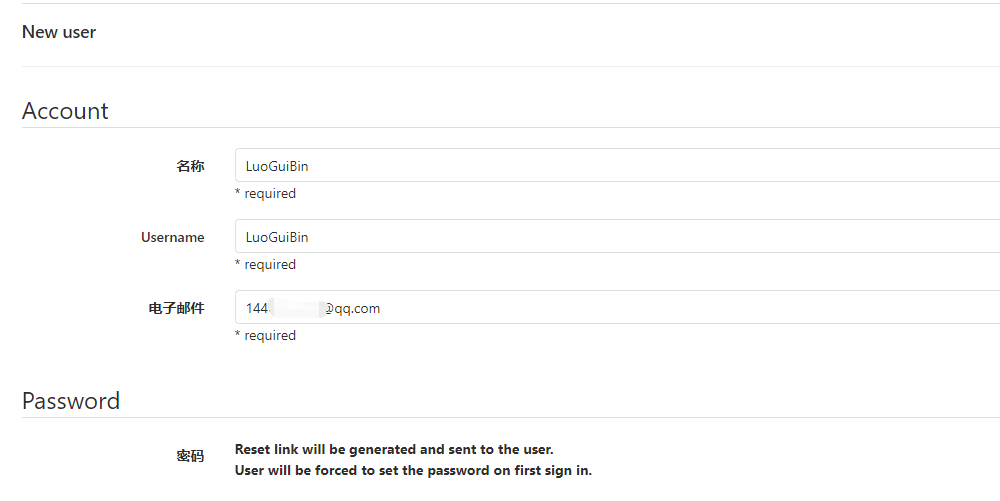
2.5Gitlab管理员新建LuoGuiBin用户
在root用户下新建GuoGuiBin账户

填写信息,邮箱必填
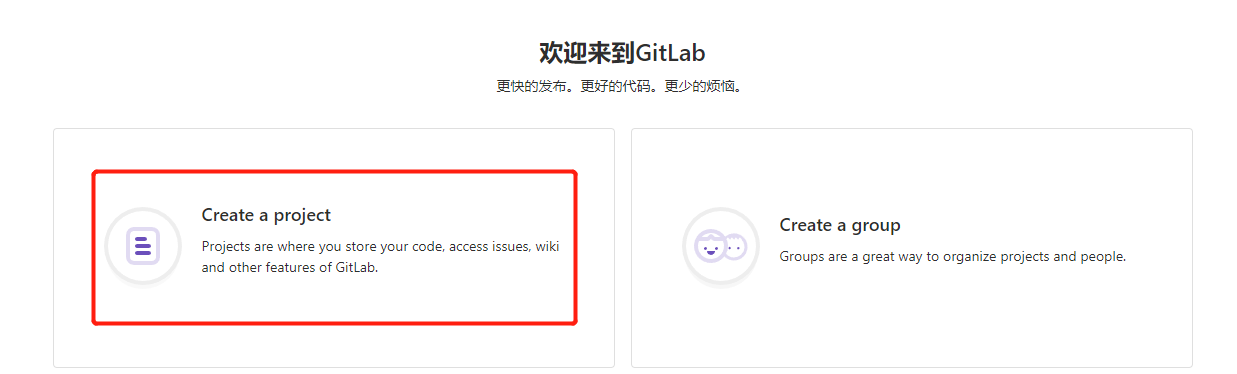
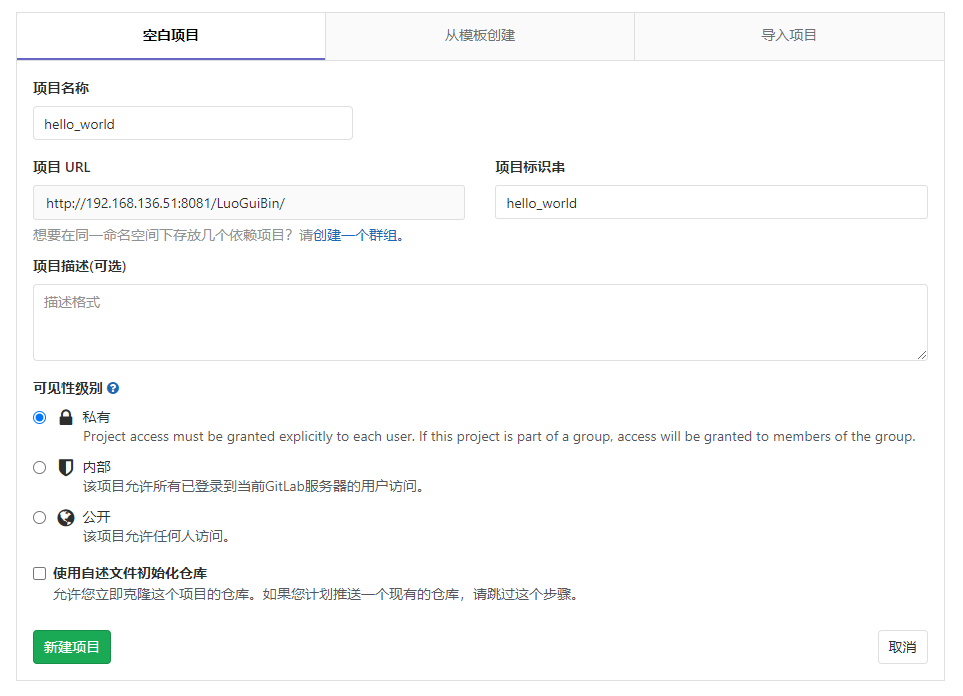
2.6gitlab新建仓库
注意是登录更改新建好的LuoGuiBin账户,
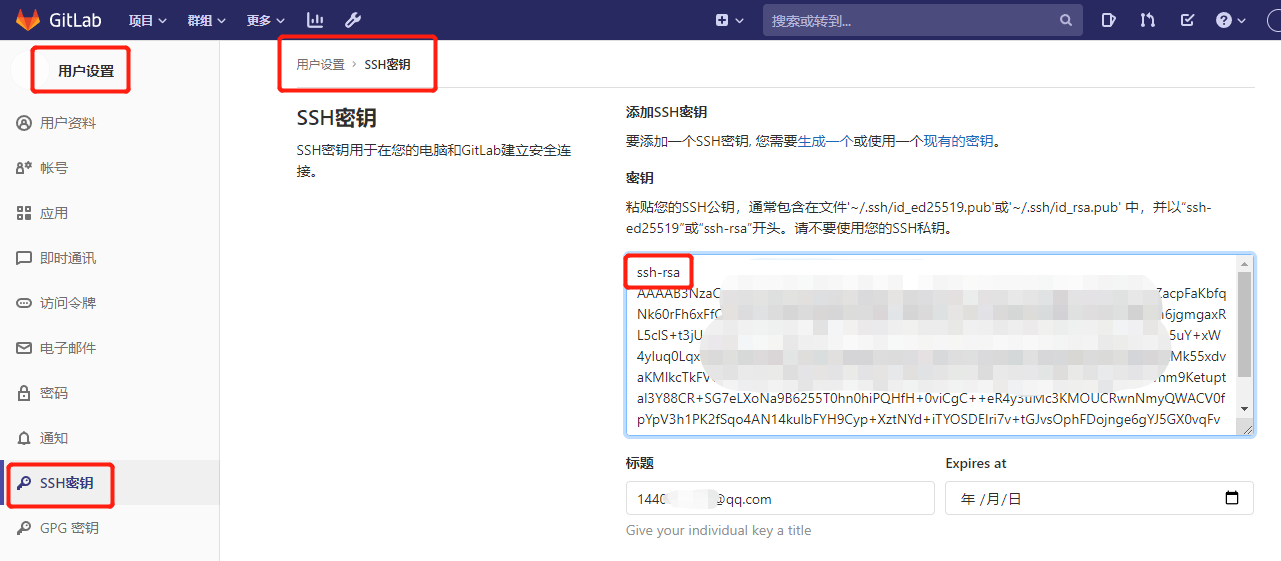
2.7设置用户和邮箱、获取ssh秘钥
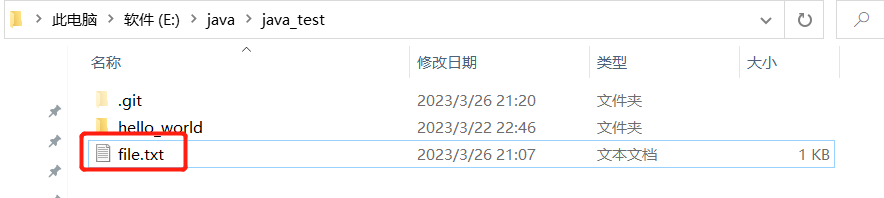
在宿主机的项目总文件夹E:\java\java_test下右键鼠标,选择“Git Bash Here”,弹出窗口。注意不用进去项目文件夹。


更改用户和邮箱,输入命令后不会有任何提示,表示命令执行成功。
git config --global user.name “xxx”
git config --global user.email “[email protected]”

ssh-keygen -t rsa -C “[email protected]” #连按三次enter获得秘钥
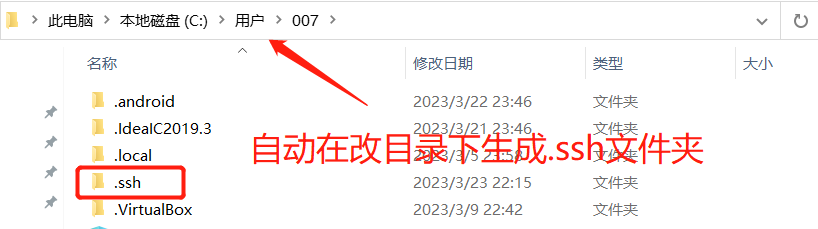
进入.ssh文件夹后用记事本打开id_rsa.pub文件,复制,添加在Gitlab的SSH秘钥。

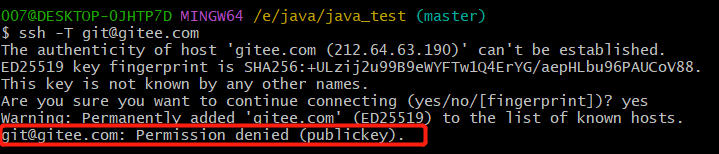
有些博客使用ssh -T [email protected]测试是否成功,即使失败也不影响,这张图就是失败效果。
2.8初始化init
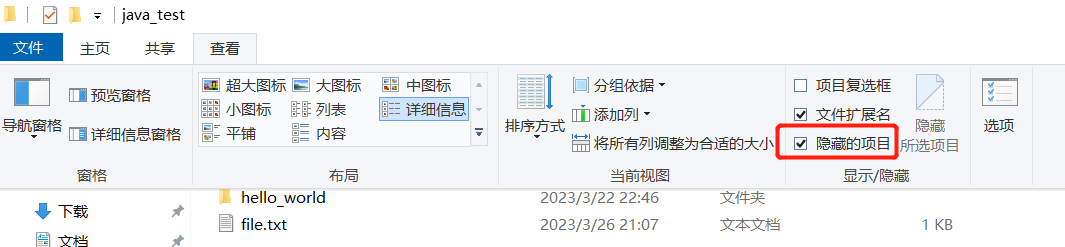
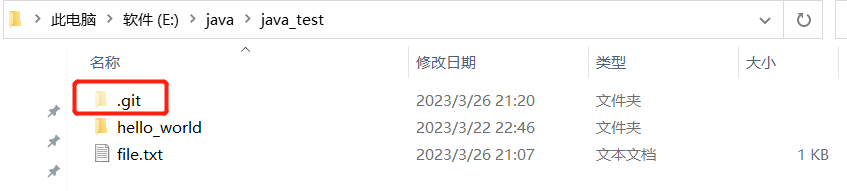
git init出现提示后文件夹会生成一个.git的隐藏文件夹,且会出现(master)分支。
克隆仓库地址
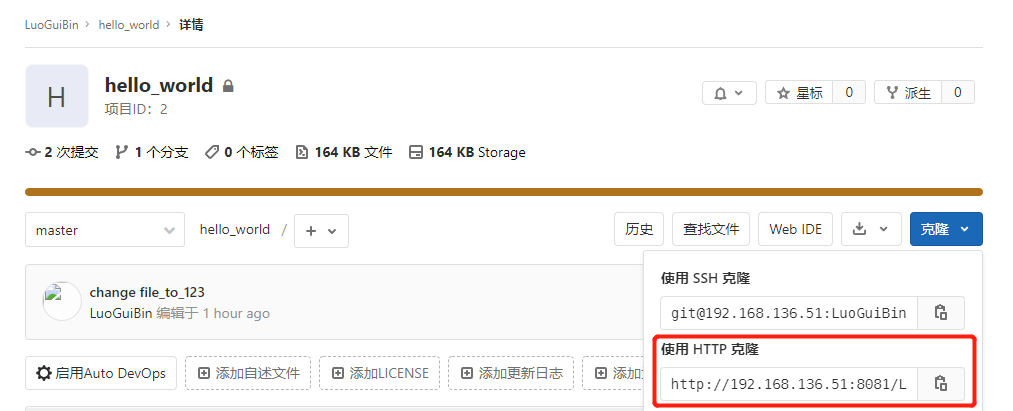
#git remote add origin 仓库地址

git remote add origin http://192.168.136.51:8081/LuoGuiBin/hello_world.git
ip、端口、用户名可能会不同,需要留意自己的。
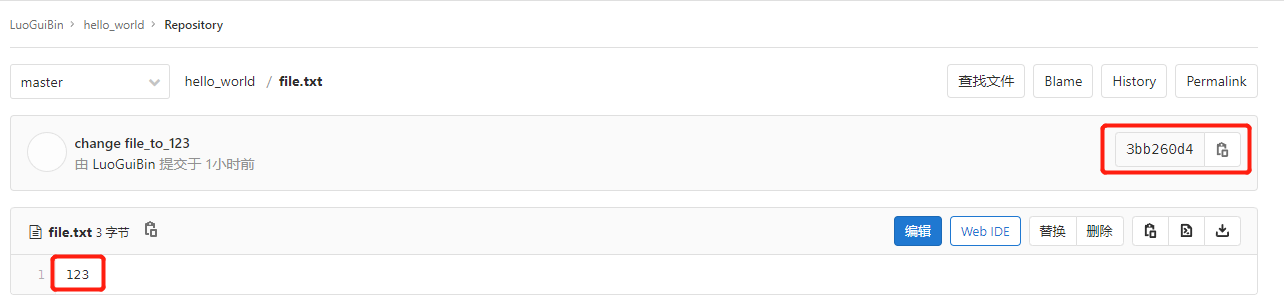
我现在以file.txt为例子,
上传前file.txt内容为123。
2.9开始上传
2.9.1上传测试file
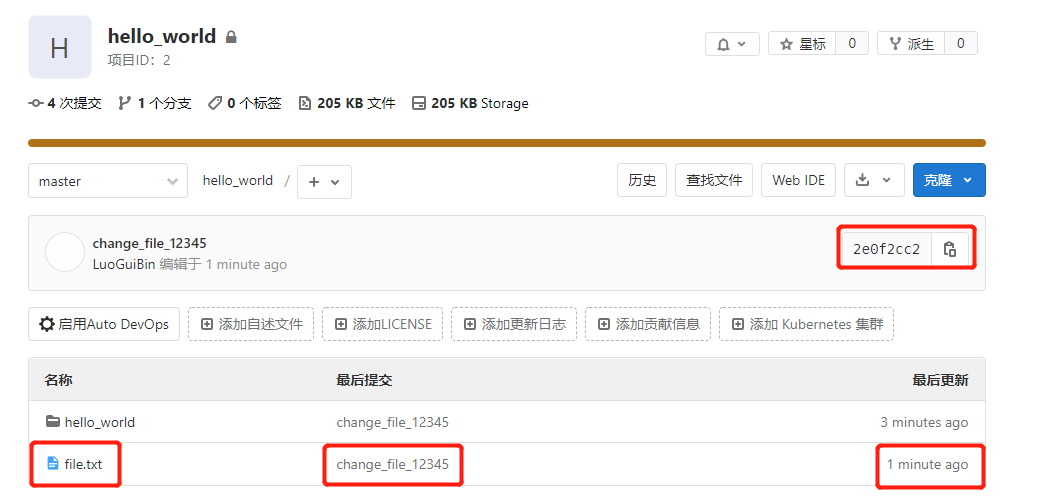
file原本的内容三123,将file更改成12345,上传gitlab,查看是否上传成功。

git status   #查看提交状态

git add file.txt
#该文件添加入track中,使用git add . 命令可以将当前文件夹下的所有文件添加到stack中。

git commit -m "change_file_12345"  #上传注释

git push -u origin master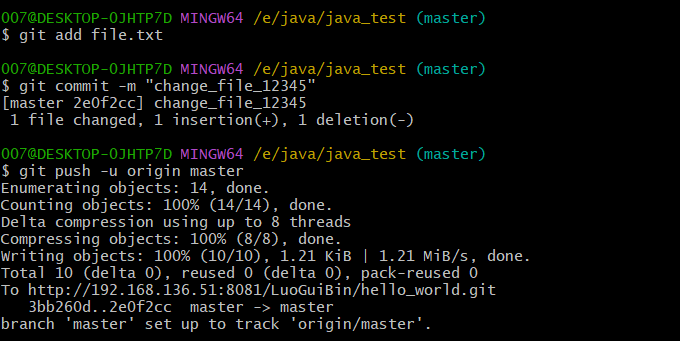
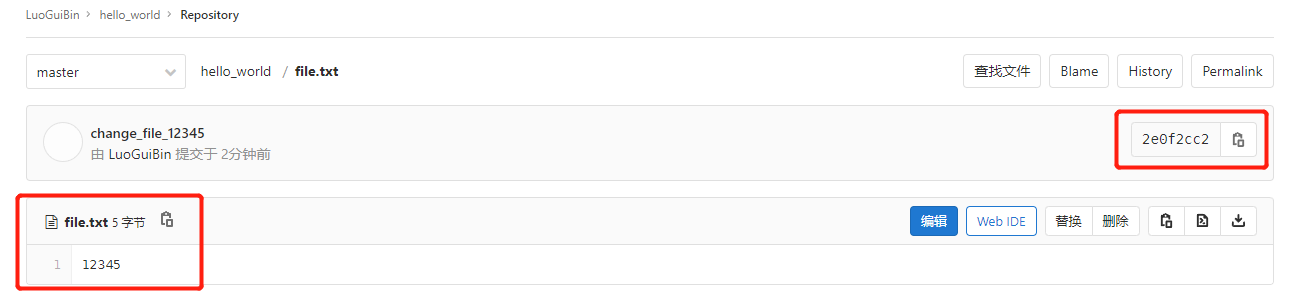
再次查看gitlab上的file.txt文件,已经更新成12345,上传完成,其他项目文件夹上传都是相同的步骤。