SpringBoot 整合缓存 Ehcache 代码详解、ehcache.xml 配置详解
- 前言:
Ehcache 和 SpringBoot 内置的缓存 Simple cache 缓存在编码使用上是没有什么区别的,只是要引入的依赖不同,以及相应的配置文件也不同。故,请先参照SpringBoot 使用内置缓存代码详解(数据从缓存中存、取代码讲解)@Cacheable、@CachePut注解讲解这篇博客进行SpringBoot 内置的缓存的初步了解后,再来了解 Ehcache。
- 引入相关依赖:
<dependency>
    <groupId>org.projectlombok</groupId>
    <artifactId>lombok</artifactId>
    <optional>true</optional>
</dependency>
<dependency>
    <groupId>org.springframework.boot</groupId>
    <artifactId>spring-boot-starter-test</artifactId>
    <scope>test</scope>
</dependency>

<!--Ehcache-->
<dependency>
    <groupId>org.springframework.boot</groupId>
    <artifactId>spring-boot-starter-cache</artifactId>
</dependency>
<dependency>
    <groupId>net.sf.ehcache</groupId>
    <artifactId>ehcache</artifactId>
</dependency>

<dependency>
    <groupId>com.baomidou</groupId>
    <artifactId>mybatis-plus-boot-starter</artifactId>
    <version>3.4.3</version>
</dependency>

<dependency>
    <groupId>mysql</groupId>
    <artifactId>mysql-connector-java</artifactId>
    <version>8.0.28</version>
</dependency>

<dependency>
    <groupId>org.springframework.boot</groupId>
    <artifactId>spring-boot-starter-web</artifactId>
</dependency>
- yml配置:
spring:
  datasource:
    driver-class-name: com.mysql.cj.jdbc.Driver
    url: jdbc:mysql://localhost:3306/springboot?serverTimezone=UTC
    username: user
    password: 123456

  # 配置使用Ehcache, SpringBoot 默认缓存是 cache: type: simple
  cache:
    type: ehcache

mybatis-plus:
  global-config:
    db-config:
      table-prefix: tbl_
  configuration:
    log-impl: org.apache.ibatis.logging.stdout.StdOutImpl
- 使用Ehcache需要读取ehcache.xml中的配置:

- 相关数据层代码、业务层代码以及表现层代码同SpringBoot 使用内置缓存代码详解(数据从缓存中存、取代码讲解)@Cacheable、@CachePut注解讲解这篇博客
- ehcache.xml配置:
<?xml version="1.0" encoding="UTF-8" ?>
<ehcache xmlns:xsi="http://www.w3.org/2001/XMLSchema-instance"
         xsi:noNamespaceSchemaLocation="http://ehcache.org/ehcache.xsd"
         updateCheck="false">

	<!--diskStore: 持久化到磁盘上时的存储位置-->
    <diskStore path="D:\\aspring\\ehcache"/>

    <!--
      name:缓存名称。
      maxElementsInMemory:缓存最大个数。
      eternal:对象是否永久有效,一但设置了,timeout将不起作用。
      timeToIdleSeconds:设置对象在失效前的允许闲置时间(单位:秒)。仅当eternal=false对象不是永久有效时使用,可选属性,默认值是0,也就是可闲置时间无穷大。
      timeToLiveSeconds:设置对象在失效前允许存活时间(单位:秒)。最大时间介于创建时间和失效时间之间。仅当eternal=false对象不是永久有效时使用,默认是0.,也就是对象存活时间无穷大。
      overflowToDisk:当内存中对象数量达到maxElementsInMemory时,Ehcache将会对象写到磁盘中。
      diskSpoolBufferSizeMB:这个参数设置DiskStore(磁盘缓存)的缓存区大小。默认是30MB。每个Cache都应该有自己的一个缓冲区。
      maxElementsOnDisk:硬盘最大缓存个数。
      diskPersistent:是否缓存虚拟机重启期数据 Whether the disk store persists between restarts of the Virtual Machine. The default value is false.
      diskExpiryThreadIntervalSeconds:磁盘失效线程运行时间间隔,默认是120秒。
      memoryStoreEvictionPolicy:当达到maxElementsInMemory限制时,Ehcache将会根据指定的策略去清理内存。默认策略是LRU(最近最少使用)。你可以设置为FIFO(先进先出)或是LFU(较少使用)。
      clearOnFlush:内存数量最大时是否清除。
   -->

    <defaultCache
        maxElementsInMemory="10000"
        eternal="false"
        timeToIdleSeconds="120"
        timeToLiveSeconds="120"
        overflowToDisk="false"
        maxElementsOnDisk="10000000"
        diskPersistent="false"
        diskExpiryThreadIntervalSeconds="120"
        memoryStoreEvictionPolicy="LRU"
    />

    <cache
        name="cacheSpace"
        maxElementsInMemory="10000"
        eternal="false"
        timeToIdleSeconds="120"
        timeToLiveSeconds="120"
        overflowToDisk="false"
        maxElementsOnDisk="10000000"
        diskPersistent="false"
        diskExpiryThreadIntervalSeconds="120"
        memoryStoreEvictionPolicy="LRU"
    />

</ehcache>
@Cacheable(value="cacheSpace", key="#id")
public Book getCacheById(String id) {


    return getById(id);
}
- 在使用 @Cacheable(value=“cacheSpace”, key=“#id”) 注解时:如果value省略,那么会使用 ehcache.xml 中的 <defaultCache … /> 中的配置。指明 value 后,同样要在 ehcache.xml 中有和 value 同名的配置。
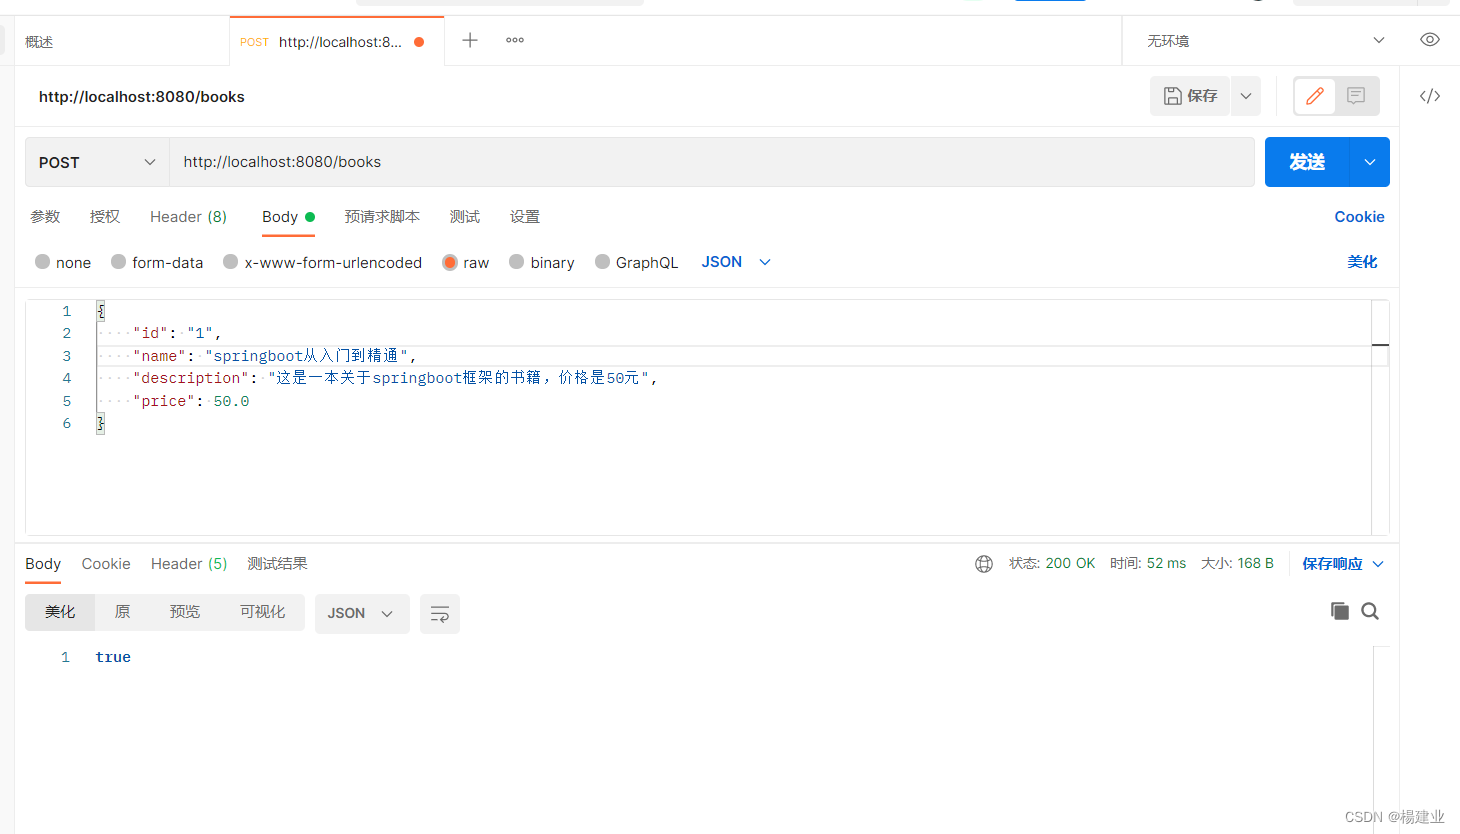
- 使用Postman测试结果如下:
-
先执行 GET 请求,将相关数据放到缓存中:

-
在执行 POST 请求做校验: