使用TensorFlow-Object-Detection-API训练SSD-MobileNet模型和推理测试
开始训练前的最后一步是创建一个标注映射并编辑训练配置文件。
相关配置文件准备
首先在\research\object_detection目录下新建一个文件夹train_xxxxx用来存放配置文件,这里的xxxxx自己命名,便于之后区分。再新建文件夹training,用来存放训练的输出文件。
然后将之前下载并解压的预训练模型ssd_mobilenet_v3_small_coco_2020_01_14中的配置文件ssd_mobilenet_v3_small_coco_2020_01_14.config拷贝到train_xxxxx文件夹中。
将上面生成的train.record和test.record文件移动到\object_detection\data目录下。
在\object_detection\data目录下新建文件name.pdtxt,在文本编辑器中,复制或输入以下格式的标注映射。这一步是定义标注映射图,通过定义一个类名到类ID的映射来告诉训练器每一个物体是什么。
具体格式为(继续按照上一篇博客的内容来举例):
item {
  id: 1
  name: 'a1'
}

item {
  id: 2
  name: 'b2'
}

item {
  id: 3
  name: 'c3'
}

item {
  id: 4
  name: 'd4'
}

item {
  id: 5
  name: 'e5'
}
标注映射图中的ID号需要和generate_tfrecord.py中定义的一致。还需要和标注图片时predefined_classes.txt中的顺序一致。
配置训练参数
最后,必须配置物体识别训练管道。它定义了哪些模型和参数将被用于训练。这是开始训练前的最后一步。
文本编辑器打开文件ssd_mobilenet_v3_small_coco_2020_01_14.config,主要修改类别和样本的数目,并添加文件路径到训练数据。
1.修改路径
找到以下关键项并修改:
fine_tune_checkpoint: "ssd_mobilenet_v3_small_coco_2020_01_14/model.ckpt"
train_input_reader: {
  tf_record_input_reader {
    input_path: "data/train.record"
  }
  label_map_path: "data/sposemap.pbtxt"
}
eval_input_reader: {
  tf_record_input_reader {
    input_path: "data/test.record"
  }
  label_map_path: "data/sposemap.pbtxt"
  shuffle: false
  num_readers: 1
}
2.修改参数
修改num_classes为你想要识别的物体的类别数目。
num_classes: 1
修改num_examples为你在\images\test路径下有的图片数目
eval_config: {
  num_examples: 173
  # Note: The below line limits the evaluation process to 10 evaluations.
  # Remove the below line to evaluate indefinitely.
  max_evals: 8
}
还可修改batch_size;修改num_steps,此为训练最大迭代次数;
设置预训练模型:最后两句fine_tune_checkpoint、from_detection_checkpoint是从预先训练的模型中寻找checkpoint,如果配置到本地出现了问题,可以选择删除这两行,相当于自己从头开始训练。
开始训练
在research/object_detection路径下执行:
python model_main.py --pipeline_config_path=training_xxxx/ssd_mobilenet_v3_small_coco_2020_01_14.config --model_dir=training --num_train_steps=80000 --num_eval_steps=800 --alsologtostderr
--pipeline_config_path:配置文件的地址
--model_dir:生成文件的地址
--num_train_steps:设置训练步数
--num_eval_steps:设置评估步数
如果一切设置正确,TensorFlow将会初始化训练。在正式开始训练前,初始化会占用一段时间。当训练开始,看起来将会是这样子:
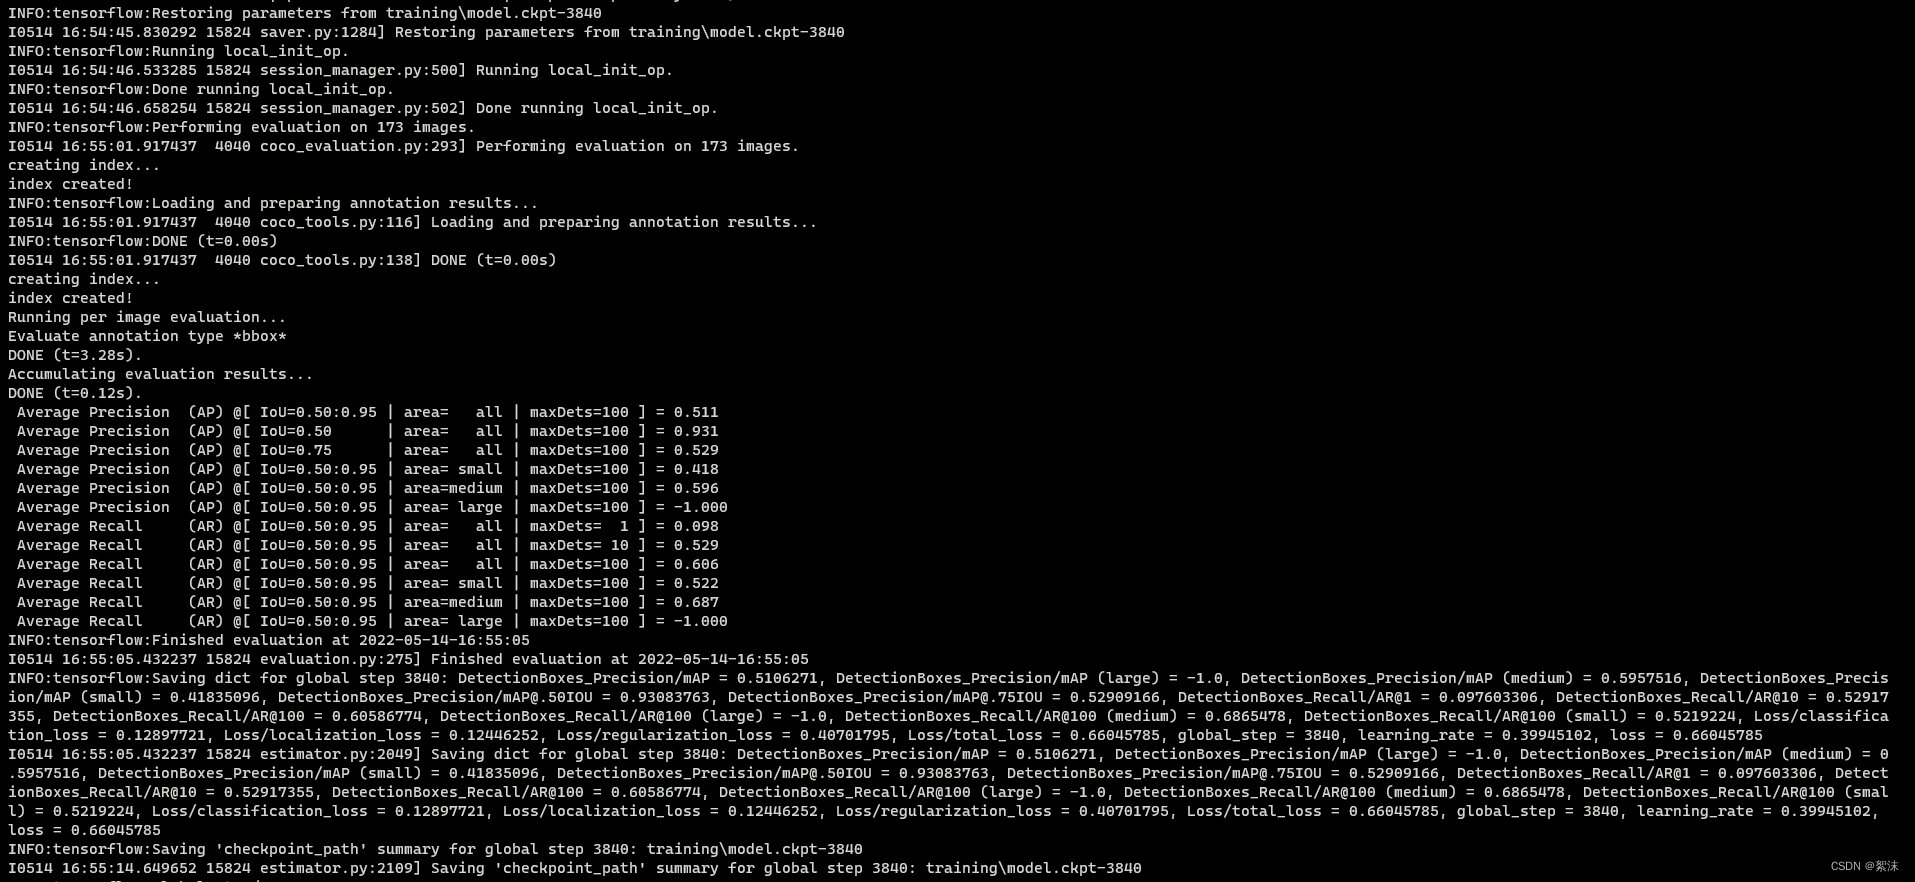
每一步训练会报告损失值。它会随着训练过程由高变得越来越低。我建议允许你的模型训练直到损失值保持在较低数值以下,这大概需要40,000步,或2小时(取决于你的CPU和GPU算力有多强)。Note:如果使用不同的模型,损失值的数值会不同。MobileNet—SSD的损失值起始于大约20,并应该训练至保持在2以下。
训练可视化
你可以通过TensorBoard观察训练过程。打开一个新的Anaconda Prompt窗口,激活py37虚拟环境,修改路径至…\research\object_detection,并运行以下命令:
tensorboard --logdir=training
训练过程每过大约五分钟会周期性保存检查点。你可以在Command Prompt窗口通过Ctrl+C终止训练。我一般等到一个检查点被保存后才终止训练。你可以终止训练并在之后重启它,它会从最后保存的检查点开始继续训练。最高编号的检查点将会用于生成冻结结论图。
导出训练模型
在\object_detection路径下,运行下列命令,其中"model.ckpt-XXXX"中的"XXXX"需要被替换成training文件夹下最高编号的.ckpt文件 :
python export_tflite_ssd_graph.py --pipeline_config_path train_xxxxx/ssd_mobilenet_v3_small_coco_2020_01_14.config --trained_checkpoint_prefix training/model.ckpt-XXXX --output_directory inference_graph
到这里我们就得到最终适用的.pd冻结图文件了。
适配opencv的dnn模块
使用cv2::dnn模块时需要对导出模型的.pdtxt文件进行转化。首先你需要正确在电脑上安装opencv。
在opencv安装路径\opencv\sources\samples\dnn 中执行,将tf的模型结构转化为opencv的结构。
python tf_text_graph_ssd.py --input yourfilepath....models/research/object_detection/inference_graph/tflite_graph.pb --config yourfilepath......models/research/object_detection/train_xxxxx/ssd_mobilenet_v3_small_coco_2020_01_14.config --output yourfilepath.....models/research/object_detection/inference_graph/ssdmobilenetv3large.pbtxt
到这里我们得到了两个文件:
ssdmobilenetv3large.pbtxt和tflite_graph_large.pb。利用他们我们就可以进行简便的检测了
推理检测
这里我们将上面得到的两个文件ssdmobilenetv3large.pbtxt和tflite_graph_large.pb拷贝到一个新的文件夹下,同时新建test.py和my.names文件。
my.names文件中直接把你的类的名字按照顺序排列输入
a1
b2
c3
d4
e5
test.py:
import cv2
import numpy as np
import time

thres = 0.6          # 置信度阈值
nms_threshold = 0.4     # NMS阈值
outputstate = True
output = False
calssid = 0


def waitcapture(capture):   # 等待摄像头开启
    read = 1
    while ( read ):
        ret, imag = capture.read()
        size = imag.shape[1] + imag.shape[2]
        if size > 0:
            read = 0

def putconindence(imag, ind, con, boxs):    # 在原图像上写置信度数据
    for x in ind:
        boxx = boxs[x]
        print("confidence num {} confs is {}".format(x,round(con[x] * 100, 1)))
        cv2.putText(imag, str(round(con[x] * 100, 1)), (boxx[0]+5, boxx[1] + 40), cv2.FONT_HERSHEY_COMPLEX, 0.6,
                (0, 0, 255), 1)

def readclassname(path):    # 读取标签名
    classNames = []
    classFile = path
    with open(classFile, 'rt') as f:
        classNames = f.read().rstrip('\n').split('\n')
    return classNames

def classidoutput(id):
    global output
    global calssid
    global outputstate
    while outputstate :
        if output == True :
            time.sleep(0.5)
            print("image classid: ",calssid)
            time.sleep(1)
            print("IO output is down! ")
            output = False


def main() :
    global outputstate
    global calssname
    global output
    cap = cv2.VideoCapture(0)
    configPath = 'ssdmobilenetv3large.pbtxt'
    weightsPath = 'tflite_graph_large.pb'
    calssnamePath = 'my.names'
    calssname = readclassname(calssnamePath)

    net = cv2.dnn_DetectionModel(weightsPath, configPath)
    net.setInputSize(320, 320)
    net.setInputScale(1.0 / 127.5)
    net.setInputMean((127.5, 127.5, 127.5))
    net.setInputSwapRB(True)

    waitcapture(cap)
    while True:
        ret, img = cap.read()
        classIds, confs, bbox = net.detect(img, confThreshold=thres)
        bbox = list(bbox)
        confs = list(np.array(confs).reshape(1,-1)[0])
        confs = list(map(float,confs))
        # print(classIds,bbox)

        indices = cv2.dnn.NMSBoxes(bbox,confs,thres,nms_threshold)
        putconindence(img, indices,confs,bbox)
        for i in indices:
            #	i = i[0]
	        box = bbox[i]
	        x,y,w,h = box[0],box[1],box[2],box[3]
	        cv2.rectangle(img, (x,y),(x+w,h+y), color=(0, 0, 255), thickness=1)
	        cv2.putText(img,calssname[classIds[i]-1].upper(),(box[0]+5,box[1]+20),cv2.FONT_HERSHEY_COMPLEX,0.6,(255,0,0),1)
            #output = True
        cv2.imshow("Output", img)
        k = cv2.waitKey(10) & 0xFF
        if k == 27 :
            break
    cv2.destroyAllWindows()
    #outputstate = False

if __name__=='__main__':
    main()
#    out  = multiprocessing.Process(target= classidoutput, name= "output")
#    out.start()
#    out.join( )
如故全部正常的话,到这里你应该就看到了打开摄像头并且能识别出了你训练的物体。
Code and life:
开始时都是充满希望的,可激情永远没法战胜岁月漫长。只愿坚守的,可以抵达时光的远方。