
前言:
在上篇文章介绍了KubeSphere和基于K8S的安装,KubeSphere并不是只能基于K8S平台的基础上进行安装,同样我们可以在裸机上安装KubeSphere。
对于刚接触 KubeSphere 并想快速上手该容器平台的用户,All-in-One 安装模式是最佳的选择,它能够帮助您零配置快速部署 KubeSphere 和 Kubernetes。
官网安装参考文档:https://kubesphere.com.cn/docs/quick-start/all-in-one-on-linux/
环境说明
CentOS7.9
最低配置:4VCPU+4GB,40GB磁盘空间
以上的系统要求和以下的教程适用于没有启用任何可选组件的默认最小化安装。如果您的机器至少有 8 核 CPU 和 16 GB 内存,则建议启用所有组件。
我们使用KubeKey来进行KubeSphere的安装,这也是官方要求的方法。
KubeKey 是用 Go 语言开发的一款全新的安装工具,代替了以前基于 ansible 的安装程序。KubeKey 为用户提供了灵活的安装选择,可以分别安装 KubeSphere 和 Kubernetes 或二者同时安装,既方便又高效。
开始安装
前置配置
1、设置主机名,就叫all-in-one吧
hostnamectl set-hostname all-in-one
2、关闭防火墙,Selinu,iptables
systemctl stop firewalld
systemctl disable firewalld
setenforce 0
sed -i s/SELINUX=enforcing/SELINUX=disabled/g /etc/selinux/config
iptables -F
安装
1、导出环境变量
export KKZONE=cn
2、执行以下命令下载 KubeKey
[root@all-in-one ~]# curl -sfL https://get-kk.kubesphere.io | VERSION=v2.0.0 sh -
[root@all-in-one ~]# ll
total 68472
-rwxr-xr-x 1 1001  121 53764096 Mar  8 13:05 kk       #可执行命令
-rw-r--r-- 1 root root 16348932 Apr  8 18:15 kubekey-v2.0.0-linux-amd64.tar.gz
3、使用KubeKey引导安装集群
[root@all-in-one ~]# ./kk create cluster --with-kubernetes v1.21.5 --with-kubesphere v3.2.1
+------------+------+------+---------+----------+-------+-------+-----------+--------+--------+------------+-------------+------------------+--------------+
| name       | sudo | curl | openssl | ebtables | socat | ipset | conntrack | chrony | docker | nfs client | ceph client | glusterfs client | time         |
+------------+------+------+---------+----------+-------+-------+-----------+--------+--------+------------+-------------+------------------+--------------+
| all-in-one | y    | y    | y       | y        |       | y     |           | y      |        |            |             |                  | CST 18:19:23 |
+------------+------+------+---------+----------+-------+-------+-----------+--------+--------+------------+-------------+------------------+--------------+
all-in-one: conntrack is required.
18:19:23 CST all-in-one: conntrack is required.
#以上报错就是是conntrack(网络组件)没安装
yum install -y conntrack        #给它安装上
再次执行上命令:

[root@all-in-one ~]# ./kk create cluster --with-kubernetes v1.21.5 --with-kubesphere v3.2.1
...
Continue this installation? [yes/no]:          #是否继续安装,输入"yes"即可。
#下面就开始自动安装了...
...
最终的效果:
18:31:20 CST success: [all-in-one]
#####################################################
###              Welcome to KubeSphere!           ###
#####################################################

Console: http://192.168.0.112:30880
Account: admin
Password: P@88w0rd

NOTES:
  1. After you log into the console, please check the
     monitoring status of service components in
     "Cluster Management". If any service is not
     ready, please wait patiently until all components
     are up and running.
  2. Please change the default password after login.

#####################################################
https://kubesphere.io             2022-04-08 18:38:23
#####################################################
18:38:25 CST success: [all-in-one]
18:38:25 CST Pipeline[CreateClusterPipeline] execute successful
Installation is complete.

Please check the result using the command:

        kubectl logs -n kubesphere-system $(kubectl get pod -n kubesphere-system -l app=ks-install -o jsonpath='{.items[0].metadata.name}') -f
还是使用此命令查看KubeSphere安装情况:
[root@all-in-one ~]# kubectl logs -n kubesphere-system $(kubectl get pod -n kubesphere-system -l app=ks-install -o jsonpath='{.items[0].metadata.name}') -f
...
task monitoring status is successful  (4/4)
**************************************************
Collecting installation results ...
#####################################################
###              Welcome to KubeSphere!           ###
#####################################################

Console: http://192.168.0.112:30880
Account: admin
Password: P@88w0rd

NOTES:
  1. After you log into the console, please check the
     monitoring status of service components in
     "Cluster Management". If any service is not
     ready, please wait patiently until all components
     are up and running.
  2. Please change the default password after login.

#####################################################
https://kubesphere.io             2022-04-08 18:38:23
#####################################################
...
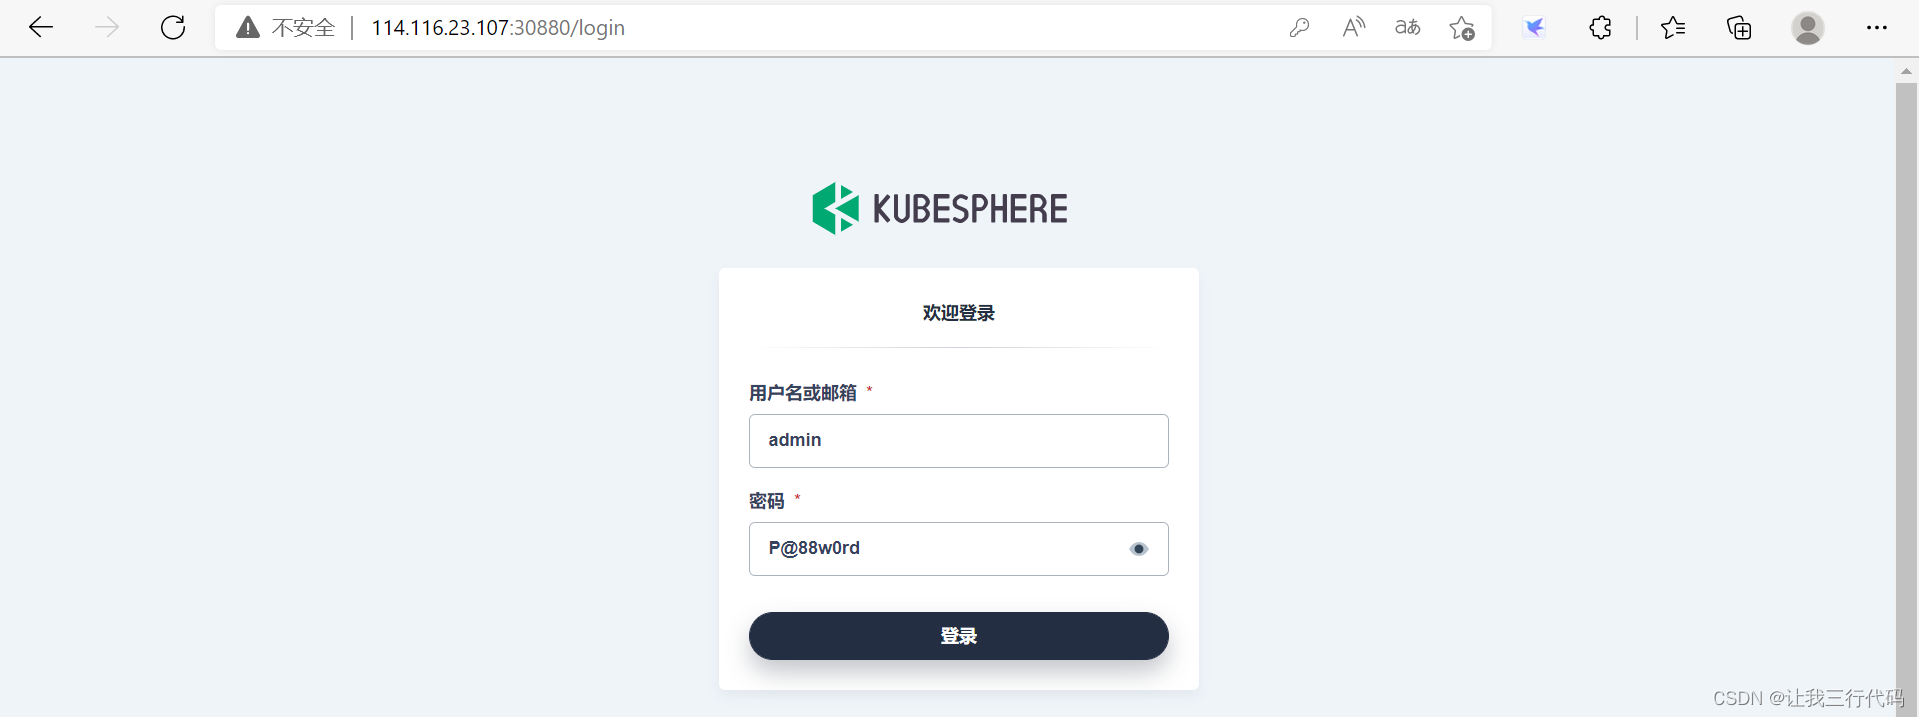
访问KubeSphere
本机IP:30880
用户账号:admin
初始密码:P@88w0rd
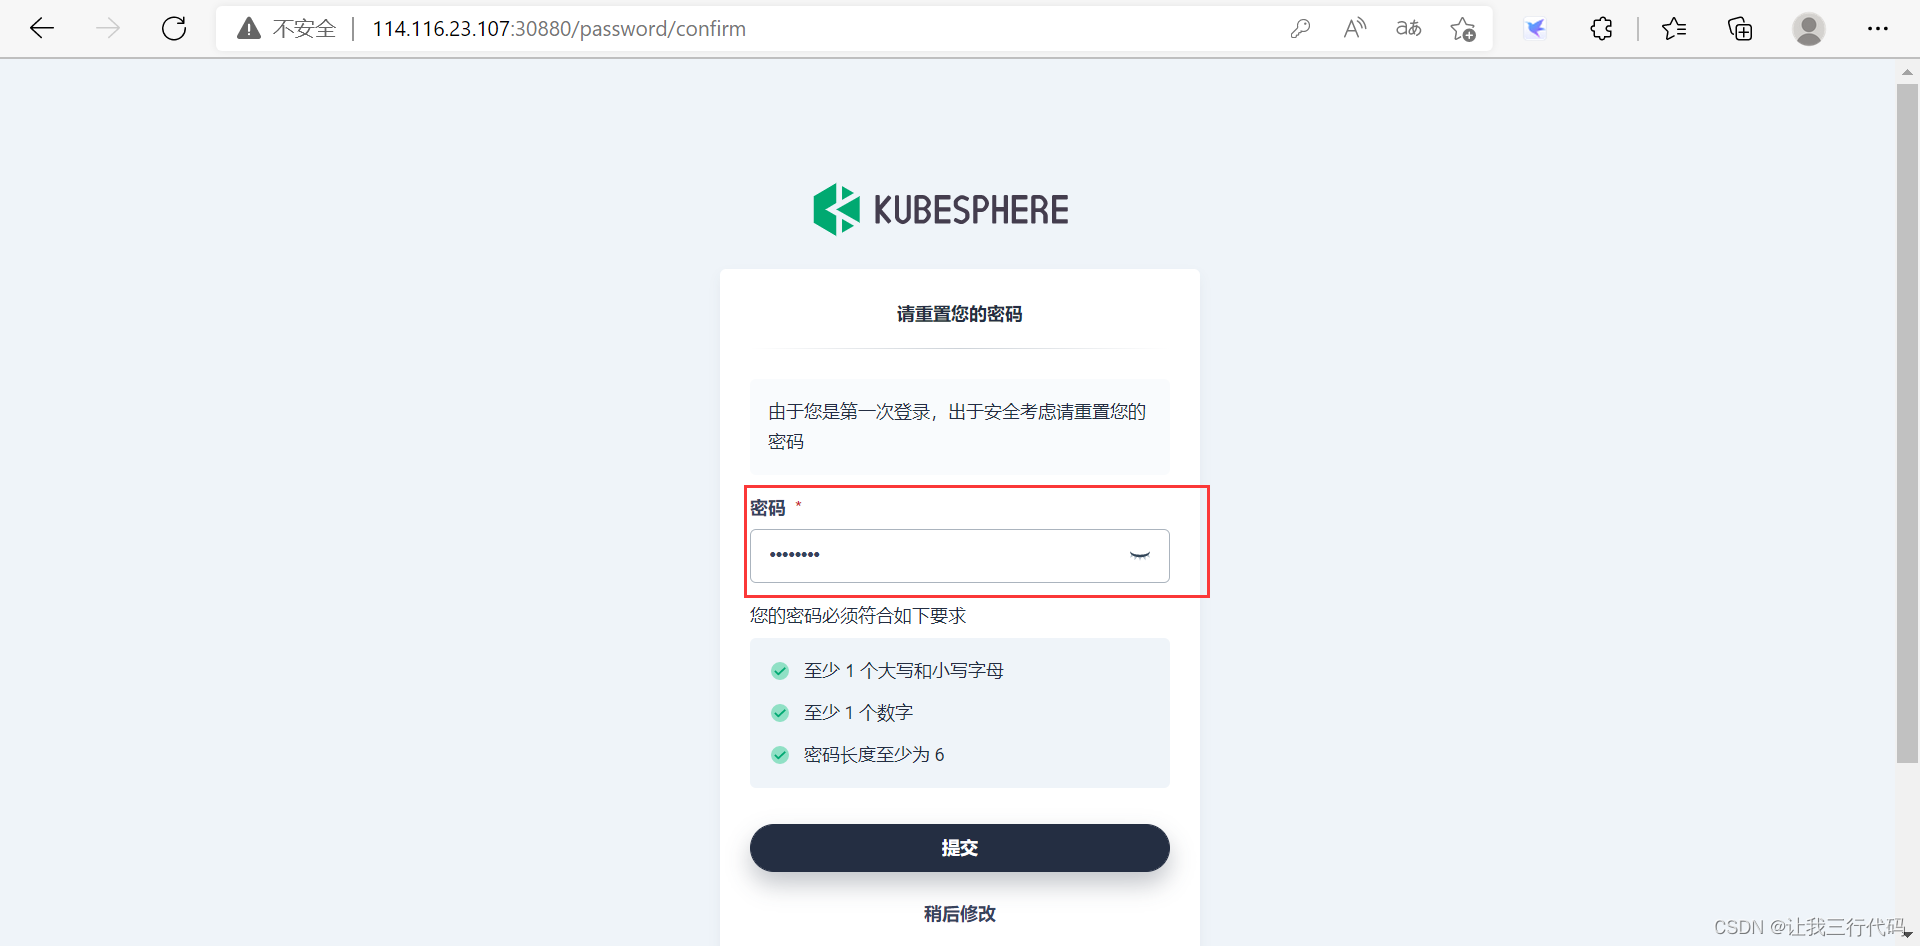
更改密码
进入KubeSphere主页面
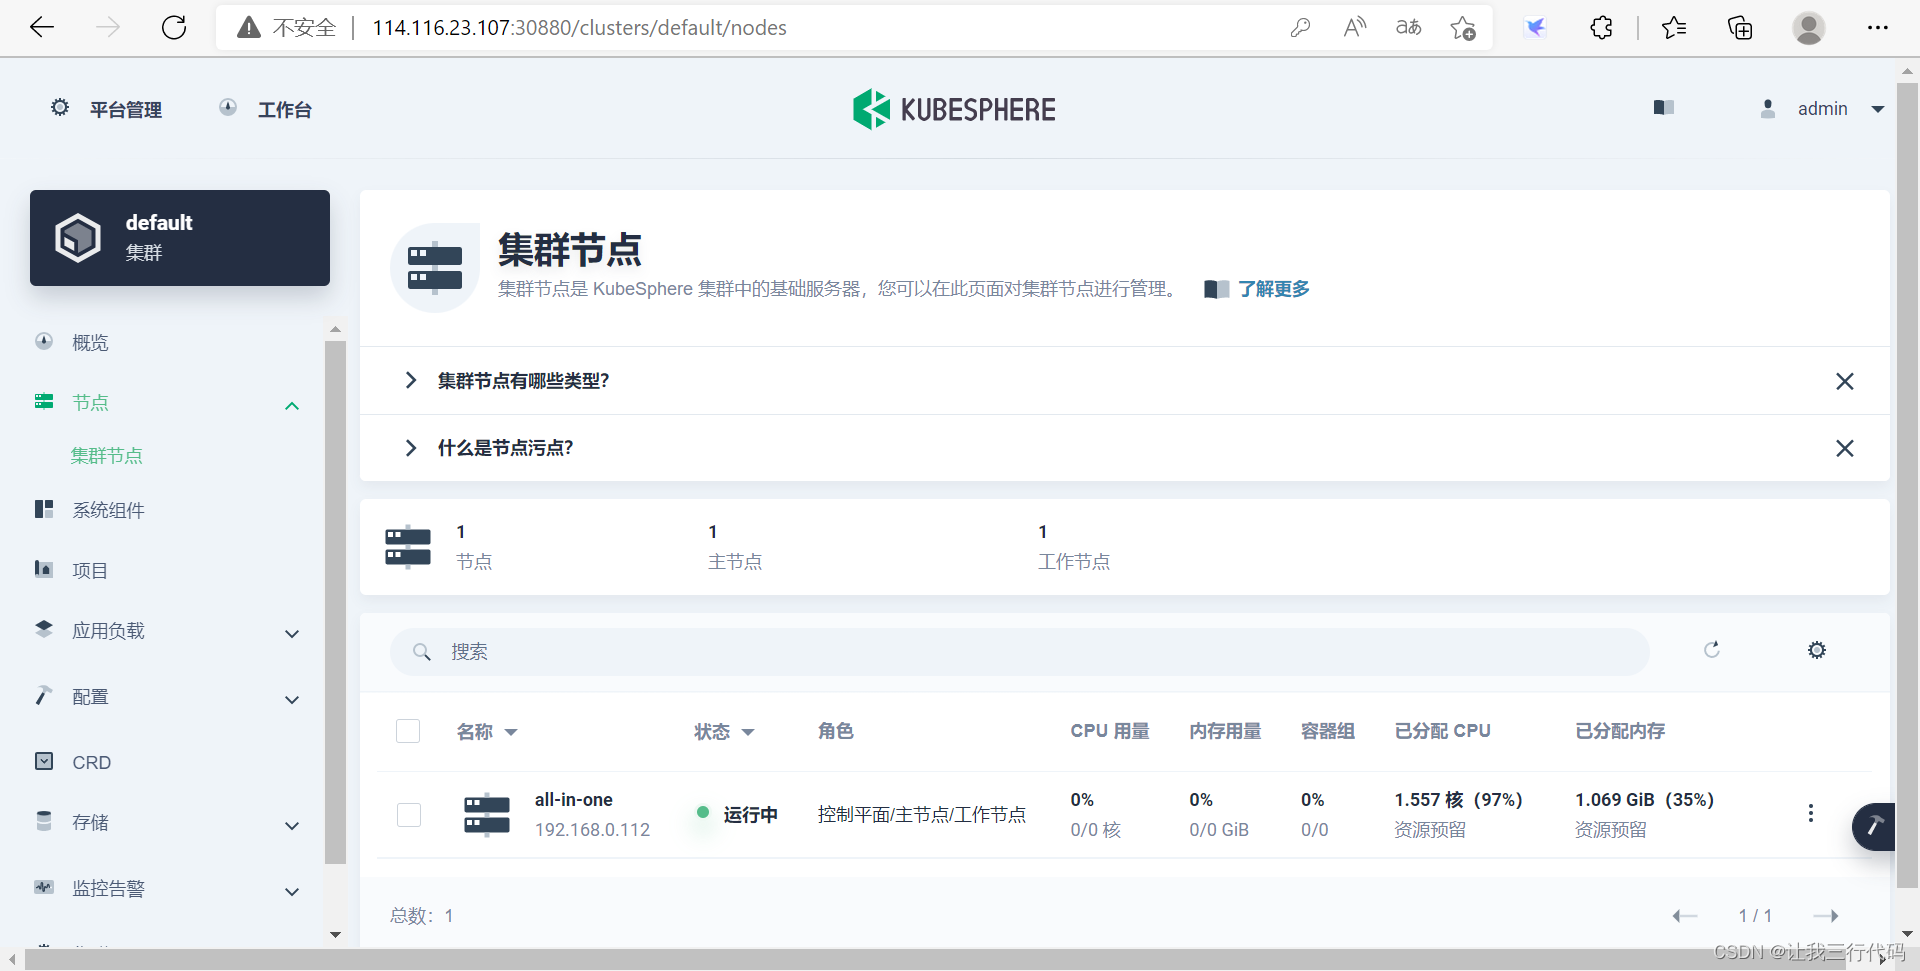
你会发现,这个安装比者上一篇的安装少很多东西,因为这种方式是默认最小化安装,不安装可插拔组件。那如果想要开启某个组件呢?
1、可以在安装之前,修改Yaml文件,或者自己写文件。
参考官网地址:https://kubesphere.com.cn/docs/pluggable-components/overview/
2、也可以在安装之后在Web界面进行开启相关插件,这个简单,说明下这种方法。
在Web界面开启相关插件
官方文档:https://kubesphere.com.cn/docs/quick-start/enable-pluggable-components/
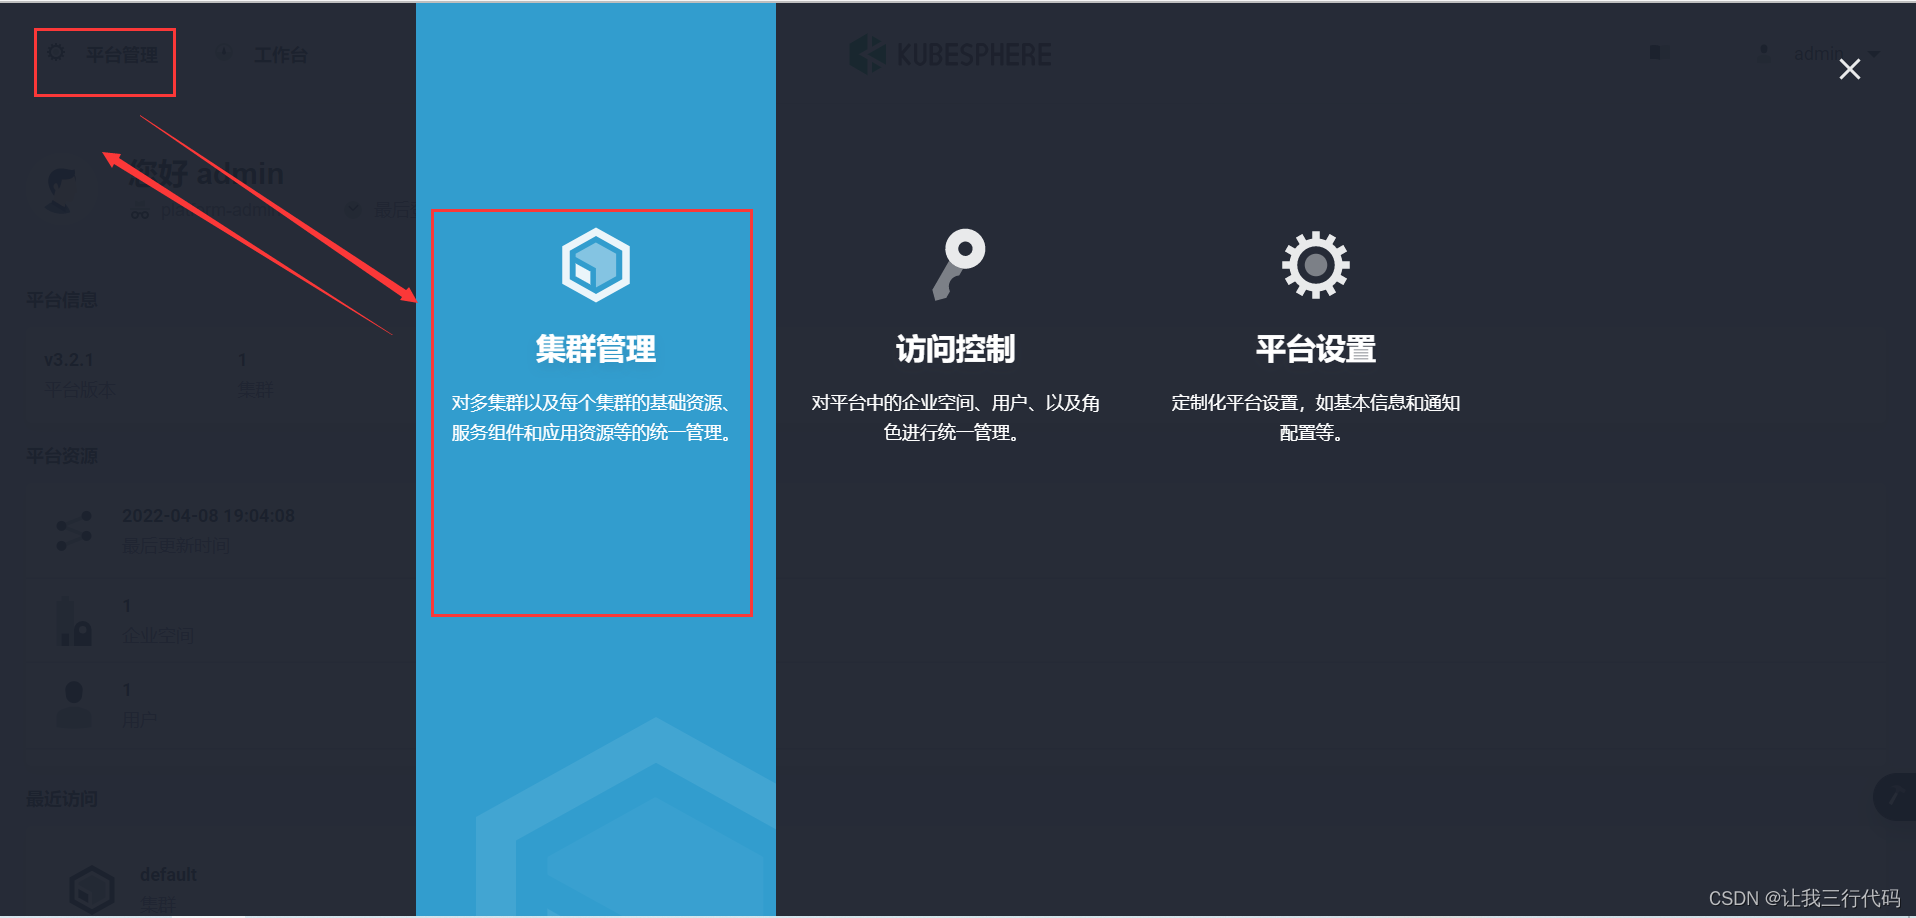
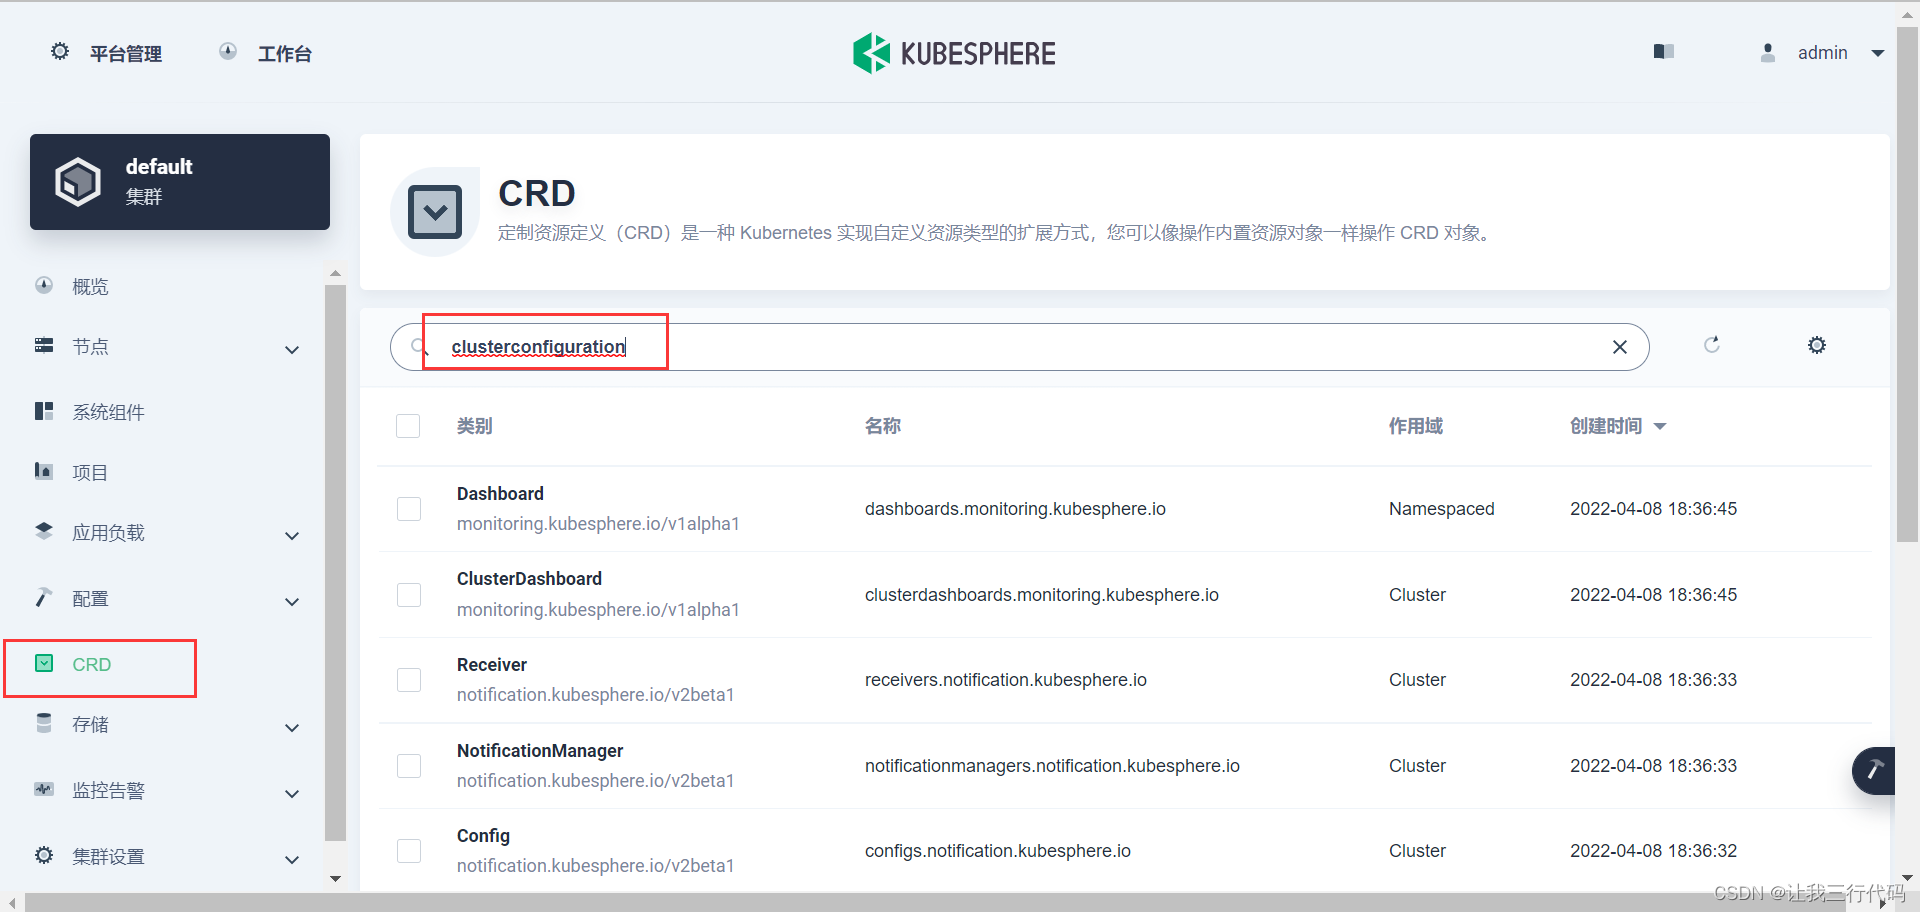
1、以 admin 身份登录控制台。点击左上角的平台管理 ,然后选择集群管理。
2、点击 CRD,然后在搜索栏中输入 “clusterconfiguration”,点击搜索结果进入其详情页面。
信息定制资源定义(CRD)允许用户在不增加额外 API 服务器的情况下创建一种新的资源类型,用户可以像使用其他 Kubernetes 原生对象一样使用这些定制资源。
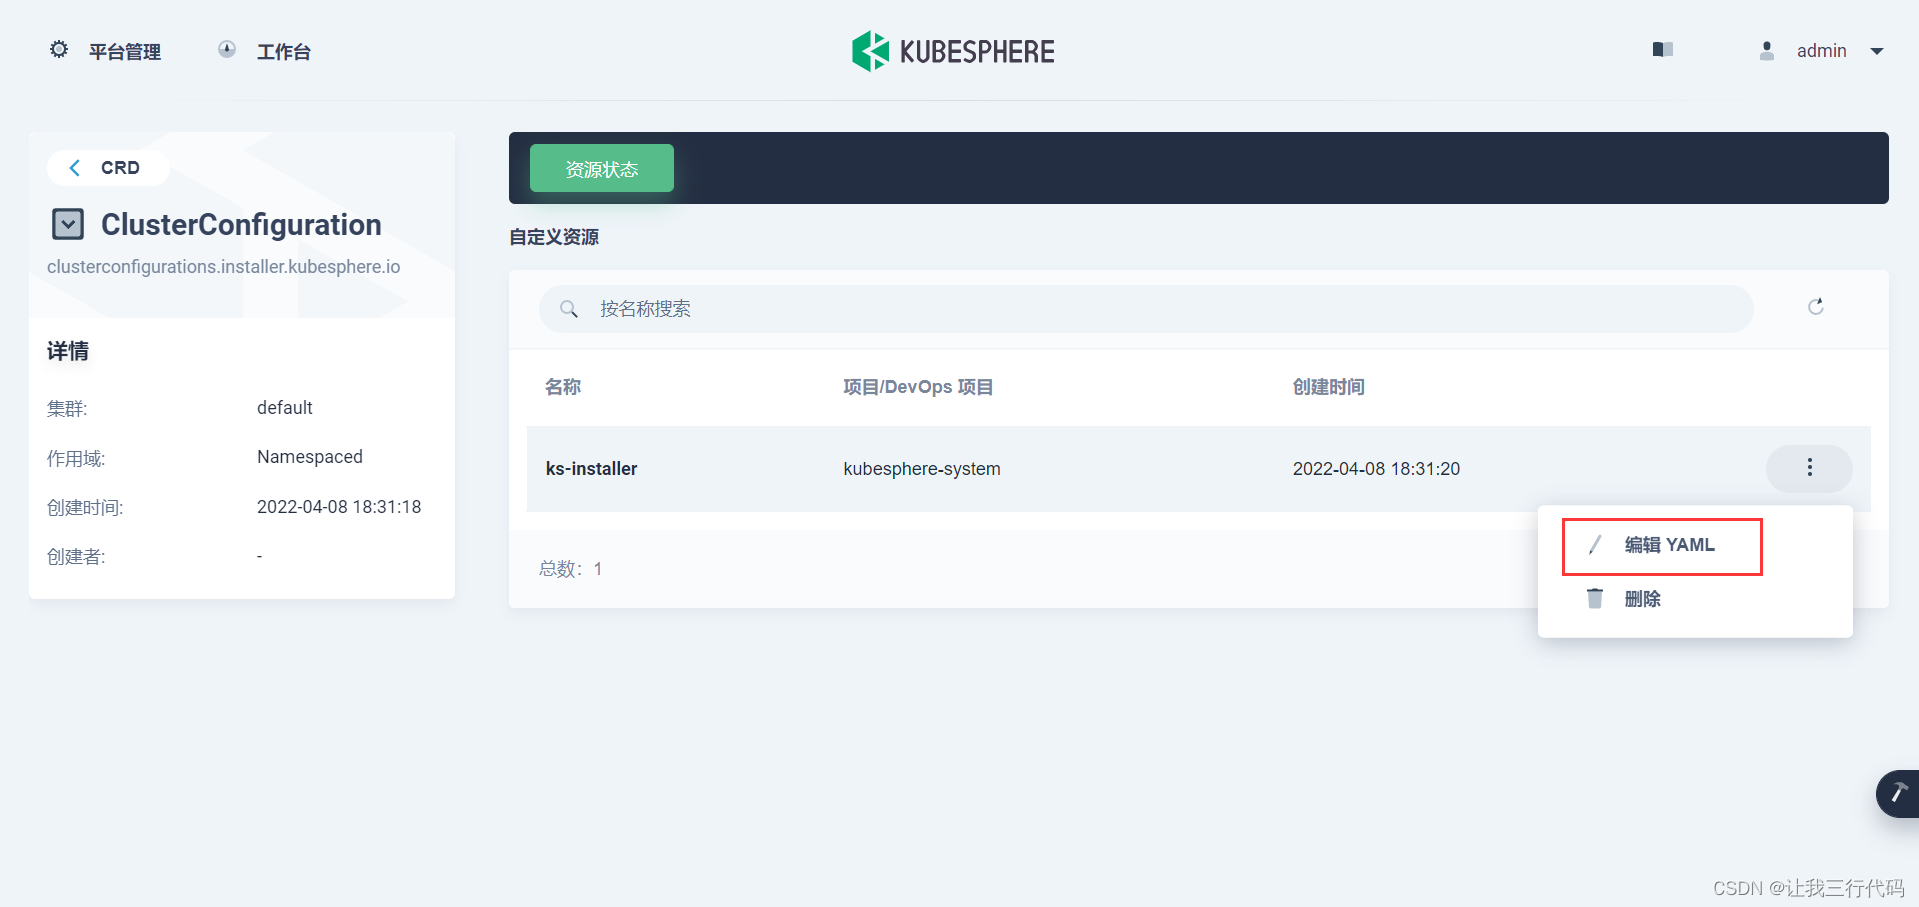
3、在自定义资源中,点击 ks-installer 右侧的三个点,然后选择编辑 YAML。
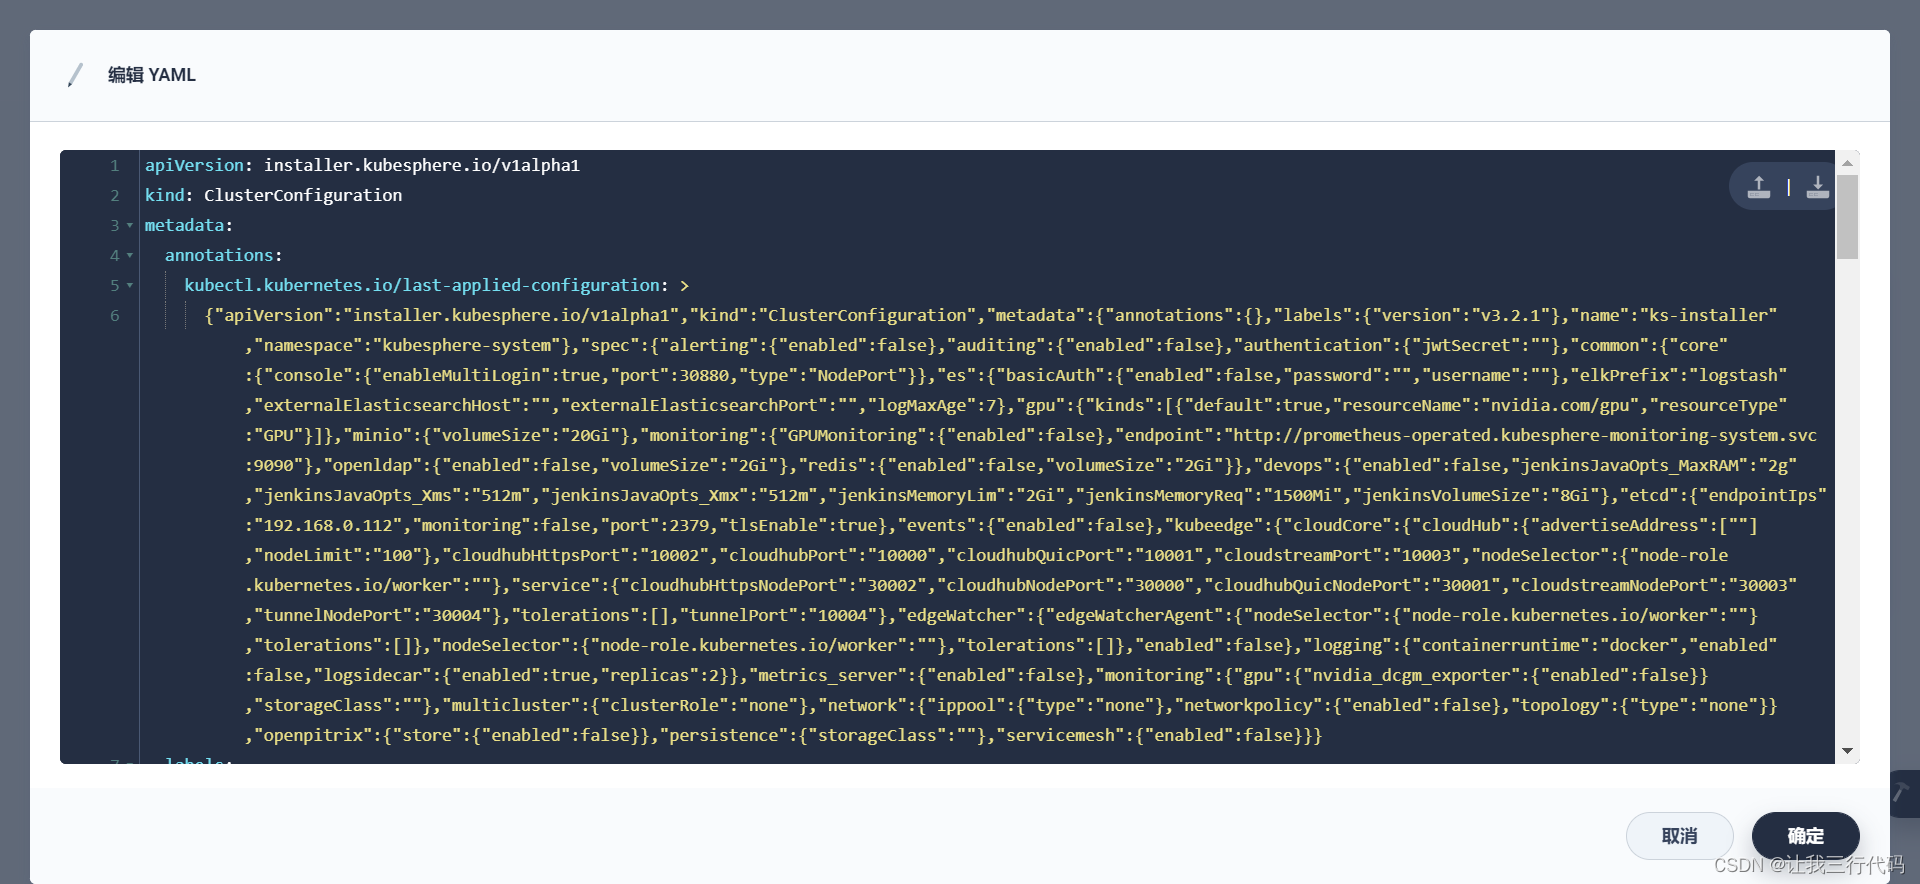
4、在该配置文件中,将对应组件 enabled 的 false 更改为 true,以启用要安装的组件。完成后,点击更新以保存配置。
启用组件
执行以下命令,使用 Web kubectl 来检查安装过程:
kubectl logs -n kubesphere-system $(kubectl get pod -n kubesphere-system -l app=ks-install -o jsonpath='{.items[0].metadata.name}') -f
提示:您可以通过点击控制台右下角的锤子图标来找到 Web kubectl 工具。
6、如果组件安装成功,输出将显示以下消息。
#####################################################
###              Welcome to KubeSphere!           ###
#####################################################

Console: http://192.168.0.2:30880
Account: admin
Password: P@88w0rd

NOTES:
  1. After you log into the console, please check the
     monitoring status of service components in
     "Cluster Management". If any service is not
     ready, please wait patiently until all components
     are up and running.
  2. Please change the default password after login.

#####################################################
https://kubesphere.io             20xx-xx-xx xx:xx:xx
#####################################################
7、登录 KubeSphere 控制台,在系统组件中可以查看不同组件的状态。
提示:如果在上图中看不到相关组件,可能是一些 Pod 尚未启动完成,可以通过 kubectl 执行 kubectl get pod --all-namespaces 来查看 Pod 的状态。
至此Linux单节点KubeKey部署KubeSphere(v3.1.1版本) end