前言
本地化的GPT就是香,就是有点费钱。
项目地址:https://github.com/THUDM/ChatGLM-6B
前期准备
服务器(本机的跳过)
由于本地电脑显卡都不行,所以我租了AutoDL的一台算力服务器。Tesla T4 16G显存,56GB内存,符合我们跑ChatGLM的配置。

其实本来这台服务器是其他用途,跑vits的,所以选择了so-vits-svc4的镜像,这类的AI项目依赖库大同小异,所以如果有需求,可以直接选现成镜像,减少麻烦。
我这边的操作系统是ubuntu20.04
自带python3.8,需要注意项目python环境需要 >=python3.7
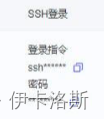
实例后开机,有ssh,我们就改其他ssh客户端登录。当然你也可以直接在autodl自带的终端跑。
环境搭建
官方教程:https://www.heywhale.com/mw/project/6436d82948f7da1fee2be59e
clone项目
一般都默认装了git,如果没有你可以手动装下,ubuntu的话 sudo apt-get install git
我是选择在数据盘autodl-tmp,因为系统盘其他东西太多了0.0
克隆下项目
git clone https://github.com/THUDM/ChatGLM-6B
安装依赖
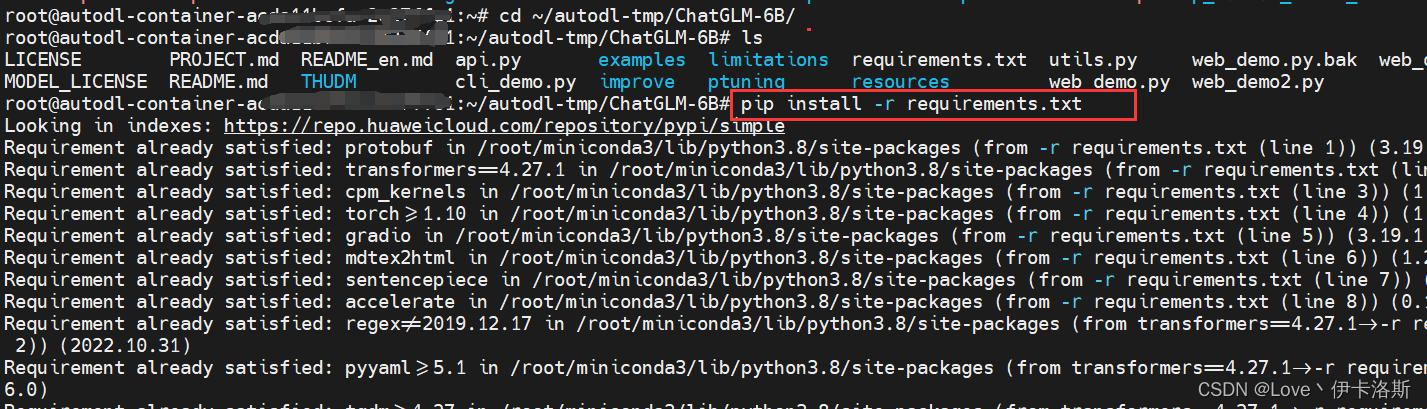
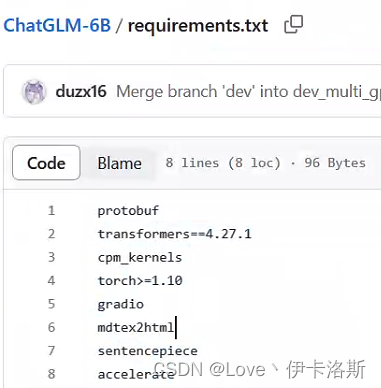
前面装完后,进入项目 cd ChatGLM-6B
pip安装依赖
pip install -r requirements.txt
下载模型
官方教程如下
chatglm-6b
由于模型文件很大,需要提前装个 git-lfs
安装命令 sudo apt-get install git-lfs

因为我测试过6B模型,跑不动,当然你也可以试试
在项目根目录内,创建文件夹 THUDM,命令为 mkdir THUDM
然后进入 cd THUDM,进行clone
git clone https://huggingface.co/THUDM/chatglm-6b
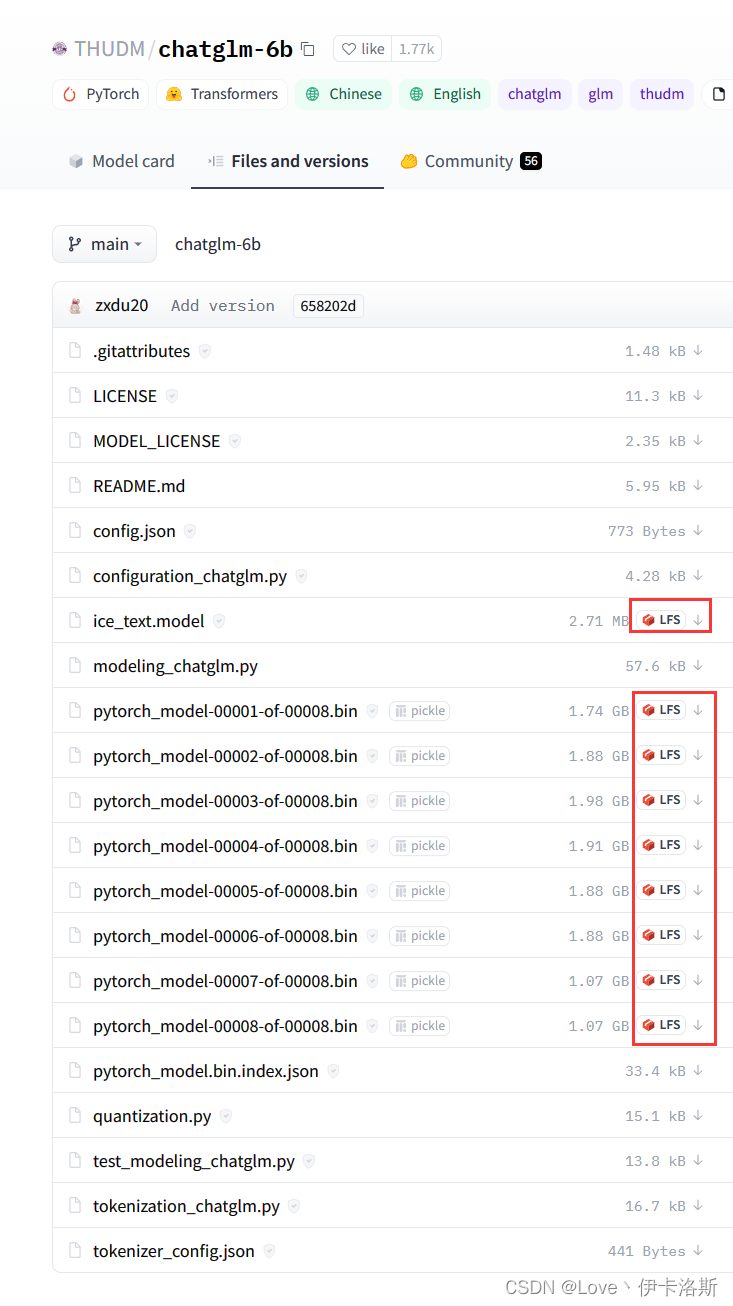
如果clone大文件失败了,注意文件大小,模型很大的,失败的话请手动下载 官方提供的
https://cloud.tsinghua.edu.cn/d/fb9f16d6dc8f482596c2/
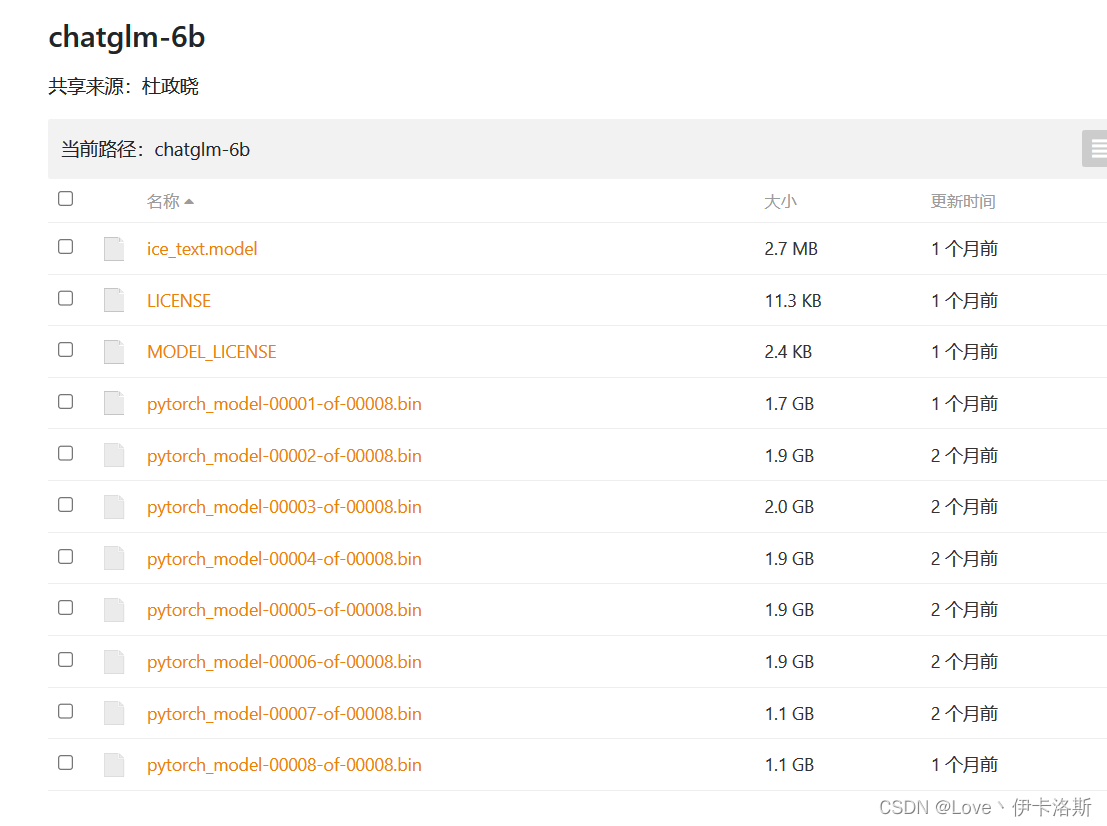
附赠批量下载shell脚本(别告诉我你没装wget),新建一个download.sh,填入以下代码,增加执行权限 chmod +x download.sh,运行即可 ./download.sh。
#!/bin/bash
wget https://cloud.tsinghua.edu.cn/seafhttp/files/2ea1896d-8f77-4f0c-8f41-b73d32da0483/ice_text.model

wget https://cloud.tsinghua.edu.cn/seafhttp/files/a12ac799-dda9-48c7-b1ce-f6a1d141a4f8/pytorch_model-00001-of-00008.bin
wget https://cloud.tsinghua.edu.cn/seafhttp/files/a12ac799-dda9-48c7-b1ce-f6a1d141a4f8/pytorch_model-00002-of-00008.bin
wget https://cloud.tsinghua.edu.cn/seafhttp/files/a12ac799-dda9-48c7-b1ce-f6a1d141a4f8/pytorch_model-00003-of-00008.bin
wget https://cloud.tsinghua.edu.cn/seafhttp/files/a12ac799-dda9-48c7-b1ce-f6a1d141a4f8/pytorch_model-00004-of-00008.bin
wget https://cloud.tsinghua.edu.cn/seafhttp/files/a12ac799-dda9-48c7-b1ce-f6a1d141a4f8/pytorch_model-00005-of-00008.bin
wget https://cloud.tsinghua.edu.cn/seafhttp/files/a12ac799-dda9-48c7-b1ce-f6a1d141a4f8/pytorch_model-00006-of-00008.bin
wget https://cloud.tsinghua.edu.cn/seafhttp/files/a12ac799-dda9-48c7-b1ce-f6a1d141a4f8/pytorch_model-00007-of-00008.bin
wget https://cloud.tsinghua.edu.cn/seafhttp/files/a12ac799-dda9-48c7-b1ce-f6a1d141a4f8/pytorch_model-00008-of-00008.bin
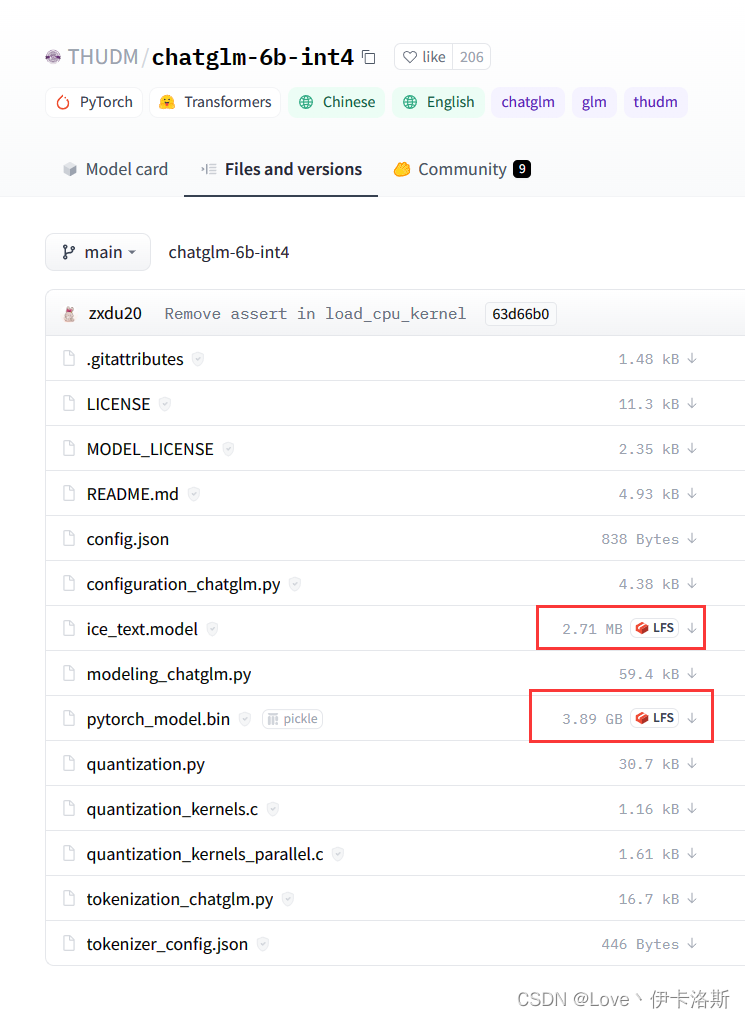
chatglm-6b-int4
❗️ ❗️ ❗️ 如果你也跑不起来的话,可以更换小一些的模型INT4
同理clone到 THUDM下
git clone https://huggingface.co/THUDM/chatglm-6b-int4

运行
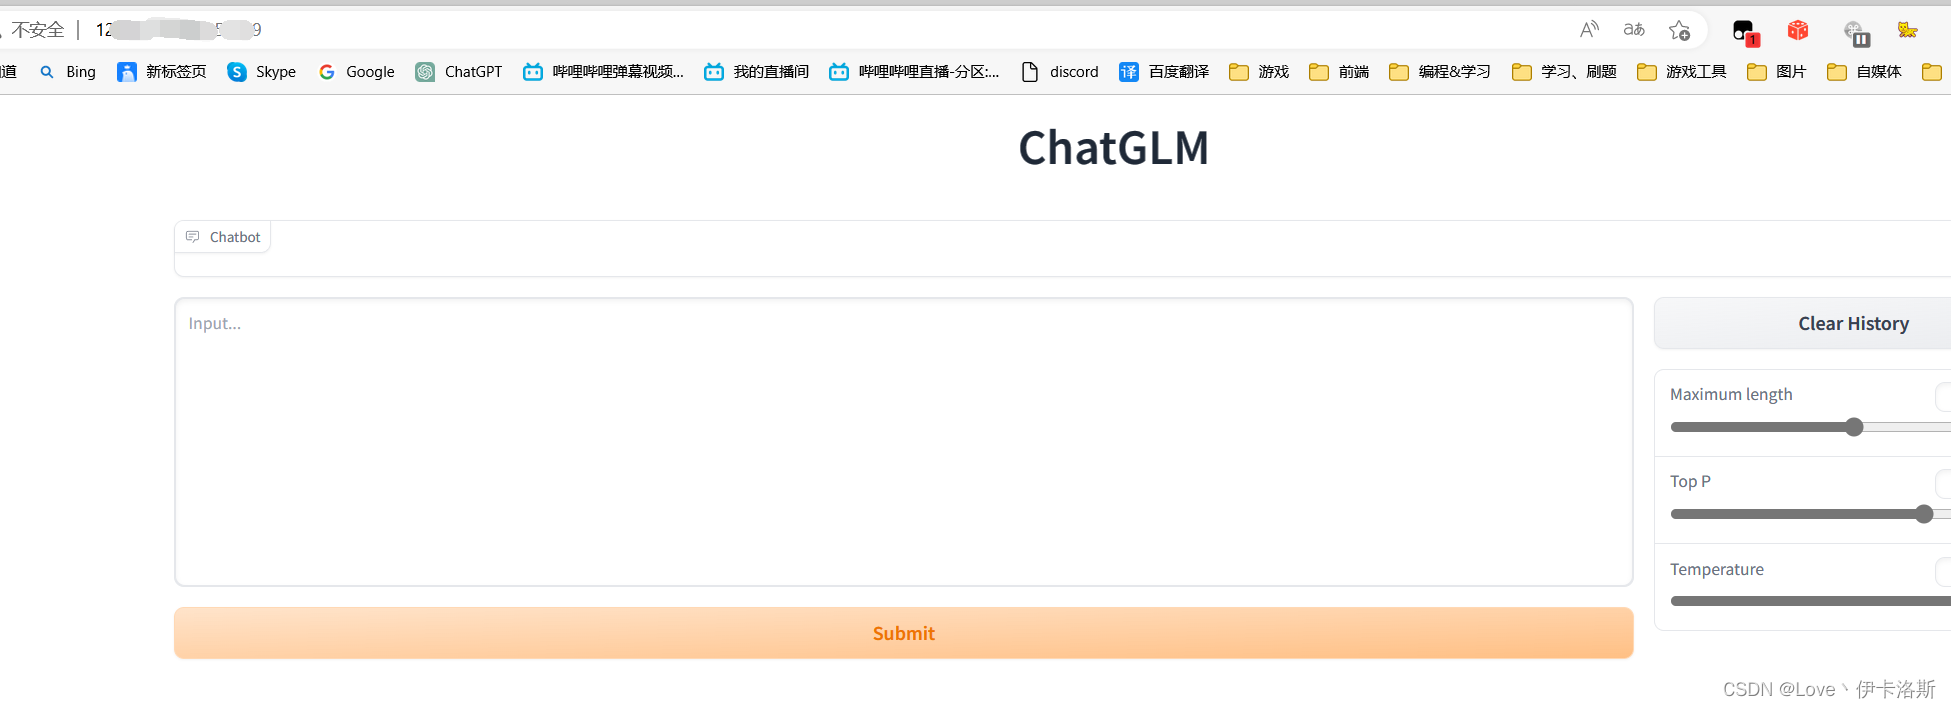
web UI
chatglm-6b
首先安装 Gradio:pip install gradio
如果你跑的 chatglm-6b 模型,那你不需要修改源码,直接在项目根目录运行以下命令即可:
python web_demo.py
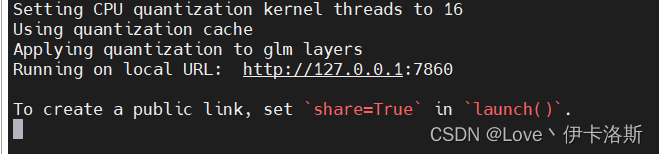
日常跑在7860端口,由于AutoDL没有公网IP,所以很尴尬,我就做了个frp内网穿透

然后就访问我们穿的公网IP对应端口即可。
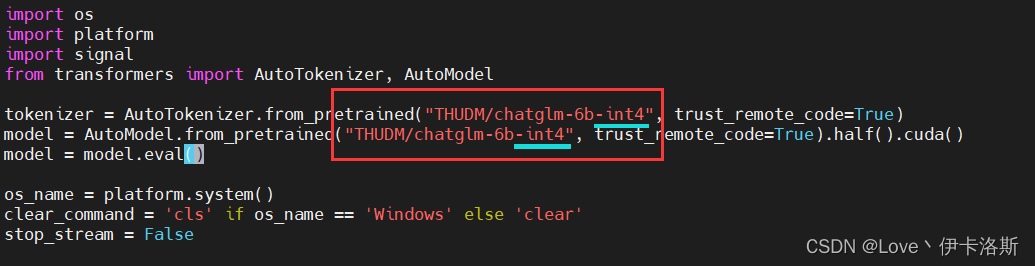
chatglm-6b int4
如果你跑的int4,则需要改下web_demo.py的源码啦,其实我认为官方应该写成配置文件的形式,改源码有点麻烦,代码如下:
其实就是改下加载的模型路径罢了
from transformers import AutoModel, AutoTokenizer
import gradio as gr
import mdtex2html
tokenizer = AutoTokenizer.from_pretrained("THUDM/chatglm-6b-int4", trust_remote_code=True)
model = AutoModel.from_pretrained("THUDM/chatglm-6b-int4", trust_remote_code=True).half().cuda()
model = model.eval()
"""Override Chatbot.postprocess"""
def postprocess(self, y):
if y is None:
return []
for i, (message, response) in enumerate(y):
y[i] = (
None if message is None else mdtex2html.convert((message)),
None if response is None else mdtex2html.convert(response),
)
return y
gr.Chatbot.postprocess = postprocess
def parse_text(text):
"""copy from https://github.com/GaiZhenbiao/ChuanhuChatGPT/"""
lines = text.split("\n")
lines = [line for line in lines if line != ""]
count = 0
for i, line in enumerate(lines):
if "```" in line:
count += 1
items = line.split('`')
if count % 2 == 1:
lines[i] = f'<pre><code class="language-{
items[-1]}">'
else:
lines[i] = f'<br></code></pre>'
else:
if i > 0:
if count % 2 == 1:
line = line.replace("`", "\`")
line = line.replace("<", "<")
line = line.replace(">", ">")
line = line.replace(" ", " ")
line = line.replace("*", "*")
line = line.replace("_", "_")
line = line.replace("-", "-")
line = line.replace(".", ".")
line = line.replace("!", "!")
line = line.replace("(", "(")
line = line.replace(")", ")")
line = line.replace("$", "$")
lines[i] = "<br>"+line
text = "".join(lines)
return text
def predict(input, chatbot, max_length, top_p, temperature, history):
chatbot.append((parse_text(input), ""))
for response, history in model.stream_chat(tokenizer, input, history, max_length=max_length, top_p=top_p,
temperature=temperature):
chatbot[-1] = (parse_text(input), parse_text(response))
yield chatbot, history
def reset_user_input():
return gr.update(value='')
def reset_state():
return [], []
with gr.Blocks() as demo:
gr.HTML("""<h1 align="center">ChatGLM</h1>""")
chatbot = gr.Chatbot()
with gr.Row():
with gr.Column(scale=4):
with gr.Column(scale=12):
user_input = gr.Textbox(show_label=False, placeholder="Input...", lines=10).style(
container=False)
with gr.Column(min_width=32, scale=1):
submitBtn = gr.Button("Submit", variant="primary")
with gr.Column(scale=1):
emptyBtn = gr.Button("Clear History")
max_length = gr.Slider(0, 4096, value=2048, step=1.0, label="Maximum length", interactive=True)
top_p = gr.Slider(0, 1, value=0.7, step=0.01, label="Top P", interactive=True)
temperature = gr.Slider(0, 1, value=0.95, step=0.01, label="Temperature", interactive=True)
history = gr.State([])
submitBtn.click(predict, [user_input, chatbot, max_length, top_p, temperature, history], [chatbot, history],
show_progress=True)
submitBtn.click(reset_user_input, [], [user_input])
emptyBtn.click(reset_state, outputs=[chatbot, history], show_progress=True)
demo.queue().launch(share=False, inbrowser=True)
改完后,一样运行 python web_demo.py
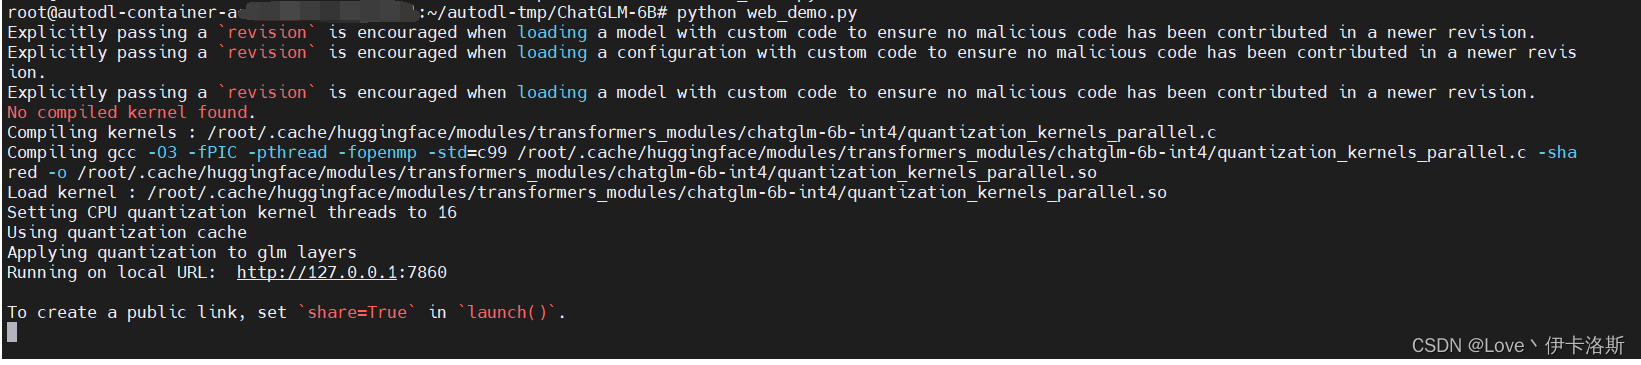
跑INT4速度很快,秒回~

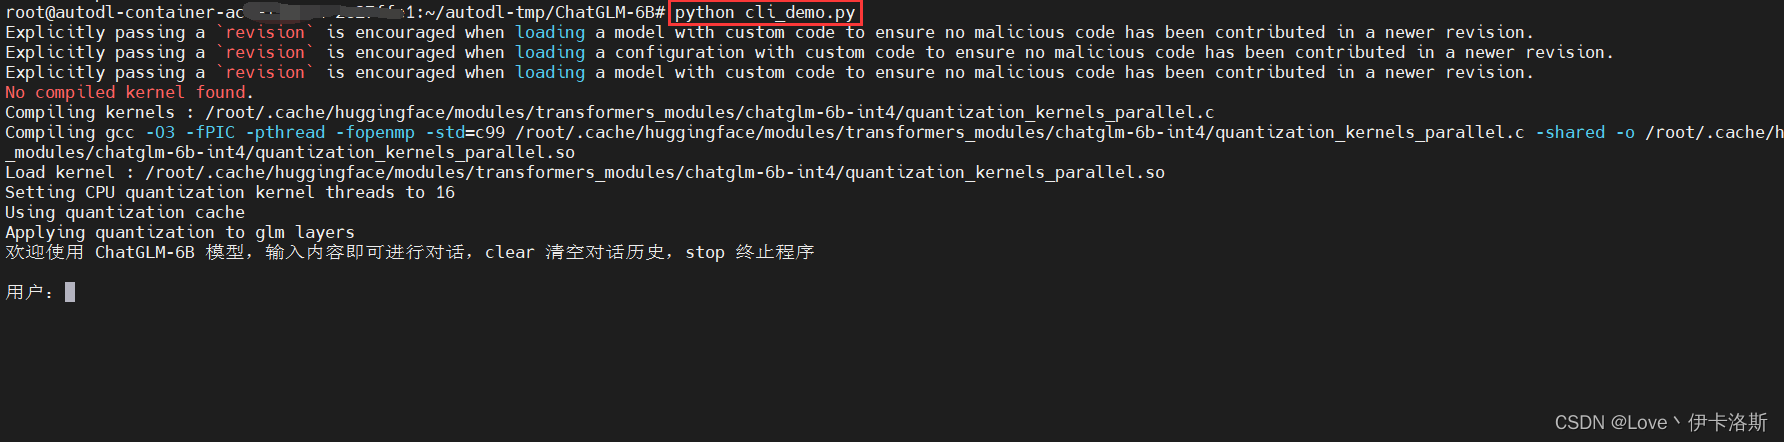
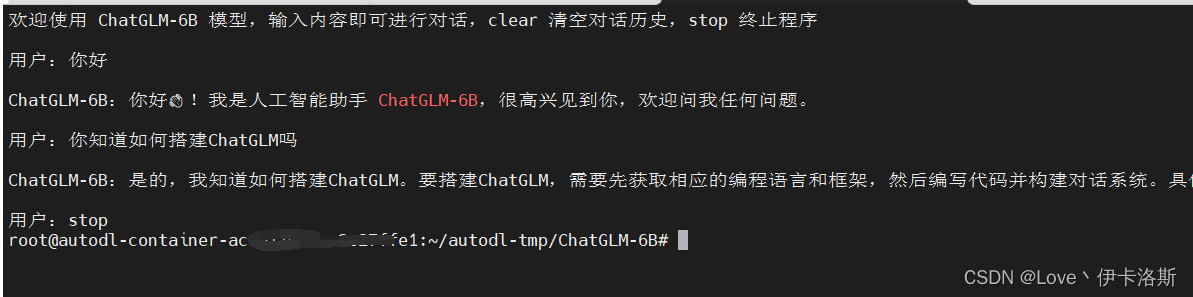
命令行demo
和web UI版一样,如果是跑的INT4,就需要修改源码中,模型的加载路径