
文章目录
个人网站

一、前言
就是照着YOLO-V3数据集模仿
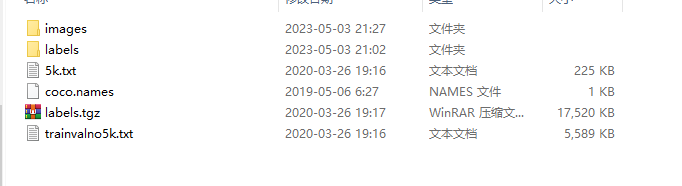
- images就是自己的图片,
- labels就是图片物体的labels,x,y,h,w数据
- txt分别为images训练集和测试集的路径地址
下面一一实现
二、数据集制作
1.images
就是自己的图片,假如你要做行人检测,就搜集行人图片

2.labels
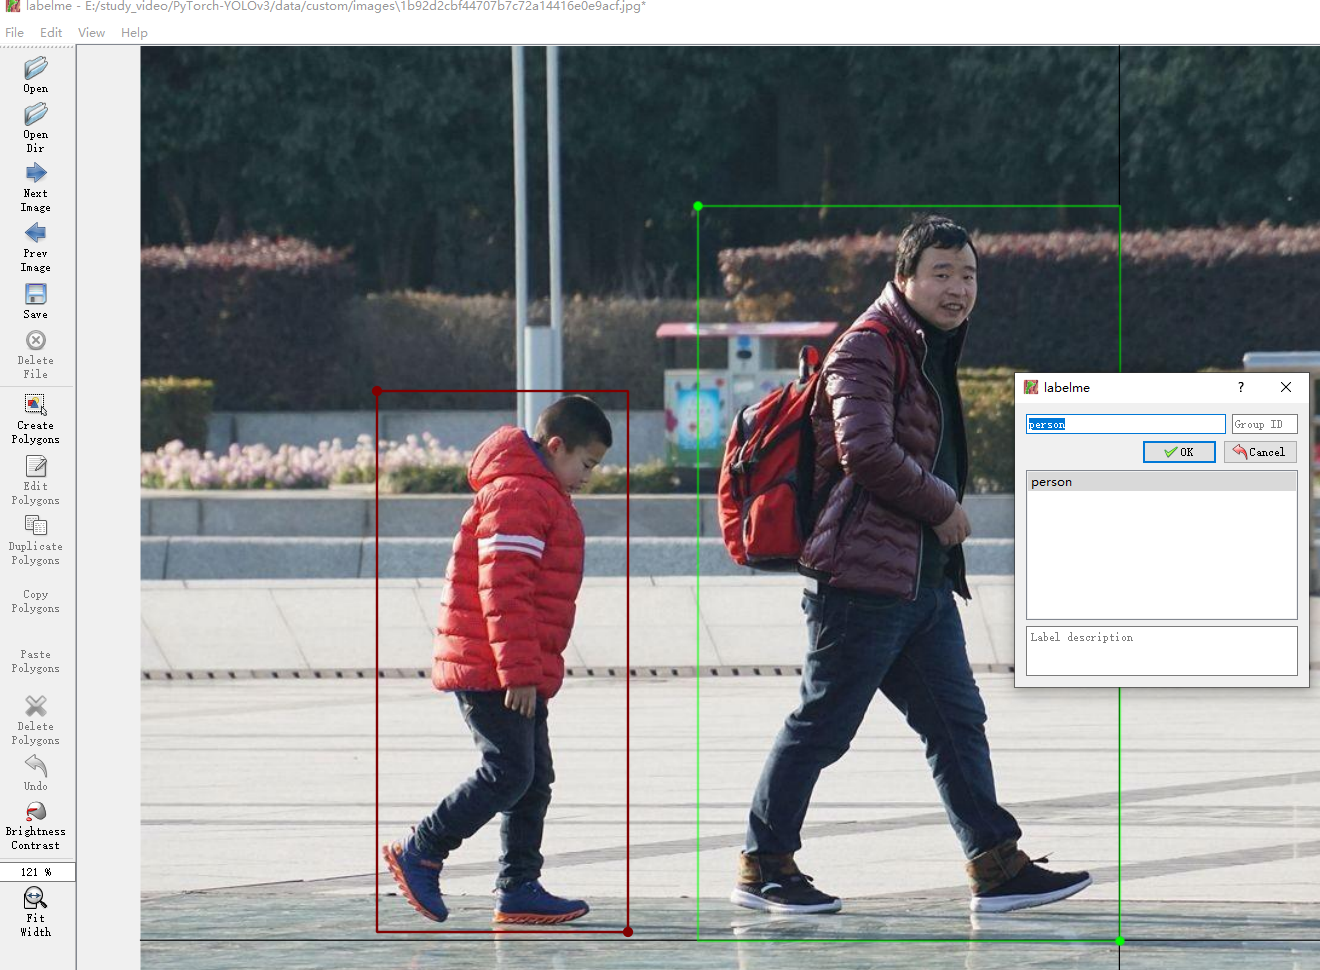
- 安装好 labelme 工具
pip install labelme
pip install pyqt5
pip install pillow
labelme 启动
- 标注我们的数据,选择文件夹后,右键选择矩形框框柱,打出类别,保存到label-test文件夹


- 生产配置文件,原文件是80分类
安装git(前面写过一次安装过程)
在config目录处,右键git bash
bash create_custom_model.sh 2 ( 后面的数字表示你的任务的类别个数)
扫描二维码关注公众号,回复:
15161676 查看本文章

自动生成 yolov3-custom.cfg文件
- 读取label-test并生成labels(类别,x,y,h,w)数据
import json
import os

name2id = {'person': 0, 'car': 1}

def convert(img_size, box):
    dw = 1./(img_size[0])
    dh = 1./(img_size[1])
    x = (box[0] + box[2])/2.0 - 1
    y = (box[1] + box[3])/2.0 - 1
    w = box[2] - box[0]
    h = box[3] - box[1]
    x = x*dw
    w = w*dw
    y = y*dh
    h = h*dh
    return (x,y,w,h)


def decode_json(json_floder_path,json_name):

    txt_name = 'E:\\study_video\\PyTorch-YOLOv3\\data\\custom\\labels\\' + json_name[0:-5] + '.txt'
    txt_file = open(txt_name, 'w')

    json_path = os.path.join(json_floder_path, json_name)
    data = json.load(open(json_path, 'r', encoding='gb2312'))

    img_w = data['imageWidth']
    img_h = data['imageHeight']

    for i in data['shapes']:

        label_name = i['label']
        if (i['shape_type'] == 'rectangle'):

            x1 = int(i['points'][0][0])
            y1 = int(i['points'][0][1])
            x2 = int(i['points'][1][0])
            y2 = int(i['points'][1][1])

            bb = (x1,y1,x2,y2)
            bbox = convert((img_w,img_h),bb)
            # 这个函数的作用是将列表中的元素转换为字符串,并使用空格将它们连接起来,返回一个新的字符串。
            txt_file.write(str(name2id[label_name]) + " " + " ".join([str(a) for a in bbox]) + '\n')

if __name__ == "__main__":

    json_floder_path = 'E:\study_video\\PyTorch-YOLOv3\\data\\custom\\labels-test'
    json_names = os.listdir(json_floder_path)
    for json_name in json_names:
        decode_json(json_floder_path,json_name)
- 对训练集和验证集分别完成上述操作后你的images就要有labels了
- 在 train.txt 与 val.txt 中写好对应的路径
import os

# 指定目录路径
dir_path = "E:\study_video\PyTorch-YOLOv3\data\custom\images"
# 获取目录下所有图片的路径
image_paths = [os.path.join(dir_path, f) for f in os.listdir(dir_path) if f.endswith(".jpg") or f.endswith(".jpeg")]

# 将图片路径写入train.txt文件
with open("train.txt", "w") as f:
    for image_path in image_paths:
        f.write(image_path + "\n")
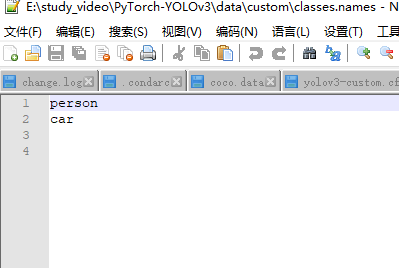
- 把最后一个coco.names改为自己的类别名字
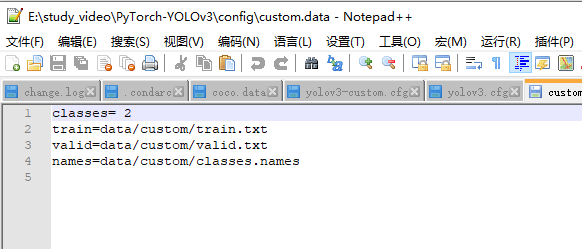
- 还有在config目录下config.date改为,没有新建
自此,基本完毕,所有文件其他都跟coco一样


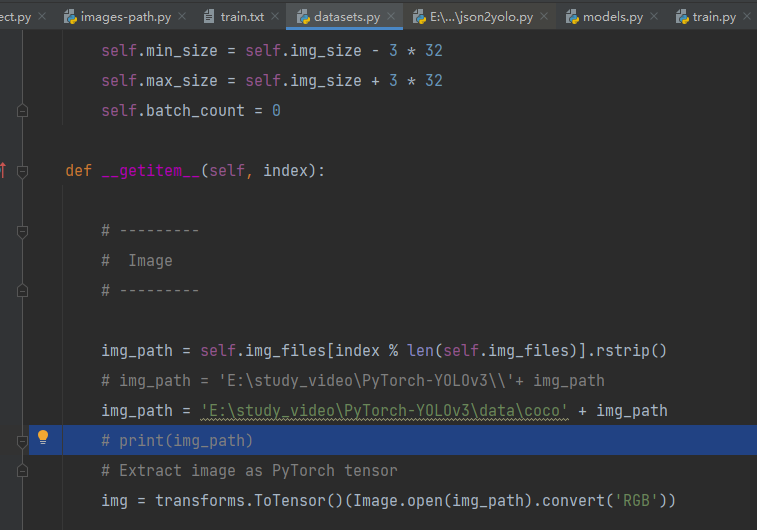
3.代码配置更改(如果出错,看datasets.py文件路径确保对齐,之前是coco)
配置参数
--model_def config/yolov3-custom.cfg
--data_config config/custom.data
--pretrained_weights weights/darknet53.conv.74
其他batchsize,epoch设置根据你自己情况改改
4.预测操作(跟上一篇文章测试差不多,改了权重文件和类别)
detect.py文件
--image_folder data/samples/ #把需要预测的数据放到这里
--checkpoint_model checkpoints/yolov3_ckpt_100.pth #训练好模型的路径
--class_path data/custom/classes.names #画图时候要把框上显示出来 name