1、引入相关依赖
<!--swagger-->
<dependency>
    <groupId>io.springfox</groupId>
    <artifactId>springfox-swagger2</artifactId>
    <version>3.0.0</version>
</dependency>
<dependency>
    <groupId>io.springfox</groupId>
    <artifactId>springfox-swagger-ui</artifactId>
    <version>3.0.0</version>
</dependency>
  <dependency>
     <groupId>io.swagger</groupId>
     <artifactId>swagger-annotations</artifactId>
     <version>1.5.22</version>
 </dependency>
<dependency>
     <groupId>com.github.xiaoymin</groupId>
     <artifactId>swagger-bootstrap-ui</artifactId>
     <version>1.8.7</version>
</dependency>
PS:引入依赖的时候要注意swagger的版本要和Springboot的版本对应,不然会出现空指针异常!
相关版本:(本人使用springboot:2.6.6+swagger3.0.0)
版本一:
| Spring Boot版本 | Swagger 版本 |
|---|---|
| 2.5.6 | 2.9.2 |
版本二:
| Spring Boot版本 | Swagger 版本 |
|---|---|
| 2.6.5 | 3.0.0 |
2、添加配置信息
添加配置:
spring:
  mvc:
    pathmatch:
      matching-strategy: ant_path_matcher
创建配置类:
@Configuration
@EnableSwagger2
public class Swagger2Config {

    @Bean
    public Docket webApiConfig(){

        return new Docket(DocumentationType.SWAGGER_2)
                .groupName("webApi")
                .apiInfo(webApiInfo())
                .select()
                //过滤掉admin路径下的所有页面
                .paths(Predicates.not(PathSelectors.regex("/admin/.*")))
                //过滤掉所有error或error.*页面
                .paths(Predicates.not(PathSelectors.regex("/error.*")))
                .build();
    }

    @Bean
    public Docket adminApiConfig(){

        return new Docket(DocumentationType.SWAGGER_2)
                .groupName("adminApi")
                .apiInfo(adminApiInfo())
                .select()
                //只显示admin路径下的页面
                .paths(Predicates.and(PathSelectors.regex("/admin/.*")))
                .build();

    }

    private ApiInfo webApiInfo(){

        return new ApiInfoBuilder()
                .title("网站-课程中心API文档")
                .description("本文档描述了课程中心微服务接口定义")
                .version("1.0")
                .contact(new Contact("sun", "http://atguigu.com", "[email protected]"))
                .build();
    }

    private ApiInfo adminApiInfo(){

        return new ApiInfoBuilder()
                .title("后台管理系统-课程中心API文档")
                .description("本文档描述了后台管理系统课程中心微服务接口定义")
                .version("1.0")
                .contact(new Contact("sun", "http://atguigu.com", "[email protected]"))
                .build();
    }
}
3、Swagger注解说明
@Api(tags="")
用在请求的类上,表示对类的说明
tags"说明该类的作用,可以在UI界面上看到的注解"
@ApiOperation(value="")
用在请求的方法上,说明方法的用途、作用
value=“说明方法的用途、作用”
@ApiImplicitParams
用在请求的方法上,表示一组参数说明
@ApiImplicitParam
@ApiImplicitParam:指定一个请求参数的各个方面
value:参数的汉字说明、解释
required:参数是否必须传
paramType:参数放在哪个地方
header –> 请求头的获取:@·RequestHeader
query –> 请求参数的获取:@RequestParam
path(用于restful接口)–> 请求路径变量的获取:
@PathVariable
body(不常用)
form(不常用)
dataType:参数类型,默认String,其它值dataType=“Integer”
defaultValue:参数的默认值
@ApiResponses
用在请求的方法上,表示一组响应
@ApiResponse
用在@ApiResponses中,一般用于表达一个错误的响应信息
code:数字,例如400
message:信息,例如"请求参数没填好"
response:抛出异常的类
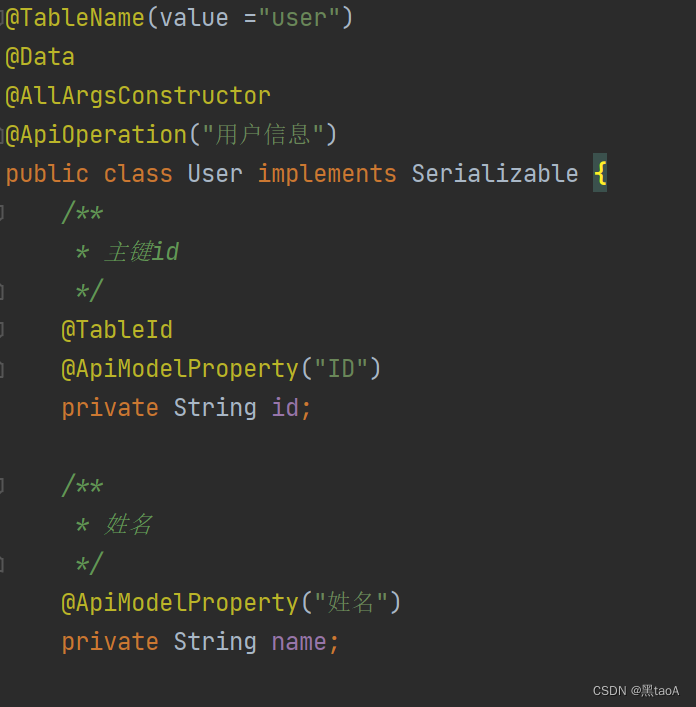
@ApiModel
主要有两种用途:
用于响应类上,表示一个返回响应数据的信息
入参实体:使用@RequestBody这样的场景, 请求参数无法使用@ApiImplicitParam注解进行描述的时候
@ApiModelProperty
用在属性上,描述响应类的属性
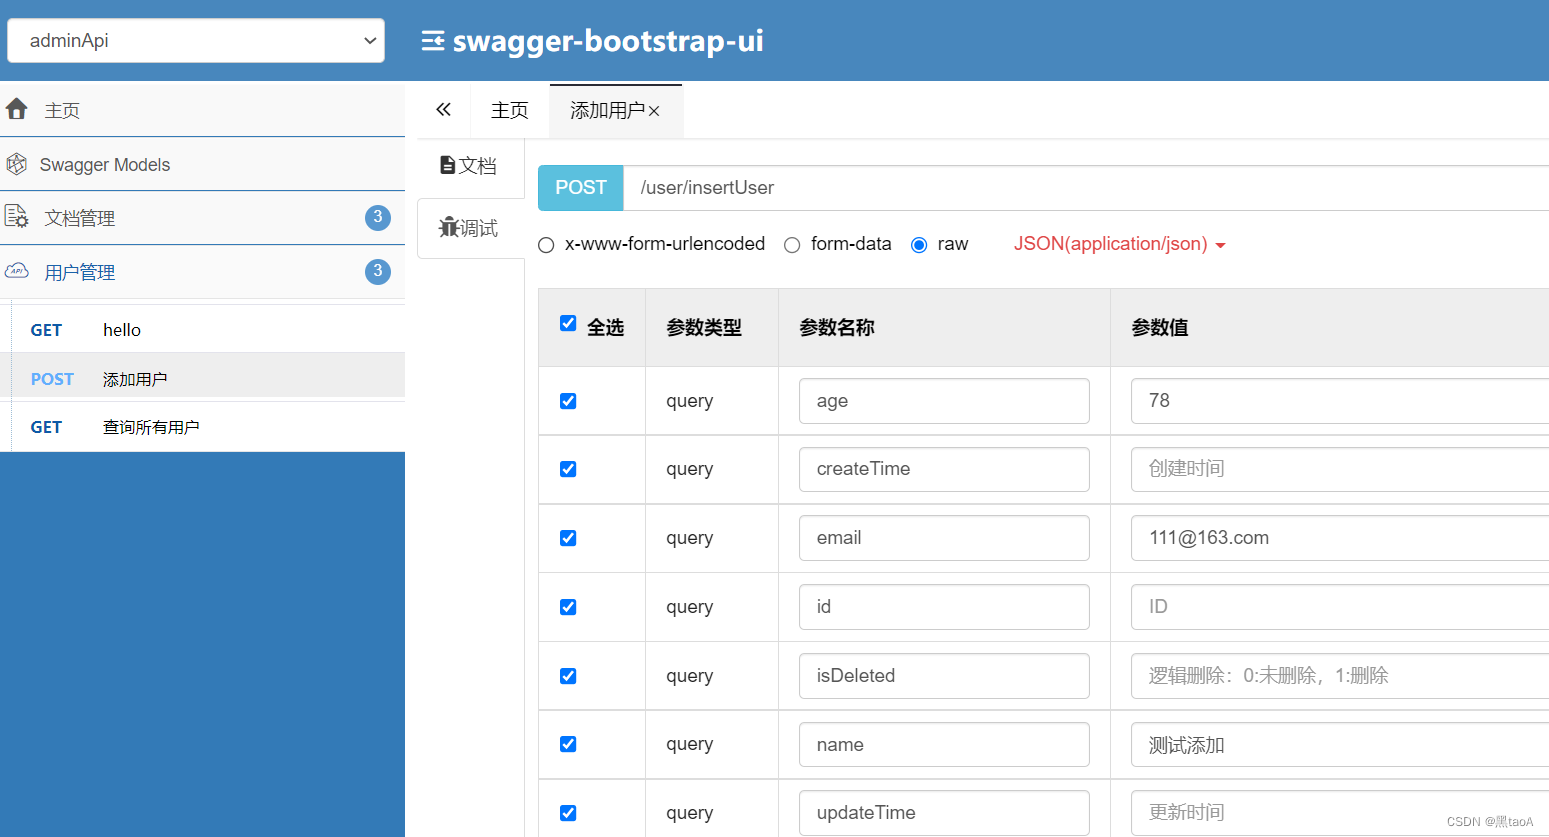
4、页面示例