第三部分 将RGB图像和Depth图像对齐
文章目录
前言
将RGB图像和深度图像对齐有两种方式,一种是将深度图对齐到RGB图像上,另一种是将RGB图像对齐到深度图上。此处采用的是第一种将深度图对齐到RGB图上。
一、创建对齐的cpp文件
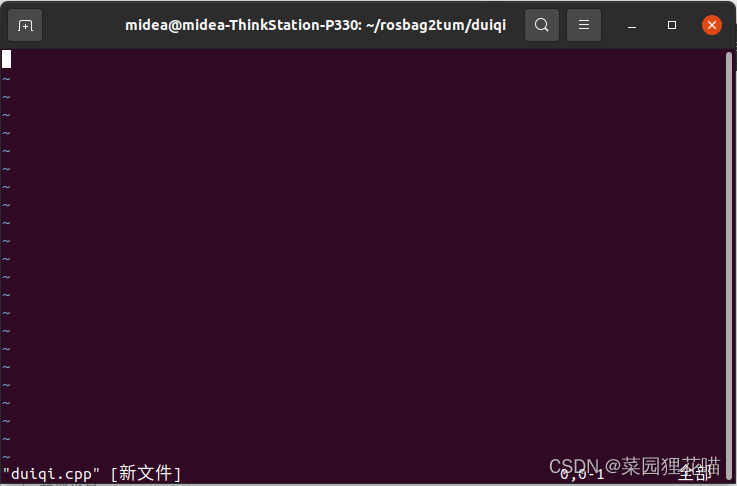
1.用vim创建C++文件
在指定文件夹下进入终端,并输入以下代码创建cpp文件:
vim duiqi.cpp
回车后进入编辑界面:
按键盘“i”进入编辑模式,输入C++代码。
对齐的代码如下:
#include <iostream>
using namespace std;
#include <sstream>
#include <iostream>
#include <fstream>
#include <algorithm>
#include <cstring>
#include <opencv2/opencv.hpp>
using namespace cv;
#include <librealsense2/rs.hpp>
// 获取深度像素对应长度单位转换
float get_depth_scale(rs2::device dev);
// 检查摄像头数据管道设置是否改变
bool profile_changed(const std::vector<rs2::stream_profile> ¤t, const std::vector<rs2::stream_profile> &prev);
int main(int argc, char *argv[])
try
{
// 创建 opencv 窗口
const char *depth_win = "depth_Image";
namedWindow(depth_win, WINDOW_AUTOSIZE);
const char *color_win = "color_Image";
namedWindow(color_win, WINDOW_AUTOSIZE);
// 深度图像颜色
rs2::colorizer c;
// 创建数据管道
rs2::pipeline pipe;
rs2::config pipe_config;
pipe_config.enable_stream(RS2_STREAM_DEPTH, 640, 480, RS2_FORMAT_Z16, 30);
pipe_config.enable_stream(RS2_STREAM_COLOR, 640, 480, RS2_FORMAT_RGB8, 30);
// start() 函数返回数据管道的profile
rs2::pipeline_profile profile = pipe.start(pipe_config);
// rs2::pipeline_profile profile = pipe.start();
// 使用数据管道的 profile 获取深度图像像素对应于长度单位(米)的转换比例
float depth_scale = get_depth_scale(profile.get_device());
cout << "depth_scale = " << depth_scale << endl;
// 选择彩色图像数据流来作为对齐对象
rs2_stream align_to = RS2_STREAM_COLOR; // 对齐的是彩色图,所以彩色图是不变的
// // 将深度图对齐到RGB图
rs2::align align(align_to);
while (getWindowProperty(depth_win, WND_PROP_AUTOSIZE) && getWindowProperty(color_win, WND_PROP_AUTOSIZE))
{
// 堵塞程序直到新的一帧捕获
rs2::frameset frameset = pipe.wait_for_frames();
// 正在对齐深度图到其他图像流,我们要确保对齐的图像流不发生改变
if (profile_changed(pipe.get_active_profile().get_streams(), profile.get_streams()))
{
// 如果profile发生改变,则更新align对象,重新获取深度图像像素到长度单位的转换比例
profile = pipe.get_active_profile();
align = rs2::align(align_to);
depth_scale = get_depth_scale(profile.get_device());
}
// 获取对齐后的帧
auto processed = align.process(frameset);
// 尝试获取对齐后的深度图像帧和其他帧
rs2::frame aligned_color_frame = processed.get_color_frame(); // RGB图
rs2::frame aligned_depth_frame = processed.get_depth_frame().apply_filter(c); // 深度图
// 获取对齐之前的color图像
rs2::frame before_depth_frame = frameset.get_depth_frame().apply_filter(c); // 获取对齐之前的深度图
// 获取宽高
const int depth_w = aligned_depth_frame.as<rs2::video_frame>().get_width();
const int depth_h = aligned_depth_frame.as<rs2::video_frame>().get_height();
const int color_w = aligned_color_frame.as<rs2::video_frame>().get_width();
const int color_h = aligned_color_frame.as<rs2::video_frame>().get_height();
const int b_color_w = before_depth_frame.as<rs2::video_frame>().get_width();
const int b_color_h = before_depth_frame.as<rs2::video_frame>().get_height();
// 如果其中一个未能获取,继续迭代
if (!aligned_depth_frame || !aligned_color_frame)
{
continue;
}
// 创建opencv类型,并传入数据
Mat aligned_depth_image(Size(depth_w, depth_h), CV_8UC3, (void *)aligned_depth_frame.get_data(), Mat::AUTO_STEP);
Mat aligned_color_image(Size(color_w, color_h), CV_8UC3, (void *)aligned_color_frame.get_data(), Mat::AUTO_STEP);
Mat before_depth_image(Size(b_color_w, b_color_h), CV_8UC3, (void *)before_depth_frame.get_data(), Mat::AUTO_STEP);
// 彩色图RGB转BGR
cvtColor(aligned_color_image, aligned_color_image, COLOR_RGB2BGR);
// 显示
imshow(depth_win, aligned_depth_image);
imshow(color_win, aligned_color_image);
imshow("before aligned depth Image", before_depth_image);
waitKey(10);
}
return EXIT_SUCCESS;
}
catch (const std::exception &e)
{
std::cerr << e.what() << '\n';
}
float get_depth_scale(rs2::device dev)
{
// 遍历设备的传感器
for (rs2::sensor &sensor : dev.query_sensors())
{
// 检查传感器是否是深度传感器
if (rs2::depth_sensor dpt = sensor.as<rs2::depth_sensor>())
return dpt.get_depth_scale();
}
throw std::runtime_error("Device does not have a depth sensor");
}
bool profile_changed(const std::vector<rs2::stream_profile> ¤t, const std::vector<rs2::stream_profile> &prev)
{
for (auto &&sp : prev)
{
// if previous profile is in current ( maybe just added another)
auto itr = std::find_if(std::begin(current), std::end(current), [&sp](const rs2::stream_profile ¤t_sp)
{
return sp.unique_id() == current_sp.unique_id(); });
if (itr == std::end(current))
{
return true;
}
}
return false;
}
输入完毕后,按“ESC”健进入命令模式,输入“:wq”保存并退出文本编辑器。


C++文件即被创建完毕。
二、使用CMake构建C++工程
1.创建并编写CMakeList.txt文件
使用VScode打开项目文件

在项目目录中,New File一个CMakeLists.txt:

将下段代码复制进CMakeList.txt文件中,并保存:
cmake_minimum_required(VERSION 3.1.0)
project(realsense)
find_package(OpenCV REQUIRED)
include_directories(${

    OpenCV_INCLUDE_DIRS})
set(DEPENDENCIES realsense2 ${

    OpenCV_LIBS})
add_executable(duiqi duiqi.cpp)
target_link_libraries(duiqi ${

    DEPENDENCIES})

保存后的结果如下:

2.编译CMakeLists.txt
- 在当前目录下,创建build文件夹
mkdir build
- 进入到build文件夹
cd build
- 编译上级目录的CMakeLists.txt,生成Makefile和其他文件
cmake ..
- 执行make命令,生成target
make
示例如下:

5.在命令行输入“./duiqi",执行build文件夹下生成的可执行文件
./duiqi

6.对齐后的结果如图:

总结
以上就是今天要讲的内容,本文仅仅简单介绍了如何将RGB图像和深度图像对齐。