一. 修改|-app/models.py
Web程序的所有用户的文章存储在数据库里, 每一篇文章就是数据库中的一条记录, 包括文章主体,发布时间, 作者的id等属性。
class Post(db.Model):

    __tablename = 'posts'

    id = db.Column(db.Integer, primary_key=True)

    body = db.Column(db.Text)

    timestamp = db.Column(db.Datatime, default=datatime.utcnow)

    author_id = db.Column(db.Integer, db.ForeignKey('users.id'))
二.修改|-app/-main/forms.py
既然是添加提交文章的功能,那我们得设计一个简单的编辑文章的表单。
class PostForm(FlaskForm):

    body = TextAreaField("what's on your mind?", validators=[ DataRequired() ])

    submit = SubmitField("Submit")
该表单只有两个字段, 一个是文本框, 另一个是提交按钮。
三. 修改|-app/-main/views.py
有了表单和数据表, 我们就需要路由函数来显示表单和数据表中的内容, 并且处理表单中提交的文章。
@main.route('/', methods=['GET', 'POST'])

def index():

    form = PostForm()

    if current_user.can(Permission.WRITE_ARTICLES) and \

        form.validate_on_submit():

            post = Post(body=form.body.data,

                                author=current_user._get_current_object())

            db.session.add(post)

            return redirect(url_for('.index'))

    posts = Post.query.order_by(Post.timestamp.desc()).all()

    return render_template('index.html', form=form, posts=posts)
四. 修改|-app/templates/index.html
{% extends 'base.html' %}

{% block title %}Falsky{% endblock %}

{% block page_content %}

<div class="page-header">

<h1>Hello, {% if current_user.is_authenticated() %}{{ current_user.username }}{% else %}Stanger{% endif %}!</h1>

</div>

{% if current_user.can(Permission.WRITE_ARTICLES) %}

  {{wtf.quick_form(form)}}

{% endif %}

<ul class="posts">

  {% for post in {{posts}} %}

  <li class="post">

  <div class="post-thumbnail">

  <a href="{{ url_for('main.user', username=post.author.username) }}"><img class="thumbnail" src="{{ post.author.gravatar() }}"></a>

  </div>

  <div class="post-date">{{ moment(post.timestamp).formNow() }}</div>

  <div class="post-author"><a href="{{ url_for('main.user', username=post.author.username) }}">{{ post.author.username }}</a></div>

  <div class="post-body">{{ post.body }}</div>

  </li>

  {% endfor %}

</ul>

{% endblock %}
三四两部分结合来看, 未登录用户访问主页时, 只会显示欢迎语和所有的文章构成的无序列表,有编辑文章权限的用户登录以后, 还会显示编辑文章的表单, 用户输入文章点击提交按钮, 会提交一条post记录, 然后重定向到主页, 显示所有的文章。
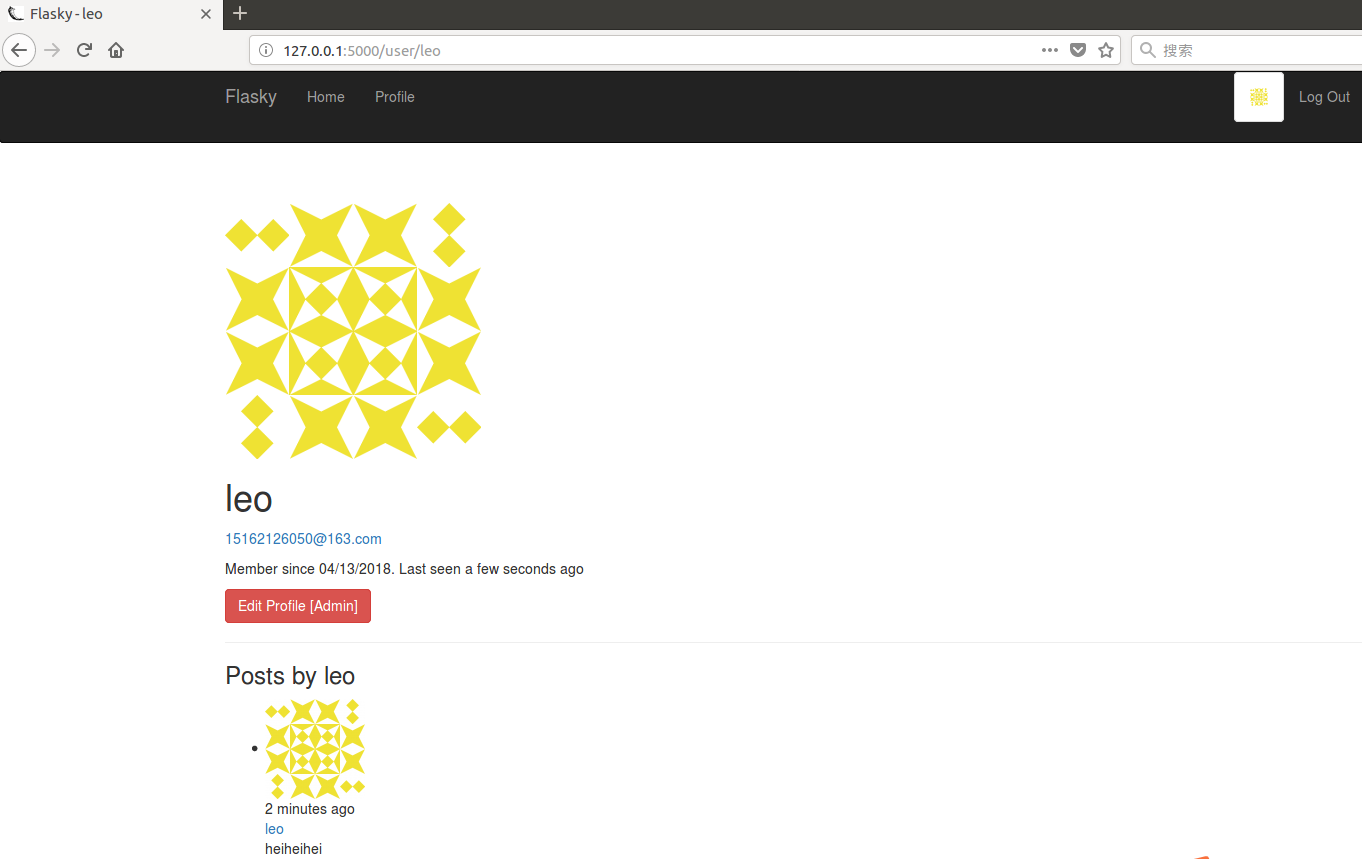
五. 在资料页显示文章列表
当我们访问用户资料页user.html时, 也要显示用户撰写的文章, 只要把指定用户的文章传到user.html模板中即可。
1. 修改|-app/-main/views.py
@main.route('/user/<username>')

def user(username):

    user = User.query.filter_by(username=username).first()

    if not user:

        abort(404)

    posts = user.posts.order_by(Post.timestamp.desc()).all()

    return render_template('user.html', user=user, posts=posts)
2.修改|-app/templates/user.html
只需要把index.html中那段显示文章的无序列表搬过来即可, 但是代码重复会显得冗余, 于是我们把无序列表单独放在_posts.html里面, 然后用include包含进user.html
<h3>Posts by {{ user.username }}</h3>

{% include "_posts.html" %}
六. 效果演示
1.未登录用户访问主页
2.登陆以后重定向到主页
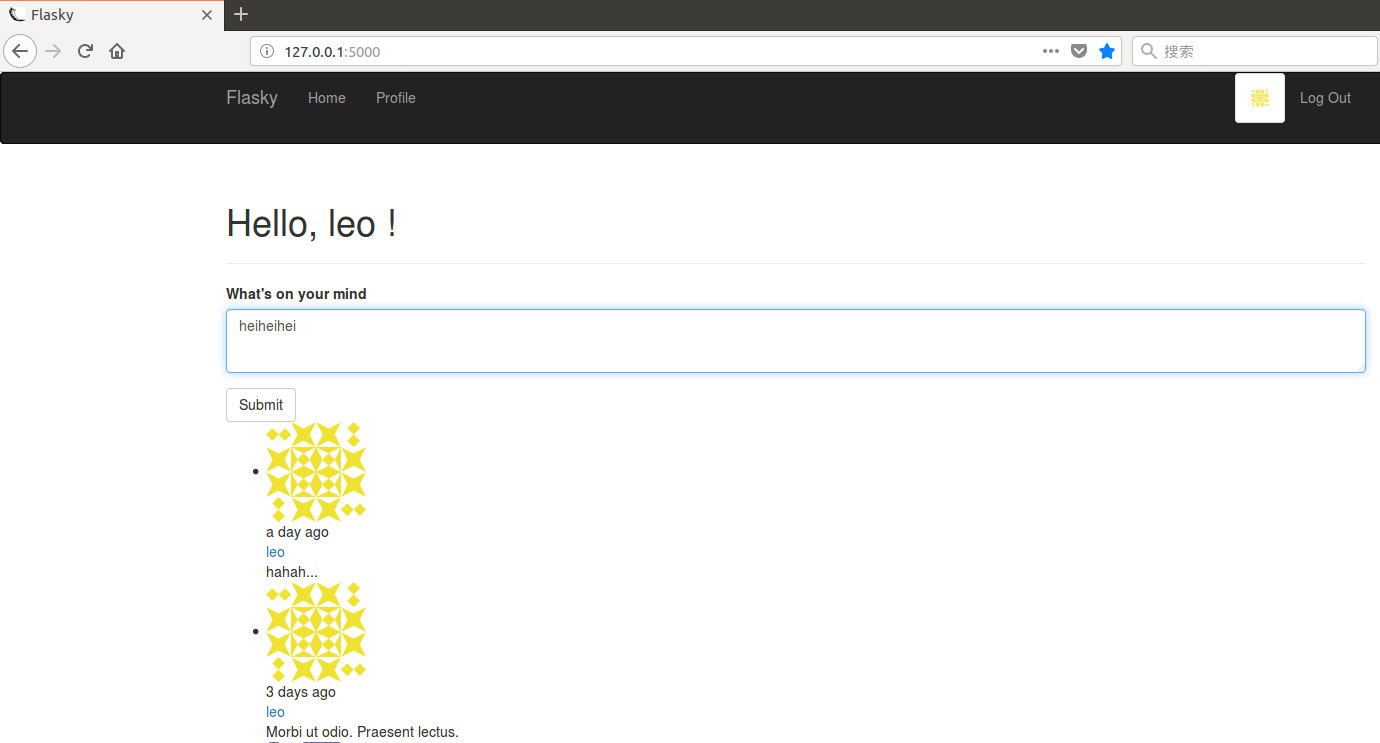
3.点击文章的提交按钮

4.点击profile链接, 进入自己的资料页