unity实战——模拟太阳系
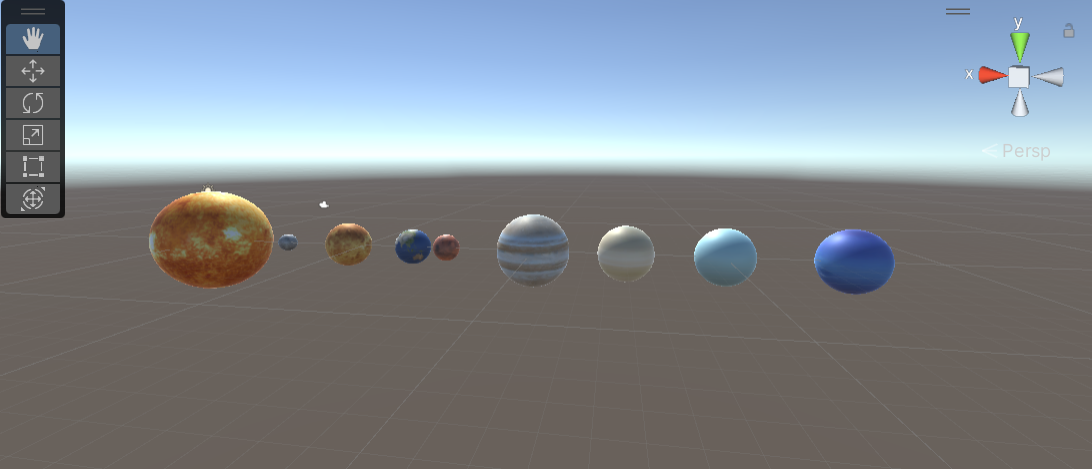
最终效果
Unity模拟太阳系效果
搭建简易太阳系
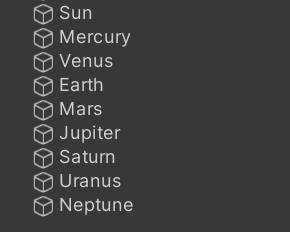
- 定义九个球体,命名如下:
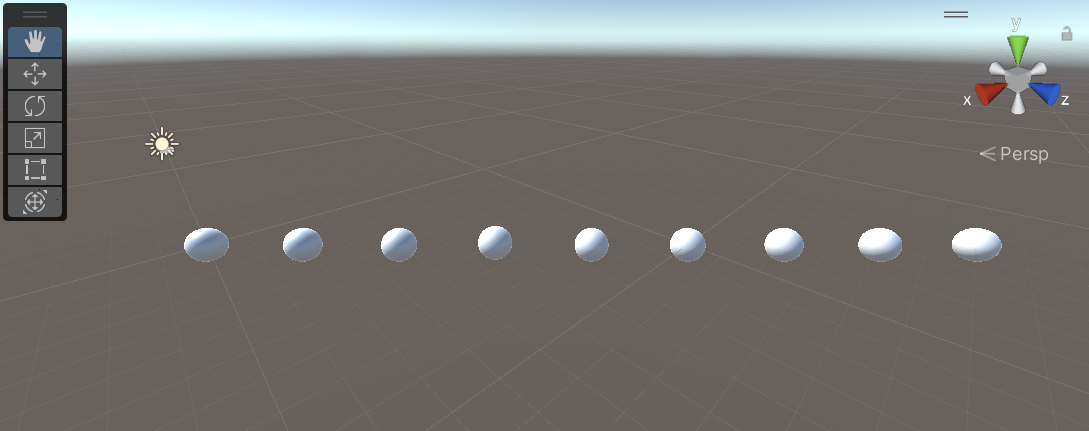
加上贴图,调整大小:
各种参数设置如下:
| Object | Position | Scale |
|---|---|---|
| Sun | (0, 0, 0) | (10, 10, 10) |
| Mercury | (0, 0, 8) | (2, 2, 2) |
| Venus | (0, 0, 12) | (3.5, 3.5, 3.5) |
| Earth | (0, 0, 17) | (3, 3, 3) |
| Mars | (0, 0, 22) | (2.5, 2.5, 2.5) |
| Jupiter | (0, 0, 28) | (5.5, 5.5, 5.5) |
| Staturn | (0, 0, 36) | (3.5, 3.5, 3.5) |
| Uranus | (0, 0, 42) | (2.5, 2.5, 2.5) |
| Neptune | (0, 0, 49) | (3, 3, 3) |
(为了方便观察,建议调一下摄像机的参数)
-
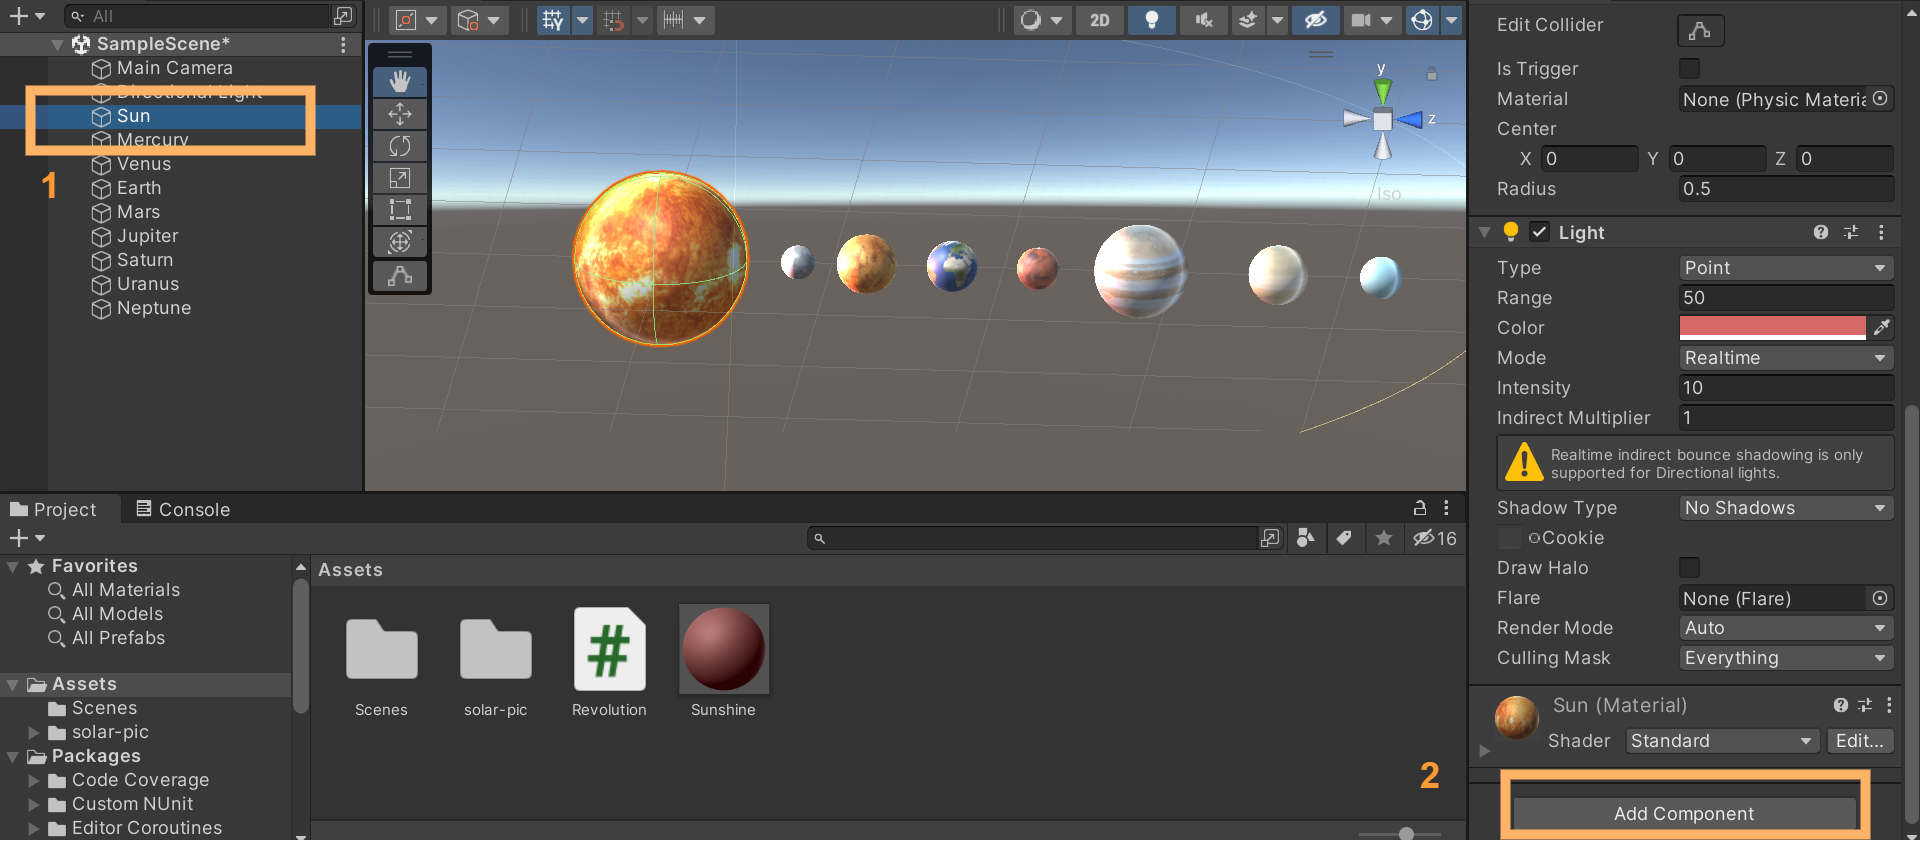
给太阳加上发光属性
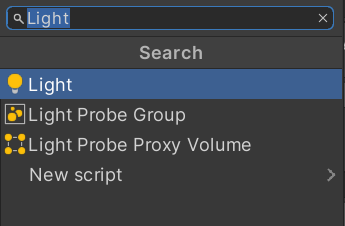
点击Sun → Inspector面板 → Add Component → 搜索Light并添加 → 调节参数
遇到的问题:
一开始做的时候直接新建了一个Light和Material,把Light添加到Material然后拖到Sun上,Sun的贴图就被覆盖了,弄了蛮久,最后发现可以直接给Sun设置Light属性,看来还是得多实操。
-
编写脚本
Move使对象围绕太阳公转主要用到了
RotateAround这个API,具体可以看官方文档脚本定义了几个属性:
origin:围绕着旋转的对象speed:旋转的速度(
rx,ry, 0):决定了旋转的法平面完整代码如下
using System.Collections;
using System.Collections.Generic;
using UnityEngine;

public class Move : MonoBehaviour {
    public Transform origin;
    public float speed = 20;
    public float ry, rx;
    // Use this for initialization
    void Start () {
        // rx = Random.Range(10, 60);
        // ry = Random.Range(10, 60);
    }

	// Update is called once per frame
	void Update () {
        Vector3 axis = new Vector3(rx, ry, 0);
        this.transform.RotateAround(origin.position, axis, speed * Time.deltaTime);
    }
}
-
设置地球自转
这里和公转的思路是一样的,只是旋转轴变成地球的中心轴,对应代码就是
this.transform.position完整代码如下:
using System.Collections;
using System.Collections.Generic;
using UnityEngine;

public class Rotation : MonoBehaviour
{
    public float speed = 50;
    // Start is called before the first frame update
    void Start()
    {

    }

    // Update is called once per frame
    void Update()
    {
        this.transform.RotateAround(this.transform.position, Vector3.up, speed * Time.deltaTime);

    }
}
-
设置地月系
新建Moon和一个Earth Temp
Earth Temp和Earth除了不自转外其余属性都相同,将Moon拖到Earth Temp下,并加入公转代码,设置origin对象为Earth Temp

-
最后加入一个背景
把背景图拖到Asset中,设置Texture Type为 Sprite(2D and UI)
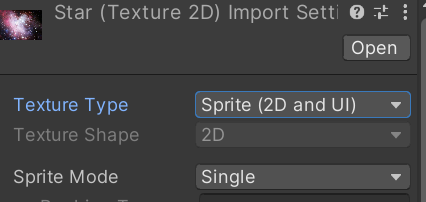
新建一个Empty,设置为background,Add Componet加入Star,然后调节参数就可以啦