0,前言
学习一下如何编写一个有actor的插件,能够将它拖入场景里面。
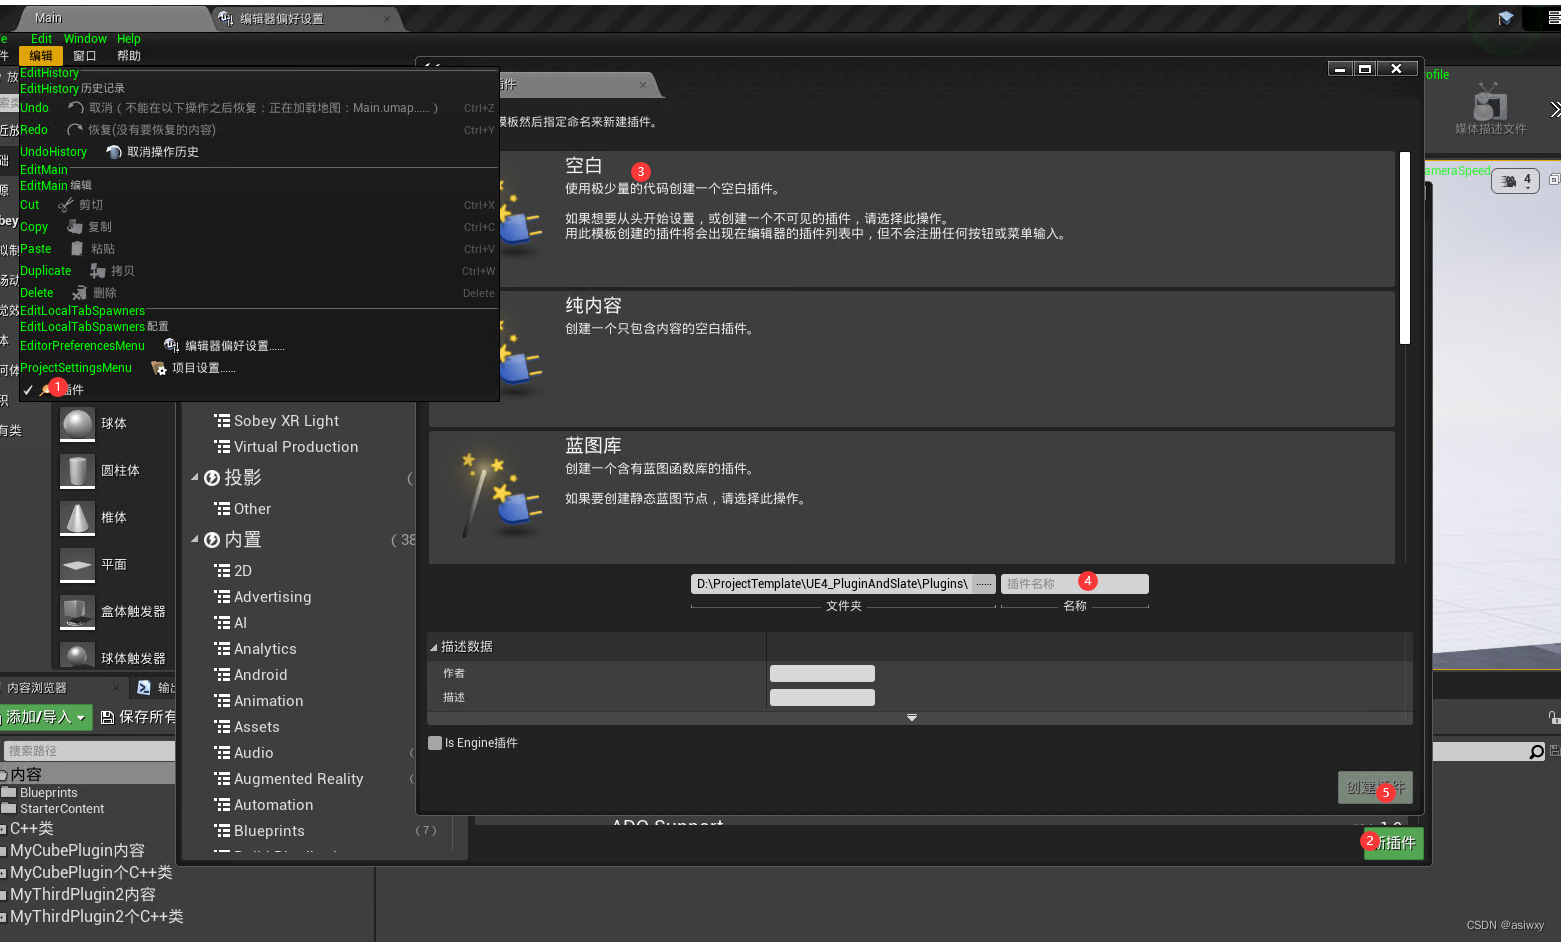
1,创建插件
(1)创建一个空白插件
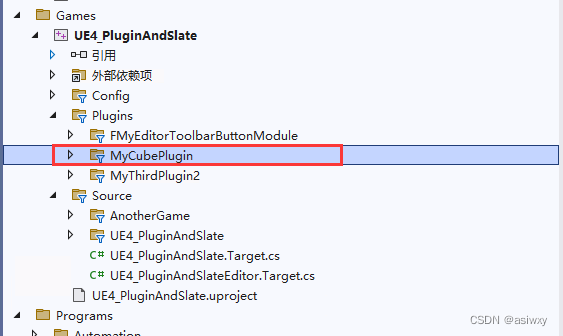
添加之后vs里面就会多出一个目录:
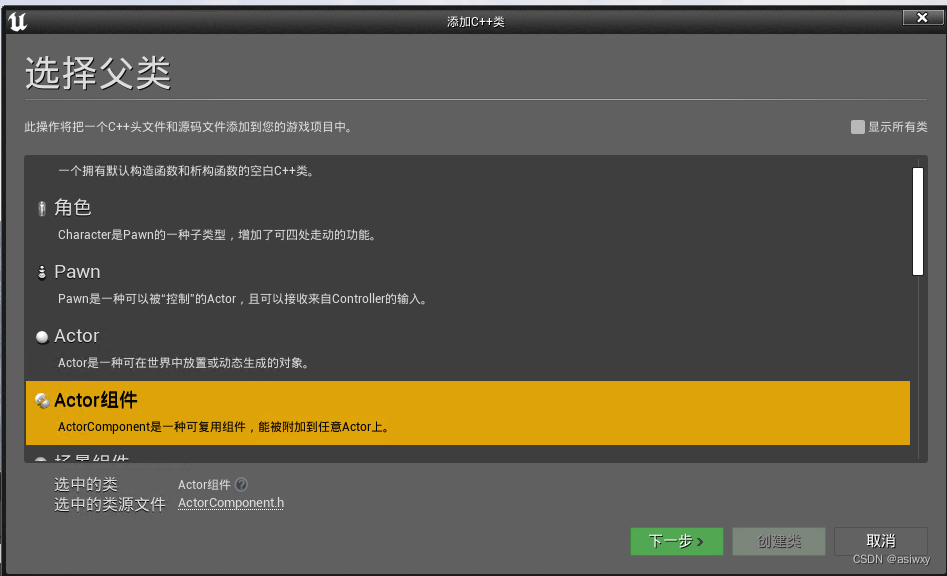
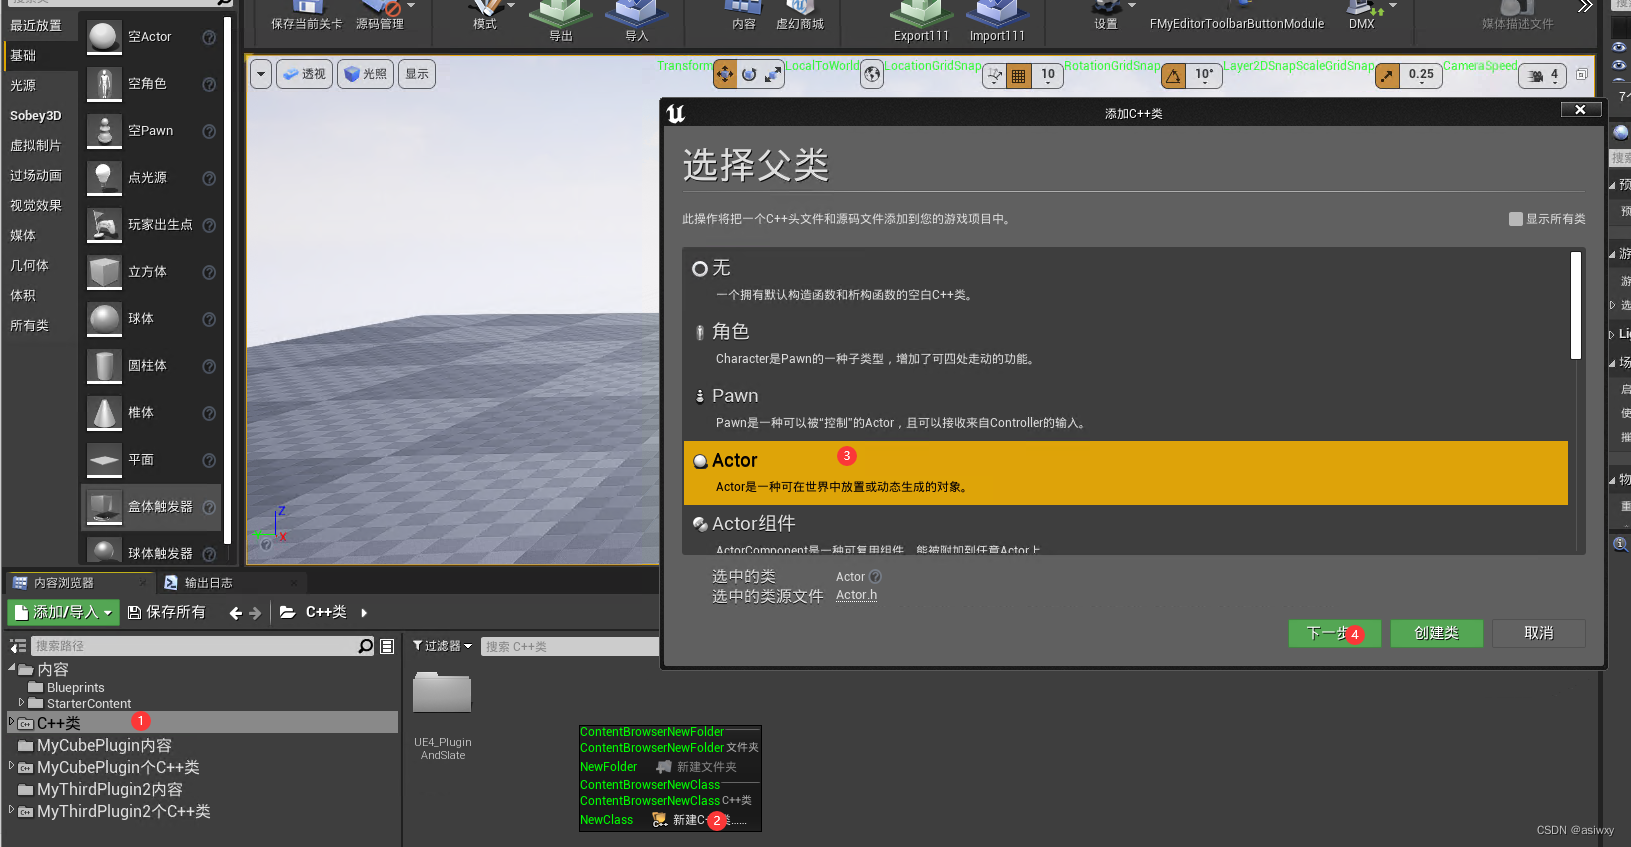
(2)给插件添加一个actor
创建完actor之后,再给actor创建一个组件
都创建完之后,你vs的目录如下:


2,代码修改
(1)MyCubeActor
添加一个我们新建的组件声明
class UMyCubeComponent* MyCubeComponent;在构造函数中增加组件的创建
AMyCubeActor::AMyCubeActor()
{
 	// Set this actor to call Tick() every frame.  You can turn this off to improve performance if you don't need it.
	PrimaryActorTick.bCanEverTick = true;
	MyCubeComponent = CreateDefaultSubobject<UMyCubeComponent>(TEXT("MyCubeComponent"));
	RootComponent = (USceneComponent*)MyCubeComponent;
}
(2)MyCubeComponent
在头文件中声明增加:
	virtual void OnRegister() override;

	UPROPERTY(EditAnywhere, BlueprintReadWrite, BlueprintSetter = SetBallMesh, Category = "Ball")
	UStaticMesh* BallMesh;
	UFUNCTION(BlueprintCallable, Category = "Rendering|Components|WaterBall3D")
	void SetBallMesh(UStaticMesh* Value);
	UPROPERTY(EditAnywhere, BlueprintReadWrite,  Category = "Ball")
	UStaticMeshComponent* CubeMeshComponent;
在构造函数中添加获取网格的代码:
BallMesh = (UStaticMesh*)StaticLoadObject(UStaticMesh::StaticClass(), NULL, TEXT("/Game/StarterContent/Shapes/Shape_Cube.Shape_Cube"), NULL, LOAD_None, NULL);在onregister函数中添加:
void UMyCubeComponent::OnRegister()
{
		Super::OnRegister();
		if (!CubeMeshComponent)
		{
			FName CubeMeshComponentName = MakeUniqueObjectName(this, UMyCubeComponent::StaticClass(), TEXT("CubeMesh"));
			CubeMeshComponent = NewObject<UStaticMeshComponent>(this, CubeMeshComponentName, RF_Transactional);
			CubeMeshComponent->RegisterComponent();
			//GetOwner()->AddInstanceComponent(WaterComponent);
			CubeMeshComponent->AttachToComponent(this, FAttachmentTransformRules::KeepRelativeTransform);
			CubeMeshComponent->SetStaticMesh(BallMesh);
			CubeMeshComponent->SetRelativeLocation(FVector::ZeroVector);
			CubeMeshComponent->SetRelativeRotation(FRotator::ZeroRotator);
			CubeMeshComponent->SetRelativeScale3D(FVector(50 / 50.f));
		}
}
注意:这部分不能加到构造函数中,不然 网格绑定不了actor和component,会导致把方块儿拖到场景中时,actor,component与网格的坐标中心不一致。
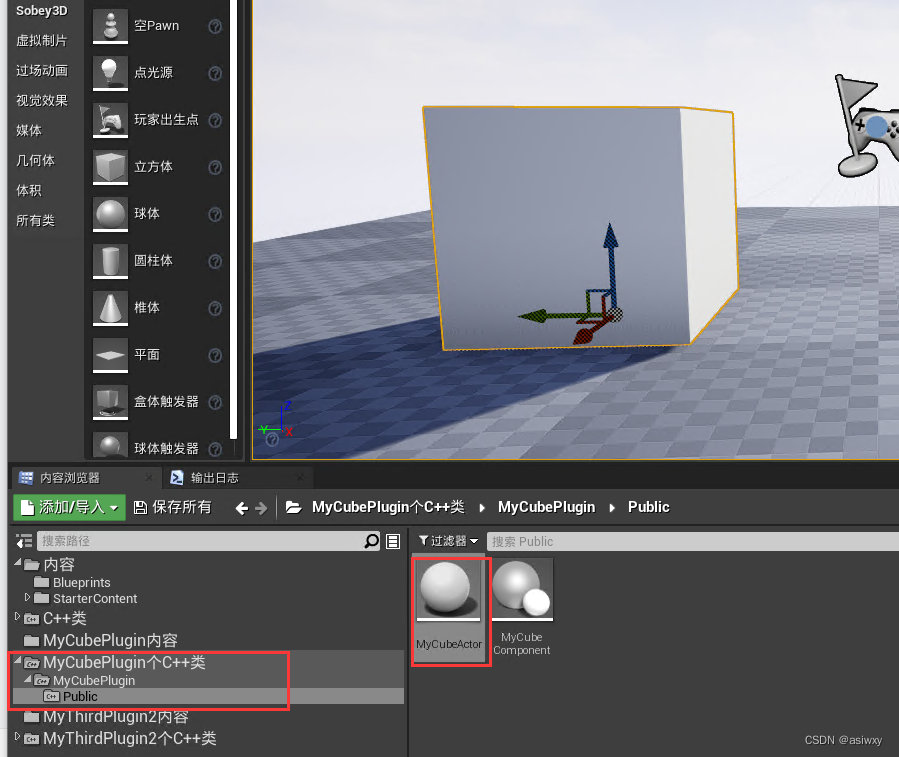
3,运行结果
拖入场景就可以看到我们自己创建的插件啦!