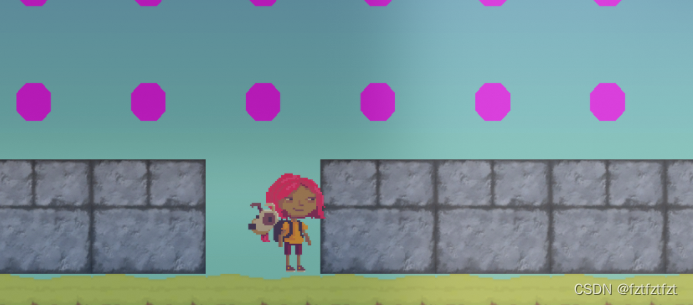
使用流程
- 首先项目需要使用URP,这里导入URP管线,创建URP pipline资源
- 修改项目的渲染管线为新创建的pipline
- 修改 URP_Renderer 参数,使支持后处理![[Pasted image 20220717204145.png]]
- camera 勾选上postprocessing选项
- 场景中创建Volume, 创建新的profile
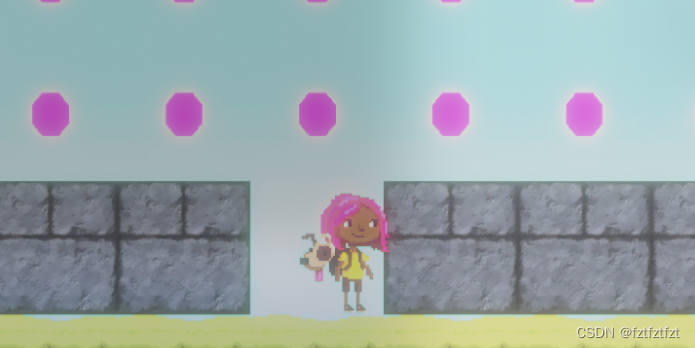
- 添加Bloom
官方文档
Post-processing in the High Definition Render Pipeline | High Definition RP | 14.0.3 (unity3d.com)
部分后处理介绍
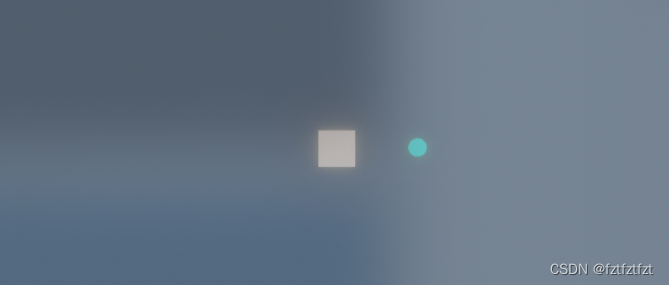
bloom 泛光
泛光 - LearnOpenGL CN (learnopengl-cn.github.io)
Bloom | High Definition RP | 14.0.3 (unity3d.com)
简介:
- 通过亮度阈值过滤出高亮的部分
- 将这个超过一定亮度阈限的纹理进行模糊
- 最终的被模糊化的纹理就是我们用来获得发出光晕效果的东西。这个已模糊的纹理要添加到原来的HDR场景纹理之上。因为模糊过滤器的应用明亮区域发出光晕,所以明亮区域在长和宽上都有所扩展。
Color Curves
和PS的曲线一样,支持全局和RGB单个通道的设置,根据曲线的值,将原值映射到新的值
Film Grain
薄膜颗粒效应模拟了胶片的随机光学结构,通常是由物理薄膜上存在的小颗粒引起的。
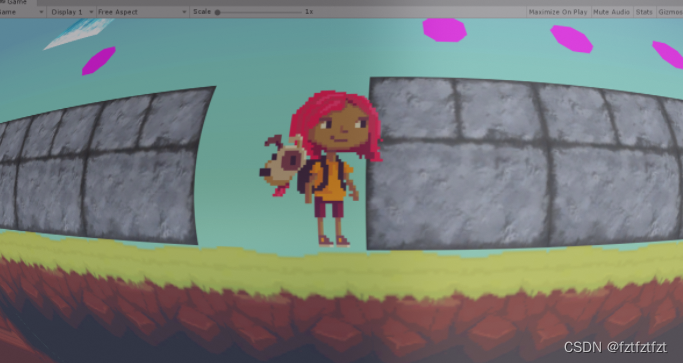
Lens Distortion
镜头失真效果扭曲最终渲染的图片,以模拟真实世界的照相机镜头的形状。
可以实现凸透镜和凹透镜的效果
自定义屏幕后处理
Custom Post Processing in Unity URP | Febucci
目前(URP 12.1.5,2022 年 5 月)没有简单的方法可以在 Unity 的 URP 中使用卷来自定义后期处理效果。URP 路线图说它“正在进行中”,但即使这种情况已经有一段时间了,我们确实有一些功能可以帮助我们手动实现相同的结果(类似于之前的后期处理堆栈 V2)
unity的URP package里面有内置的几种效果,且代码是开源的,可以在Packages -> Universal RP -> Runtime -> Passes中看到。
简单的反色效果:

流程
- 创建volume,控制变量和效果是否激活
- 创建renderer feature, 添加到URP渲染管线的后处理中
- 实现custom pass ,执行画面处理
创建custom volume
[Serializable, VolumeComponentMenuForRenderPipeline("MySelf/test", typeof(UniversalRenderPipeline))]
public class MySelfVolume : VolumeComponent, IPostProcessComponent
{


    public MinFloatParameter intensity = new MinFloatParameter(0f, 0f);

    public bool IsActive() => intensity.value > 0f;

    public bool IsTileCompatible() => false;
}
VolumeComponent 的Parameter类型,可以让参数跟随权重变化,它们可以在Global或local中应用(其中权重也受相机与音量边界的距离的影响)。
现在,就可以在volume的add override中选择新加的volume了
Custom Renderer Feature
代码比较简单:
public class MySelfPostFeature : ScriptableRendererFeature
{


    MySelfRenderPass renderPass;
    Material mMat;
    public override void AddRenderPasses(ScriptableRenderer renderer, ref RenderingData renderingData)
    {


        renderer.EnqueuePass(renderPass);
    }

    public override void Create()
    {


        var shader = Shader.Find("Hidden/MySelfShader");
        mMat = new Material(shader);
        renderPass = new MySelfRenderPass("PostEffectRender", RenderPassEvent.AfterRenderingTransparents, mMat, 0);
    }
}
Custom Pass
主要的渲染逻辑,需要在OnCameraSetup中,拿到cameraColorTarget,同时创建一个RT进行绘制。
public class MySelfRenderPass : ScriptableRenderPass
{


    // Used to render from camera to post processings
    // back and forth, until we render the final image to
    // the camera
    RenderTargetIdentifier source;
    RenderTargetIdentifier destinationA;

    readonly int temporaryRTIdA = Shader.PropertyToID("_TempRT");

    public override void OnCameraSetup(CommandBuffer cmd, ref RenderingData renderingData)
    {


        // Grab the camera target descriptor. We will use this when creating a temporary render texture.
        RenderTextureDescriptor descriptor = renderingData.cameraData.cameraTargetDescriptor;
        descriptor.depthBufferBits = 0;

        var renderer = renderingData.cameraData.renderer;
        source = renderer.cameraColorTarget;

        // Create a temporary render texture using the descriptor from above.
        cmd.GetTemporaryRT(temporaryRTIdA, descriptor, FilterMode.Bilinear);
        destinationA = new RenderTargetIdentifier(temporaryRTIdA);
    }

    // The actual execution of the pass. This is where custom rendering occurs.
    public override void Execute(ScriptableRenderContext context, ref RenderingData renderingData)
    {


        // Skipping post processing rendering inside the scene View
        if (renderingData.cameraData.isSceneViewCamera)
            return;

        CommandBuffer cmd = CommandBufferPool.Get("Custom Post Processing");
        cmd.Clear();
        var stack = VolumeManager.instance.stack;
        var customEffect = stack.GetComponent<MySelfVolume>();
        if (customEffect.IsActive())
        {


            Blit(cmd, source, destinationA);
            Blit(cmd, destinationA, source, mMat);
        }
        context.ExecuteCommandBuffer(cmd);
        CommandBufferPool.Release(cmd);
    }

    //Cleans the temporary RTs when we don't need them anymore
    public override void OnCameraCleanup(CommandBuffer cmd)
    {


        cmd.ReleaseTemporaryRT(temporaryRTIdA);
    }

    Material mMat;
    public MySelfRenderPass(string passname, RenderPassEvent _event, Material _mat, float contrast)
    {


        this.renderPassEvent = _event;
        mMat = _mat;
    }
}
Material
使用包含_MainTex的shader即可,这里使用的是unity创建shader时的默认模版,反色效果
Shader "Hidden/MySelfShader"
{


    Properties
    {


        _MainTex ("Texture", 2D) = "white" {

    }
    }
    SubShader
    {


        // No culling or depth
        Cull Off ZWrite Off ZTest Always

        Pass
        {


            CGPROGRAM
            #pragma vertex vert
            #pragma fragment frag

            #include "UnityCG.cginc"

            struct appdata
            {


                float4 vertex : POSITION;
                float2 uv : TEXCOORD0;
            };

            struct v2f
            {


                float2 uv : TEXCOORD0;
                float4 vertex : SV_POSITION;
            };

            v2f vert (appdata v)
            {


                v2f o;
                o.vertex = UnityObjectToClipPos(v.vertex);
                o.uv = v.uv;
                return o;
            }

            sampler2D _MainTex;

            fixed4 frag (v2f i) : SV_Target
            {


                fixed4 col = tex2D(_MainTex, i.uv);
                // just invert the colors
                col.rgb = 1 - col.rgb;
                col.a = 0.1;
                return col;
            }
            ENDCG
        }
    }
}