前言:
本篇内容不涉及插件的安装以及配置,具体安装及配置篇可以看下面目录,本篇只涉及创建Vite+Vue3+TS基础项目相关内容。不讲废话,简单直接直接开撸。
目录
npm create vite vue3练习2 -- --template vue-ts
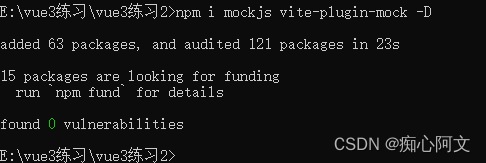
npm i mockjs vite-plugin-mock -D
先看下完整的项目结构。

E:\vue3练习>npm create vite vue3练习2 -- --template vue-ts
npm create vite 项目名 -- --template vue-ts 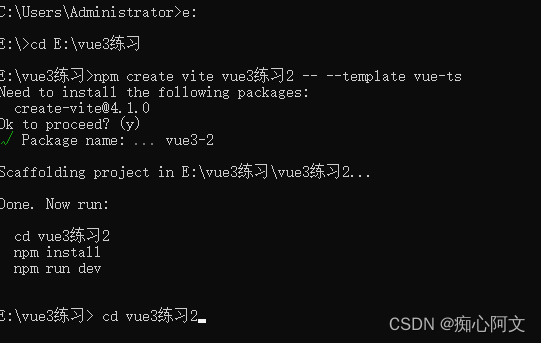
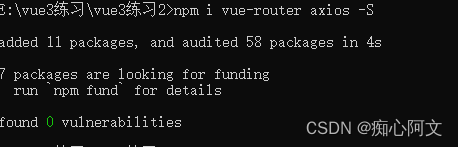
接下来我们需要安装几个node模块:vue-router、axios和mock。其中vue-router是Vue的路由配置模块,axios是请求包,mock则是前端模拟api接口的包。
安装vue-router和axios:
npm i vue-router axios -S
npm i mockjs vite-plugin-mock -D
安装mockjs和vite-plugin-mock。由于本项目的mock主要用途仅为模拟后端数据接口,所以安装为开发依赖,若打包为生产环境则会失效。
静态路由运行
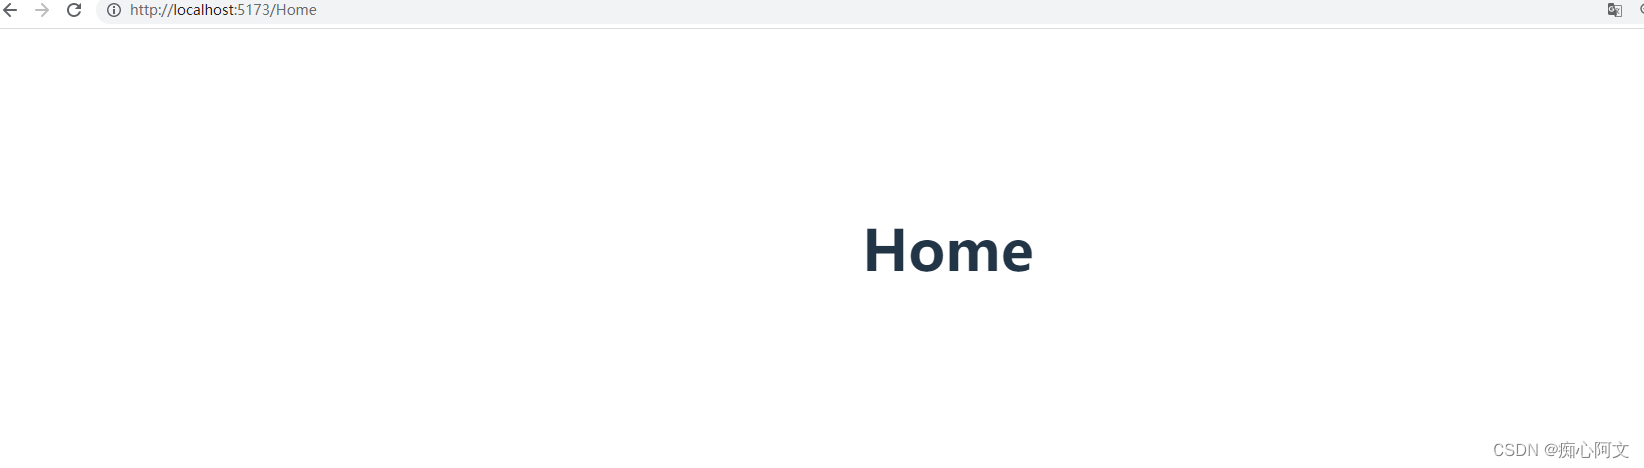
使用此命令运行,vite3默认的运行端口为5173。
npm run dev

或者 输入 localhost:5173
配置动态路由
安装并配置pinia
动态路由数据应由一个公共的地方进行管理,本文选用vue的状态管理器来实现这个功能。pinia是vue新一代的状态管理器,与vuex作用基本相同,但是功能比vuex更加强大。
npm i pinia -S 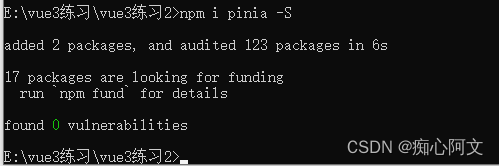
完成基础配置后,需要在mian.ts中引入pinia,需要注意的是,pinia必须在vue-router之后引入
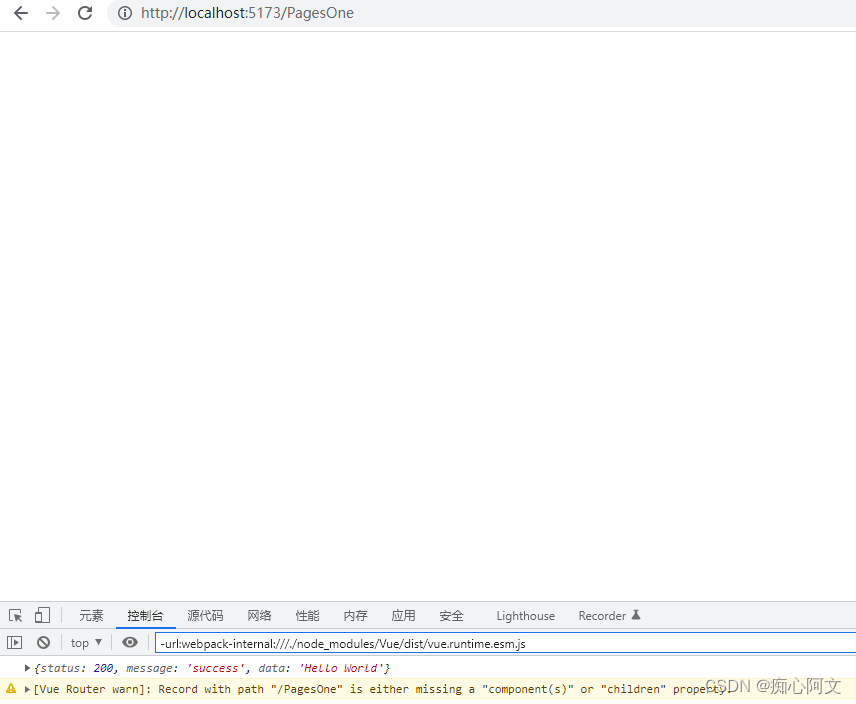
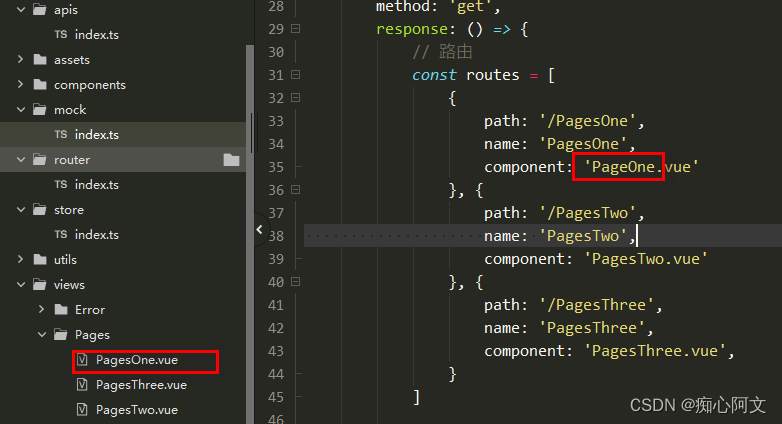
如果出现:
[Vue Router warn]: Record with path "/PagesOne"
is either missing a "component(s)" or "children" property.
仔细检查路径是不是错了
配置路由守卫
路由守卫加载的思路也很简单,假如我们的页面请求路径不是某个指定的路径的时候,我们就在跳转之前先去查询状态管理器中是否存在我们的动态路由,或者该动态路由是否满足我们的跳转要求,如果不满足就请求接口并加载我们的动态路由,并在加载完成后再继续跳转操作。在本项目中,我们的固定页面是Home页面,所以只要我们跳转的不是Home页面,就查询pinia是否存在路由表,如果没有则请求接口获取路由并加载。代码示例如下:
import { RouteRecordRaw, createRouter, createWebHistory } from 'vue-router'
import { useStore } from "../store";
import { GetDynamicRoutes } from '../apis'
// 静态路由表
const routes: Array<RouteRecordRaw> = [
{
// 路由重定向配置
path: '/',
redirect: '/Home'
}, {
path: '/Home',
component: () => import('../views/HomePage.vue')
}
]
// 路由对象
const router = createRouter({
history: createWebHistory(),
routes
})
// 路由守卫
router.beforeEach((to, from, next) => {
if (to.path !== '/Home' && to.path !== '/') {
const store = useStore()
if (store.routes.length < 1) {
GetDynamicRoutes().then(res => {
store.addRoutes(res.data.data, router)
next({ path: to.path, replace: true })
}).catch(_ => {
next()
})
} else {
next()
}
} else {
next()
}
})
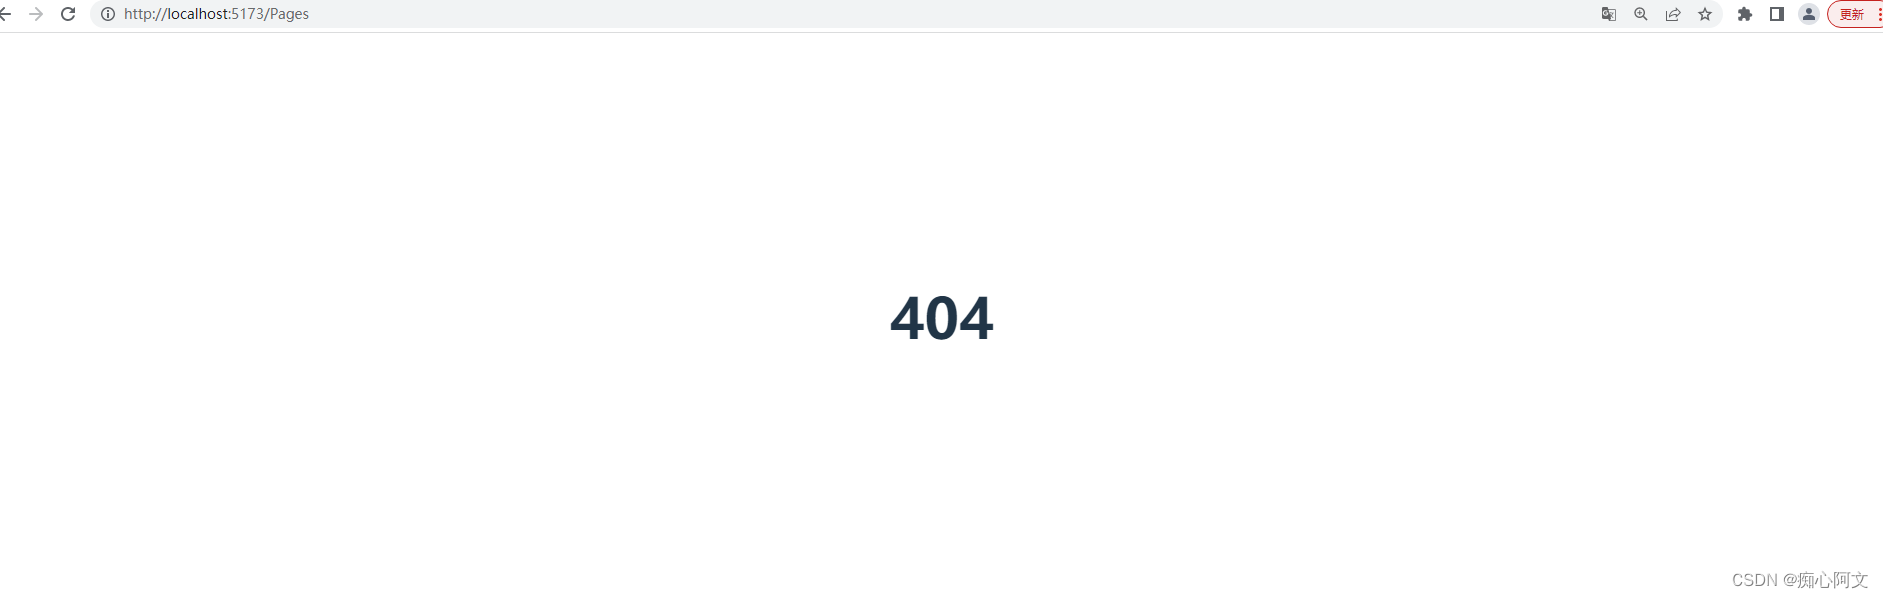
export default router添加一个404页面
<template>
    <h1>404</h1>
</template>/src/router/index.ts:
![]()
import { RouteRecordRaw, createRouter, createWebHistory } from 'vue-router'
import { useStore } from "../store/index";
import { GetDynamicRoutes } from '../apis/index'

// 静态路由表
const routes: Array<RouteRecordRaw> = [
    {
        // 路由重定向配置
        path: '/',
        redirect: '/Home'
    }, {
        path: '/Home',
        component: () => import('../views/Home.vue')
    }, {
        path: '/About',
        component: () => import('../views/About.vue')
    },
        // 404页面配置
	{
	    path: '/:catchAll(.*)',
		component: () => import('../views/Error/404.vue')
	}

]

// 路由对象
const router = createRouter({
    history: createWebHistory(),
    routes
})

// 路由守卫
router.beforeEach((to, from, next) => {
    if (to.path !== '/Home' && to.path !== '/') {
        const store = useStore()
        if (store.routes.length < 1) {

            GetDynamicRoutes().then(res => {
                store.addRoutes(res.data.data, router)
                next({ path: to.path, replace: true })

            }).catch(_ => {
                next()
            })

        } else {
            next()
        }
    } else {
        next()
    }
})

export default router