最近在看数据增强方法时,看到了这个有趣的工具包,研究了下并以yolo数据标注格式为例写了一个示例脚本。
该工具最大的好处是会根据你使用的数据增强方法自动修改标注框信息!
import albumentations as A
import cv2
import os

"""
该脚本主要实现了利用albumentations工具包对yolo标注数据进行增强
给定一个存放图像和标注文件的主目录,在主目录下自动生成增强的图像和标注文件
"""


def get_enhance_save(old_images_files, old_labels_files, label_list, enhance_images_files, enhance_labels_files):

    # 这里设置指定的数据增强方法
    transform = A.Compose([
        # A.RandomCrop(width=450, height=450),
        # A.HorizontalFlip(p=1),
        A.VerticalFlip(p=1),
        A.RandomBrightnessContrast(p=0.2),
    ], bbox_params=A.BboxParams(format='yolo', min_area=1024, min_visibility=0.2, label_fields=['class_labels']))

    # 这里指定修改后image和label的文件名
    mid_name = "_VerticalFlip"

    label_files_name = os.listdir(old_labels_files)

    for name in label_files_name:

        label_files = os.path.join(old_labels_files, name)

        yolo_b_boxes = open(label_files).read().splitlines()

        bboxes = []

        class_labels = []

        # 对一个txt文件的每一行标注数据进行处理
        for b_box in yolo_b_boxes:
            b_box = b_box.split(" ")
            m_box = b_box[1:5]

            m_box = list(map(float, m_box))

            m_class = b_box[0]

            bboxes.append(m_box)
            class_labels.append(label_list[int(m_class)])

        # 读取对应的图像
        image_path = os.path.join(old_images_files, name.replace(".txt", ".png"))
        if os.path.exists(image_path) is False:
            image_path = os.path.join(old_images_files, name.replace(".txt", ".jpg"))

        image = cv2.imread(image_path)
        image = cv2.cvtColor(image, cv2.COLOR_BGR2RGB)

        # 调用上面定义的图像增强方法进行数据增强
        transformed = transform(image=image, bboxes=bboxes, class_labels=class_labels)
        transformed_image = transformed['image']
        transformed_image = cv2.cvtColor(transformed_image, cv2.COLOR_BGR2RGB)
        transformed_b_boxes = transformed['bboxes']
        transformed_class_labels = transformed['class_labels']

        # 先判断目标文件夹路径是否存在
        if os.path.exists(enhance_images_files) is False:
            os.mkdir(enhance_images_files)
        a, b = os.path.splitext(name)
        new_name = a + mid_name + b
        cv2.imwrite(os.path.join(enhance_images_files, new_name.replace(".txt", ".png")), transformed_image)

        if os.path.exists(enhance_labels_files) is False:
            os.mkdir(enhance_labels_files)

        new_txt_file = open(os.path.join(enhance_labels_files, new_name), "w")

        new_bboxes = []

        for box, label in zip(transformed_b_boxes, transformed_class_labels):

            new_class_num = label_list.index(label)
            box = list(box)
            for i in range(len(box)):
                box[i] = str(('%.5f' % box[i]))
            box.insert(0, str(new_class_num))
            new_bboxes.append(box)

        for new_box in new_bboxes:

            for ele in new_box:
                if ele is not new_box[-1]:
                    new_txt_file.write(ele + " ")
                else:
                    new_txt_file.write(ele)

            new_txt_file.write('\n')

        new_txt_file.close()


def main():

    root = r"D:\datasets\T_augmentation"

    old_images_files = os.path.join(root, "images")
    old_labels_files = os.path.join(root, "labels")

    enhance_images_files = os.path.join(root, "enhance_images")
    enhance_labels_files = os.path.join(root, "enhance_labels")

    # 这里设置数据集的类别
    label_list = ["Car", "Plane"]

    # 实现对传入的数据文件进行遍历读取,并进行数据增强
    get_enhance_save(old_images_files, old_labels_files, label_list, enhance_images_files, enhance_labels_files)


if __name__ == '__main__':
    main()
各种示例
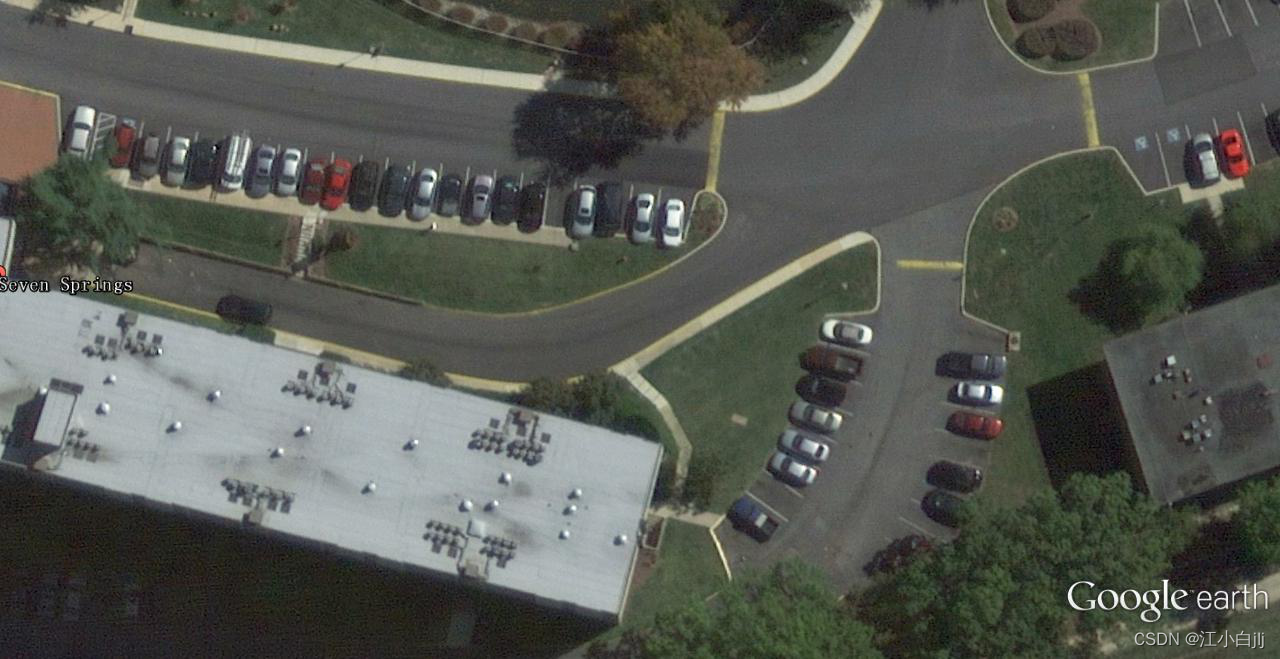
AdvancedBlur(左边为原图,右边为增强图像)
Blur the input image using a Generalized Normal filter with a randomly selected parameters. This transform also adds multiplicative noise to generated kernel before convolution.(使用随机选择参数的广义法线滤波器对输入图像进行模糊处理。这种变换还在卷积之前向生成的内核添加了乘法噪声)

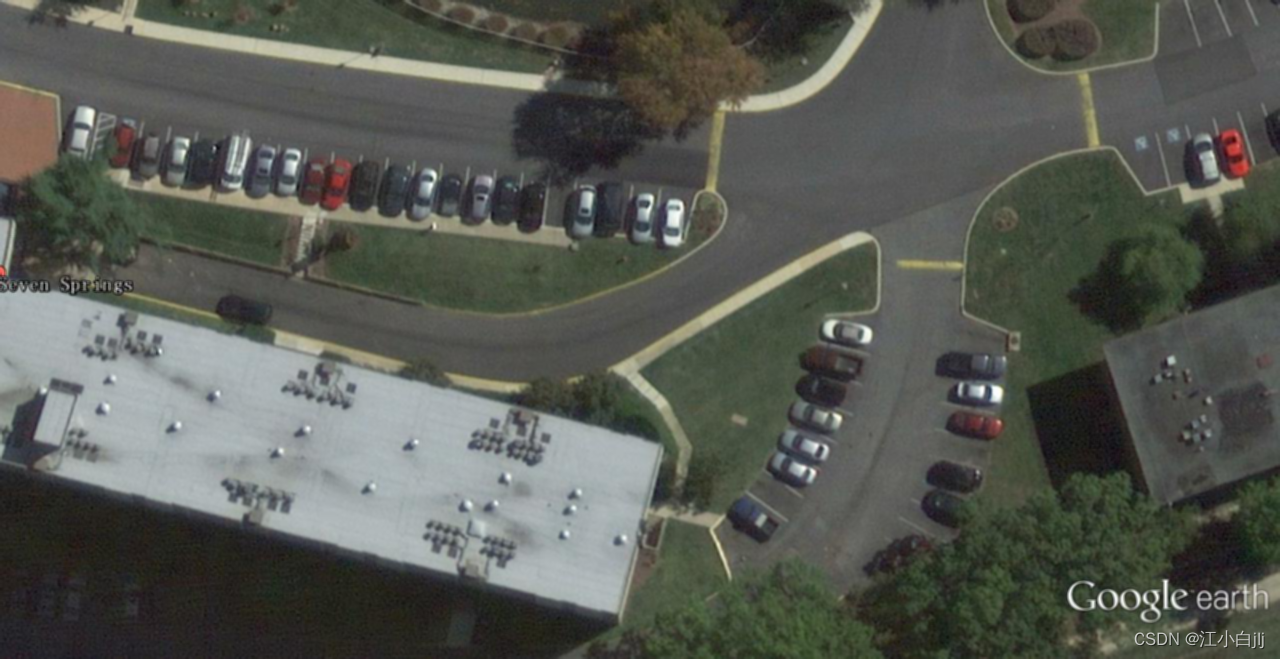
Blur(左边为原图,右边为增强图像)
Blur the input image using a random-sized kernel.
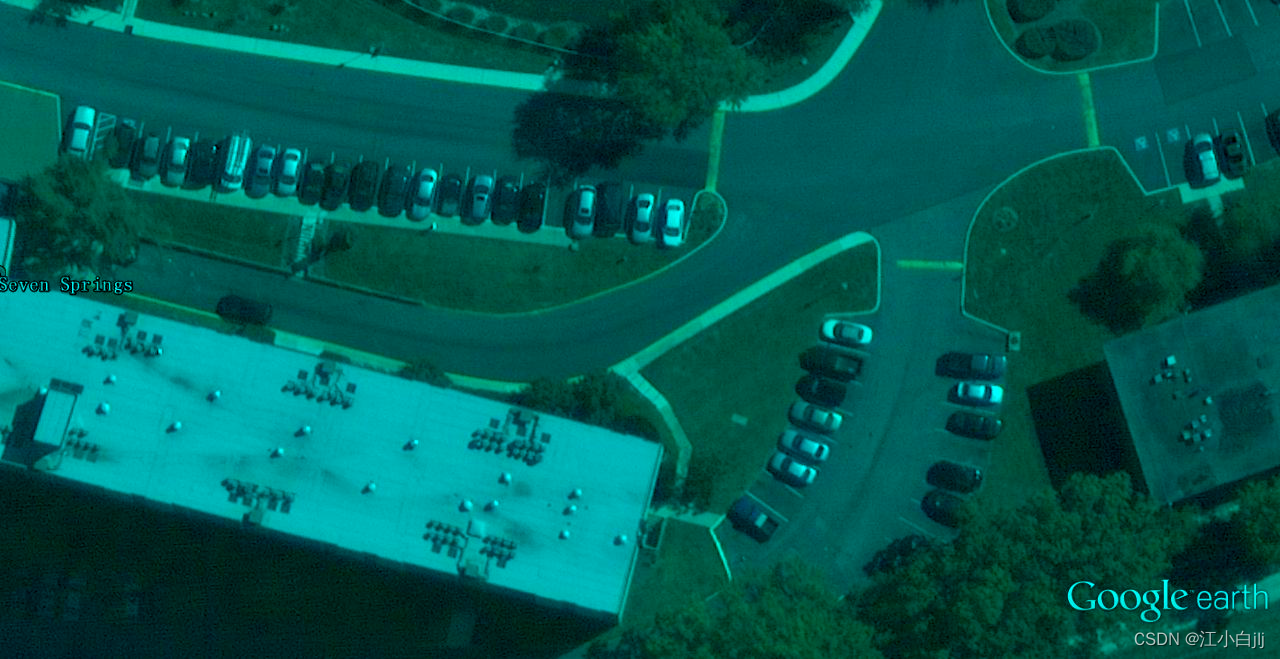
CLAHE(左边为原图,右边为增强图像)
Apply Contrast Limited Adaptive Histogram Equalization to the input image.(对输入图像应用对比度有限的自适应直方图均衡化)


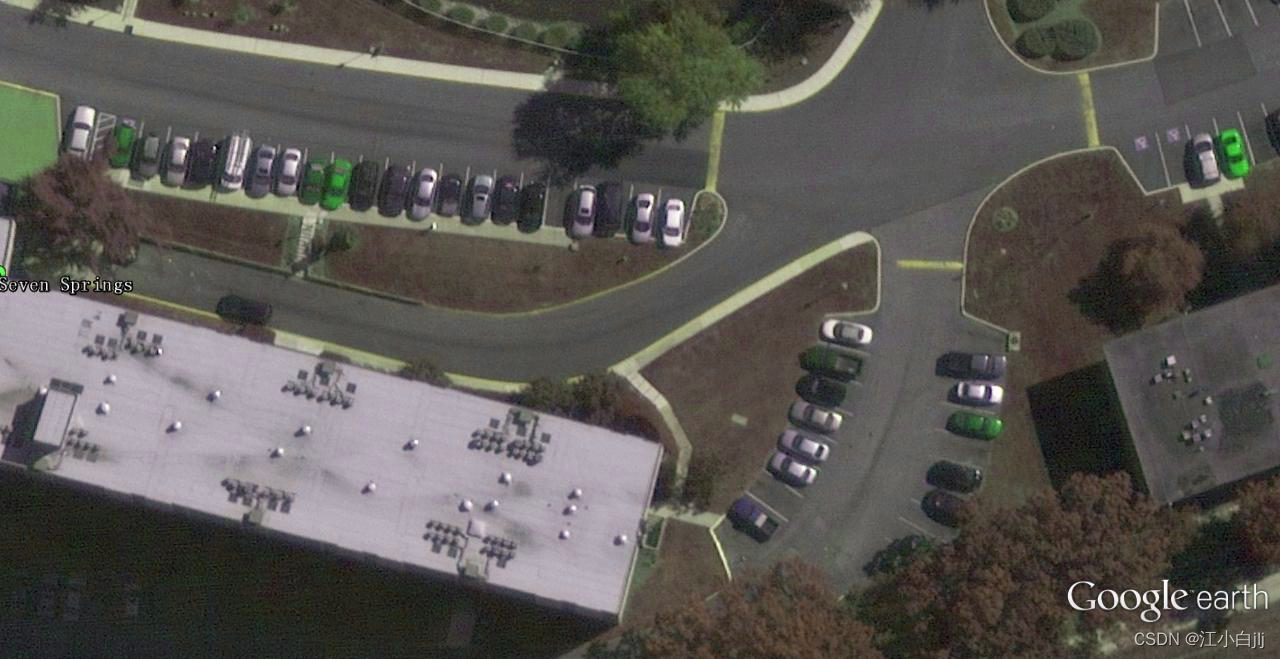
ChannelDropout(左边为原图,右边为增强图像)
Randomly Drop Channels in the input Image.

ChannelShuffle (左边为原图,右边为增强图像)
Randomly rearrange channels of the input RGB image.
ColorJitter(左边为原图,右边为增强图像)
Randomly changes the brightness, contrast, and saturation of an image. Compared to ColorJitter from torchvision, this transform gives a little bit different results because Pillow (used in torchvision) and OpenCV (used in Albumentations) transform an image to HSV format by different formulas. Another difference - Pillow uses uint8 overflow, but we use value saturation.(随机改变图像的亮度、对比度和饱和度。与来自torchvision的ColorJitter相比,这种变换给出了一点不同的结果,因为Pillow(用于torchvision)和OpenCV(用于Albumentations)通过不同的公式将图像转换成HSV格式。另一个区别是--Pillow使用uint8溢出,而我们使用值饱和度)

Defocus(左边为原图,右边为增强图像)
Apply defocus transform.(应用散焦变换)

Downscale(左边为原图,右边为增强图像)
Decreases image quality by downscaling and upscaling back.

Emboss(左边为原图,右边为增强图像)
Emboss the input image and overlays the result with the original image.(对输入的图像进行压印,并将结果与原始图像叠加。)

Equalize(左边为原图,右边为增强图像)
Equalize the image histogram.(对图像直方图进行均衡化)

FancyPCA(左边为原图,右边为增强图像)
Augment RGB image using FancyPCA from Krizhevsky's paper "ImageNet Classification with Deep Convolutional Neural Networks"

Reference:
Bounding boxes augmentation for object detection - Albumentations Documentation