深度学习目标检测-交通标志检测web界面
今天我们一起学习利用flask框架将深度学习检测封装为一个界面系统。该界面是基于之前写的一篇文章的训练模型进行检测:
自动驾驶目标检测项目实战(二)—基于Faster-RCNN的交通标志检测
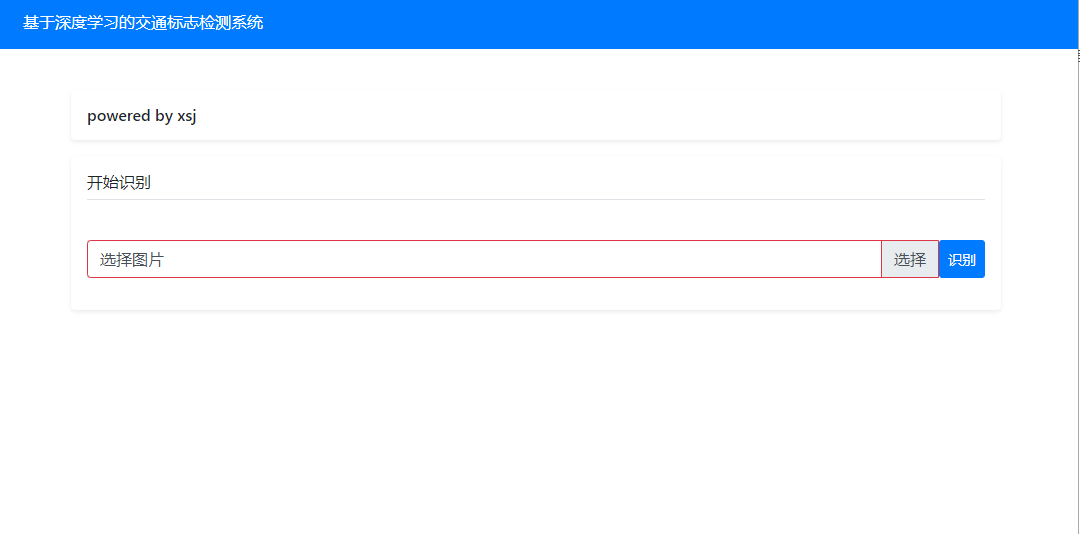
效果
首先看看效果:
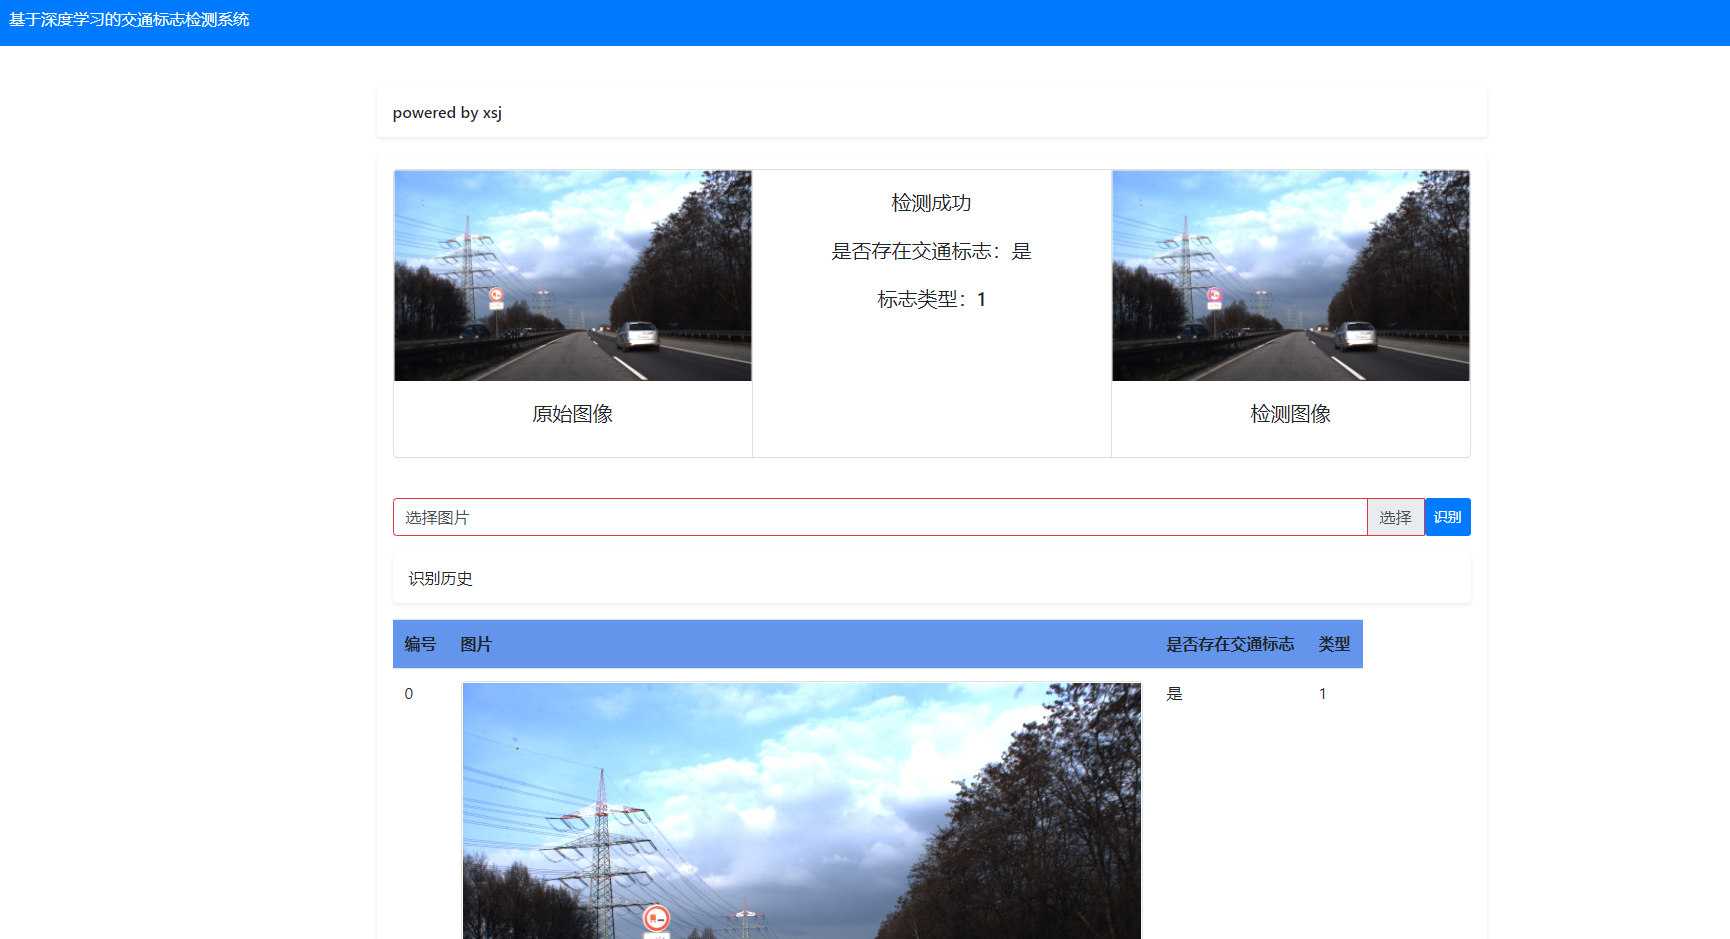
有识别历史记录。
算法流程
参考这些大佬的代码进行训练:
https://github.com/arindam93/Traffic-Sign-Detection-Faster-RCNN
使用Faster-RCNN进行训练,这是一个二分类的问题,也就是检测是否存在交通标志,而未进行分类。
训练完之后,可以得到pickle文件和hdf5文件:

这里选用fcnet,也可选择vgg进行训练。
网页设计
使用Flask框架进行网页的搭建。主要代码如下:
# -*- coding: utf-8 -*-
import os
import uuid
import cv2
from flask import (
    Blueprint, flash, g, redirect, render_template, request, url_for
)
from flask import send_from_directory
from flask_img.db import get_db
import shutil
from test_frcnn import detect_sign # 加载文件函数
import cv2 as cv

table = []  # 识别历史表格
hot = 0 # 编号

bp = Blueprint('main', __name__)

ALLOWED_EXTENSIONS = {

    'png', 'jpg', 'bmp'}
IMAGE_FOLDER = os.path.join(bp.root_path, '..', 'images')
TMP_FOLDER = os.path.join(bp.root_path, '..', 'tmps')
CARD_COLOR = {


    "blue": "蓝色",
    "yello": "黄色",
    "green": "绿色"
}

try:
    shutil.rmtree(IMAGE_FOLDER)
    os.makedirs(IMAGE_FOLDER)
except OSError:
    pass

try:
    shutil.rmtree(TMP_FOLDER)
    os.makedirs(TMP_FOLDER)
except OSError:
    pass


def allowed_file(filename):
    return '.' in filename and filename.rsplit('.', 1)[1].lower() in ALLOWED_EXTENSIONS

@bp.route('/', methods=('GET', 'POST'))
def index():
    if request.method == 'POST':
        if 'defect_image' not in request.files:
            flash('请选择识别文件')
            return redirect(request.url)
        image = request.files['defect_image']
        image_path = ""
        if image.filename == '':
            flash('请选择识别文件')
            return redirect(request.url)
        if not image or not allowed_file(image.filename):
            flash('文件不存在或后缀不合法')
            return redirect(request.url)
        # 原来的文件名写法
        # image_uuid = uuid.uuid4().hex
        # filename = ''.join([image_uuid, '.', image.filename.rsplit('.', 1)[1]])
        # 现在的文件名写法
        filename = image.filename
        image.save(os.path.join(IMAGE_FOLDER, filename))
        result = {

    }
        try:
            db = get_db()
            result = defect_pic(filename, image_path)
            db.execute(
                'INSERT INTO img_info (img_color_contours, img_only_color, barcode_info)'
                ' VALUES (?, ?, ?)',
                (
                    result.get('img_color_contours', ''),
                    result.get('img_only_color', ''),
                    ' '.join(result['text']) if result.get('text') else ''
                )
            )
            db.commit()
            result.update({


                'result': '检测成功'
            })
        except Exception as e:
            flash(e)
            result.update({


                'result': '检测失败'
            })
        return render_template('index.html', result=result)
    return render_template('index.html')

@bp.route('/image/<filename>')
def show_img(filename):
    return send_from_directory(IMAGE_FOLDER, filename)


@bp.route('/tmp/<filename>')
def show_tmp_img(filename):
    return send_from_directory(TMP_FOLDER, filename)


def defect_pic(filename, image_path):
    pic_path = os.path.join(IMAGE_FOLDER, filename)
    res, defect_img = detect_sign(pic_path, filename, "绝对路径")
    has_defect = '否'  # 初始化
    if res > 0:
        has_defect = '是'

    cv2.imwrite(TMP_FOLDER + "/" + "defect_" + filename, defect_img)

    global hot # 设为全局变量
    img_his = cv.imread(pic_path)
    x, y = img_his.shape[0:2]
    cv2.imwrite(IMAGE_FOLDER + "/" + "hot_" + filename, cv.resize(img_his, (int(y / 2), int(x / 2))))

    table.append([hot, '/image/' + "hot_" + filename, has_defect, res])
    hot += 1  # 编号加1

    return {


        'defect': True,
        'img_color_contours': '原始图像',
        'img_color_contours_path': '/image/'+filename,
        'img_only_color': '检测图像',
        'img_only_color_path': '/tmp/'+ "defect_" + filename,
        'has_defect': has_defect,
        'is_defect': res,
        'table': table,
    }
注意
1.该界面适合所有检测目标,只需要更改界面的后台检测算法即可。
2.目前算法可以同时支持检测分类,具体可以看:
深度学习目标检测ui界面-交通标志检测识别
需要代码的请私信我