文章目录
背景
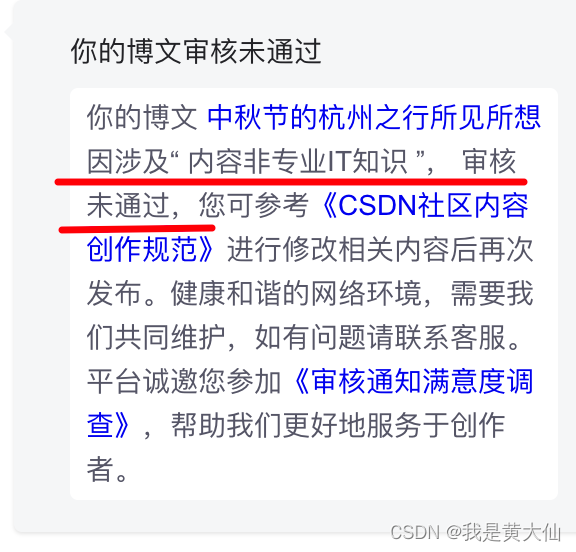
前一阵写了一篇博客《中秋节的杭州之行所见所想》,发布在 csdn 个人博客上,没想到竟然没通过,给出的理由竟然是内容非专业IT知识!好吧,人在屋檐下,不得不低头,所以就想自己搭建一个博客。
其实之前就看到过有大佬们分享的教程,但懒得去弄,这次也尝试自己搭一个,主要就是用 github+hexo 来搭建。
具体步骤
1. 两个仓库
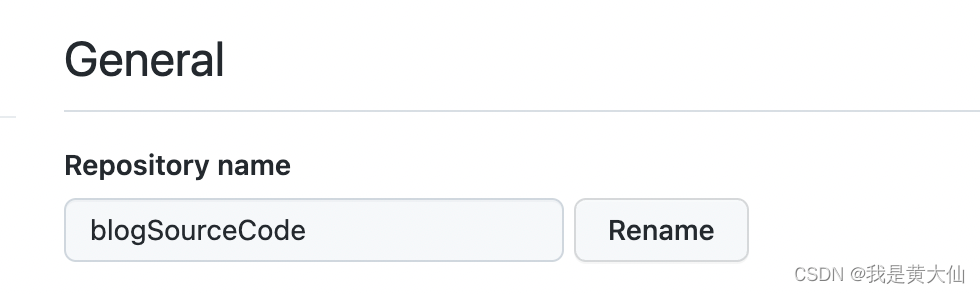
首先我们需要准备两个仓库,一个用于存放博客源码,另一个用于存放生成博客的静态文件。
第一个是存放源码的仓库
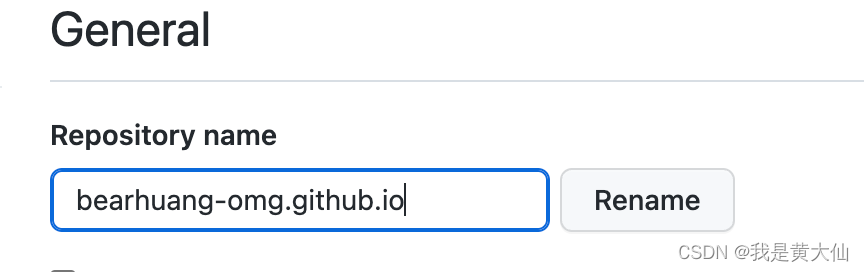
第二个是存放生成静态博客的仓库
这里有一个细节,就是存放静态博客的仓库命名一定要是<用户名>.github.io
否则最后访问的地址就会变成 https://<用户名>.github.io/xxx.github.io
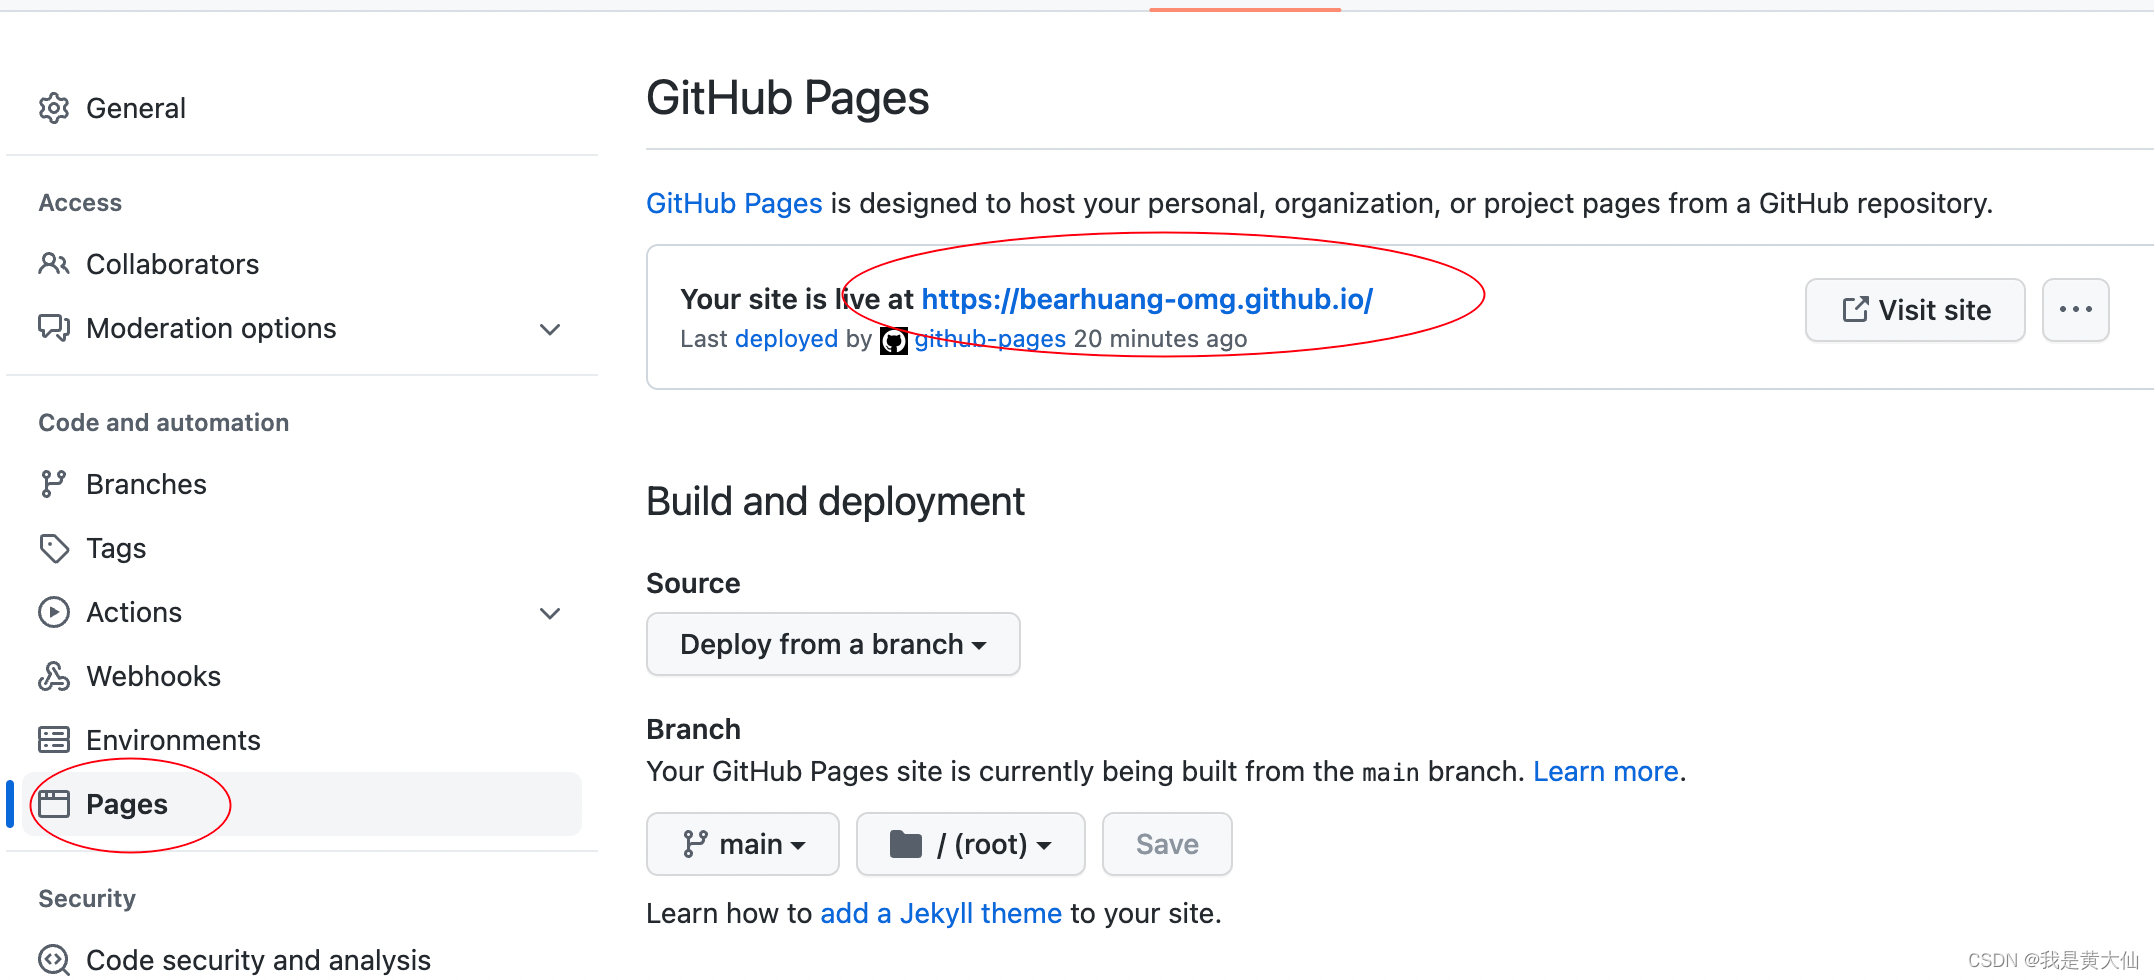
在Pages这一栏,就可以看到我们博客的访问地址了。
2. 本地使用hexo创建博客工程
可参考:https://hexo.io/zh-cn/
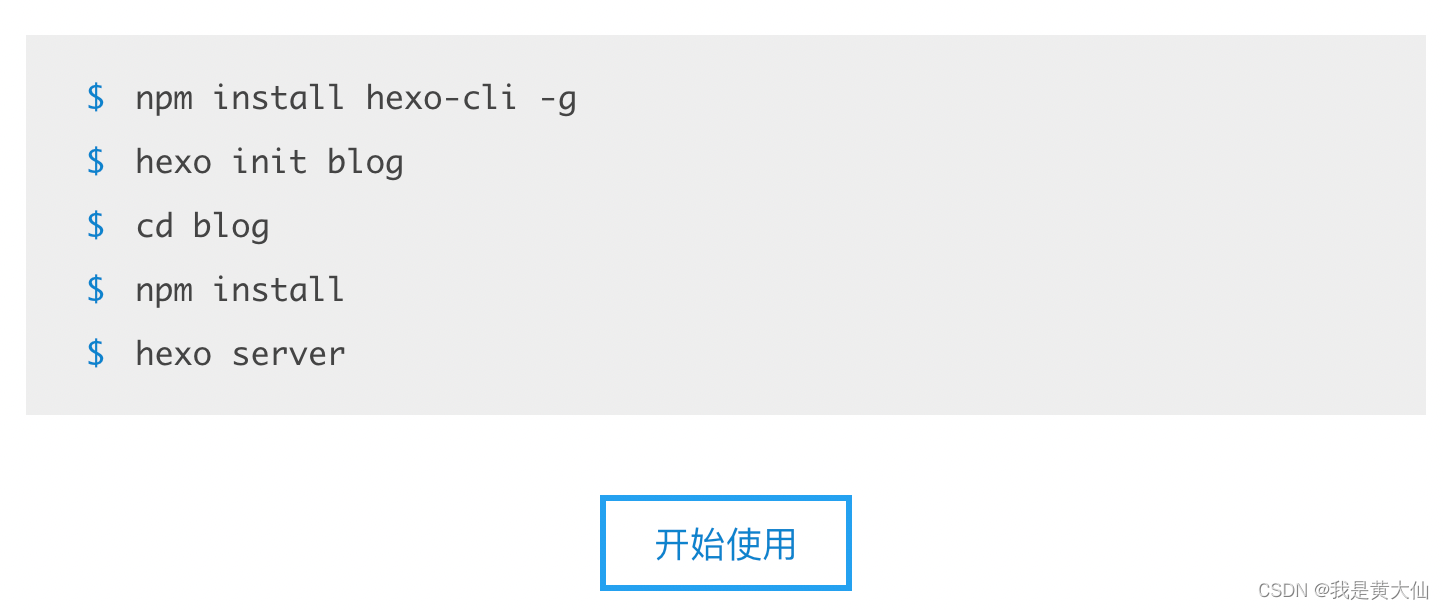
找到一个空目录,执行
hexo init blog

接着,进入到blog目录,执行
npm install
然后执行
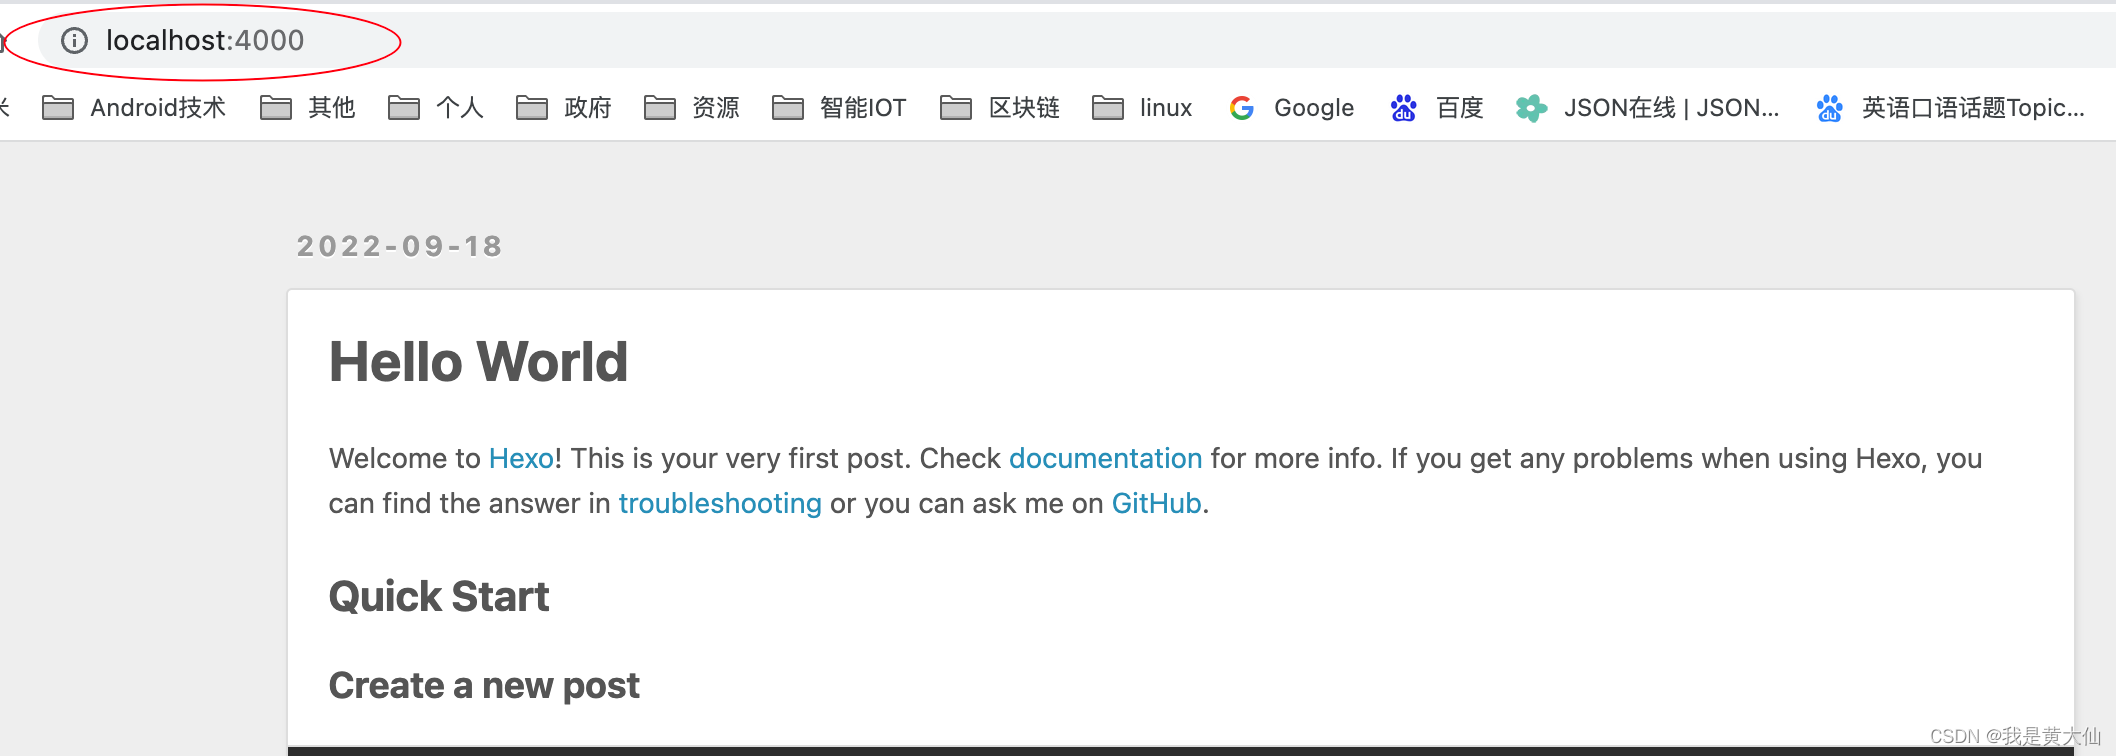
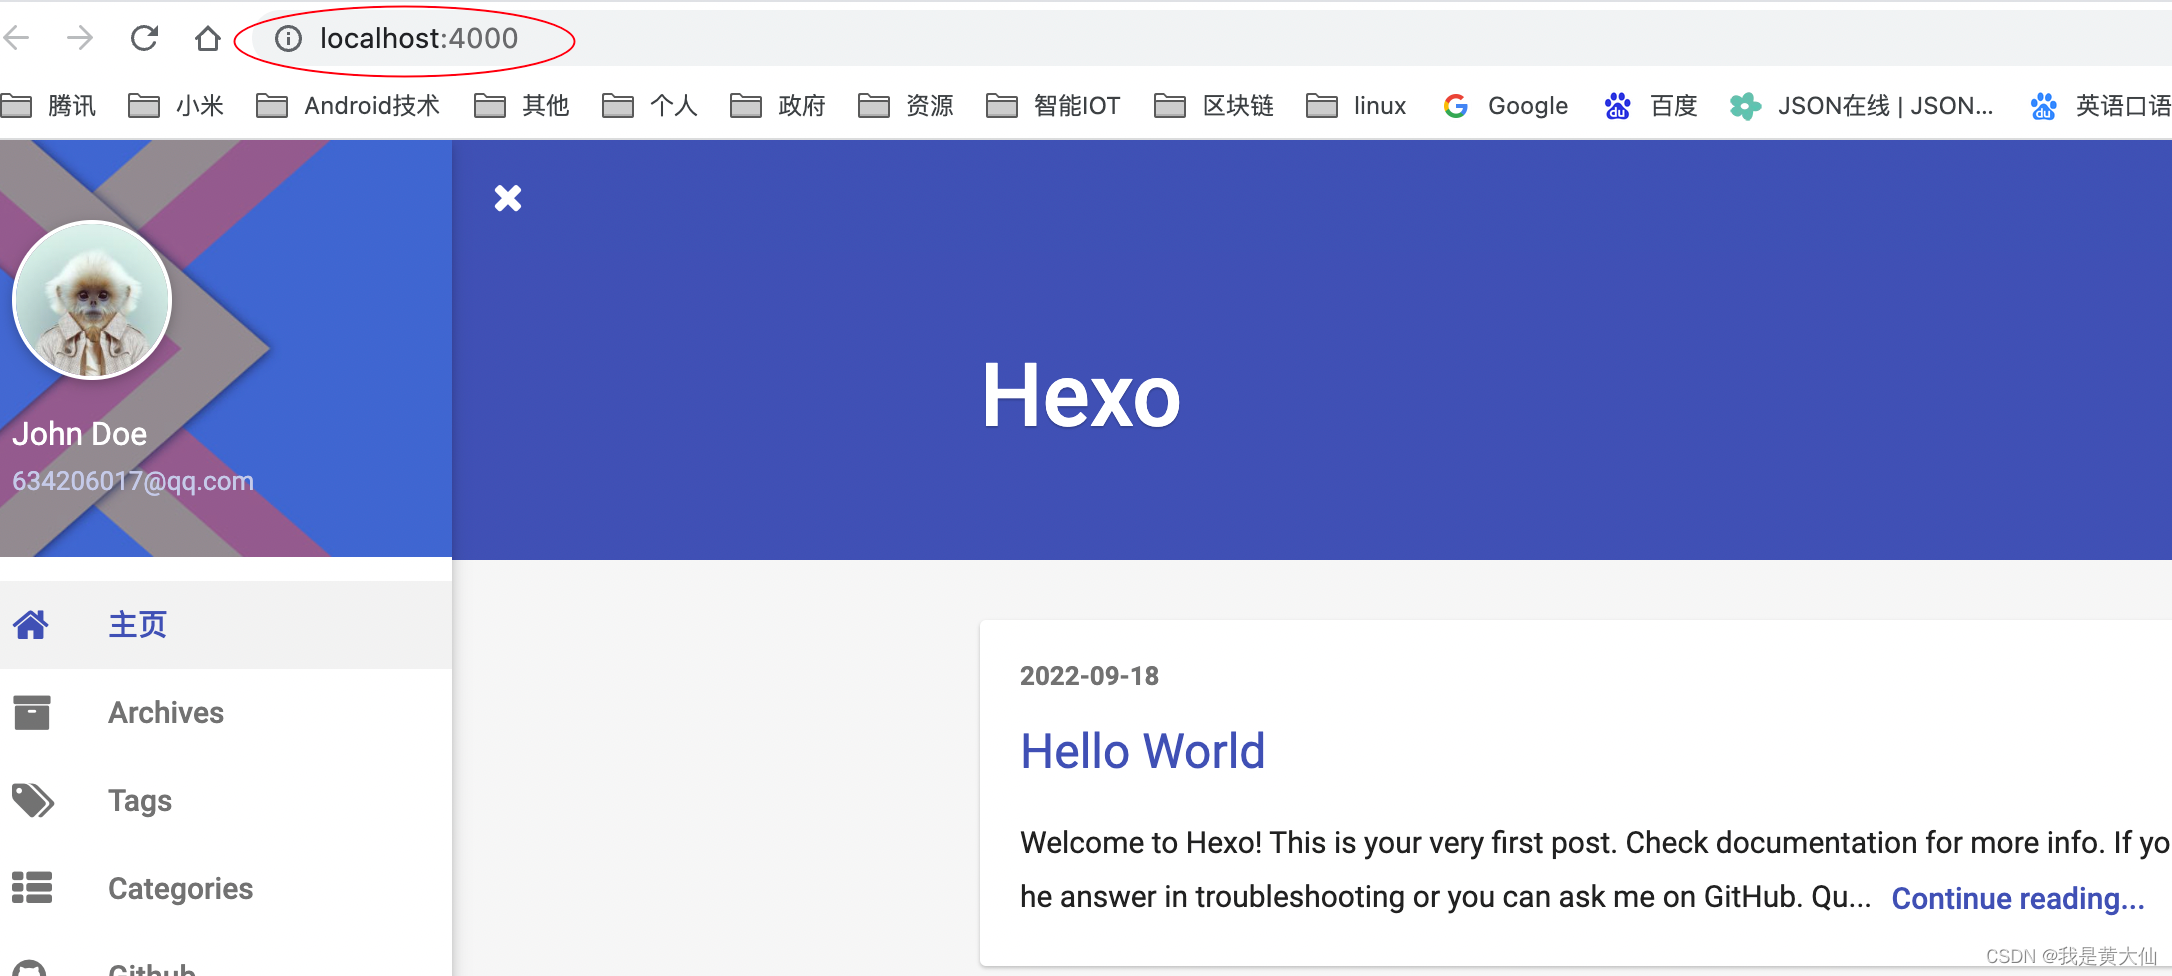
hexo server
就可以在本地开启一个博客系统服务,在浏览器中就能够看到自己的博客系统了。
3. 安装主题
默认的主题不够漂亮,没关系,hexo 提供了非常多的第三方主题
https://hexo.io/themes/
这里我选择安装 indigo 主题。
1)下载主题
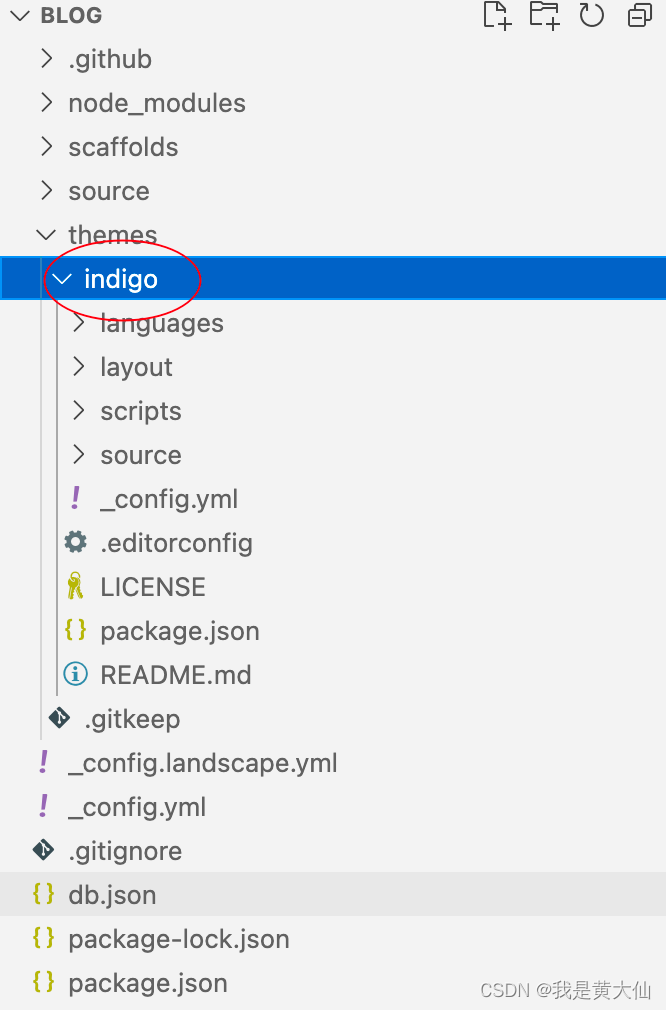
首先在blog根目录下执行
git clone https://github.com/yscoder/hexo-theme-indigo.git themes/indigo
执行完成之后,在 theme 目录下就可以看到 indigo 目录了
2)安装依赖项
npm install hexo-renderer-less --save
npm install hexo-generator-feed --save
npm install hexo-generator-json-content --save
npm install hexo-helper-qrcode --save
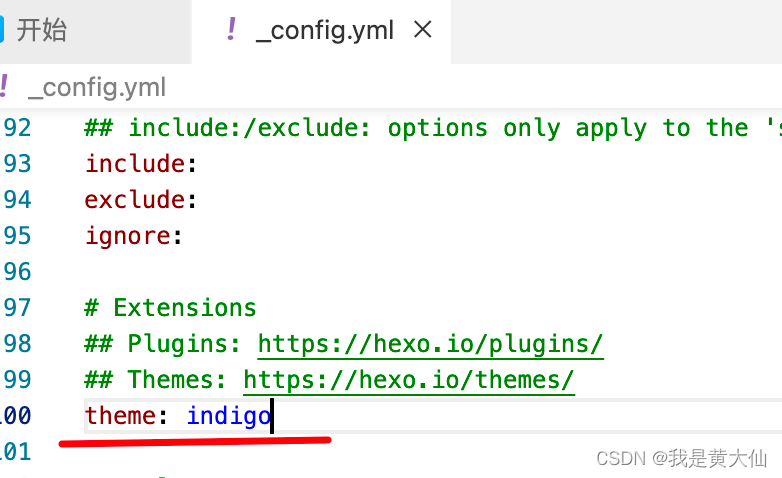
3.)更改主题
在 _config.yml 下面的 theme 项,将主题更改为 indigo 。
然后再执行 hexo server ,发现出错了!
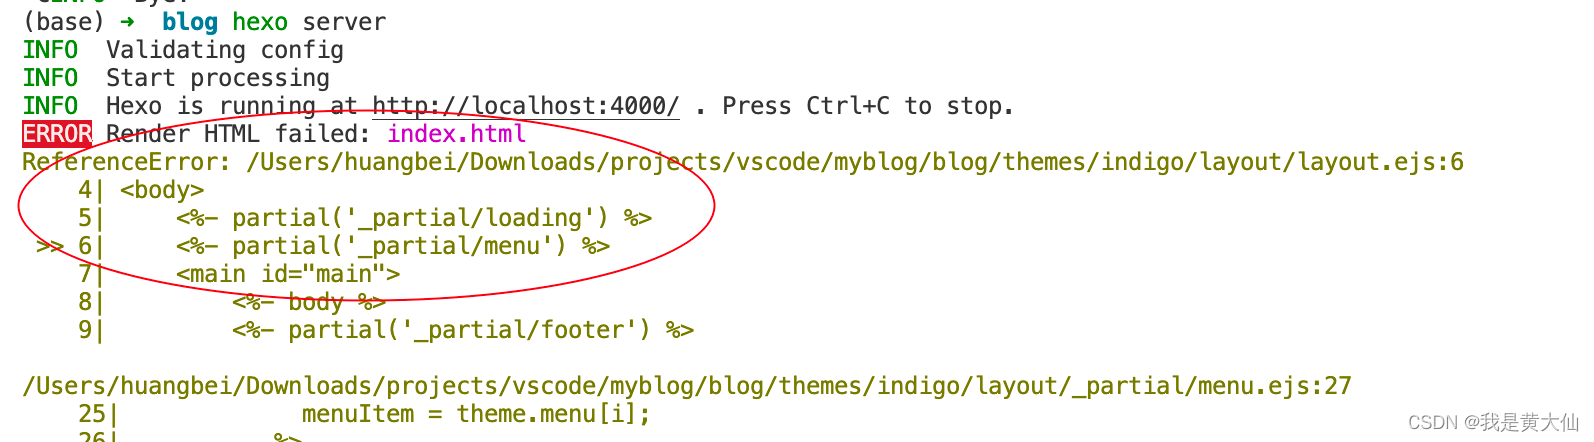
参考这篇博文:https://tangly1024.com/article/hexo-install-indigo
需要我们安装 lodash
npm install lodash
然后修改 /node_modules/hexo/lib/hexo/index.js 当中的代码
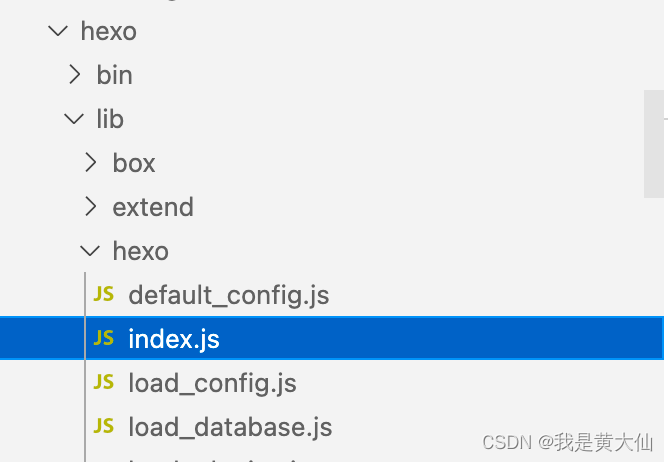
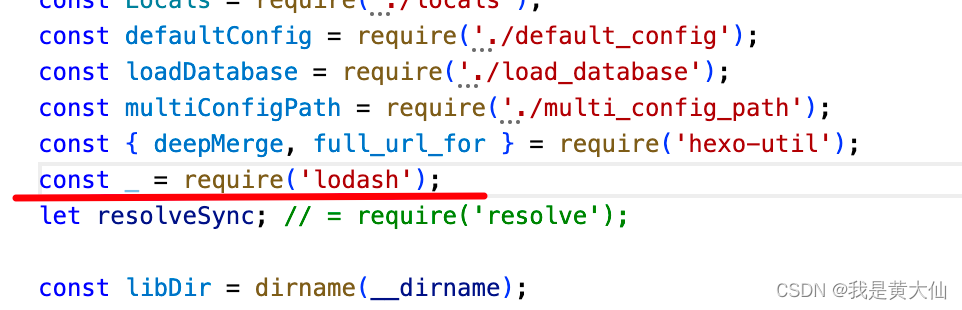
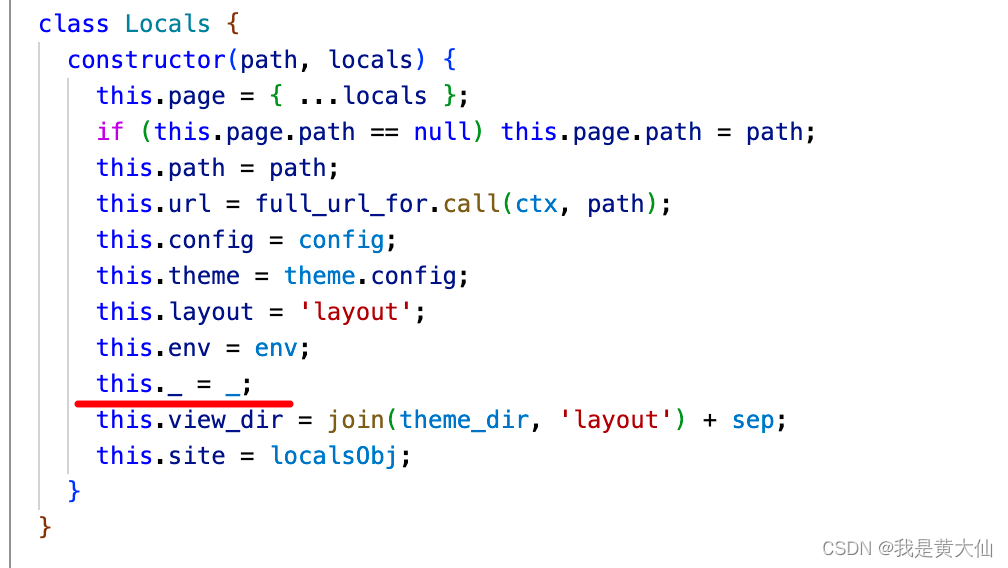
增加如下两行代码:
const _ = require('lodash');
this._ = _;
重新执行 hexo server ,打开已经可以了。
这样我们本地的博客系统就已经搭建好了!
4. 发布
1)将博客源码push到blogSourceCode仓库

2)配置发布
在deploy下配置我们的博客地址

生成博客静态文件
hexo generate
发布博客
hexo deploy
接着我们访问博客的地址,发现已经能正常访问了

发布第一篇博客
1)创建一篇博客
执行命令
hexo new "first post"
会生成 first-post.md 文件
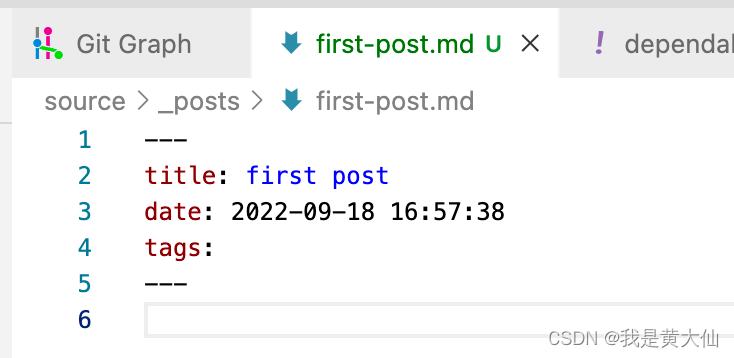
我们随便编辑一下
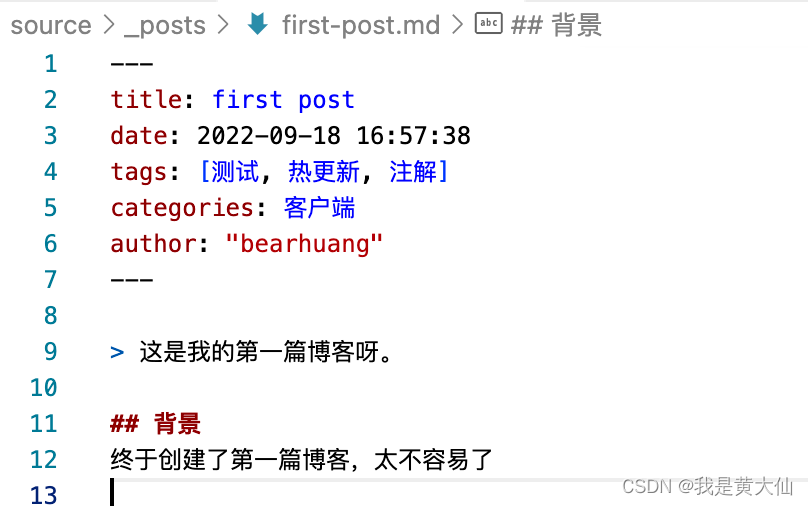
执行
hexo server
预览,发现已经可以了
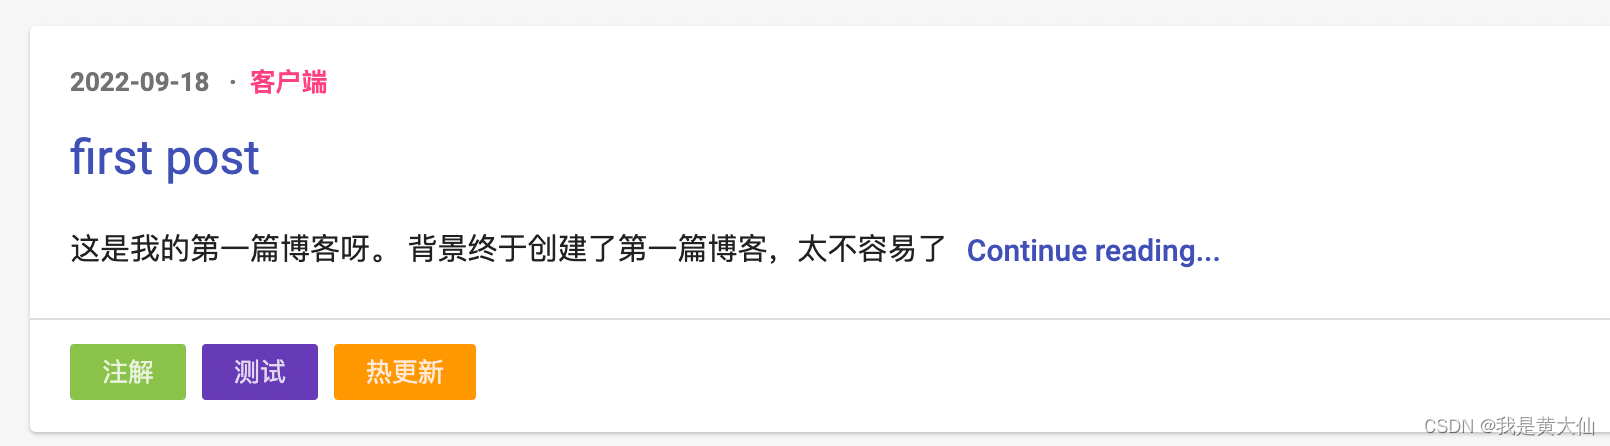
2)发布
同样执行以下两条指令
hexo generage
hexo deploy
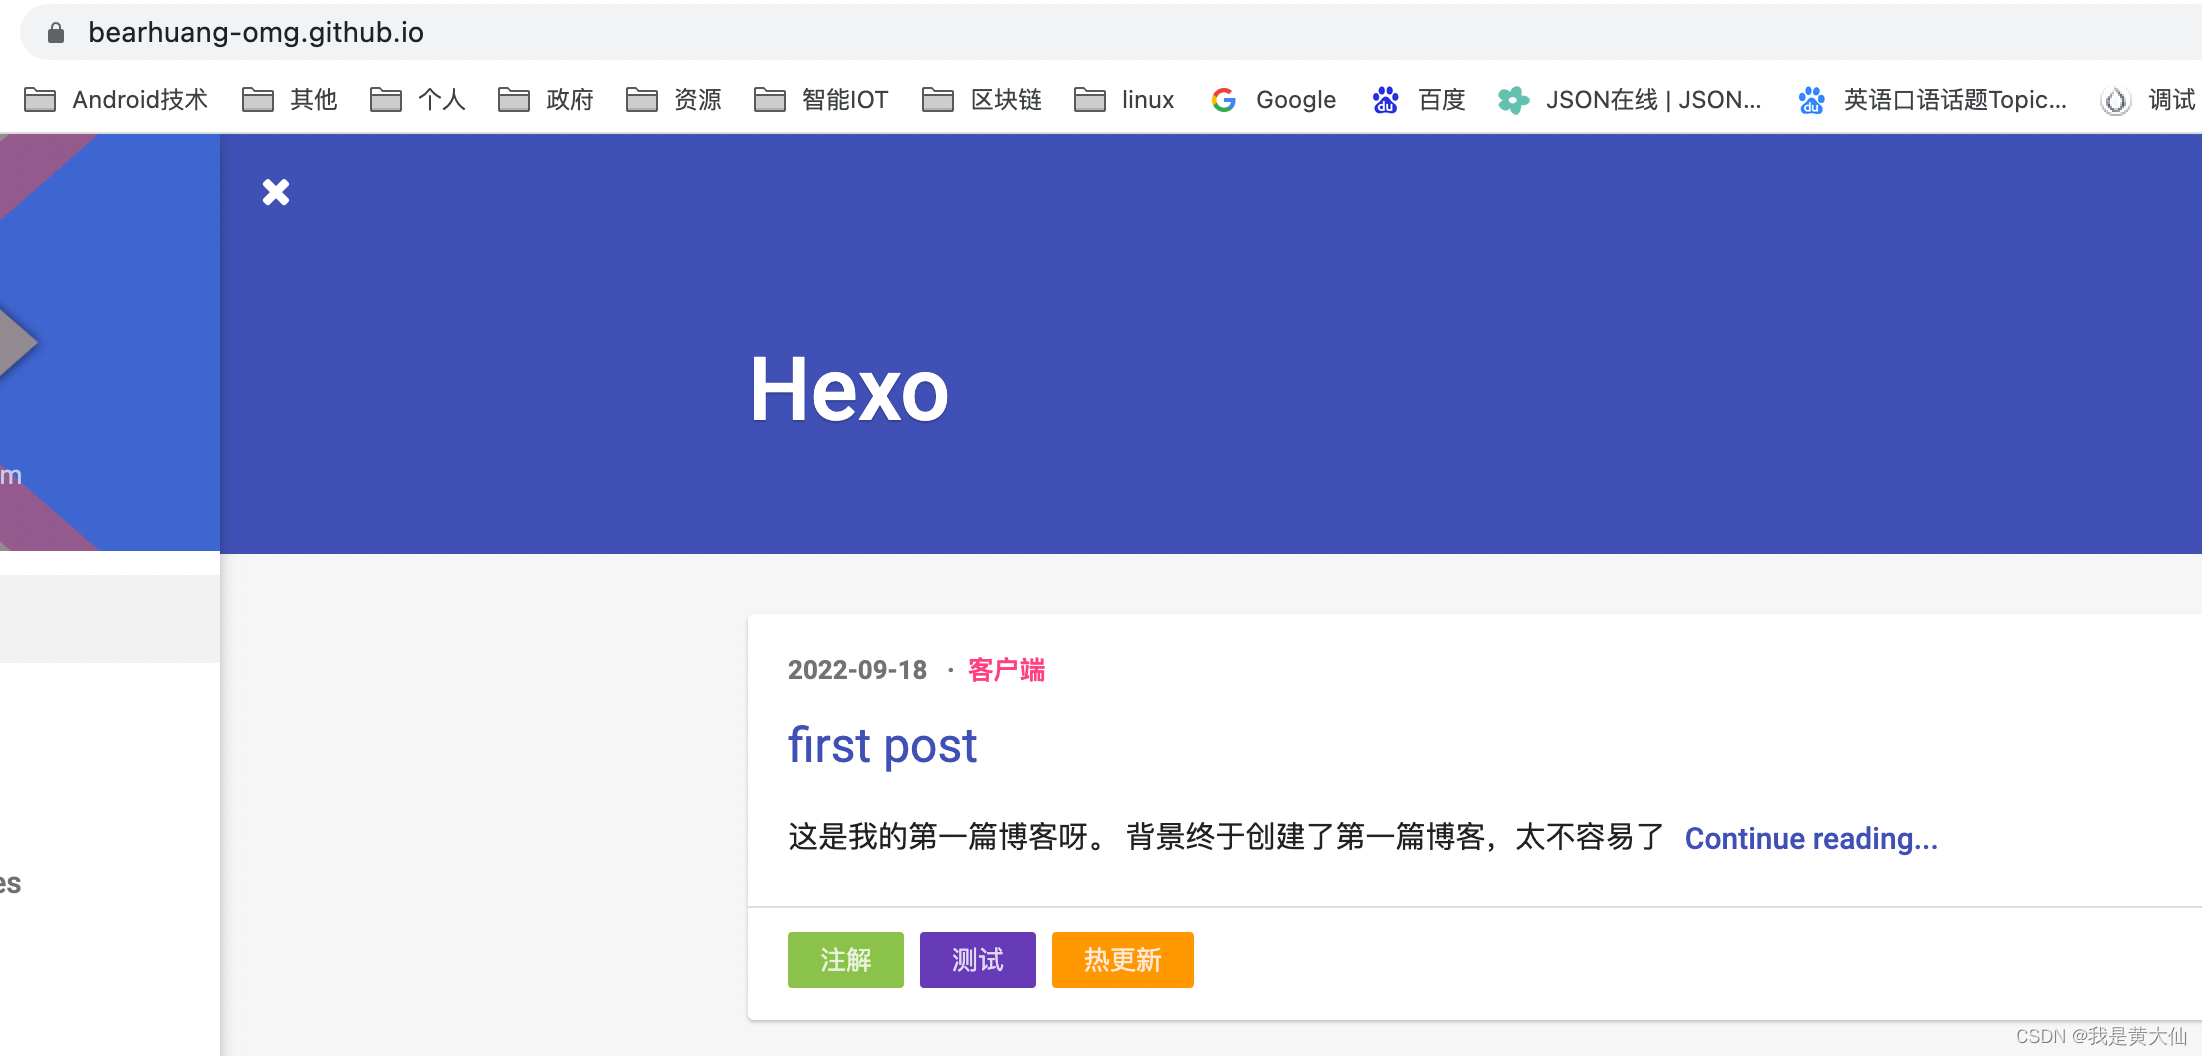
然后我们再打开博客地址,发现文章已经更新了
一些tips
1)创建分类和标签
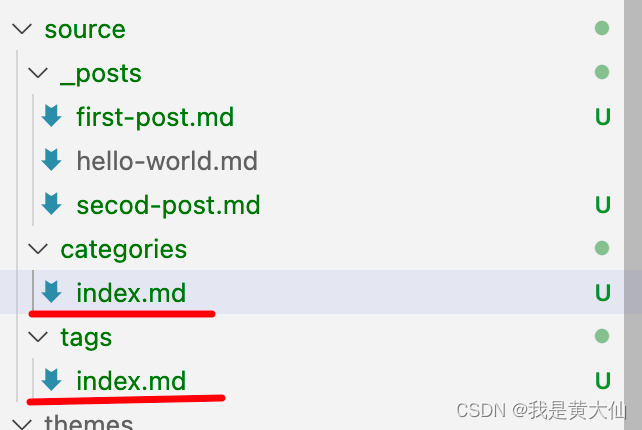
 hexo new page categories
 hexo new page tags
执行完了之后,会在source/categories和source/tags下面分别生成index.md文件
将其修改成
---
layout: tags
comments: false
---
和
---
layout: categories
comments: false
---
这样,在文章当中使用tag和categories关键字就可以分类了。
2) 文章不能显示
用markdown写的文章不能显示,需要安装对应包,可以参考下我安装的配置
{


  "name": "hexo-site",
  "version": "0.0.0",
  "private": true,
  "scripts": {


    "build": "hexo generate",
    "clean": "hexo clean",
    "deploy": "hexo deploy",
    "server": "hexo server"
  },
  "hexo": {


    "version": "4.2.1"
  },
  "dependencies": {


    "hexo": "^4.2.1",
    "hexo-deployer-git": "^3.0.0",
    "hexo-generator-archive": "^1.0.0",
    "hexo-generator-category": "^1.0.0",
    "hexo-generator-feed": "^3.0.0",
    "hexo-generator-index": "^2.0.0",
    "hexo-generator-json-content": "^4.2.3",
    "hexo-generator-tag": "^1.0.0",
    "hexo-renderer-ejs": "^2.0.0",
    "hexo-renderer-less": "^4.0.0",
    "hexo-renderer-markdown-it": "^3.4.1",
    "hexo-renderer-marked": "^5.0.0",
    "hexo-renderer-stylus": "^2.1.0",
    "hexo-server": "^3.0.0",
    "hexo-theme-landscape": "^0.0.3",
    "lodash": "^4.17.21",
    "markdown-it-emoji": "^1.4.0",
    "markdown-it-footnote": "^3.0.1",
    "markdown-it-mathjax": "^2.0.0"
  }
}