目录
Springboot+ajax上传文件+ajax异步上传文件实现上传头像以及回显功能
这是我第一次在CSDN上分享自己的一些学习成果,这次我想分享一些关于头像上传功能自己的一些想法。大家有什么不同的想法欢迎下面评论。
实现功能的步骤
大体可以分为两大步骤:
1.选择图片,确定之后图片回显。
2.上传提交。
图片回显功能实现
关于表单的前端代码我就不在这里进行展示了,代码都有详细的注解。
 <form id="form1" th:action="@{/insertUser}" method="post"  enctype="multipart/form-data">
                    <div class="login100-form-avatar">
                        <img id="img1" src="img/no.jpg" alt="AVATAR">
                    </div>
                        <a href="javascript:;" class="file">选择头像
                      <input type="file" name="upload" onchange="test()"> //当改变的时候触发test()方法。
                      <button class="login100-form-btn" type="submit" >注  册</button>
                </form>

大家不要在意这个前端的from表单,重要的是,放一个用于回显图片的<img/>。
//这个方法就是ajax异步上传,test()方法
//想要ajax,记得提前导入jQuery的js文件
<script type="text/javascript">
        function test(){
            var formData = new FormData($("#form1")[0]); //form1为表单的id
            $.ajax({
                url: "ajaxUpload",
                type: "POST",
                data: formData,
                async: false,  //异步关闭,同步完成,保证回显图片
                contentType: false,
                processData: false,
                success: function (data) {
                    document.getElementById("img1").src=data;
                    //成功回调函数把<img/>的src属性进行改变
                },
                error: function (XMLHttpRequest) {
                    alert(XMLHttpRequest.status);
                }
            });
        }
    </script>
//这里是ajaxUpload请求的代码
       //  图片回显,
         //    首先要把前端异步ajax上传的图片进行判断(是否为图片)
           //  其次要考虑不同浏览器导致上传图片的名字不同问题
           //我下面的代码只考虑了Edge浏览器的特殊性
@RequestMapping("/ajaxUpload")
    @ResponseBody
    public String ajaxUpload(@RequestParam("upload") MultipartFile file, HttpServletRequest request) throws Exception
    {
        //获取图片的名字
        String imgName=file.getOriginalFilename();
        //获取Mime类型,验证是否为图片类型
        String mimeType = request.getServletContext().getMimeType(imgName);
        if(mimeType==null || !mimeType.contains("image")){
            return "img/no.jpg";  //不是图片,直接返回默认图片
        }

        //判断当前请求来源于哪个浏览器
        String header = request.getHeader("User-Agent");  //   获取浏览器的信息
        if(header.contains("Edge")){
        //Edge浏览器返回的图片名字是绝对路径,所以我们要把图片名字提取出来
            imgName=imgName.substring(imgName.lastIndexOf('\\')+1, imgName.length());
        }
        //临时存放图片的路径
        String fileName="D:/qqProjectImage/shortTime_img/";
        //给图片名字加个防止重复的前缀
        imgName=UUID.randomUUID().toString().replace("-","")+"_"+imgName;
        //定义文件
        File newFile=new File(fileName,imgName);
        //清空文件的内容,因为是临时文件
        //这次用到了工具类清理文件,代码下面可见
        delAllFile(newFile.getParentFile().getPath());

        //检测文件夹是否存在
        if (!newFile.getParentFile().exists()) {
            newFile.getParentFile().mkdirs();
        }
        //返回给前端的地址
        //之所以返回这个地址,因为我配置了资源重定向,下面代码可见
        String path="/shortTime_img/"+imgName;
        //图片上传到文件中
        file.transferTo(newFile);
        return path;
    }
springboot资源重定向配置
@Configuration
public class MyMvcConfig implements WebMvcConfigurer {

    //资源重定向
    @Override
    public void addResourceHandlers(ResourceHandlerRegistry registry) {
        registry.addResourceHandler("/shortTime_img/**").
                addResourceLocations("file:/" + "D:/qqProjectImage/shortTime_img/");
        registry.addResourceHandler("/longTime_img/**").
                addResourceLocations("file:/" + "D:/qqProjectImage/longTime_img/");
    }
}
工具类
public class FileUtils {

//此方法可以清空文件
    public static boolean delAllFile(String path) {
        boolean flag = false;
        File file = new File(path);
        if (!file.exists()) {
            return flag;
        }
        if (!file.isDirectory()) {
            return flag;
        }
        String[] tempList = file.list();
        File temp = null;
        for (int i = 0; i < tempList.length; i++) {
            if (path.endsWith(File.separator)) {
                temp = new File(path + tempList[i]);
            } else {
                temp = new File(path + File.separator + tempList[i]);
            }
            if (temp.isFile()) {
                temp.delete();
            }
            if (temp.isDirectory()) {
                delAllFile(path + "/" + tempList[i]);//先删除文件夹里面的文件
                flag = true;
            }
        }
        return flag;
    }
}
头像上传
大家知道怎么图片回显了,以及一系列的图片存储以及资源重定向后,我相信头像上传就再也简单不过了。可以参考上述的请求写法。这里就不做过多的介绍了。
下面给大家展示效果

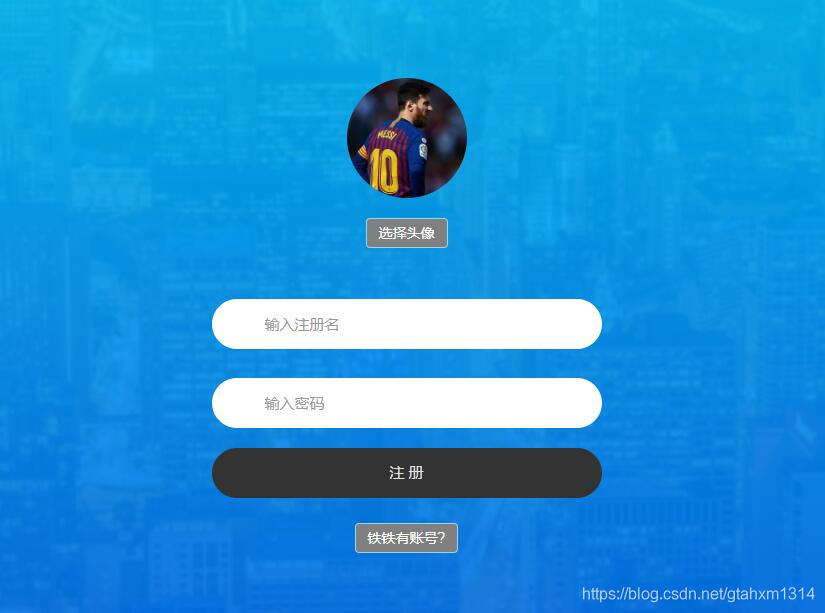
总结
  大家有什么提议欢迎提出来,大家一起学习进步。有什么问题也可以提出来。

 下一篇:长轮询和短轮询实现好友实时聊天,希望大家多关注哦!