vue3之动态路由
后端返回的数据结构如下图

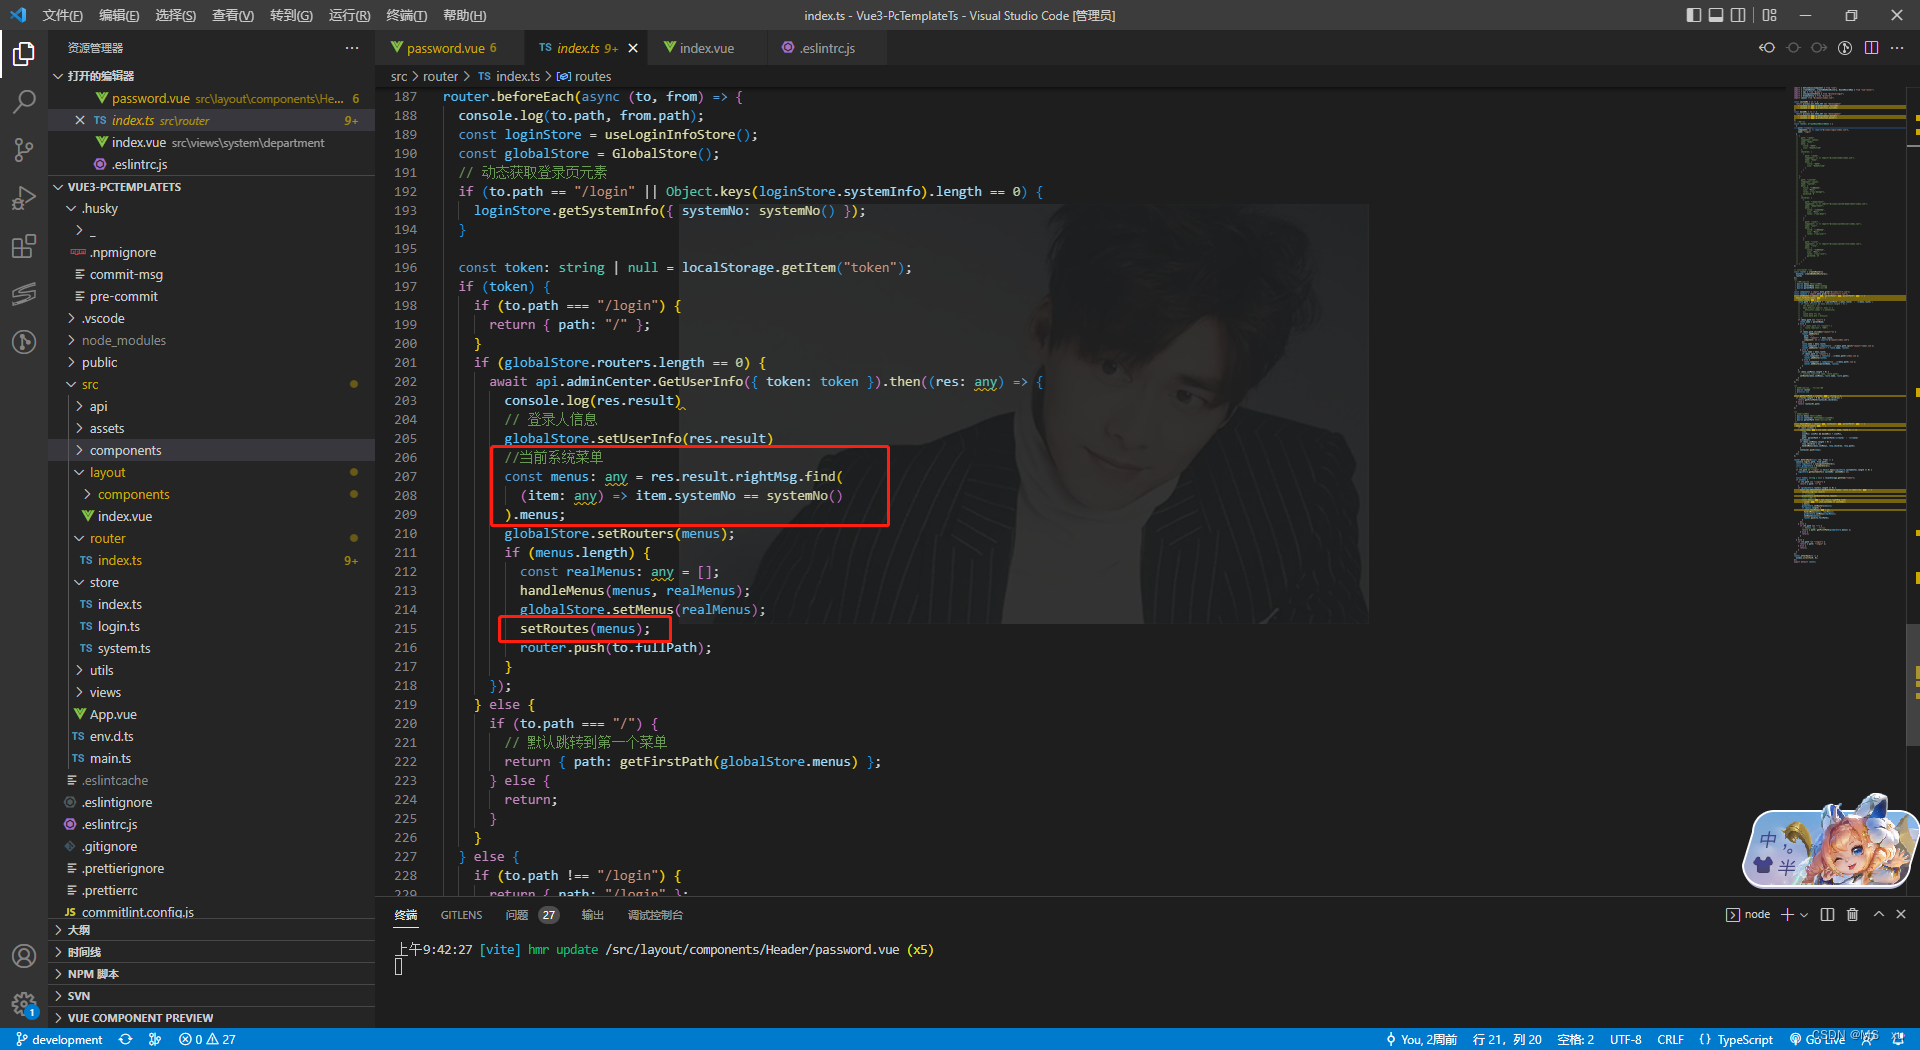
修改router的index.ts文件
menus为拿到的数据,在setRoutes方法中组装路由
方法代码自取
/**
- 设置动态路由
- @param menus 接口菜单数据
- @param parentName 父级路由名称
- @param parentPath 父级路由路径
/
const components = import.meta.glob("@/views/**/.vue");
const layouts = import.meta.glob(“@/layout/**/*.vue”);
const setRoutes = (menus: any, parentName?: any, parentPath?: any) => {
menus.forEach((menu: any) => {
const route: any = {};
route.path = parentPath ?${parentPath}/${menu.route}:/${menu.route};
if (menu.path === “null”) {
route.name = parentName;
} else {
if (menu.path.includes(“layout/”)) {
router.addRoute({
path: “/”,
name: “layout-” + menu.route,
component: () => import(“@/layout/index.vue”)
});
route.name = menu.route;
route.component = components[../${menu.path.split("layout/")[1]}.vue];
router.addRoute(“layout-” + route.name, route);
} else {
route.name = menu.route;
if (menu.path == “layout”) {
route.component = layouts[../${menu.path}/index.vue];
router.addRoute(route);
} else {
route.component = components[../${menu.path}.vue];
router.addRoute(parentName, route);
}
}
}
if (menu.sonMenus.length > 0) {
// console.log(route.name, route.path);
setRoutes(menu.sonMenus, route.name, route.path);
}
});
};