虚拟机安装openwrt镜像
第一步 下载镜像
先下载openwrt镜像
附链接 https://downloads.openwrt.org/releases/19.07.0/targets/x86/64/openwrt-19.07.0-x86-64-combined-ext4.img.gz
wget https://downloads.openwrt.org/releases/19.07.0/targets/x86/64/openwrt-19.07.0-x86-64-combined-ext4.img.gz
第二步 解压
gunzip openwrt-19.07.0-x86-64-combined-ext4.img.gz
解压压缩包为 openwrt-19.07.0-x86-64-combined-ext4.img
第三步 转换镜像格式
使用qemu工具将img镜像包转成VMware识别的格式
qemu-img convert -f raw -O vmdk openwrt-19.07.0-x86-64-combined-ext4.img openwrt-19.07.0-x86-64-combined-ext4.vmdk
如果没有qemu工具 需要先安装qemu
apt install qemu-utils
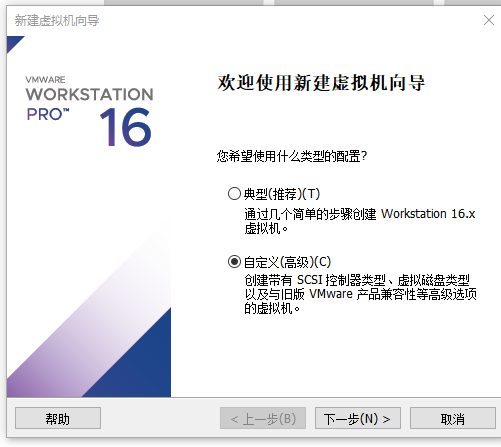
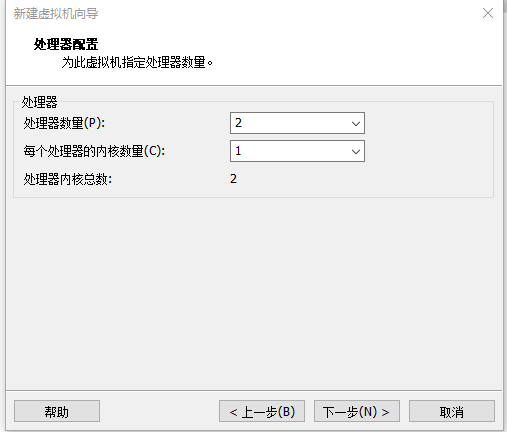
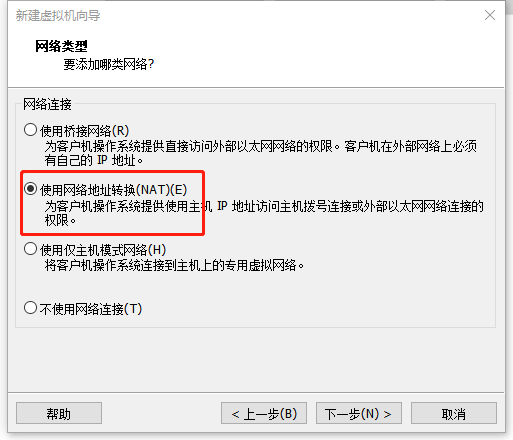
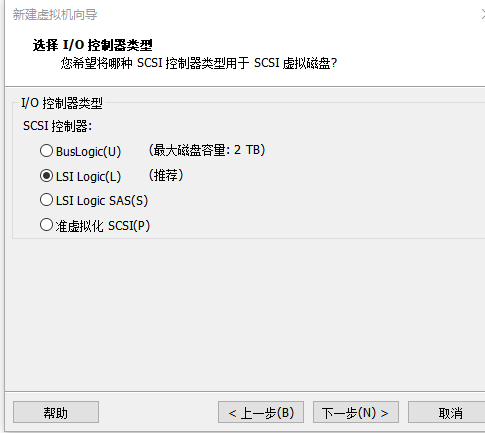
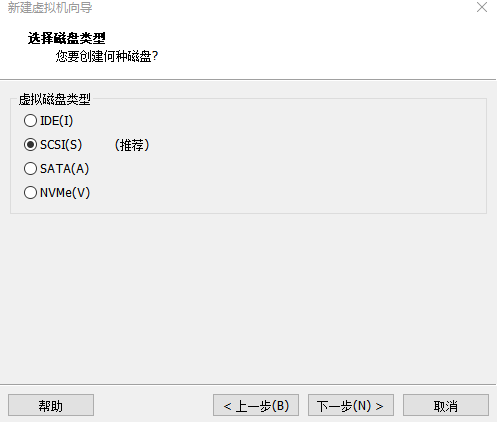
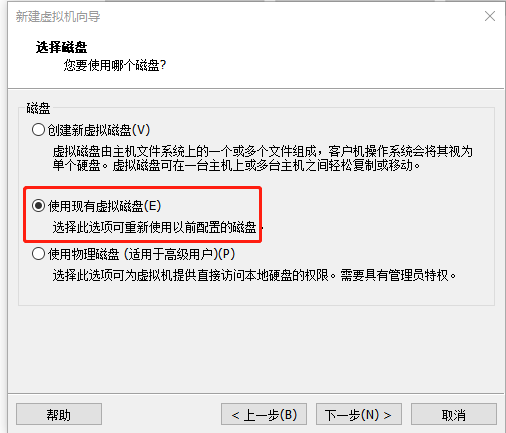
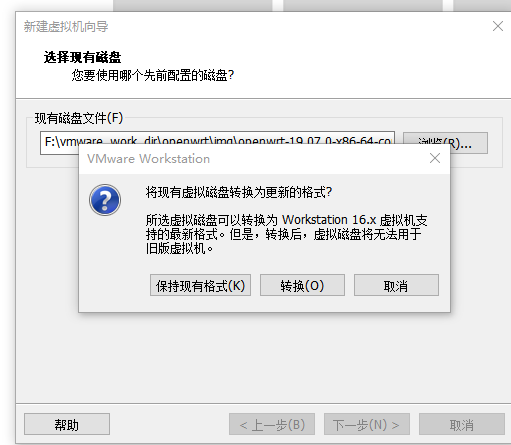
第四步 在VMware安装vmdk镜像

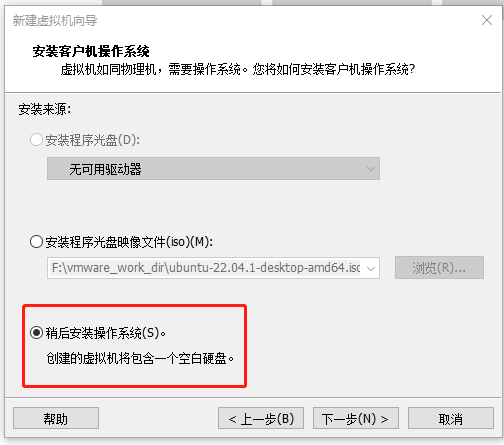
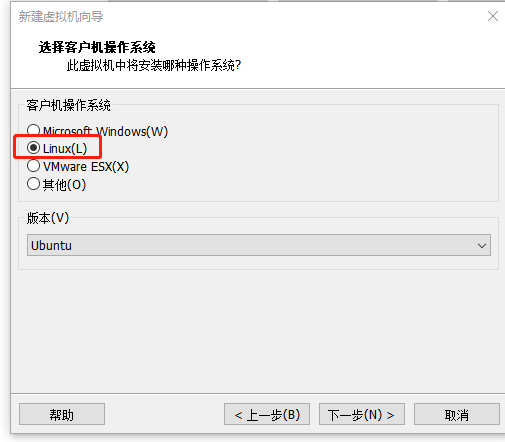
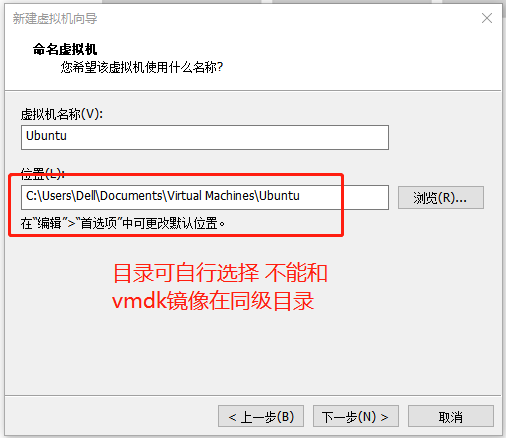
后面的配置都可以根据自己需求进行选择,我都是默认下一步


至此安装已完成,可以进入系统配置
第五步 配置网卡
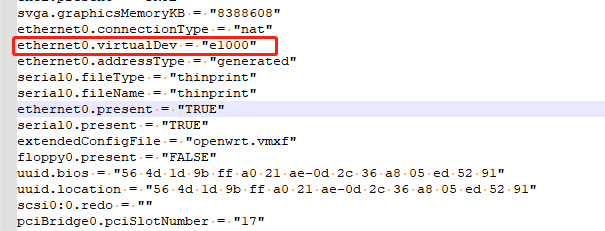
开机前在虚拟机目录下找到对应的vmx文件,我的是openwrt.vmx,根据网卡名称查找ethernet0在配置增加ethernet0.virtualDev = “e1000”,可能是ethernet0 也可能是1,根据情况自己修改
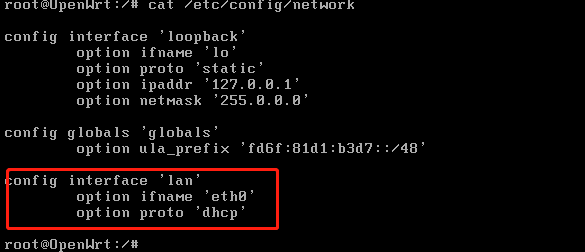
然后开机进入系统,修改/etc/config/network文件,lan配置删除静态IP相关,改为dhcp,然后执行命令重启网络服务
/etc/init.d/network restart
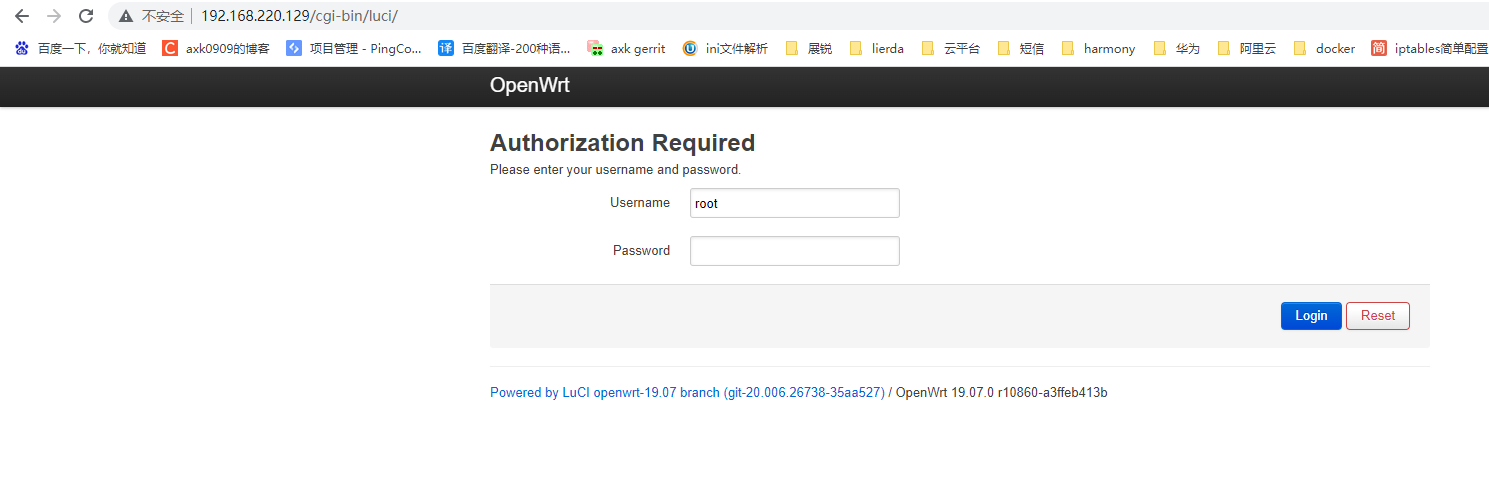
重启系统查看ip,我的是192.168.220.129
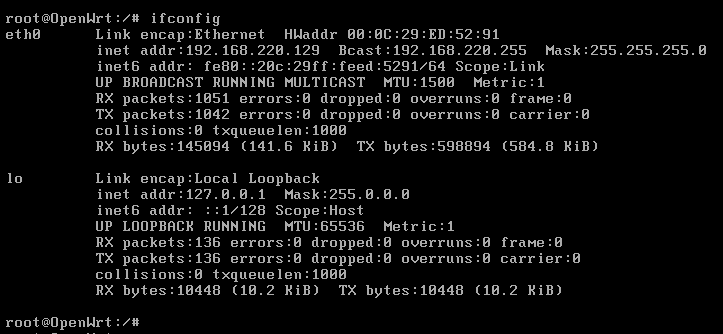
后面就可以在PC上从UI进行访问了 192.168.220.129,首次登陆没有密码 用户名为root