一、编译ffmpeg
再上一篇里面自行进行了ffmpeg + vs2019的编译,这里基于编译好的并新建WinUI3项目简单调用。
音视频学习 - windows10 + vs2019环境编译ffmpeg_坐望云起的博客-CSDN博客1、【第一次失败】基于windows11 + vs2022编译,总是卡住不动。2、【第二次失败】基于ubantu进行交叉编译,各种报错,没搞定。3、【第一次成功】基于虚拟机的win10 + vs2019,编译成功。https://skydance.blog.csdn.net/article/details/126371531 了解一下ffmpeg编译流程以被不时之需(必须要自定义编译参数的场景下)是有必要的,不过在没有特别需求的情况下使用官方背书的网站现成编译好的更开心。Builds - CODEX FFMPEG @ gyan.dev
 https://www.gyan.dev/ffmpeg/builds/
二、创建WinUI3项目
基于vs2019创建的项目,选择空白应用,使用Windows应用程序打包项目打包(上面已打包的那个选项是指用MSIX打包,关于MSIX打包优缺点,见上面链接)。

创建完成之后,会给我们创建好一个应用项目和一个打包项目。

三、配置ffmpeg
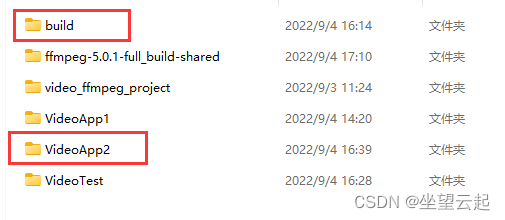
1、文件夹
VideoApp2是测试项目,build是解压的编译好的ffmpeg。
2、项目配置


3、复制dll(打包项目暂时还不知道咋用)
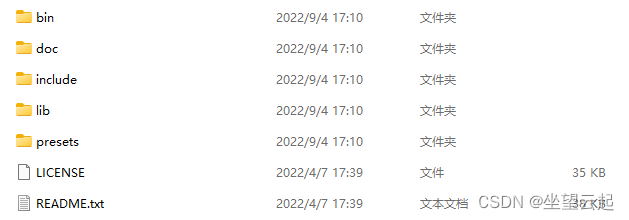
将build/bin下面的所有dll复制到VideoApp2\VideoApp2 (Package)\bin\x64\Debug\AppX这养的文件夹下,实际上就是打包项目的bin、x64(因为目标是64位)的。

4、简单修改程序
打开MainWindow.xaml.cpp,进行简单修改,引入头文件,调用avcodec_configuration方法。
#include "pch.h"
#include "MainWindow.xaml.h"
#if __has_include("MainWindow.g.cpp")
#include "MainWindow.g.cpp"
#endif

###### 自己添加的开始 #########
#include <iostream>
extern "C"
{
#include <libavcodec/avcodec.h>
}

#pragma comment(lib,"avcodec.lib")
###### 自己添加的结束 ########

using namespace winrt;
using namespace Microsoft::UI::Xaml;

// To learn more about WinUI, the WinUI project structure,
// and more about our project templates, see: http://aka.ms/winui-project-info.

namespace winrt::VideoApp2::implementation
{

    MainWindow::MainWindow()
    {
        InitializeComponent();
    }

    int32_t MainWindow::MyProperty()
    {
        throw hresult_not_implemented();
    }

    void MainWindow::MyProperty(int32_t /* value */)
    {
        throw hresult_not_implemented();
    }

    void MainWindow::myButton_Click(IInspectable const&, RoutedEventArgs const&)
    {
        ###### 自己添加的开始 #########
        std::string message = avcodec_configuration();
        //myButton().Content(box_value(L"Clicked"));
        myButton().Content(box_value(winrt::to_hstring(message)));
        ###### 自己添加的结束 #########
    }
}
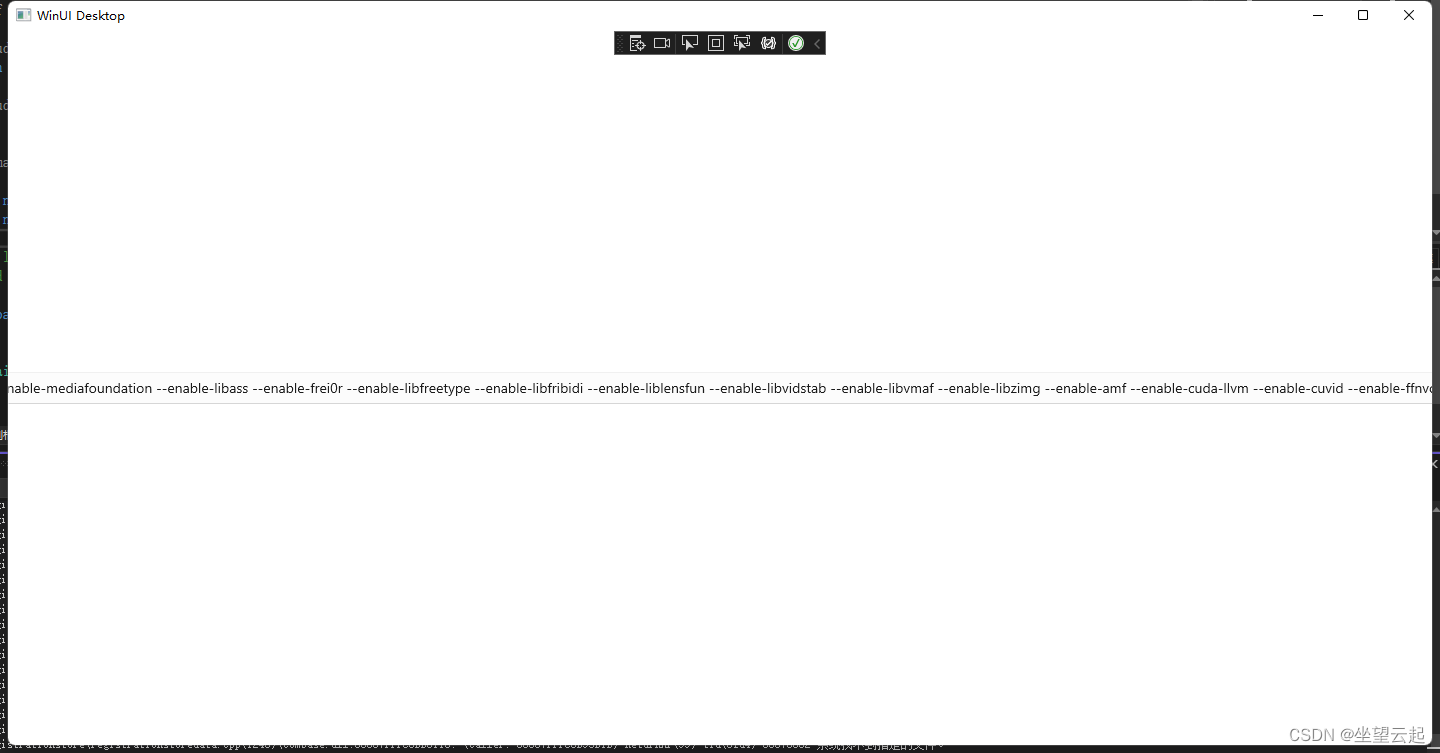
点击按钮之后,就会把按钮上面的文字替换为ffmpeg的完整配置字符串。可以看到使用官方指定编译好的full版本的配置。如果是使用之前自己编译的dll就只有(./configure --toolchain=msvc --prefix=build --enable-shared)这么一点配置。
上面就表示引入完成,可以进行下一步的研究了。