一、前言
在 Android 中一共提供了五种数据存储方式,分别为:
1. Files:通过FileInputStream和FileOutputStream对文件进行操作。具体使用方法可以参阅博文《Android学习笔记34:使用文件存储数据》。
2. Shared Preferences:常用来存储键值对形式的数据,对系统配置信息进行保存。
3. Content Providers:数据共享,用于应用程序之间数据的访问。
4. SQLite:Android自带的轻量级关系型数据库,支持SQL语言,用来存储大量的数据,并且能够对数据进行使用、更新、维护等操作。
5. Network:通过网络来存储和获取数据。
本篇博文主要介绍第一种方式,通过文件存储数据。
二、应用程序专属文件存储、
文件存储是 Android 中最基本的一种数据存储方式,它不对存储的内容进行任何的格式化处理,所有数据都是原封不动地保存到文件当中的,因而它比较适合用于存储一些简单的文本数据或二进制数据。
访问方法:
-
内部存储(Internal Storage)
- getFilesDir()
- getCacheDir()
-
外部存储(External Storage)
- getExternalFilesDir()
- getExternalCacheDir()
注意:卸载应用时,所以目录下的文件将被移除。并且其他应用无法访问这些专属文件。
所需权限:
-
内部存储永远不需要
-
当你的应用在运行 Android 4.4(API 级别 >=19)时,外部存储不需要(目前应用兼容基本5.0起步了)。
1. 访问持久文件
使用 Context 对象的 filesDir 属性访问该目录
 		//From internal storage, getFilesDir() or getCacheDir()
        File filesDir = getFilesDir();//持久文件目录
        //FilesDir:/data/user/0/包名/files
        Log.e("File","FilesDir:"+filesDir.getAbsolutePath());
        File cacheDir = getCacheDir();//缓存文件目录
        //CacheDir:/data/user/0/包名/cache
        Log.e("File","CacheDir:"+cacheDir.getAbsolutePath());
注意:为帮助保持应用程序的性能,请勿多次打开和关闭同一个文件。
2. 将数据存储到文件

Context 类中提供了一个 openFileOutput() 方法,可以用于将数据存储到指定的文本中。
这个方法接受两个参数:
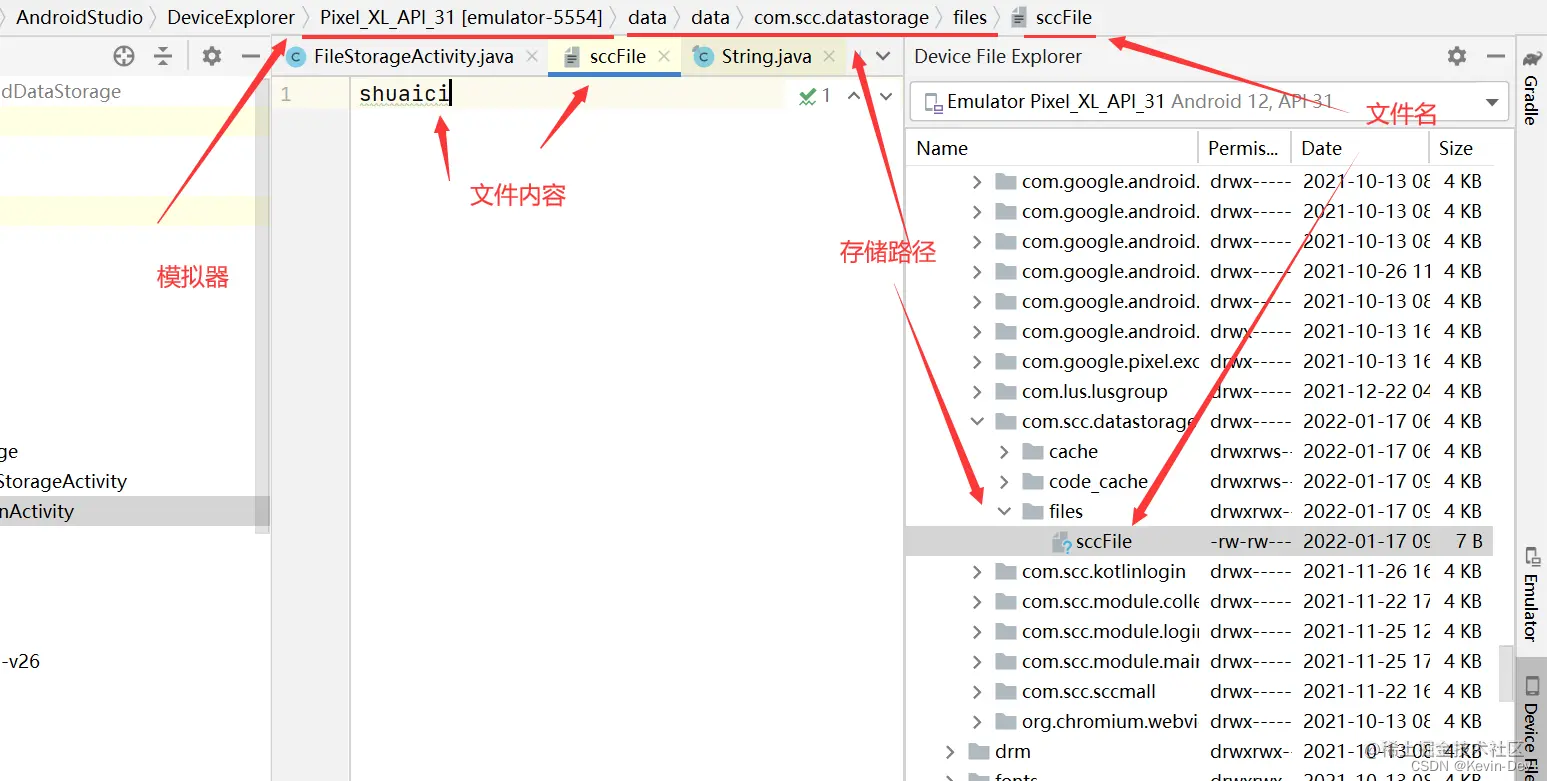
- 第一个参数是文件名,在文本创建的时候使用的就是这个名称,注意这里指定的文件名不可以包含路径(因为默认存储到
/data/data/<packagename>/files/目录下)。 - 第二个参数是文件的操作模式,主要有两种:
MODE_PRIVATE:默认的操作模式,表示当指定同样文件名的时候,当该文件名有内容时,再次调用会覆盖原内容。MODE_APPEND:表示该文件如果已存在就往文件里面追加内容。
调用 openFileOutput() 来获取 FileOutputStream,得到这个对象后就可以使用 Java 流的方式将数据写入到文件中了。
public void write(){


        //文件名
        String filename = "sccFile";
        //写入内容(shuaici)
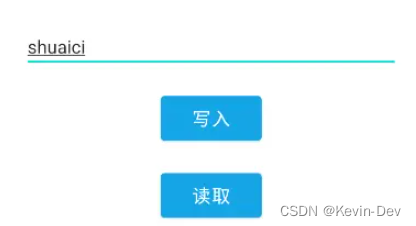
        String fileContents = fileStorageBinding.etInput.getText().toString();
        //内容不能为空
        if (fileContents.isEmpty()) {


            Log.e("File","FileContents.isEmpty()");
            return;
        }
        BufferedWriter writer = null;
        try  {


            //获取FileOutputStream对象
            FileOutputStream fos = openFileOutput(filename, Context.MODE_PRIVATE);
            //通过OutputStreamWriter构建出一个BufferedWriter对象
            writer = new BufferedWriter(new OutputStreamWriter(fos));
            //通过BufferedWriter对象将文本内容写入到文件中
            writer.write(fileContents);
        }catch (IOException e){


            Log.e("File",e.getMessage());
        }finally {


            try {


                //不管是否抛异常,都手动关闭输入流
                if(writer != null) writer.close();
            } catch (IOException e) {


                e.printStackTrace();
            }
        }
    }

如果你想在同一个文件写入多个内容那么需要将第二个参数改为 MODE_APPEND
out = openFileOutput("data", Context.MODE_PRIVATE);
3. 从文件中读取数据

	//读取文件
    public void read(){


        Log.e("File","read.start");
        String filename = "sccFile";
        BufferedReader reader = null;
        try  {


            //获取FileInputStream对象
            FileInputStream fis = openFileInput(filename);
            //通过InputStreamReader构建出一个BufferedReader对象
            reader = new BufferedReader(new InputStreamReader(fis));
            StringBuilder sb = new StringBuilder();
            String line = "";
            //一行一行的读取,当数据为空时结束循环
            while ((line=reader.readLine())!=null){


                sb.append(line);//将数据添加到StringBuilder
            }
            Log.e("File",sb.toString());
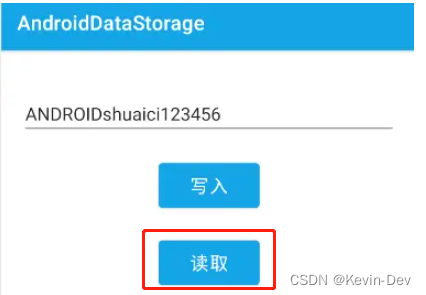
            fileStorageBinding.etInput.setText(sb.toString());
        }catch (IOException e){


            Log.e("File",e.getMessage());
        }finally {


            Log.e("File","read.finally");
            try {


                if(reader != null) reader.close();
            } catch (IOException e) {


                e.printStackTrace();
            }
        }
    }
4. 查看文件列表

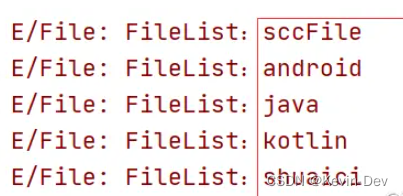
通过调用 fileList() 获取包含 filesDir 目录中所有文件名称的数组,如下:
//查看文件列表
    public void filelist(){


        String [] files = fileList();
        for (String file : files) {


            Log.e("File","FileList:"+file);
        }
    }
5. 删除文件
	//删除文件
    public void delete(){


        String filename = fileStorageBinding.etInput.getText().toString();
        Log.e("File","Delete:"+deleteFile(filename));
        filelist();
    }
注意:当用户卸载你的应用程序时,Android 系统会删除保存在内部存储和外部存储中的所有文件。当然你也可以定期删除你所创建的不需要的缓存文件。
三、缓存文件(cache目录下)
1. 创建缓存文件
如果只需要临时存储敏感数据,你应该使用应用程序在内部存储中指定的缓存目录来保存数据。与 files 目录下存储一样,存储在此目录中的文件会在用户卸载你的应用程序时被删除。
注意:
此缓存目录旨在存储你应用的少量敏感数据。
当设备内部存储空间不足时,Android 可能会删除这些缓存文件以恢复空间。因此,在读取缓存文件之前检查它们是否存在。
	//创建缓存文件
    private void createCache() {


        try {


            //方法一
            File timpfile = File.createTempFile("scc2022", ".txt", this.getCacheDir());
            Log.e("File","是否存在:"+timpfile.exists());
            Log.e("File","timpfile:"+timpfile.getAbsolutePath());
        } catch (IOException e) {


            e.printStackTrace();
        }
        //方法二:创建文件失败
        File file = new File(this.getCacheDir(), "file2022");
        Log.e("File","是否存在:"+file.exists());
        Log.e("File","file:"+file.getAbsolutePath());
    }
2. 删除文件
//删除缓存文件
    private void deleteCache() {


        //scc20221181329566644563700891.tmp和scc2022118都存在
        //但是cache目录下没有,咱们调用删除试试
        File cacheFile = new File(getCacheDir(), "scc20221181329566644563700891.tmp");
        //判断文件是否存在
        if(cacheFile.exists())
        {


            //使用File对象的delete()方法
            Log.e("File","delete17:"+cacheFile.delete());
        }

        File cacheFile2 = new File(getCacheDir(), "scc2022118");
        if(cacheFile2.exists())
        {


            //应用Context的deleteFile()方法
            Log.e("File","deleteFile19:"+deleteFile("scc2022118"));
        }
    }
四、外部存储
如果内部存储太小无法提供更大的空间那么可以使用外部存储
外部存储(External Storage)
- getExternalFilesDir() //持久文件
- getExternalCacheDir() //缓存文件
在 Android 4.4(API 级别 >=19),你的应用无需请求任何与存储相关的权限即可访问外部存储中的应用特定目录。当你的应用程序被卸载时,存储在这些目录中的文件将被删除。
注意:
1、不能保证文件可以访问,因为可能SD卡被移除。
2、在 Android 11(API 级别 >=30),应用无法在外部存储上创建自己的应用特定目录。感觉外部存储还是少用。
验证存储是否可用
// 检查外部存储是否可用于读写。
private boolean isExternalStorageWritable() {


    return Environment.getExternalStorageState().equals(Environment.MEDIA_MOUNTED);
}

// 检查外部存储至少可读。
private boolean isExternalStorageReadable() {


     return Environment.getExternalStorageState().equals(Environment.MEDIA_MOUNTED) ||
            Environment.getExternalStorageState().equals(Environment.MEDIA_MOUNTED_READ_ONLY);
}
五、共享文件存储
存储你的应用打算与其他应用共享的文件,包括媒体、文档和其他文件。
1. 需要存储权限
	private void saveBitmap() {


        if (Build.VERSION.SDK_INT >= Build.VERSION_CODES.M) {


            // 检查该权限是否已经获取
            int i = ContextCompat.checkSelfPermission(FileStorageActivity.this, Manifest.permission.WRITE_EXTERNAL_STORAGE);
            // 权限是否已经 授权 GRANTED---授权  DINIED---拒绝
            if (i != PackageManager.PERMISSION_GRANTED) {


                // 如果没有授予该权限,就去提示用户请求
                startRequestPermission();
            } else {


                resourceBitmap();
            }
        } else {


            resourceBitmap();
        }
    }
2. 保存数据
private void resourceBitmap() {


        Bitmap bitmap = BitmapFactory.decodeResource(getResources(), R.mipmap.ceshi);
        boolean isSave = PictureStorageUtils.isSaveImage(this, bitmap, "sccgx");
        Log.e("File","isSave:"+isSave);
    }

/**
 * 功能描述:将图片文件保存至本地
 */
public class PictureStorageUtils {


    public static boolean isSaveImage(Context context, Bitmap bm, String name) {


        boolean isSave;
        if (Build.VERSION.SDK_INT >= Build.VERSION_CODES.Q) {


            //大于等于android 10
            isSave = saveImageQ(context, bm, name);
        } else {


            isSave = saveImage(context, bm, name);
        }
        return isSave;
    }

    private static boolean saveImage(Context context, Bitmap outB, String name) {


        String imgName = name.isEmpty()?String.valueOf(System.currentTimeMillis()):name;
        //File.separator就是文件路径
        String fileName = Environment.getExternalStorageDirectory() + File.separator + "DCIM"
                + File.separator + "demo" + File.separator;
        try {


            File file = new File(fileName);
            if (!file.exists()) {


                file.mkdirs();
            }
            Log.e("File","saveAndGetImage:" + file);
            File filePath = new File(file + "/" + imgName + ".png");
            Log.e("File","filePath:" + filePath);
            FileOutputStream out = new FileOutputStream(filePath); //保存到本地,格式为JPEG
            if (outB.compress(Bitmap.CompressFormat.PNG, 100, out)) {


                out.flush();
                out.close();
            }
            Log.e("File","saveAndGetImage:END");
            //刷新图库
            if (Build.VERSION.SDK_INT >= Build.VERSION_CODES.M) {

    //高于22版本要手动授权
                // 检查该权限是否已经获取
                int i = ContextCompat.checkSelfPermission(context, Manifest.permission.WRITE_EXTERNAL_STORAGE);
                // 权限是否已经 授权 GRANTED---授权  DINIED---拒绝
                if (i != PackageManager.PERMISSION_GRANTED) {


                    // 提示用户应该去应用设置界面手动开启权限
                } else {


                    context.sendBroadcast(new Intent(Intent.ACTION_MEDIA_SCANNER_SCAN_FILE, Uri.fromFile(filePath)));
                }
            } else {


                context.sendBroadcast(new Intent(Intent.ACTION_MEDIA_SCANNER_SCAN_FILE, Uri.fromFile(filePath)));
            }
            return true;
        } catch (FileNotFoundException e) {


            Log.e("File","FileNotFoundException e.toString: " + e.toString());
            e.printStackTrace();
            return false;
        } catch (IOException e) {


            Log.e("File","IOException e.toString: " + e.toString());
            e.printStackTrace();
            return false;
        }
    }

    //功能描述:Android10及以上保存图片到相册
    @RequiresApi(api = Build.VERSION_CODES.Q)
    private static boolean saveImageQ(Context context, Bitmap image, String name) {


        long mImageTime = System.currentTimeMillis();
        String mImageFileName = name.isEmpty()?String.valueOf(mImageTime):name;
        final ContentValues values = new ContentValues();
        values.put(MediaStore.MediaColumns.RELATIVE_PATH, Environment.DIRECTORY_DCIM
                + File.separator + "demo"); //图库(DCIM)中显示的文件夹名。
        values.put(MediaStore.MediaColumns.DISPLAY_NAME, mImageFileName);
        values.put(MediaStore.MediaColumns.MIME_TYPE, "image/png");
        values.put(MediaStore.MediaColumns.DATE_ADDED, mImageTime / 1000);
        values.put(MediaStore.MediaColumns.DATE_MODIFIED, mImageTime / 1000);
        values.put(MediaStore.MediaColumns.DATE_EXPIRES, (mImageTime + DateUtils.DAY_IN_MILLIS) / 1000);
        values.put(MediaStore.MediaColumns.IS_PENDING, 1);
        Log.e("File",values.get(MediaStore.MediaColumns.RELATIVE_PATH).toString());
        ContentResolver resolver = context.getContentResolver();
        final Uri uri = resolver.insert(MediaStore.Images.Media.EXTERNAL_CONTENT_URI, values);
        try {


            //写下我们文件的数据
            try (OutputStream out = resolver.openOutputStream(uri)) {


                if (!image.compress(Bitmap.CompressFormat.PNG, 100, out)) {


                    throw new IOException("Failed to compress");
                }
            }
            //一切都很顺利
            values.clear();
            values.put(MediaStore.MediaColumns.IS_PENDING, 0);
            values.putNull(MediaStore.MediaColumns.DATE_EXPIRES);
            resolver.update(uri, values, null, null);
            return true;
        } catch (IOException e) {


            Log.e("File",e.getMessage());
            return false;
        }
    }
}