1. Spring 项目的创建
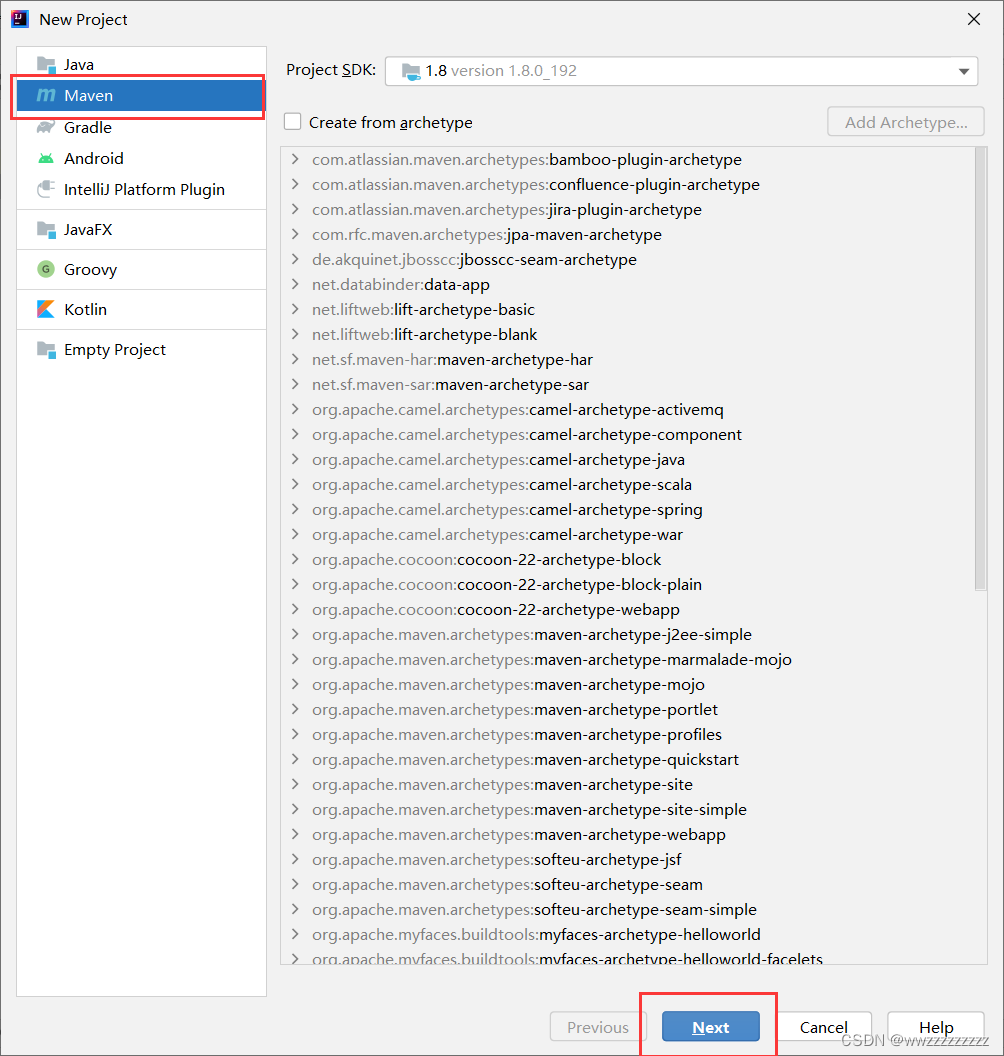
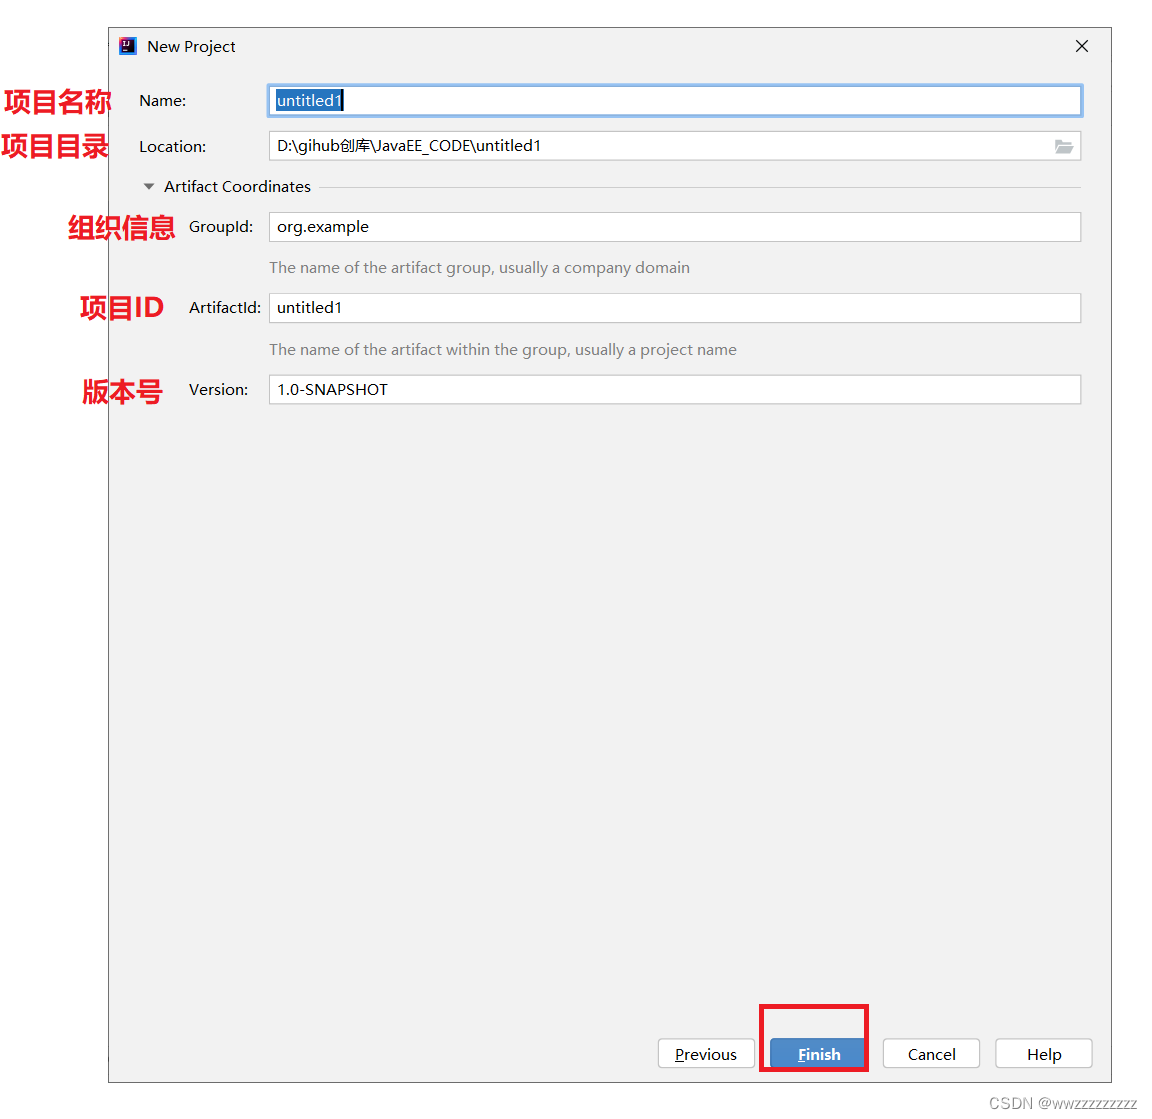
1.1 创建一个 Maven 项目
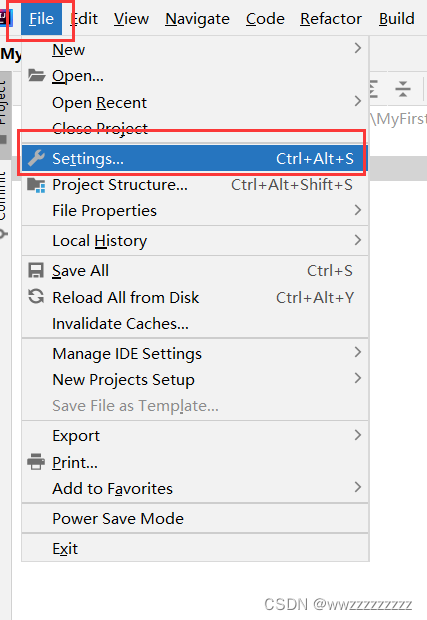
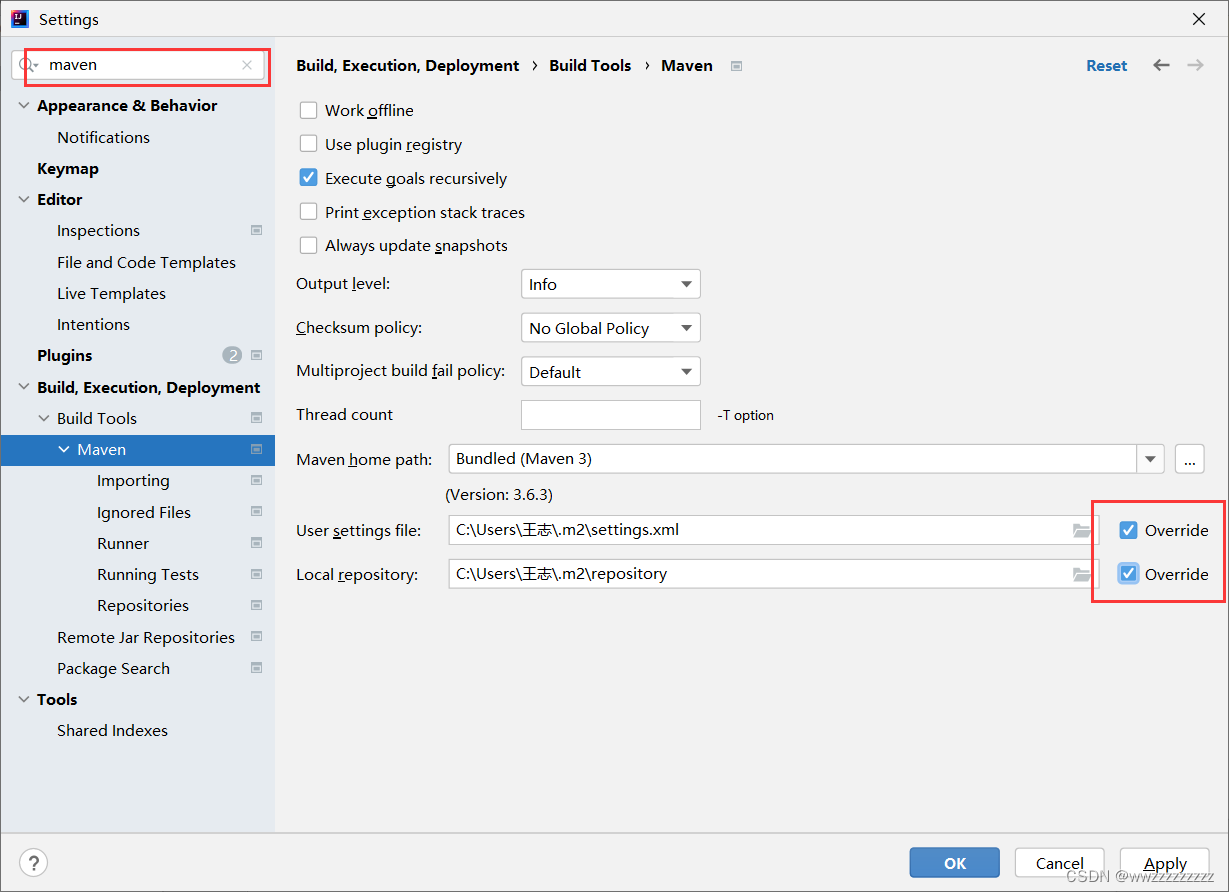
配置一下国内源
settings.xml 内容
<?xml version="1.0" encoding="UTF-8"?>
<settings xsi:schemaLocation="http://maven.apache.org/SETTINGS/1.0.0 http://maven.apache.org/xsd/settings-1.0.0.xsd" xmlns="http://maven.apache.org/SETTINGS/1.0.0"
    xmlns:xsi="http://www.w3.org/2001/XMLSchema-instance">

	<!-- 配置国内源 -->
	<!-- 重点就是这个 mirros,如果存在settings.xml 只拷贝这一段即可 -->
	<mirrors>
		<mirror>
			<id>alimaven</id>
			<name>aliyun maven</name>
			<url>http://maven.aliyun.com/nexus/content/groups/public/</url>
			<mirrorOf>central</mirrorOf>
		</mirror>
	</mirrors>

	<profiles>
		<profile>
			<id>jdk-1.8</id>
			<activation>
				<activeByDefault>true</activeByDefault>
				<jdk>1.8</jdk>
				</activation>
		<properties>
		<maven.compiler.source>1.8</maven.compiler.source>
		<maven.compiler.target>1.8</maven.compiler.target>
		<maven.compiler.compilerVersion>1.8</maven.compiler.compilerVersion>
		</properties>
		</profile>

		<profile>
			<id>nexus</id>
			<repositories>
				<repository>
					<id>central</id>
					<url>http://repo.maven.apache.org/maven2</url>
					<snapshots>
						<enabled>false</enabled>
					</snapshots>
				</repository>
				<repository>
					<id>ansj-repo</id>
					<name>ansj Repository</name>
					<url>http://maven.nlpcn.org/</url>
					<snapshots>
						<enabled>false</enabled>
					</snapshots>
				</repository>
			</repositories>
		</profile>
	</profiles>

	<activeProfiles>
		<activeProfile>nexus</activeProfile>
	</activeProfiles>
</settings>
这里的注意事项:
- 首先勾选这两个 选项
- 检查 settings.xml 这个目录是否存在
如果不存在, 就要把这个settings.xml创建进去
如果存在, 就要查看自己是否配置了国内源- 如果还是不行, 就把repository目录下的内容都删了
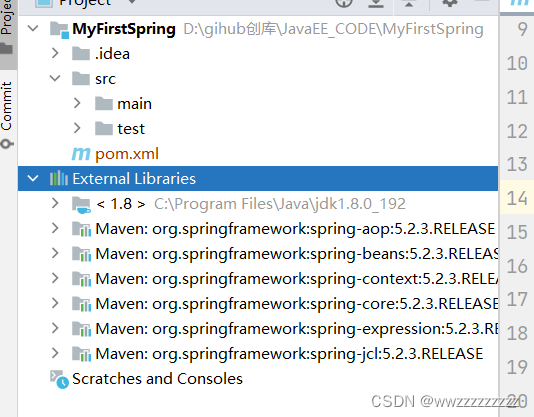
1.2 添加 Spring 依赖包
<dependencies>
	<dependency>
		<groupId>org.springframework</groupId>
		<artifactId>spring-context</artifactId>
		<version>5.2.3.RELEASE</version>
	</dependency>

	<dependency>
		<groupId>org.springframework</groupId>
		<artifactId>spring-beans</artifactId>
		<version>5.2.3.RELEASE</version>
	</dependency>
</dependencies>
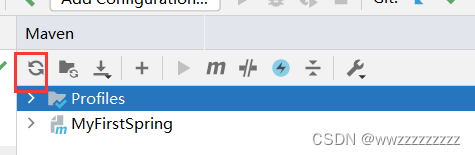
添加之后 记得刷新一下maven
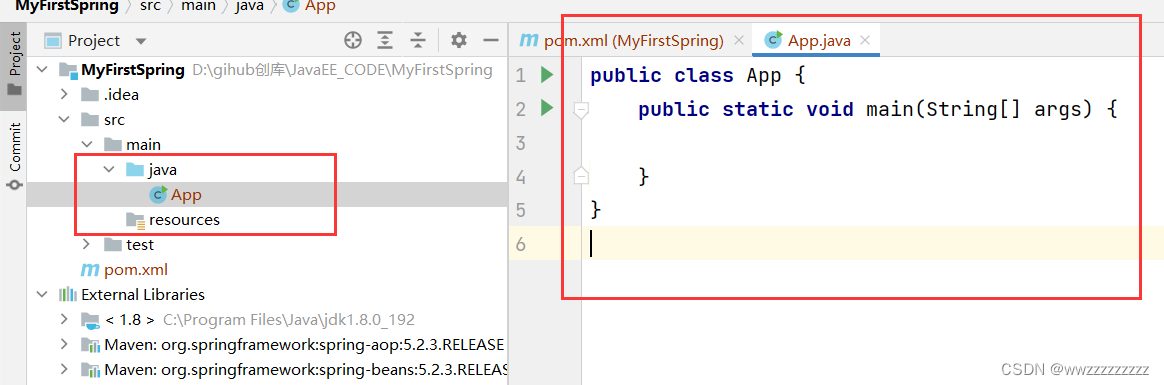
1.3 创建 启动类
2. 将 Bean 对象存储到 Spring
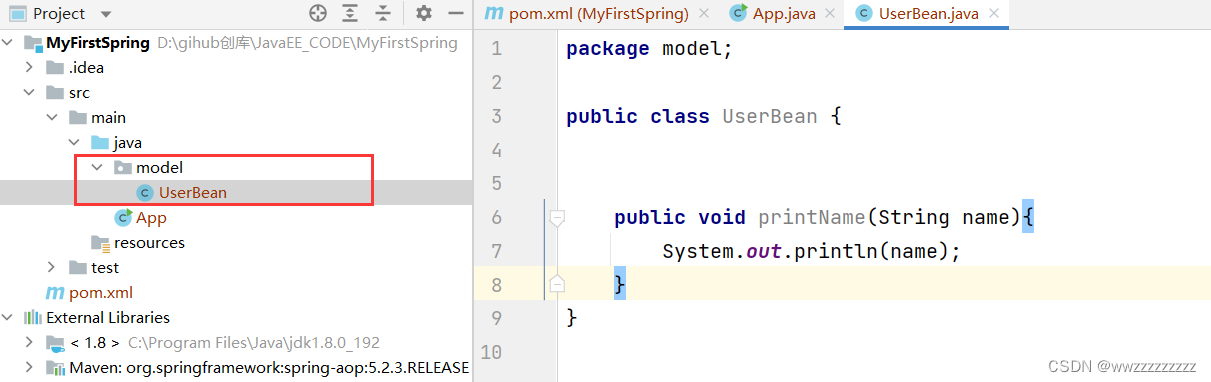
2.1 创建一个业务对象
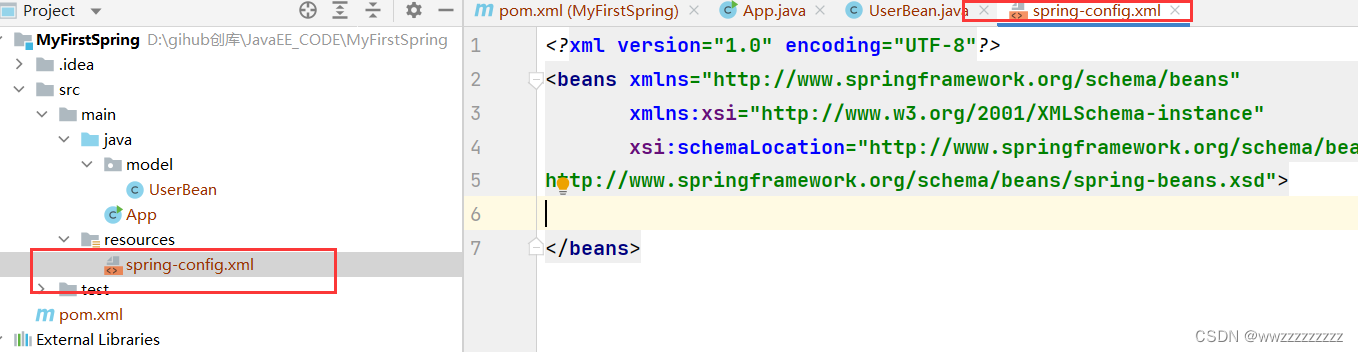
2.2 将对象存储到Spring框架 (声明式)

将下列内容拷贝进去
<?xml version="1.0" encoding="UTF-8"?>
<beans xmlns="http://www.springframework.org/schema/beans"
xmlns:xsi="http://www.w3.org/2001/XMLSchema-instance"
xsi:schemaLocation="http://www.springframework.org/schema/beans
http://www.springframework.org/schema/beans/spring-beans.xsd">
</beans>
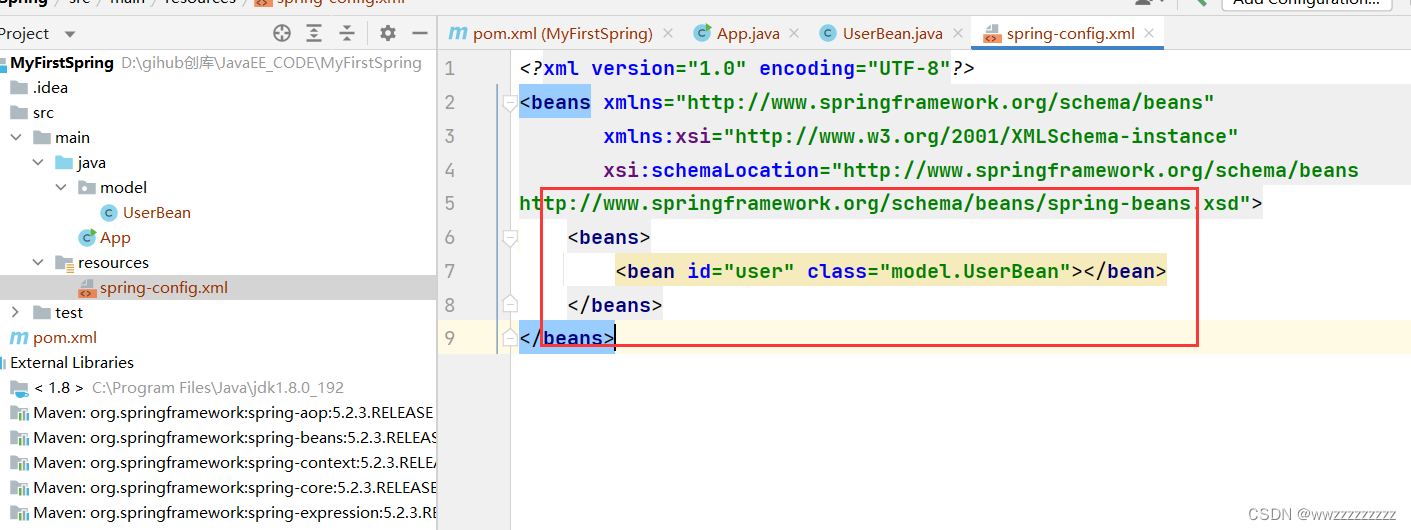
将 User 对象注册到 Spring 中.
    <beans>
        <bean id="user" class="model.UserBean"></bean>
    </beans>
3. 获取并使用 Bean 对象
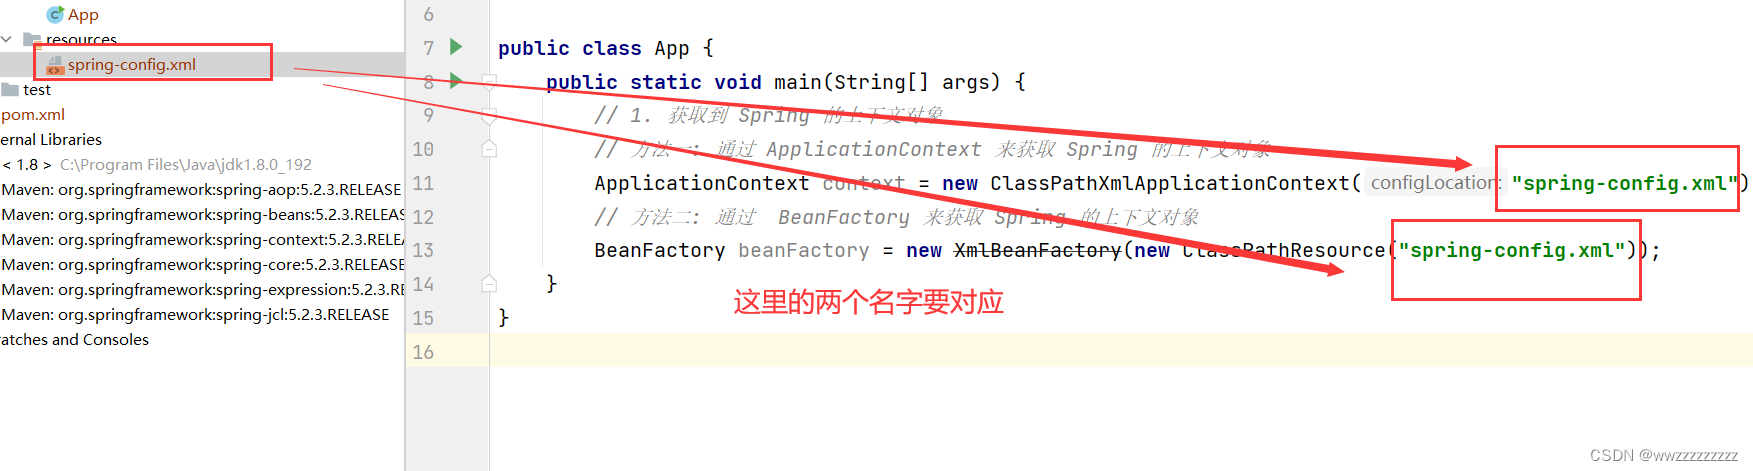
3.1 获取 Spring 上下文对象
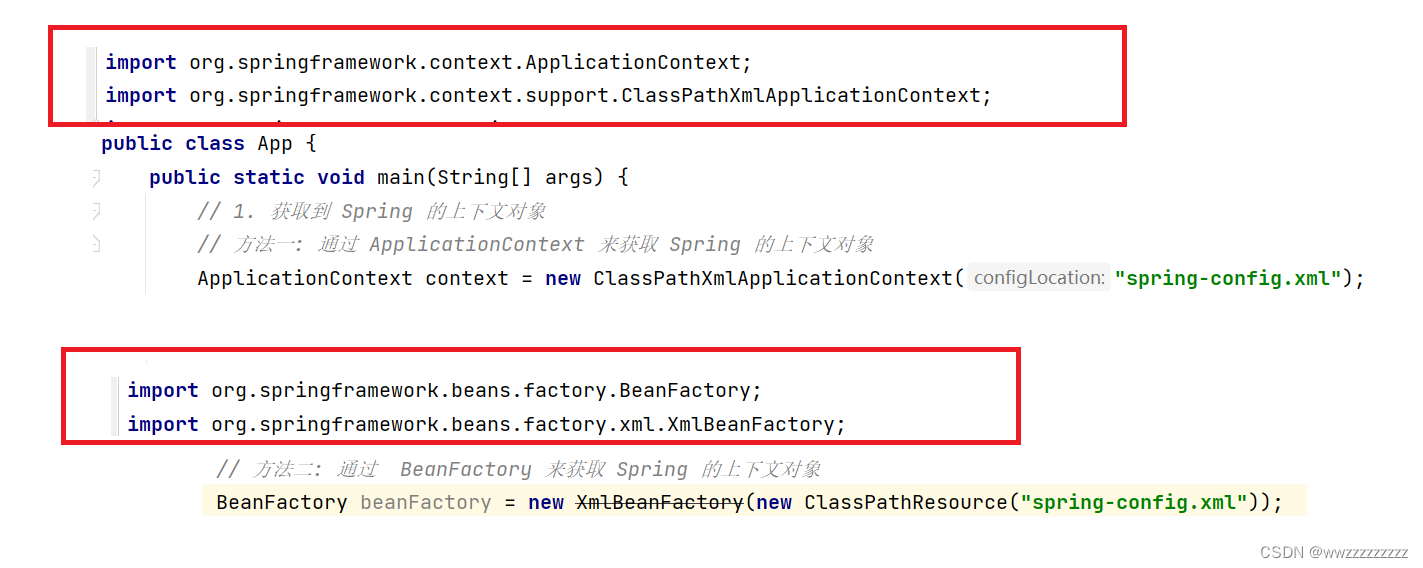
方式一: 通过 ApplicationContext 来获取
	// 方法一: 通过 ApplicationContext 来获取 Spring 的上下文对象
    ApplicationContext context = new ClassPathXmlApplicationContext("spring-config.xml");
方法二: 通过 BeanFactory 来获取
    // 方法二: 通过  BeanFactory 来获取 Spring 的上下文对象
    BeanFactory beanFactory = new XmlBeanFactory(new ClassPathResource("spring-config.xml"));
注意事项
3.2 通过 Spring 上下文对象来获取 Bean 对象
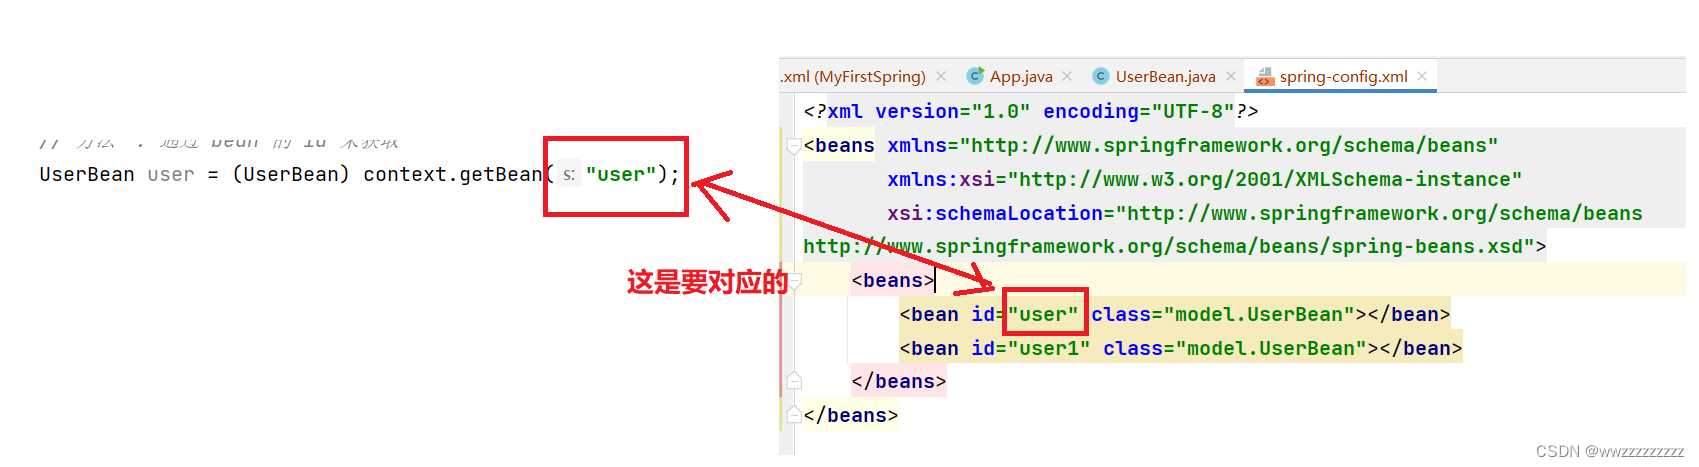
方式一: 通过 bean 的 id 来获取
    // 方法一: 通过 bean 的 id 来获取
    UserBean user = (UserBean) context.getBean("user");
缺点 : 需要强制类型转换
方式二: 通过类型获取
// 方法二: 通过类型获取
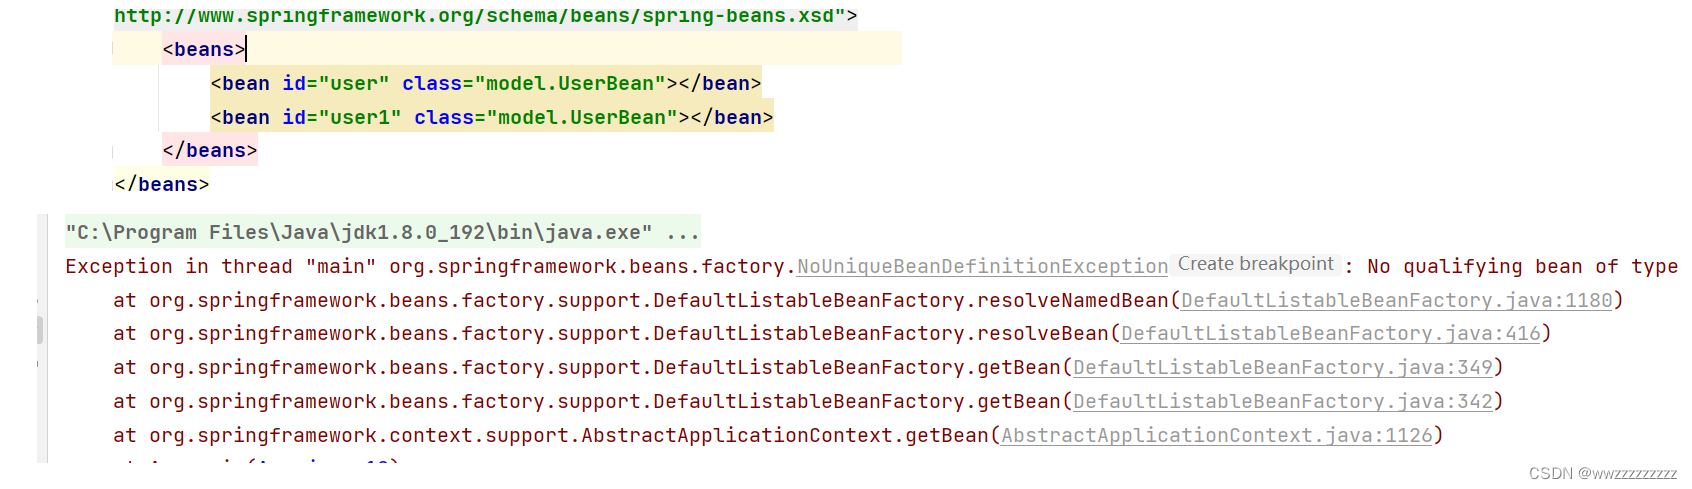
UserBean user = context.getBean(UserBean.class);
缺点 : 对于多个对象的同一种类型的 Bean 获取会报错
方法三: 通过 id+类型 来获取
    // 方法三: 通过 id+类型 来获取
    UserBean user = context.getBean("user",UserBean.class);
优点 : 不需要强制类型转换, 对于多个对象的同一种类型的 Bean 获取不会报错
注意事项
3.3 使用业务对象
public static void main(String[] args) {
// 1. 获取到 Spring 的上下文对象
// 方法一: 通过 ApplicationContext 来获取 Spring 的上下文对象
ApplicationContext context = new ClassPathXmlApplicationContext("spring-config.xml");
// 2. 通过 Spring 上下文对象来获取业务对象
// 方法一: 通过 bean 的 id 来获取
UserBean user = (UserBean) context.getBean("user");
// 3. 使用业务对象
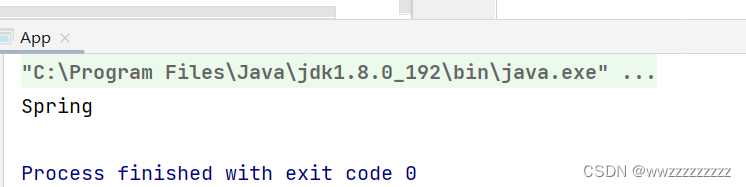
user.printName("Spring");
}
4. ApplicationContext VS BeanFactory
1. 二者来自的 jar 包不一样
ApplicationContext 来自 spring.context.jar 下
BeanFactory 来自 spring.beans.jar 下
2. 对于继承来说
ApplicationContext和BeanFactory都属于 Spring 下的顶级接口
ApplicationContext属于BeanFactory的⼦类,BeanFactory所有的功能ApplicationContext也是拥有的,
除此之外.AppicationContext还拥有其他的BeanFactory没有的功能.
例如 对国际化支持、资源访问支持、以及事件传播等方面的支持
3. 对于执行性能来说
ApplicationContext 是⼀次性加载并初始化所有的 Bean 对象,所以它的启动过程可能比较慢, 但是后续执行快; ⽽ BeanFactory 是需要那个才去加载那个,因此 BeanFactory 占用系统资源更少, 启动更快, 但是后续的执行可能会更慢些.