这篇文章主要介绍了鼠标拖拽移动子窗体的JS实现,需要的朋友可以参考下
1.子窗体
在设计网站的时候,我们需要设计一些模态的子窗体,比如
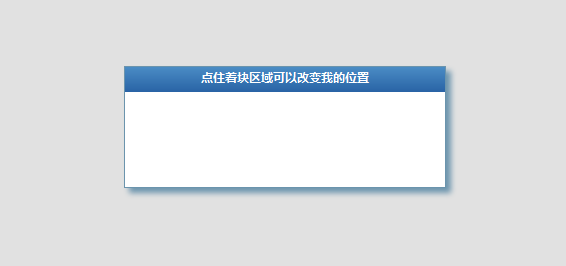
这一步很容易实现,只需要div+css就ok了,请看代码:
<div class="modal-background"></div>
<div class="modal-window">
<div class="head">
<center>点住着块区域可以改变我的位置</center>
</div>
</div>
.modal-background
{
background-color: #999999;
bottom: 0;
left: 0;
opacity: 0.3;
position: fixed;
right: 0;
top: 0;
z-index: 1100;
}
.modal-window
{
background-color: #FFFFFF;
border: 1px solid #6B94AD;
box-shadow: 5px 5px 5px #6B94AD;
font-family: 'Microsoft YaHei';
font-size: 12px;
height: 120px;
left: 50%;
margin-left: -160px;
margin-top: -160px;
opacity: 1;
position: fixed;
top: 50%;
width: 320px;
z-index: 1110;
}
.modal-window .head
{
height: 25px;
color: #fff;
font-weight: 600;
background-image: -moz-linear-gradient(top, #4A8CC5, #2963A5); /* Firefox */
background-image: -webkit-gradient(linear, left top, left bottom, color-stop(0, #4A8CC5), color-stop(1, #2963A5)); /* Saf4+, Chrome */
filter: progid:DXImageTransform.Microsoft.gradient(startColorstr='#4A8CC5', endColorstr='#2963A5', GradientType='0'); /* IE*/
}
.modal-window .head center
{
padding-top: 2px;
}
加上上述html和css就可以很容易实现上述模态窗体的效果。其中left: 50%;top: 50%; margin-left: -160px; margin-top: -160px;是为了实现这个模态窗体的居中效果。
当然,模态窗体的大小在样式类.modal-window中是固定写好的了,这并不是说不可修改模态窗体的大小,比如我写如代码:
<div class="modal-background"></div>
<div class="modal-window list-window">
<div class="head">
<center>点住着块区域可以改变我的位置</center>
</div>
</div>
在第二行代码中追加了.list-window这个样式类来覆盖.modal-window类中的大小和位置,但同时保证模态窗体居中显示
.list-window
{
width:600px;
height:400px;
margin-left:-300px;
margin-top:-200px;
}
如图
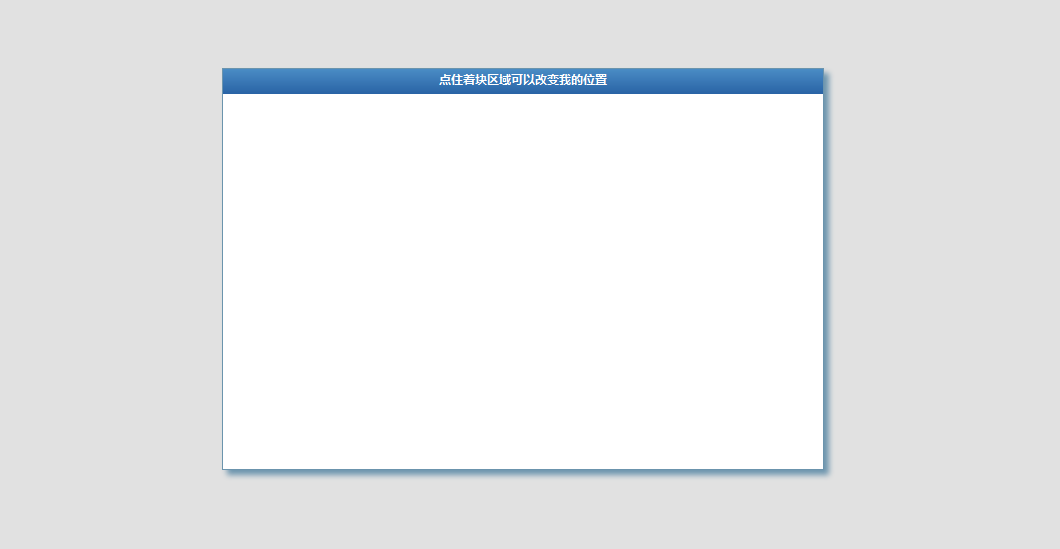
可以看得出来,这一步的实现是非常简单的,掌握几个关键行的css属性就"完虐"这个模态子窗体,各类其它的模态子窗体可以举一反三咯。
2.当鼠标点住子窗体的头部时,如何实现子窗体的拖拽移动呢?当引入jQ后,我们只需要很少的脚本就搞定这个小功能。不信我们看
var left, top, $this;
$(document).delegate('.modal-window .head', 'mousedown', function (e) {
left = e.clientX, top = e.clientY, $this = $(this).css('cursor', 'move');
this.setCapture ? (
this.setCapture(),
this.onmousemove = function (ev) { mouseMove(ev || event); },
this.onmouseup = mouseUp
) : $(document).bind("mousemove", mouseMove).bind("mouseup", mouseUp);
});
function mouseMove(e) {
var target = $this.parents('.modal-window');
var l = Math.max((e.clientX - left + Number(target.css('margin-left').replace(/px$/, '')) || 0), -target.position().left);
var t = Math.max((e.clientY - top + Number(target.css('margin-top').replace(/px$/, '')) || 0), -target.position().top);
l = Math.min(l, $(window).width() - target.width() - target.position().left);
t = Math.min(t, $(window).height() - target.height() - target.position().top);
left = e.clientX;
top = e.clientY;
target.css({ 'margin-left': l, 'margin-top': t });
}
function mouseUp(e) {
var el = $this.css('cursor', 'default').get(0);
el.releaseCapture ?
(
el.releaseCapture(),
el.onmousemove = el.onmouseup = null
) : $(document).unbind("mousemove", mouseMove).unbind("mouseup", mouseUp);
}
这段代码非常简短,能否在各种浏览器中很流畅的运行。
其实它的实现原理非常简单,大致分为三步:
①当鼠标在模态窗体头部点下(mousedown)时,立即给document绑定mousemove和mouseup事件
②当鼠标没有弹起时(没有mouseup)时,若鼠标在窗体内移动时,激活mouseMove函数,通过计算鼠标移动的距离来及时整个窗体的位置移动。
③当鼠标弹起(mouseup)时,调用mouseUp事件,将document上绑定的mousemove事件和mouseup事件解除绑定。
整个过程的原理就是:当鼠标mousedown时,鼠标的移动事件转移到document上来,通过鼠标在document上的移动事件来对整个窗体进行处理。
另外,在mouseMove中有个小技巧,就是全局的left,top变量记录上一次鼠标停止时的位置,然后下一次移动时鼠标的位置与left,top变量进行对比来确定鼠标移动了多少距离,来对整个模态子窗体做出相应的位置移动即可。
经过这一段代码的分析,发现鼠标移动窗体乃至document上的任何元素都是相当easy的
比如,如果想要通过拖拽来改变窗体的大小,一样我们只需要在mouseMove事件处理函数中调整窗体的大小就ok了,是不是又发现自己有多学会了一招,又精进了一小步呢?
有人会问setCapture和releaseCapture分别都是干什么的呢?其实这是为了兼容IE,仅有IE才有这俩函数,在此鄙视IE。setCapture可以让当前元素捕获鼠标的所有事件,如果不使用它们,可能不兼容IE浏览器哦。
<div class="modal-background"></div>
<div class="modal-window list-window">
<div class="head">
<center>点住着块区域可以改变我的位置</center>
</div>
</div>
在第二行代码中追加了.list-window这个样式类来覆盖.modal-window类中的大小和位置,但同时保证模态窗体居中显示
.list-window
{
width:600px;
height:400px;
margin-left:-300px;
margin-top:-200px;
}
如图
可以看得出来,这一步的实现是非常简单的,掌握几个关键行的css属性就"完虐"这个模态子窗体,各类其它的模态子窗体可以举一反三咯。
2.当鼠标点住子窗体的头部时,如何实现子窗体的拖拽移动呢?当引入jQ后,我们只需要很少的脚本就搞定这个小功能。不信我们看
var left, top, $this;
$(document).delegate('.modal-window .head', 'mousedown', function (e) {
left = e.clientX, top = e.clientY, $this = $(this).css('cursor', 'move');
this.setCapture ? (
this.setCapture(),
this.onmousemove = function (ev) { mouseMove(ev || event); },
this.onmouseup = mouseUp
) : $(document).bind("mousemove", mouseMove).bind("mouseup", mouseUp);
});
function mouseMove(e) {
var target = $this.parents('.modal-window');
var l = Math.max((e.clientX - left + Number(target.css('margin-left').replace(/px$/, '')) || 0), -target.position().left);
var t = Math.max((e.clientY - top + Number(target.css('margin-top').replace(/px$/, '')) || 0), -target.position().top);
l = Math.min(l, $(window).width() - target.width() - target.position().left);
t = Math.min(t, $(window).height() - target.height() - target.position().top);
left = e.clientX;
top = e.clientY;
target.css({ 'margin-left': l, 'margin-top': t });
}
function mouseUp(e) {
var el = $this.css('cursor', 'default').get(0);
el.releaseCapture ?
(
el.releaseCapture(),
el.onmousemove = el.onmouseup = null
) : $(document).unbind("mousemove", mouseMove).unbind("mouseup", mouseUp);
}
这段代码非常简短,能否在各种浏览器中很流畅的运行。
其实它的实现原理非常简单,大致分为三步:
①当鼠标在模态窗体头部点下(mousedown)时,立即给document绑定mousemove和mouseup事件
②当鼠标没有弹起时(没有mouseup)时,若鼠标在窗体内移动时,激活mouseMove函数,通过计算鼠标移动的距离来及时整个窗体的位置移动。
③当鼠标弹起(mouseup)时,调用mouseUp事件,将document上绑定的mousemove事件和mouseup事件解除绑定。
整个过程的原理就是:当鼠标mousedown时,鼠标的移动事件转移到document上来,通过鼠标在document上的移动事件来对整个窗体进行处理。
另外,在mouseMove中有个小技巧,就是全局的left,top变量记录上一次鼠标停止时的位置,然后下一次移动时鼠标的位置与left,top变量进行对比来确定鼠标移动了多少距离,来对整个模态子窗体做出相应的位置移动即可。
经过这一段代码的分析,发现鼠标移动窗体乃至document上的任何元素都是相当easy的
比如,如果想要通过拖拽来改变窗体的大小,一样我们只需要在mouseMove事件处理函数中调整窗体的大小就ok了,是不是又发现自己有多学会了一招,又精进了一小步呢?
有人会问setCapture和releaseCapture分别都是干什么的呢?其实这是为了兼容IE,仅有IE才有这俩函数,在此鄙视IE。setCapture可以让当前元素捕获鼠标的所有事件,如果不使用它们,可能不兼容IE浏览器哦。