构建
当项目开发完毕,只需要运行一行命令就可以打包你的应用
yarn build
or
npm run builad
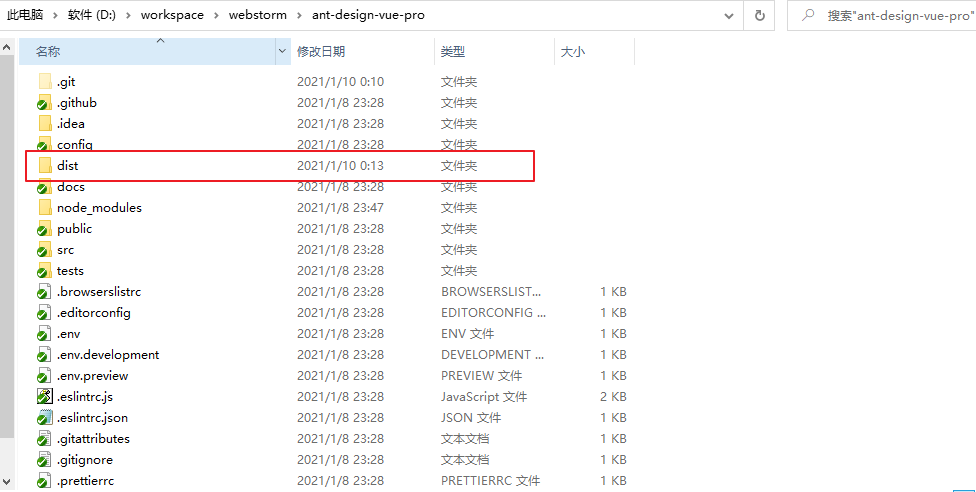
由于 Ant Design Pro 使用的工具 Vue-cli3 已经将复杂的流程封装完毕,构建打包文件只需要一个命令 yarn build 或 npm run build,构建打包成功之后,会在根目录生成 dist 文件夹,里面就是构建打包好的文件,通常是 *.js、*.css、index.html 等静态文件,也包括了项目根的 public/ 下的所有文件。
Nginx配置
将打包好的 dist 文件夹复制到服务器的 /opt下,Nginx 安装就不在这里说了,需要安装点击下面链接按照操作步骤安装即可。
打开 nginx 的 conf 文件,将配置内容修改为如下,并保存
#user  nobody;
worker_processes  1;

#error_log  logs/error.log;
#error_log  logs/error.log  notice;
#error_log  logs/error.log  info;

#pid        logs/nginx.pid;


events {


    worker_connections  1024;
}


http {


    include       mime.types;
    default_type  application/octet-stream;

    #log_format  main  '$remote_addr - $remote_user [$time_local] "$request" '
    #                  '$status $body_bytes_sent "$http_referer" '
    #                  '"$http_user_agent" "$http_x_forwarded_for"';

    #access_log  logs/access.log  main;

    sendfile        on;
    #tcp_nopush     on;

    #keepalive_timeout  0;
    keepalive_timeout  65;

    #gzip  on;

    server {


        listen       80;
        server_name  localhost;

        #charset koi8-r;

        #access_log  logs/host.access.log  main;

        root /opt/dist;

        location / {


            # 用于配合 browserHistory 使用
            try_files $uri $uri/ /index.html;
        }

        location /api {


            rewrite ^/api/(.*) /$1 break;
            # 后台服务地址
            proxy_pass http://127.0.0.1:8080;
            proxy_set_header   X-Forwarded-Proto $scheme;
            proxy_set_header   Host              $http_host;
            proxy_set_header   X-Real-IP         $remote_addr;
        }

        #error_page  404              /404.html;

        # redirect server error pages to the static page /50x.html
        #
        error_page   500 502 503 504  /50x.html;
        location = /50x.html {


            root   html;
        }

    }
}
然后使用命令启动 nginx 浏览器访问即可
# 启动命令
/usr/local/nginx/sbin/nginx
# 关闭命令
/usr/local/nginx/sbin/nginx -s stop
# 重新加载命令
/usr/local/nginx/sbin/nginx -s reload
参考文章
https://pro.antdv.com/docs/deploy
https://www.bbsmax.com/A/E35pVmbgzv/