一。简介
Sentinel: 分布式系统的流量防卫兵
1.Sentinel 是什么?
随着微服务的流行,服务和服务之间的稳定性变得越来越重要。Sentinel 以流量为切入点,从流量控制、熔断降级、系统负载保护等多个维度保护服务的稳定性。
2.Sentinel的特征
丰富的应用场景:Sentinel 承接了阿里巴巴近 10 年的双十一大促流量的核心场景,例如秒杀(即突发流量控制在系统容量可以承受的范围)、消息削峰填谷、集群流量控制、实时熔断下游不可用应用等。完备的实时监控:Sentinel 同时提供实时的监控功能。您可以在控制台中看到接入应用的单台机器秒级数据,甚至 500 台以下规模的集群的汇总运行情况。广泛的开源生态:Sentinel 提供开箱即用的与其它开源框架/库的整合模块,例如与 Spring Cloud、Dubbo、gRPC的整合。您只需要引入相应的依赖并进行简单的配置即可快速地接入 Sentinel。完善的 SPI 扩展点:Sentinel 提供简单易用、完善的 SPI扩展接口。您可以通过实现扩展接口来快速地定制逻辑。例如定制规则管理、适配动态数据源等。
3.Sentinel的特性
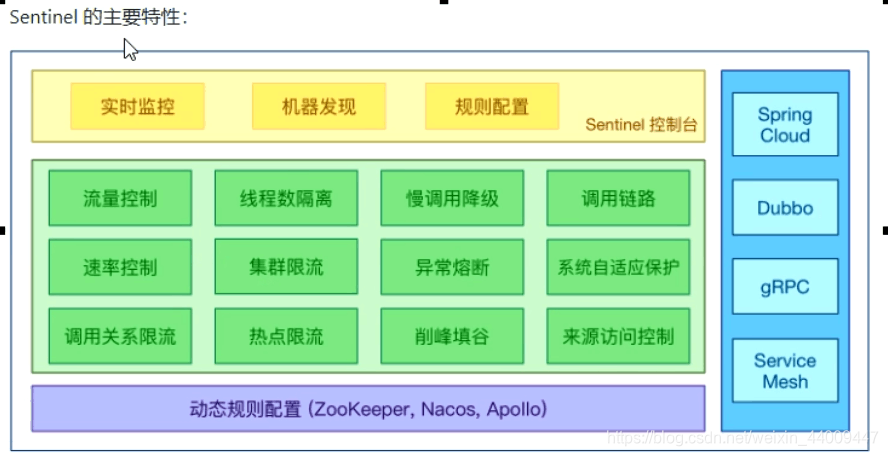
官方中文文档:https://github.com/alibaba/Sentinel/wiki/%E4%BB%8B%E7%BB%8D
二。下载安装Sentinel控制台
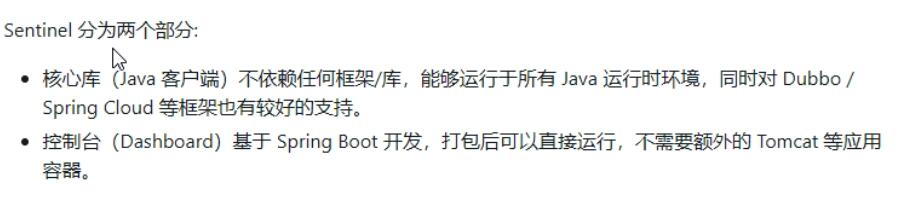
1.sentinel组件由两部分组成:
2.jar包下载地址:https://github.com/alibaba/Sentinel/releases

根据自己的需要进行下载,这里我选择的是较为稳定的1.7版本:
扫描二维码关注公众号,回复:
13110107 查看本文章

3.运行前提条件:
- jdk环境已经配好,从 Sentinel 1.5.0 开始仅支持 JDK 1.7 或者以上版本。Sentinel 1.5.0
之前的版本最低支持 JDK 1.6。 - sentinel默认8080端口未被占用
4.使用java-jar命令即可运行
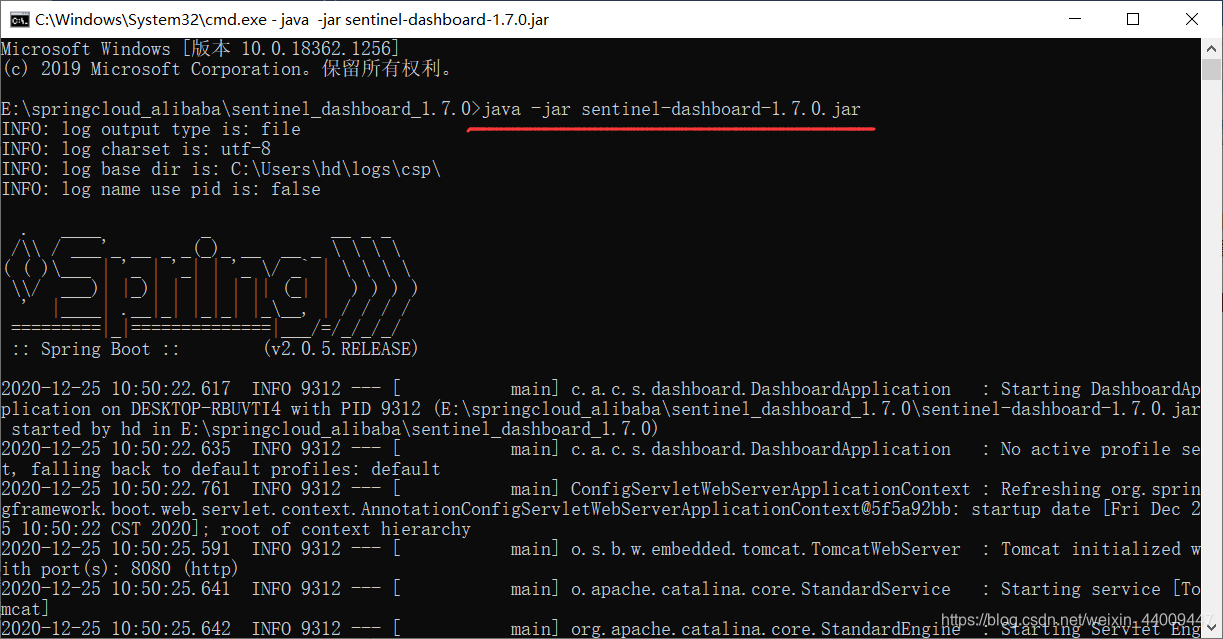
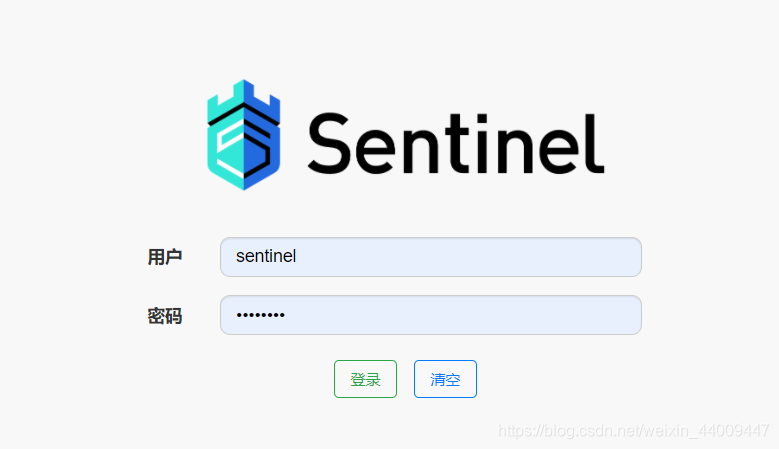
5.访问http://localhost:8080/,即可打开sentinel控制台,初始登录账号以及密码均为sentinel:
三。整合Sentinel
1.在pom.xml文件中添加以下依赖:
<!--springcloud alibb nacos依赖 -->
  <dependency>
      <groupId>com.alibaba.cloud</groupId>
      <artifactId>spring-cloud-starter-alibaba-nacos-discovery</artifactId>
      <version>2.2.3.RELEASE</version>
  </dependency>

<!--springcloud alibb sentinel依赖  1.7版本依赖-->
   <dependency>
        <groupId>com.alibaba.cloud</groupId>
        <artifactId>spring-cloud-starter-alibaba-sentinel</artifactId>
        <version>2.2.0.RELEASE</version>
    </dependency>

    <!--springcloud alibb sentinel依赖  1.8版本依赖-->
    <!--<dependency>
        <groupId>com.alibaba.cloud</groupId>
        <artifactId>spring-cloud-starter-alibaba-sentinel</artifactId>
        <version>2.2.3.RELEASE</version>
    </dependency>-->

  <!--springBoot整合web依赖 -->
  <dependency>
      <groupId>org.springframework.boot</groupId>
      <artifactId>spring-boot-starter-web</artifactId>
  </dependency>
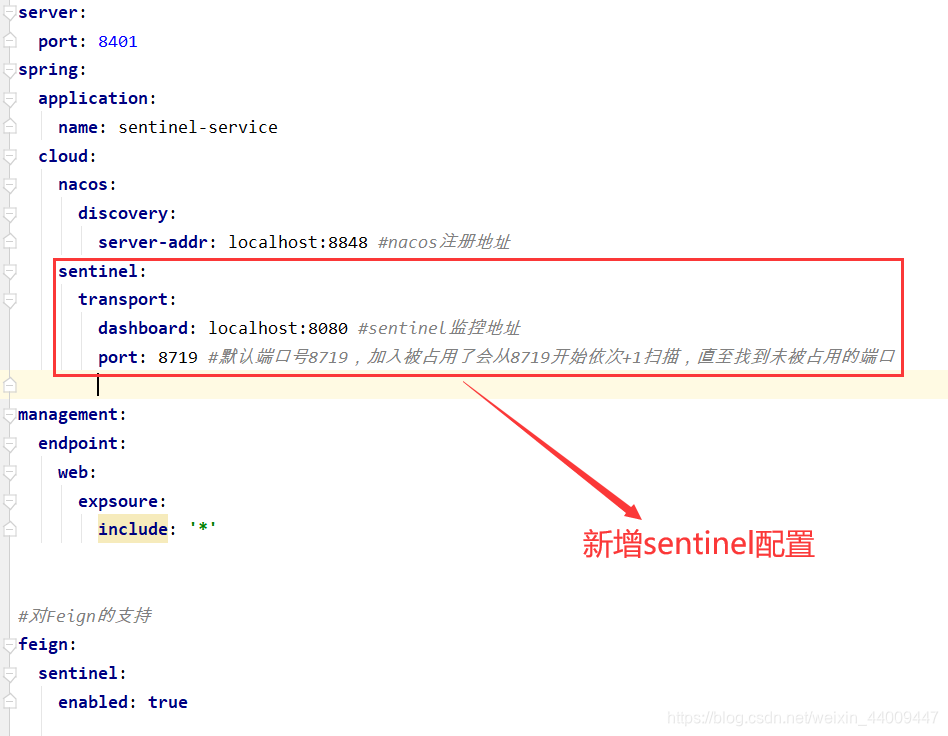
2.在application.yml配置文件中添加以下配置:
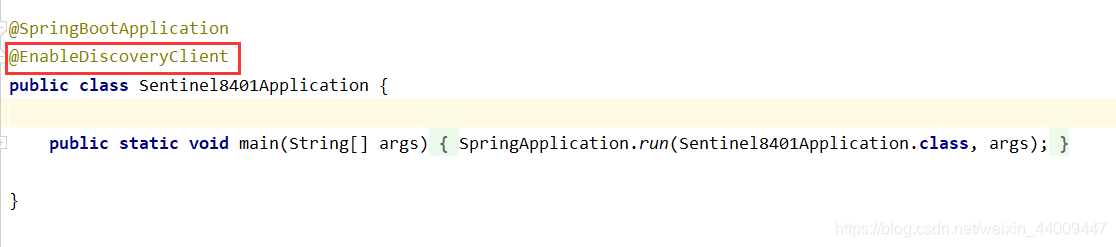
3.启动类加上@EnableDiscoveryClient注解,将服务注册到nacos:
4.controller控制器示例代码如下:
@RestController
public class SentinelController {


    @GetMapping("/testA")
    public String testA() {


        return "------testA";
    }

    @GetMapping("/testB")
    public String testB() {


        return "------testB";
    }

}
四。测试
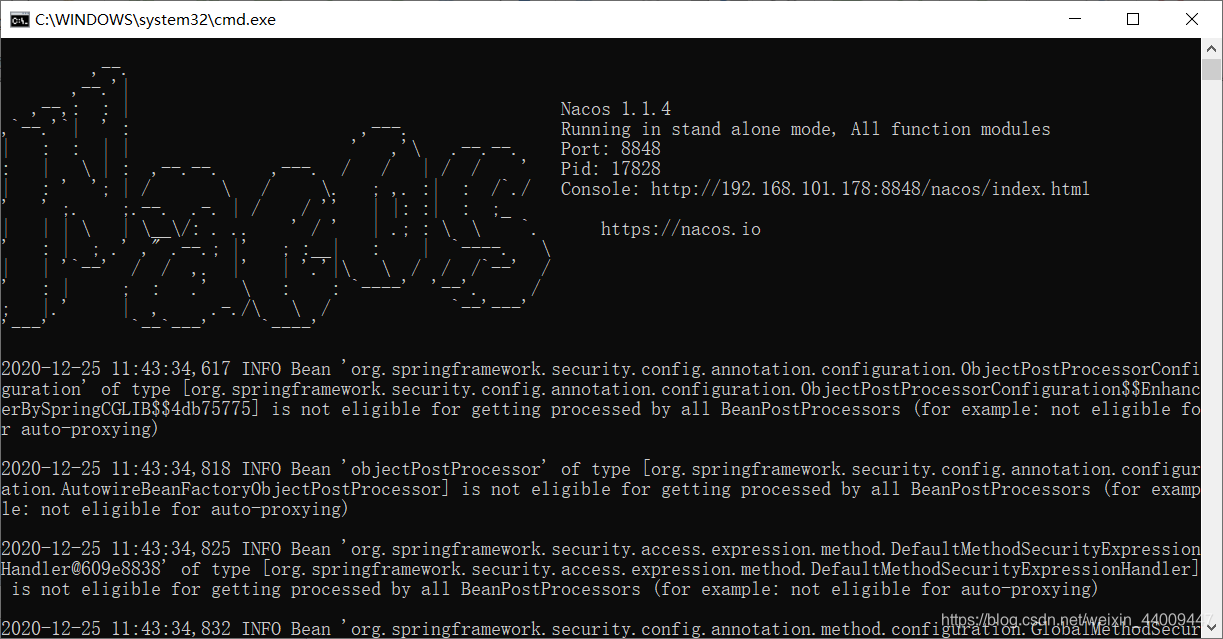
1.首先启动nacos注册中心:
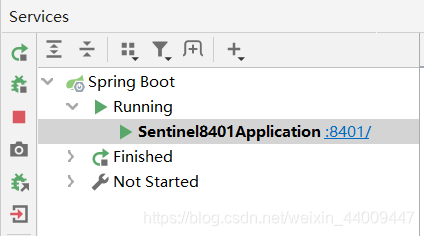
2.启动8401服务:
3.访问访问http://localhost:8080/,打开sentinel控制台

发现空空如也,没有监测到任何的服务,这是因为sentinel所采用的懒加载机制,若不访问相关的接口,sentinel将不会进行加载
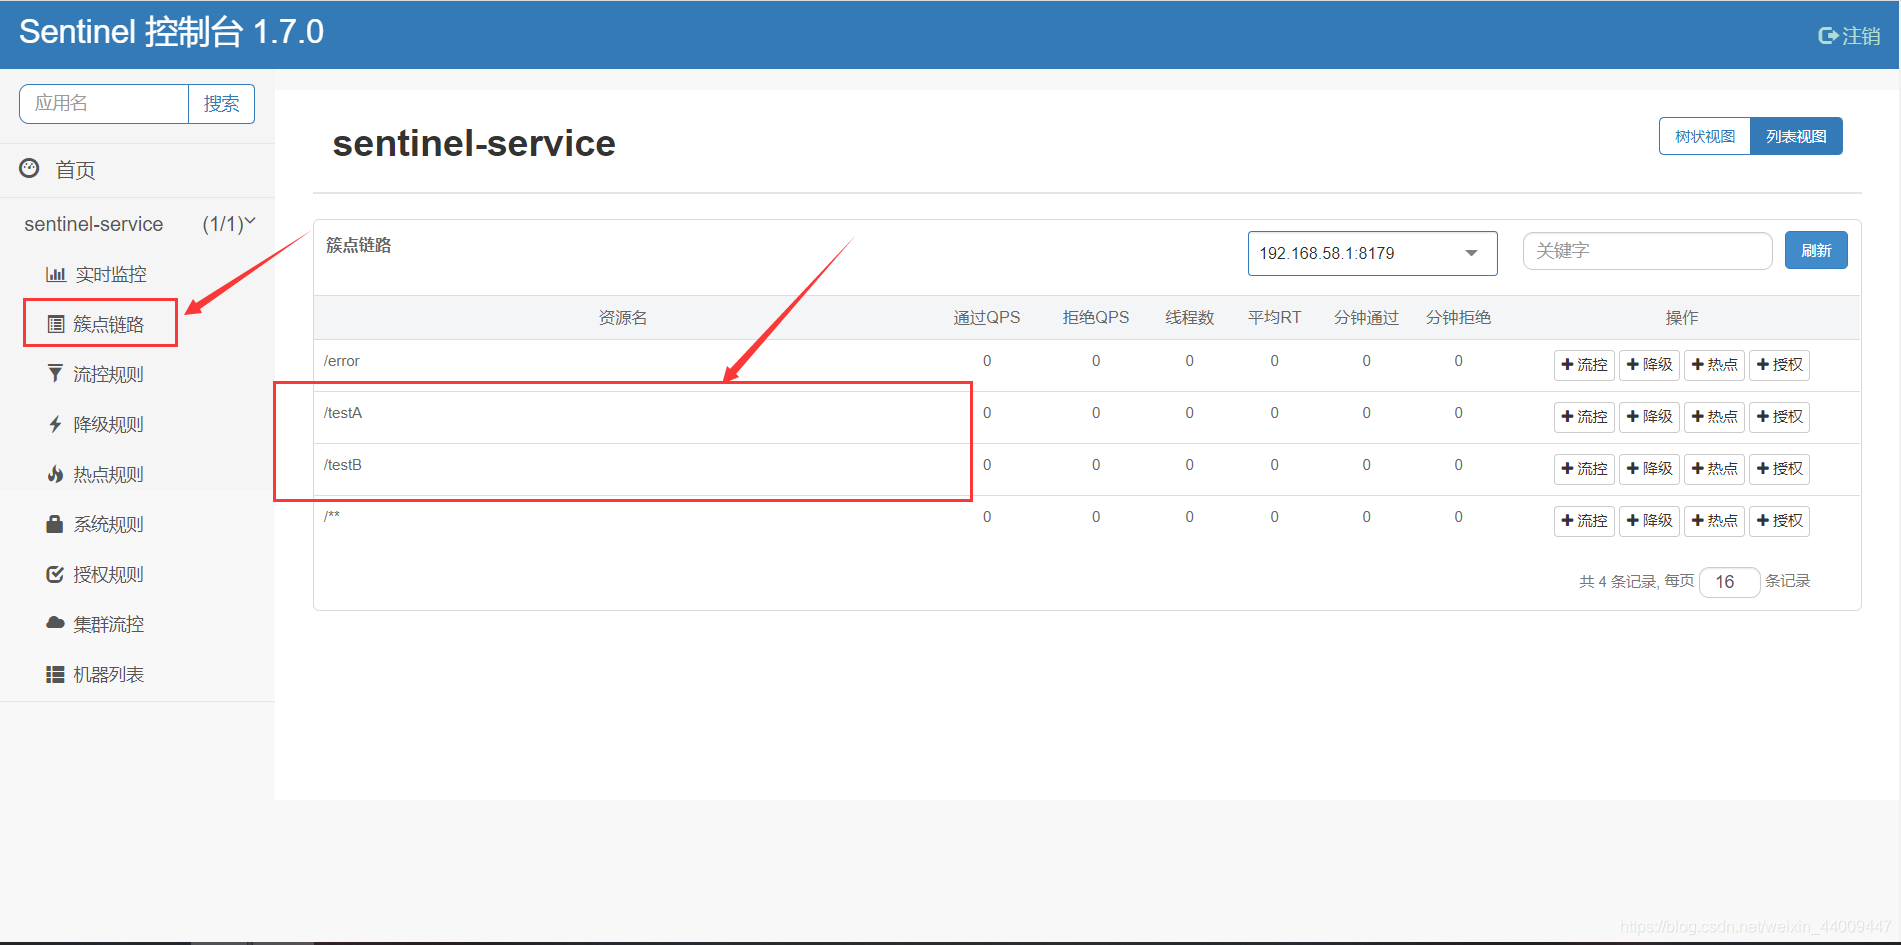
4.访问相应的接口,再次刷新sentinel控制台,发现接口已被监测到:

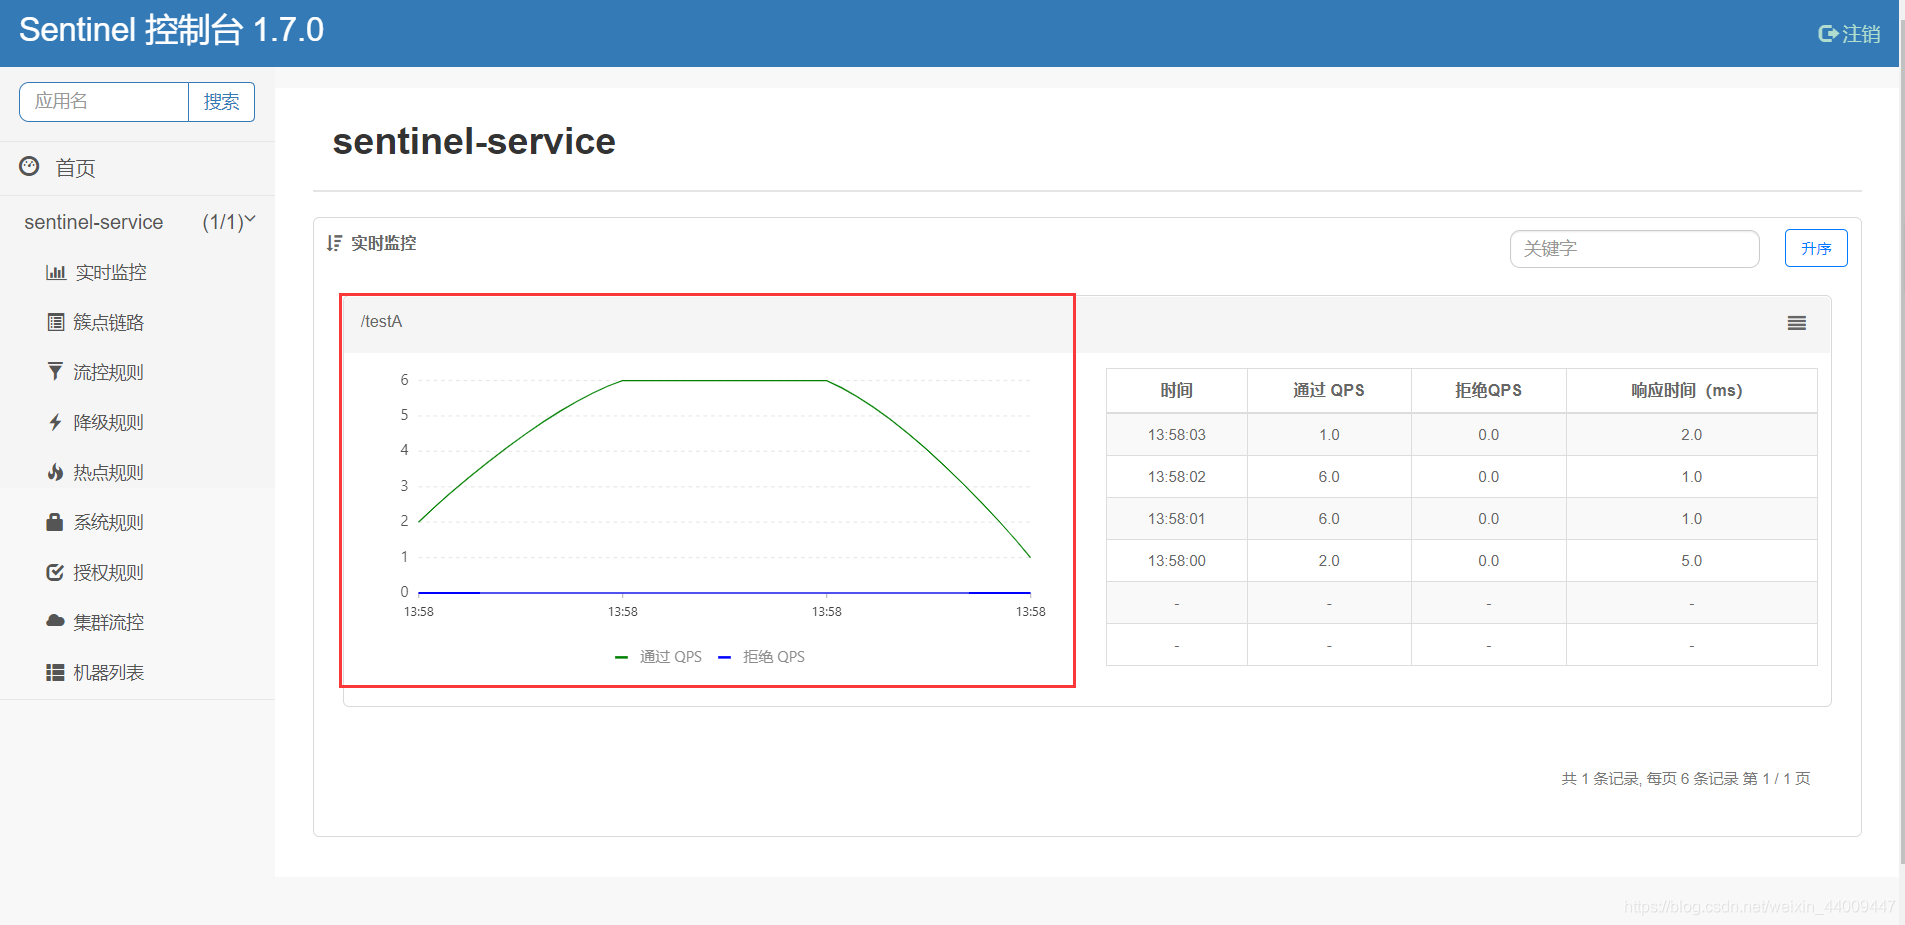
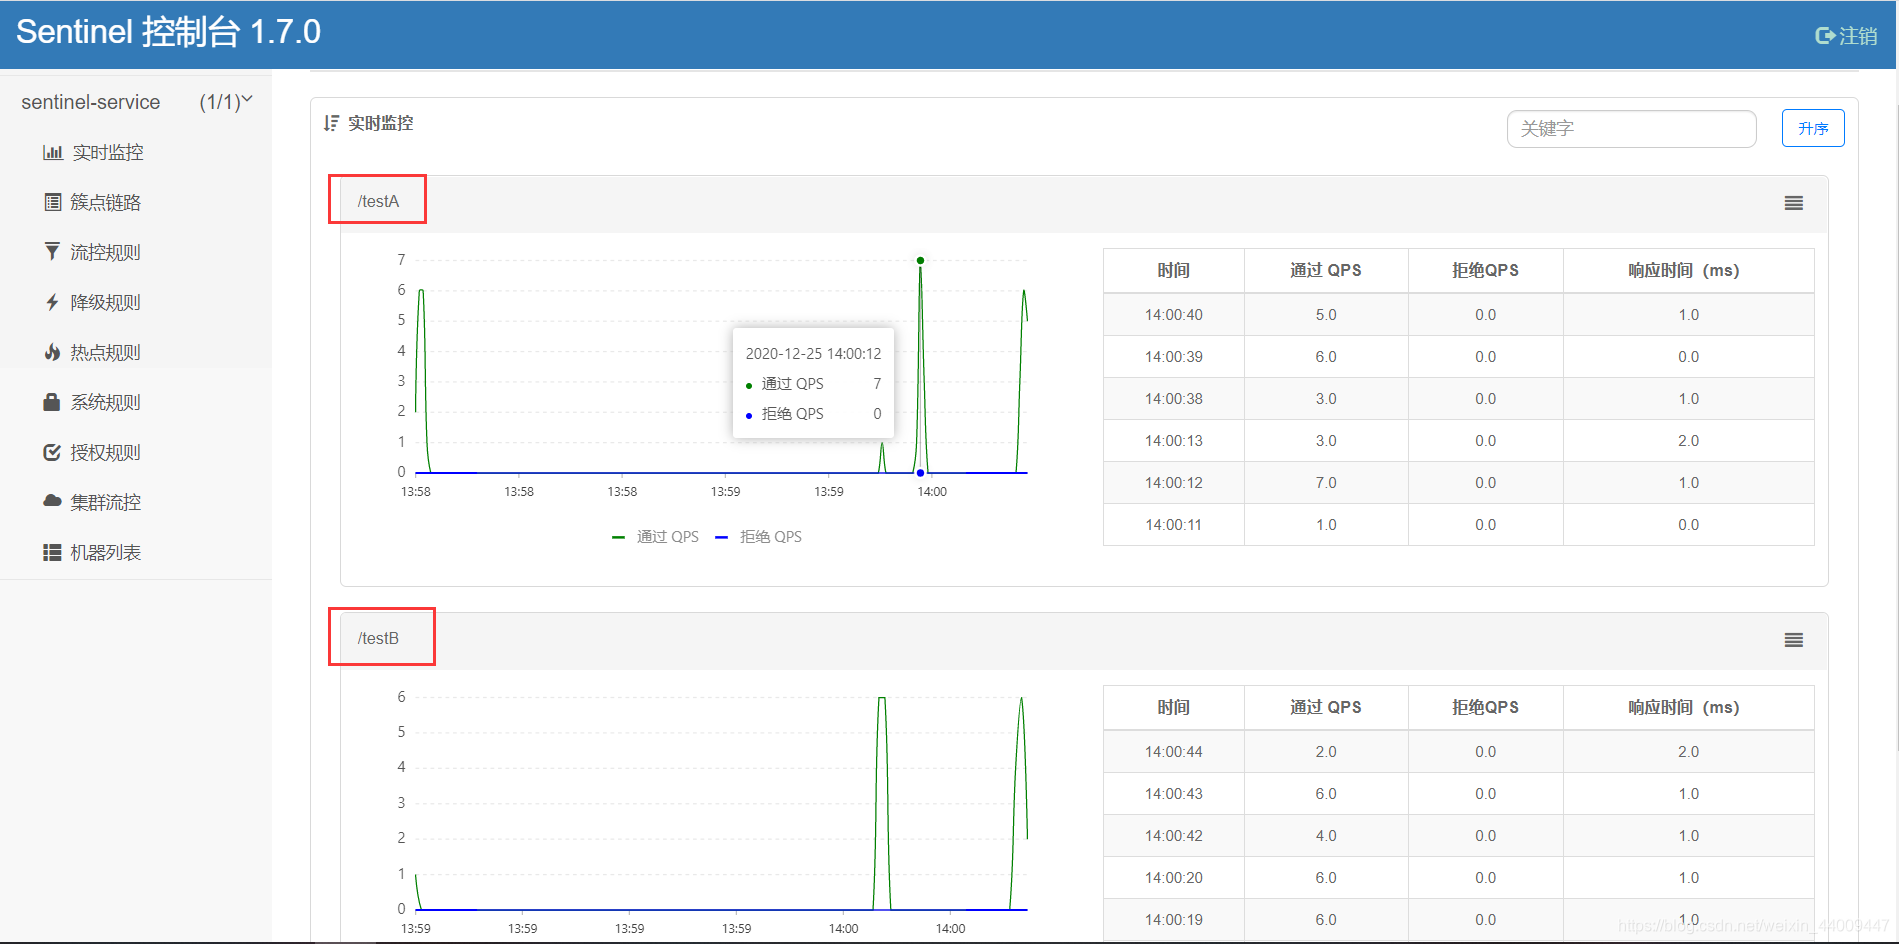
5.多访问几次相关接口,可以在实时监控中看见每一个restful风格接口时段访问数据情况:

6.在簇点链路中可以查看到全部的接口情况: